To root Moto G Stylus 5G safely, the modern method uses Magisk to patch the stock boot image rather than flashing a third-party recovery or a pre-made root package. This approach is the most reliable because it keeps your system partition intact, passes most safety checks, and makes it easy to unroot later by restoring the original boot image.
Preparing your device and PC to root Moto G Stylus 5G
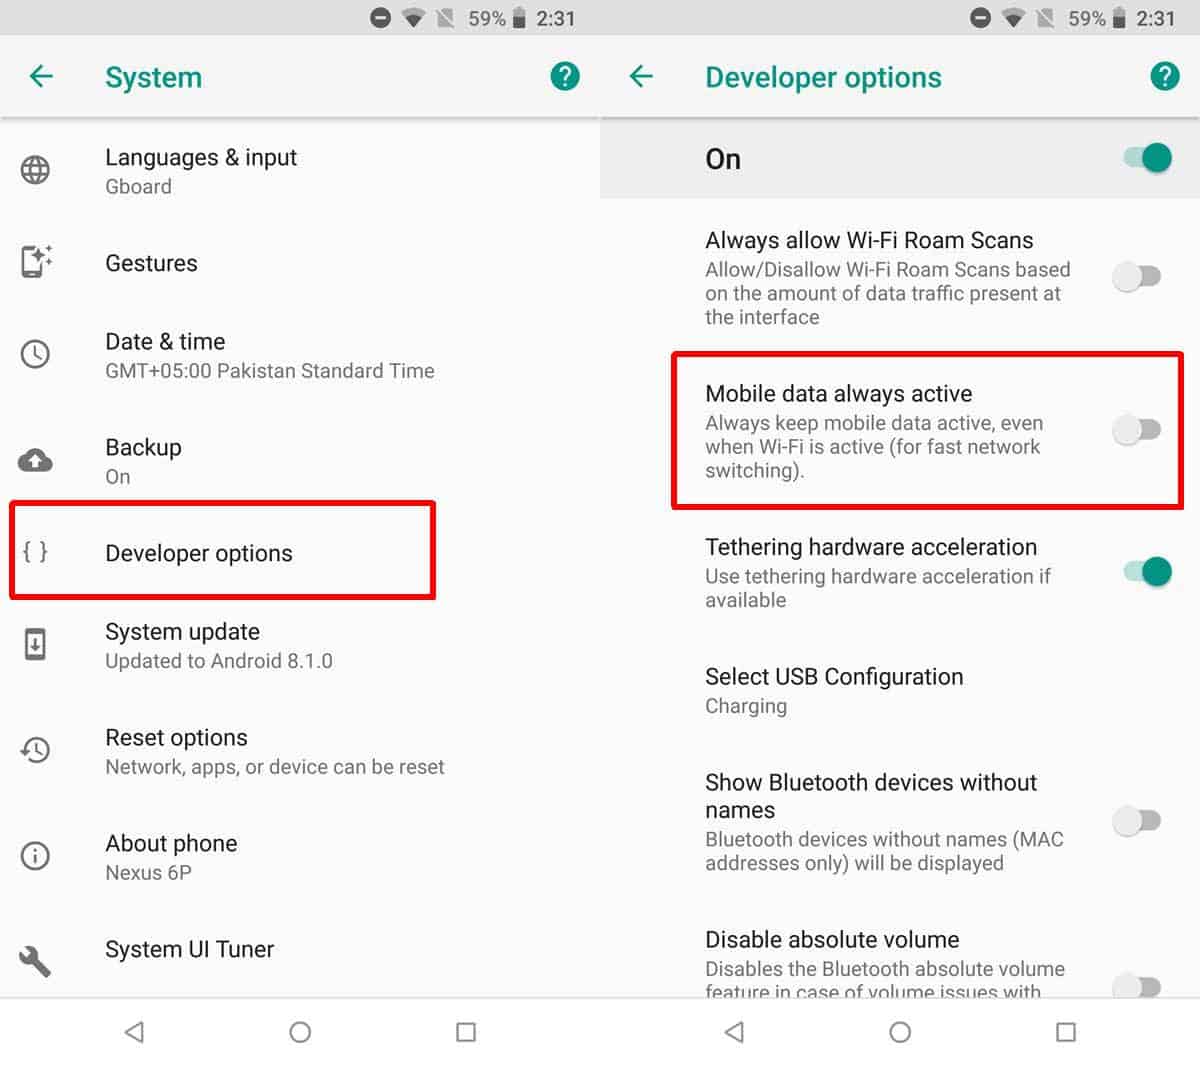
Before you begin, back up all essential data, photos, videos, documents, and app data, because unlocking the bootloader wipes the phone completely. Charge the battery to at least 50% to avoid interruptions during the process. Then enable Developer Options by going to Settings > About phone and tapping Build number seven times. Inside Settings > System > Developer options, turn on both OEM unlocking and USB debugging.
On your computer, install Android SDK Platform Tools (ADB and Fastboot) and configure them in your system's PATH. This gives you the command-line tools needed to communicate with the phone in Fastboot mode. Use a reliable USB cable and ensure the phone is detected by running adb devices before proceeding.
Unlocking the bootloader
Unlocking the bootloader is the gatekeeper step, and it's irreversible in terms of warranty, once unlocked, your device is permanently flagged as modified. Power off the phone, then boot into Fastboot mode by holding Volume Down + Power simultaneously. Connect the phone to your PC via USB and verify detection with fastboot devices.
Run the command fastboot oem unlock (or fastboot flashing unlock on newer models) and confirm the on-screen prompt using the volume keys and power button. This wipes all data, so your earlier backup is critical. Once the bootloader is unlocked, the phone will reboot automatically. Re-enable USB debugging afterward, as the process resets that setting.
Obtaining and patching the stock boot image
You need the exact stock firmware for your specific Moto G Stylus 5G model and Android version. Use Lenovo Rescue and Smart Assistant software to download the correct firmware package, this is the official tool and ensures you get the unmodified boot image. Extract the firmware zip and locate either boot.img or init_boot.img. The file name depends on your model year and Android version: Android 13 and newer typically use init_boot.img, while older versions use boot.img. Double-check your exact model and software details before proceeding.
Copy the extracted image file to your phone's internal storage. Install the Magisk app on the phone, open it, and tap Install > Select and patch a file. Choose the boot image you copied, and Magisk will create a patched file in the Downloads folder, usually named magisk_patched-XXXXX.img. This patched image contains the root binaries and is what you'll flash.
Flashing the patched image and gaining root
With the patched image saved on your phone, power off and boot back into Fastboot mode using Volume Down + Power. Connect the phone to your PC and verify it with fastboot devices. Then flash the patched image to the correct partition:
- For
boot.imgdevices, runfastboot flash boot magisk_patched-XXXXX.img. - For
init_boot.imgdevices, runfastboot flash init_boot magisk_patched-XXXXX.img.
After the flash completes, reboot the phone with fastboot reboot. The device will boot normally, and you'll have root access. To verify, open the Magisk app, it should show the installed Magisk version and a green checkmark. You can now use root-enabled apps, remove bloatware, or install system-level tweaks. If you ever need to unroot, simply download the original stock boot image again and flash it back the same way.
Related reading: Putting Lanyards On Phones The Right Way, How To Cancel Google Photos Subscription, and How To Change Download Settings From Wi-Fi To Mobile Data.