Introduction
The Amazon Fire Tablet is a popular device known for its affordability and versatility. While the tablet offers a range of features and functionality, some users may want to take their Fire Tablet experience to the next level by rooting it. Rooting allows users to gain administrative access to the device, enabling them to customize the operating system, install custom ROMs, and even uninstall pre-installed bloatware.
Rooting an Amazon Fire Tablet may seem like a complex process, but with the right tools and guidance, it can be a straightforward task. By following a few simple steps, you can unlock the full potential of your Fire Tablet and explore a whole new world of possibilities.
In this article, we will guide you through the process of rooting your Amazon Fire Tablet. We will provide step-by-step instructions and highlight the prerequisites and tools you’ll need along the way. So, if you’re ready to take control of your Fire Tablet and customize it according to your preferences, let’s get started!
Prerequisites
Before you proceed with rooting your Amazon Fire Tablet, there are a few essential prerequisites that you need to keep in mind. These prerequisites ensure a smooth and successful rooting process. Here’s what you’ll need:
- Amazon Fire Tablet Model: Make sure you know the exact model of your Fire Tablet, as the rooting process may differ slightly depending on the model.
- USB Cable: Ensure that you have a compatible USB cable to connect your Fire Tablet to your computer during the rooting process.
- Computer: You will need a computer running Windows, macOS, or Linux to perform the rooting process.
- Battery Level: Ensure that your Fire Tablet has sufficient battery charge, or connect it to a power source to avoid any disruptions during the rooting process.
- Backup: It is recommended to create a backup of your Fire Tablet’s data to prevent any loss. Rooting may sometimes result in data loss, so having a backup ensures you can revert back if necessary.
- Developer Options and USB Debugging: Enable the Developer Options on your Fire Tablet and enable USB debugging. This allows for the proper communication between your device and the computer during the rooting process.
Once you have ensured that you meet these prerequisites, you are ready to move on to the next steps of rooting your Amazon Fire Tablet. In the upcoming sections, we will guide you through the necessary steps to successfully root your device and unlock its full potential.
Step 1: Enable Apps from Unknown Sources
To start the rooting process, you need to enable the option to install apps from unknown sources on your Amazon Fire Tablet. By default, this option is disabled for security reasons. Follow these steps to enable it:
- Go to the Settings menu on your Fire Tablet.
- Select “Security & Privacy.”
- Tap on the “Apps from Unknown Sources” option.
- A warning message will appear stating that enabling this option may lead to unauthorized apps being installed. Click “OK” to confirm.
- The option should now be enabled, indicated by a toggle switch turned on.
Enabling apps from unknown sources allows you to install apps from sources other than the Amazon Appstore. This is necessary for installing the rooting tools and packages required for the rooting process. Now that you have enabled this option, you are ready to move on to the next steps of the rooting process: installing the necessary tools on your computer.
Step 2: Install the Necessary Tools
To continue with the rooting process, you will need to install the necessary tools on your computer. These tools enable communication between your Amazon Fire Tablet and the computer, allowing you to perform the rooting process smoothly. Follow these steps to install the required tools:
- Download the Amazon Fire Tablet USB driver for your computer’s operating system. You can find the official USB driver on the Amazon website.
- Once the driver is downloaded, run the installer and follow the on-screen instructions to install it.
- Next, you will need to download the Amazon Fire Toolbox, which is a collection of tools designed specifically for Fire Tablet customization. It simplifies the rooting process and provides additional customization options.
- Visit the official XDA Developers forum and find the latest version of the Amazon Fire Toolbox.
- Download the tool and extract the contents to a folder on your computer.
- Now, you have the necessary tools installed on your computer, ready to be used in the rooting process.
Installing the USB driver and the Amazon Fire Toolbox ensures that your computer can recognize and communicate with your Fire Tablet. This is crucial for performing the rooting process successfully. Once you have installed these tools, you can proceed to the next step: installing the required drivers for your Fire Tablet.
Step 3: Install the Required Drivers
Before you can proceed with rooting your Amazon Fire Tablet, you need to install the necessary drivers on your computer. These drivers establish a connection between your Fire Tablet and the computer, allowing for smooth communication during the rooting process. Follow these steps to install the required drivers:
- Connect your Amazon Fire Tablet to your computer using a compatible USB cable.
- On your Fire Tablet, swipe down from the top of the screen to open the notification panel.
- Tap on the “USB charging this device” notification.
- Under the “Use USB for” section, select “Transfer files” or “MTP”.
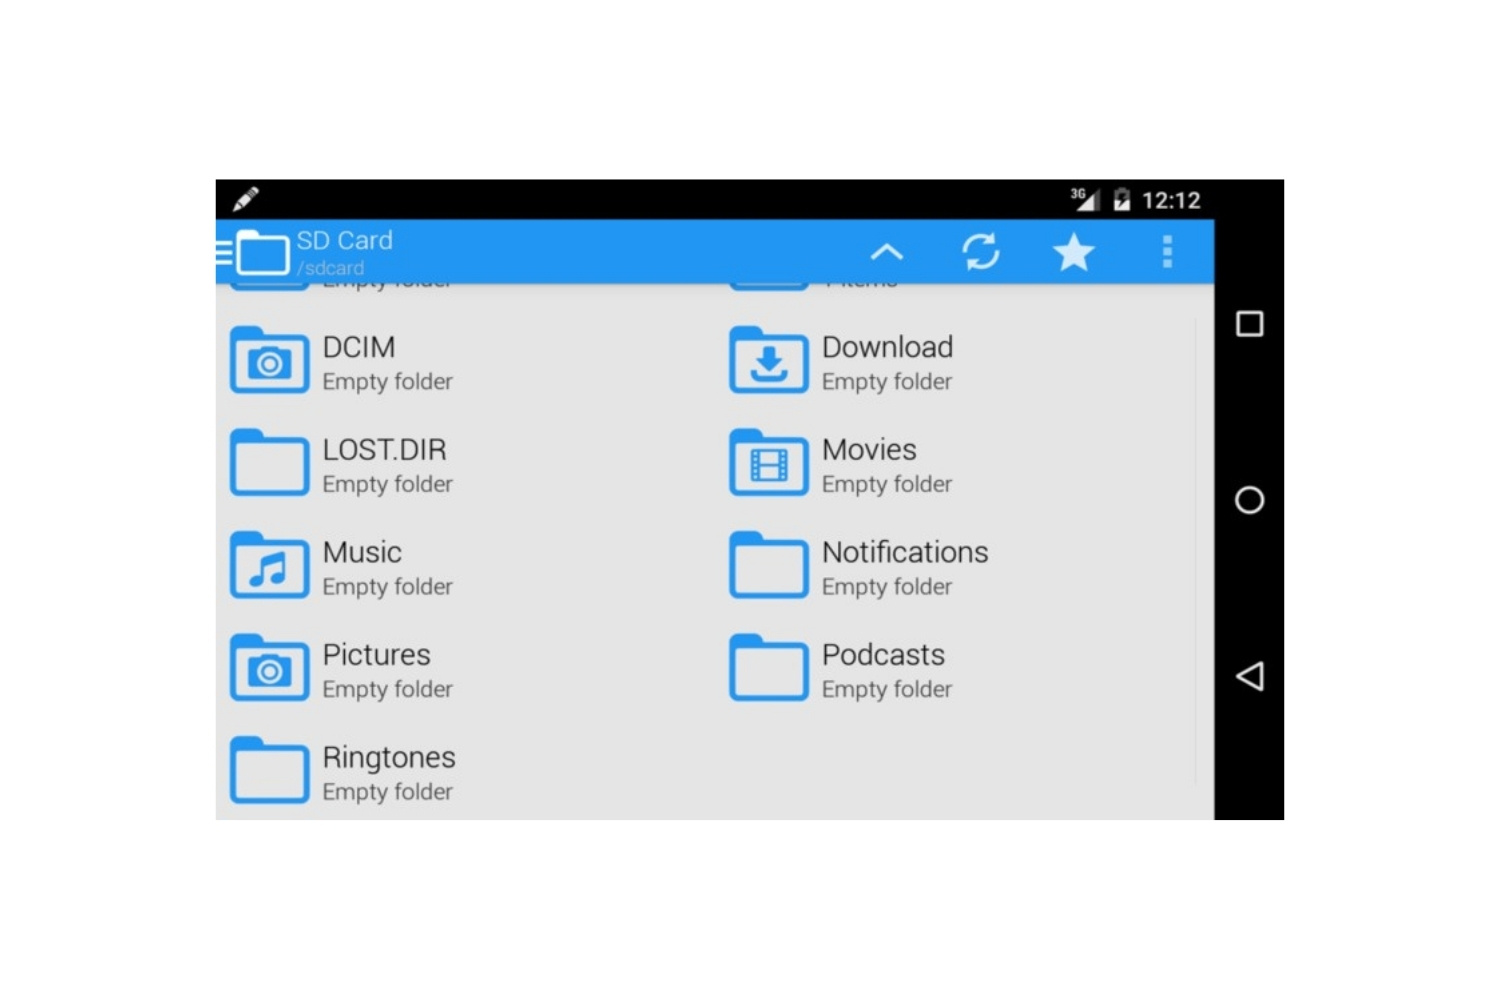
- Your computer will now recognize your Fire Tablet as an external device.
- On your computer, open the Device Manager.
- Locate the “Other Devices” or “Portable Devices” category and find your Amazon Fire Tablet.
- Right-click on your Fire Tablet and select “Update Driver.
- Choose the option to browse your computer for drivers and navigate to the folder where you extracted the Amazon Fire Toolbox earlier.
- Select the driver file and follow the on-screen instructions to complete the installation.
Once the drivers are successfully installed, your computer will be able to communicate with your Fire Tablet. This is vital for the rooting process to proceed smoothly. With the drivers in place, you can now move on to the next step: downloading the rooting package for your Fire Tablet.
Step 4: Download the Rooting Package
In order to root your Amazon Fire Tablet, you need to download the appropriate rooting package. This package contains the necessary files and scripts to successfully root your device. Follow these steps to download the rooting package for your Fire Tablet:
- Open a web browser on your computer and search for the rooting package specific to your Fire Tablet model.
- Look for reputable sources and forums such as XDA Developers, where you can find reliable rooting packages and instructions.
- Download the rooting package to a folder on your computer.
- Extract the contents of the rooting package, ensuring that all the necessary files are available.
It is important to download the correct rooting package for your specific Fire Tablet model. Using an incorrect rooting package can lead to complications and may even damage your device. Make sure to double-check the compatibility and validity of the rooting package before proceeding.
Now that you have downloaded the rooting package for your Fire Tablet, you are ready to move on to the next step: connecting your Fire Tablet to your computer and running the rooting tool.
Step 5: Connect the Fire Tablet to Your Computer
To proceed with the rooting process, you need to connect your Amazon Fire Tablet to your computer. This connection allows for the transfer of files and the execution of the rooting tool. Follow these steps to connect your Fire Tablet to your computer:
- Using a compatible USB cable, connect one end to your computer and the other end to your Fire Tablet.
- Ensure that your Fire Tablet is powered on and unlocked.
- On your Fire Tablet, swipe down from the top of the screen to open the notification panel.
- Tap on the “USB charging this device” notification.
- Under the “Use USB for” section, select “Transfer files” or “MTP”.
- Your computer should now recognize your Fire Tablet as an external device.
- If prompted on your Fire Tablet to allow USB debugging, select “OK” or “Allow”.
Establishing a successful connection between your Fire Tablet and your computer is crucial for the next steps of the rooting process. Once the connection is established, you are ready to run the rooting tool and begin the actual rooting process.
In the next step, we will guide you through running the rooting tool to start the rooting process on your Amazon Fire Tablet.
Step 6: Run the Rooting Tool
Now that you have connected your Amazon Fire Tablet to your computer, it’s time to run the rooting tool and initiate the rooting process. Follow these steps to run the rooting tool on your computer:
- Navigate to the folder where you extracted the rooting package in Step 4.
- Look for a file with the name of the rooting tool (e.g., “root_tool.exe” or “run_tool.bat”).
- Double-click on the file to run it.
- A command prompt or a graphical user interface (GUI) window will appear, indicating that the rooting tool is running.
- Follow any on-screen instructions provided by the rooting tool.
- The rooting tool will begin executing the necessary scripts and commands to root your Fire Tablet.
During this process, it is important not to disconnect your Fire Tablet from your computer. Any interruption in the connection may lead to complications or failure in rooting your device. Ensure that your Fire Tablet remains connected until the rooting process is complete.
Depending on your Fire Tablet model and the rooting tool you are using, the process may take some time to complete. It’s important to be patient and avoid interrupting the process. Once the rooting tool completes its tasks, your Amazon Fire Tablet will be rooted and ready to be rebooted.
In the next step, we will guide you through rebooting your Fire Tablet, post-rooting.
Step 7: Wait for the Rooting Process to Complete
After running the rooting tool, you need to be patient and allow the rooting process to complete. Depending on your Fire Tablet model and the rooting tool you are using, the duration of the rooting process may vary. During this time, the rooting tool will be executing necessary commands and scripts to root your Amazon Fire Tablet.
It is crucial not to interrupt the process or disconnect your Fire Tablet from your computer. Any disruption could lead to complications or even failure in rooting your device. Trust the process and allow the rooting tool to work its magic.
You may see various messages and progress indicators displayed by the rooting tool during this time. These indicators are meant to provide insight into the progress of the rooting process. It’s important to read and follow any on-screen instructions provided by the rooting tool.
While you wait for the rooting process to complete, it’s a good time to familiarize yourself with the benefits and potential risks of rooting your Fire Tablet. Rooting can give you greater control and customization options, but it may also void your warranty and introduce security risks. Understanding the implications of rooting will help you make informed decisions in the future.
Once the rooting process is complete, you will be able to move on to the next step: rebooting your Fire Tablet. The rebooting process ensures that all the changes made during the rooting process are applied and your Fire Tablet is ready to be used with root access.
Step 8: Reboot the Fire Tablet
After the rooting process is complete, it’s time to reboot your Amazon Fire Tablet. Rebooting is an essential step to ensure that all the changes made during the rooting process are applied and your Fire Tablet is ready to be used with root access. Follow these steps to reboot your Fire Tablet:
- Ensure that the rooting tool has completed its tasks and displayed a confirmation message indicating that the rooting process was successful.
- Disconnect your Fire Tablet from your computer.
- Press and hold the power button on your Fire Tablet until the power options menu appears.
- Select the “Restart” or “Reboot” option from the menu.
- Your Fire Tablet will now begin the rebooting process.
- Once the reboot is complete, your Fire Tablet will start up with root access.
The rebooting process may take a few moments. During this time, your Fire Tablet will go through its startup sequence. Once the startup is complete, you will be able to access the full potential of your rooted Fire Tablet.
After the reboot, you can begin exploring the new possibilities and customization options that rooting has unlocked. You can install and use apps that require root access, customize your device’s appearance, and even uninstall pre-installed bloatware.
Remember that with great power comes great responsibility. It’s important to use root access wisely and be cautious when making any system-level changes to your Fire Tablet. It’s recommended to research and understand the implications of any modifications or customizations you plan to make.
Congratulations! You have successfully rebooted your Fire Tablet post-rooting. Now, it’s time to verify root access and ensure that your device has been successfully rooted. In the next step, we will guide you through verifying root access on your Amazon Fire Tablet.
Step 9: Verify Root Access
After rebooting your Amazon Fire Tablet, it’s crucial to verify that the rooting process was successful and that your device now has root access. Verifying root access allows you to confirm that you have administrative privileges and can make system-level changes. Follow these steps to verify root access on your Fire Tablet:
- Open the app store on your Fire Tablet and search for a root management app, such as “Root Checker” or “SuperSU.”
- Download and install the root management app of your choice.
- Launch the root management app on your Fire Tablet.
- If prompted, grant the app superuser or root access permissions.
- The root management app will perform a check to determine if your Fire Tablet has root access.
- If the app displays a message confirming that root access is granted, congratulations! Your Fire Tablet has been successfully rooted.
It’s important to keep in mind that different root management apps may have slightly different interfaces and methods for verifying root access. However, the general process remains the same: install the app, launch it, and follow the on-screen instructions.
Upon confirming root access, you can start exploring the capabilities of your rooted Fire Tablet. You can use apps that require root access, customize your device’s system settings, and enjoy advanced features that were previously unavailable.
Remember that having root access grants you greater control over your device, but it also comes with certain risks. Be cautious when granting root access to unknown or untrusted apps, and exercise caution when making system-level changes to avoid any potential issues.
Now that you have verified root access on your Amazon Fire Tablet, you are ready to unleash its full potential and enjoy the benefits of a rooted device.
Conclusion
Congratulations! You have successfully rooted your Amazon Fire Tablet and unlocked its full potential. By following the step-by-step instructions in this guide, you have gained administrative access to your device, allowing for greater customization and control.
Rooting your Fire Tablet opens up a world of possibilities. You can now install and use apps that require root access, customize your device’s appearance and system settings, and even uninstall pre-installed bloatware to optimize your device’s performance.
It is important to remember that with great power comes great responsibility. Rooting your Fire Tablet voids the warranty and may introduce security risks. It is recommended to research and understand the implications of any modifications or customizations you plan to make to ensure the safety and stability of your device.
Additionally, always exercise caution when granting root access to unknown or untrusted apps. It’s best to stick to reputable sources and forums for rooting tools and packages to minimize potential risks to your device.
Should you encounter any issues or wish to revert the rooting process, restoring your device to its original state is possible through official firmware updates or factory resets.
Remember to regularly back up your data to prevent any loss, as rooting may sometimes result in data loss or complications. Having a backup ensures that you can easily revert back to a previous state if needed.
Lastly, enjoy your rooted Fire Tablet and the new possibilities it offers. Make the most of the customization options and advanced features to personalize your device and enhance your user experience.
Thank you for following this guide to root your Amazon Fire Tablet. We hope it has been informative and helpful, allowing you to take full control of your device. Here’s to an exciting and customized Fire Tablet experience!