Introduction
Welcome to the world of digital currency! Cryptocurrencies have gained immense popularity in recent years, and Litecoin is one of the leading contenders in this digital revolution. As a Litecoin investor, you may be wondering how to transfer your Litecoin from Coinbase, one of the most popular cryptocurrency exchanges, to PayPal, the renowned online payment platform.
In this article, we will guide you through the step-by-step process of transferring your Litecoin from Coinbase to PayPal. Whether you are looking to cash out your Litecoin or simply want to have greater flexibility in spending your digital assets, this guide will provide you with the necessary information to make a smooth and successful transaction.
Before we delve into the specifics of the transfer process, it is important to note that both Coinbase and PayPal have strict security measures in place to protect your funds. However, it is always advisable to exercise caution when dealing with cryptocurrencies and ensure that you are using secure platforms and following best practices for online transactions.
Now, let’s get started on the journey to transferring your Litecoin from Coinbase to PayPal. By following our step-by-step instructions, you will be able to move your digital wealth seamlessly and securely.
Step 1: Create a PayPal Account
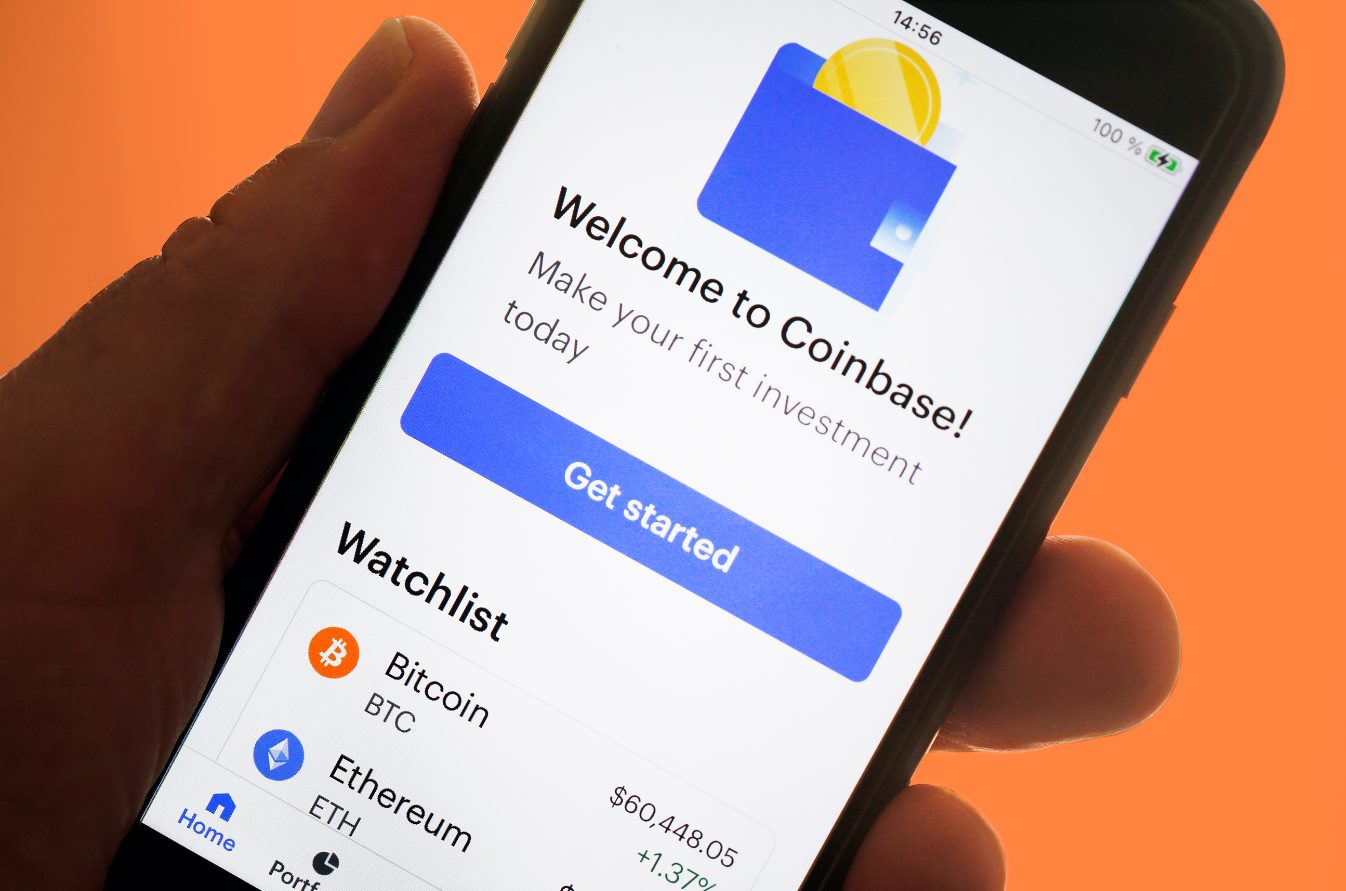
The first step in transferring your Litecoin from Coinbase to PayPal is to create a PayPal account if you don’t already have one. PayPal is a widely recognized and trusted online payment platform that allows you to send and receive money securely, making it an ideal choice for converting your Litecoin into fiat currency.
To create a PayPal account, follow these simple steps:
- Go to the PayPal website (www.paypal.com) and click on the “Sign Up” button.
- Select the type of account you want to create – Personal or Business – and click “Next”.
- Enter your email address and create a strong password for your PayPal account. Make sure to choose a password that is unique and not easily guessable.
- Provide the required personal information, including your name, address, and contact number.
- Review and accept the PayPal User Agreement and Privacy Policy.
- Complete the verification process by linking a bank account or credit/debit card to your PayPal account. This step is necessary to ensure the security and legitimacy of your account.
- Once your account is set up, you can start using PayPal to send and receive money.
It’s important to note that PayPal may have certain restrictions and limitations based on your country of residence. Make sure to familiarize yourself with these restrictions to avoid any potential issues during the transfer process.
Creating a PayPal account is a straightforward process that shouldn’t take more than a few minutes. Once your account is set up, you are one step closer to transferring your Litecoin from Coinbase to PayPal. In the next step, we will guide you through the process of setting up a Coinbase account.
Step 2: Set up a Coinbase Account
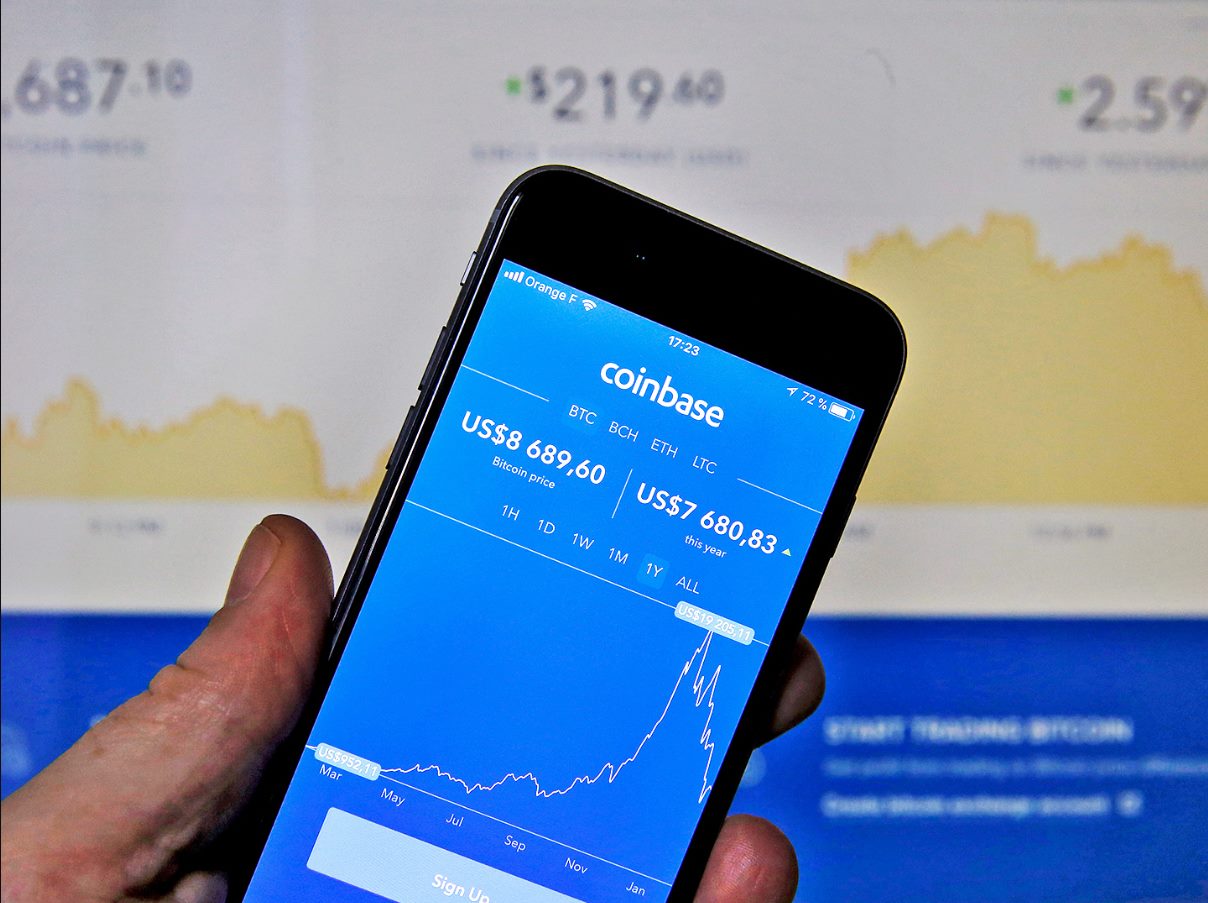
In order to transfer your Litecoin from Coinbase to PayPal, you will need to have a Coinbase account. Coinbase is a popular cryptocurrency exchange that allows you to buy, sell, and store various cryptocurrencies, including Litecoin.
Follow these steps to set up a Coinbase account:
- Go to the Coinbase website (www.coinbase.com) and click on the “Get Started” button.
- Choose whether you want to create an individual or a business account and click “Next”.
- Enter your personal information, including your name, email address, and desired password for your Coinbase account.
- Read and accept the Coinbase User Agreement and Privacy Policy.
- Verify your email address by clicking on the verification link sent to the email you provided.
- Once your email is verified, you may be asked to provide additional information to comply with Coinbase’s security measures, such as verifying your identity and linking a phone number.
- After completing the necessary steps, your Coinbase account will be set up and you will have access to your Coinbase wallet.
It’s important to note that Coinbase may have regional restrictions and requirements, so make sure to check the availability and regulations in your area before creating an account.
Setting up a Coinbase account is a crucial step in transferring your Litecoin to PayPal. Once your account is ready, you can proceed to the next step, which involves connecting your PayPal account to Coinbase.
Step 3: Connect Your PayPal Account to Coinbase
Now that you have both a PayPal account and a Coinbase account, the next step is to connect the two platforms. This will allow you to transfer your Litecoin from Coinbase to PayPal seamlessly. Follow the steps below to connect your PayPal account to Coinbase:
- Login to your Coinbase account using your credentials.
- Navigate to the “Settings” section of your Coinbase account.
- Look for the “Payment Methods” tab and click on it.
- Click on the option to “Add a Payment Method.”
- From the list of available payment methods, select “PayPal” as your chosen payment method.
- You will be redirected to the PayPal login page. Enter your PayPal credentials to log in securely.
- Authorize Coinbase to access your PayPal account by following the prompts.
- Once authorized, your PayPal account will be successfully connected to your Coinbase account.
By connecting your PayPal account to Coinbase, you establish a secure link between the two platforms, enabling you to transfer your Litecoin funds between them. This integration is essential for the next steps in the transfer process.
It’s worth noting that Coinbase may charge a nominal fee for transferring Litecoin to PayPal, so make sure to familiarize yourself with the transaction fees before proceeding.
Now that your PayPal account is connected to Coinbase, you can proceed to the next step, which involves adding Litecoin to your Coinbase wallet.
Step 4: Add Litecoin to Your Coinbase Wallet
Before you can transfer your Litecoin from Coinbase to PayPal, you need to ensure that you have Litecoin in your Coinbase wallet. If you already have Litecoin in your Coinbase account, you can skip to the next step. Otherwise, follow these steps to add Litecoin to your Coinbase wallet:
- Login to your Coinbase account using your credentials.
- Navigate to the “Accounts” tab or a similar section where your cryptocurrency holdings are displayed.
- Find the Litecoin (LTC) option and click on it.
- You will be directed to your Litecoin wallet on Coinbase.
- Click on the “Receive” button or a similar option to obtain your Litecoin wallet address.
- Copy the wallet address provided by Coinbase.
- If you are transferring Litecoin from another wallet or exchange, initiate the transfer and paste your Coinbase wallet address as the destination.
- Complete the necessary verification steps and confirm the transaction.
- After the transfer is confirmed, you will see the Litecoin reflected in your Coinbase wallet.
It’s important to note that transactions on the Litecoin network may take some time to be confirmed. The confirmation time can vary depending on network congestion and other factors. Ensure that you have allowed enough time for the transfer to be completed before proceeding to the next step.
By adding Litecoin to your Coinbase wallet, you are now ready to proceed with the actual transfer from Coinbase to PayPal. The next step will guide you through the process of transferring your Litecoin from Coinbase to PayPal.
Step 5: Transfer Litecoin from Coinbase to PayPal
With your Coinbase account connected to PayPal and Litecoin available in your Coinbase wallet, you are now ready to initiate the transfer of your Litecoin to PayPal. Follow these steps to transfer your Litecoin from Coinbase to PayPal:
- Login to your Coinbase account using your credentials.
- Navigate to the “Accounts” tab or a similar section where your cryptocurrency holdings are displayed.
- Find the Litecoin (LTC) option and click on it.
- Click on the option to “Send” or “Withdraw” your Litecoin.
- Enter the amount of Litecoin you wish to transfer to PayPal.
- Paste your PayPal email address in the recipient field. Make sure to double-check the email address for accuracy.
- Review the transaction details, including the amount of Litecoin and the recipient email address, to ensure everything is correct.
- Confirm the transaction and authorize the transfer of Litecoin from Coinbase to PayPal.
Once the transfer is initiated, it may take some time for the transaction to be confirmed on the Litecoin network. The actual transfer time can vary depending on network congestion and other factors.
It’s important to note that Coinbase may charge a fee for transferring your Litecoin to PayPal. Familiarize yourself with the transaction fees beforehand to avoid any surprises.
Keep in mind that PayPal may also have certain limitations or restrictions on incoming cryptocurrency transfers. Make sure to review PayPal’s policies regarding cryptocurrency transactions to ensure a smooth transfer process.
After completing the transfer, you can monitor the progress of the transaction on both Coinbase and PayPal. Once the transfer is confirmed, you will see the funds reflected in your PayPal account balance.
Congratulations! You have successfully transferred your Litecoin from Coinbase to PayPal. The next step will guide you through the process of confirming the transaction.
Step 6: Confirm the Transaction
After initiating the transfer of your Litecoin from Coinbase to PayPal, the final step is to confirm the transaction. Confirming the transaction ensures that the funds have been successfully transferred from Coinbase to your PayPal account. Follow these steps to confirm the transaction:
- Login to your PayPal account using your credentials.
- Navigate to the “Activity” or “Transaction” section of your PayPal account.
- Look for the transaction related to your Litecoin transfer from Coinbase.
- Verify that the transaction is listed as completed or processed.
- Check your PayPal account balance to confirm that the funds from the Litecoin transfer are reflected.
- Review the details of the transaction, including the amount of Litecoin transferred and any associated fees.
- Ensure that the transaction details match your expectations and are accurate.
If you encounter any issues during the confirmation process, or if the funds are not reflected in your PayPal account within a reasonable timeframe, it is advisable to reach out to the support teams of both Coinbase and PayPal for assistance. They can provide further insights and help resolve any potential issues.
Once you have confirmed the transaction and verified that the funds are in your PayPal account, you can proceed to use the funds for online purchases, bill payments, or simply withdraw them to your linked bank account.
Remember to review PayPal’s policies and guidelines regarding cryptocurrency transactions to ensure compliance with their regulations and to maximize the benefits of using their platform.
By following these steps, you have successfully transferred your Litecoin from Coinbase to PayPal. Ensure that you keep track of your transactions and monitor the security of your accounts to safeguard your funds.
We hope this guide has been helpful in guiding you through the process of transferring your Litecoin from Coinbase to PayPal. Enjoy the convenience and flexibility of using your cryptocurrencies in the PayPal ecosystem!
Conclusion
Congratulations! You have successfully learned how to transfer your Litecoin from Coinbase to PayPal. The process may seem complex at first, but by following the step-by-step instructions in this guide, you have gained the knowledge and confidence to navigate the transfer seamlessly.
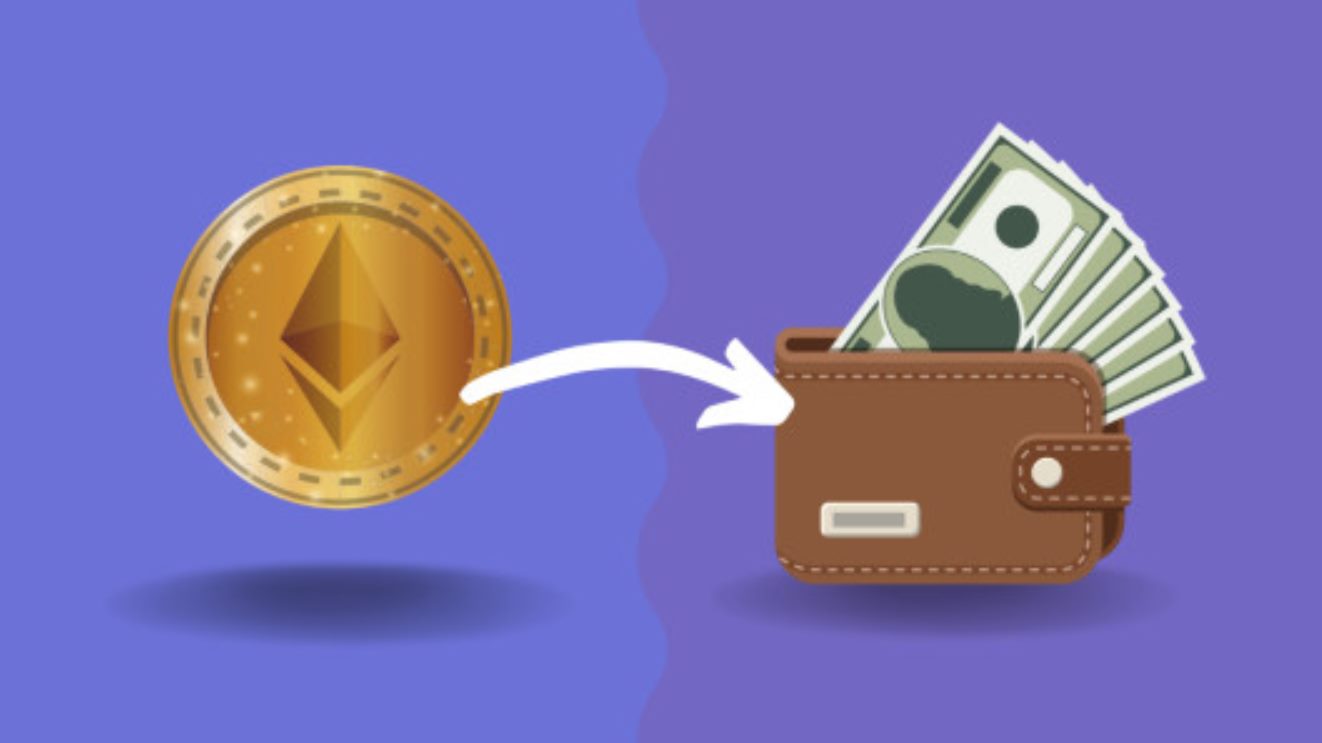
Transferring Litecoin from Coinbase to PayPal provides you with the flexibility to convert your cryptocurrency into fiat currency and access it for everyday transactions. PayPal’s wide acceptance and reputation as a trusted online payment platform make it an ideal choice for converting your digital assets.
Remember to always exercise caution when dealing with cryptocurrencies and online transactions, as there are potential risks involved. Be vigilant about the security of your accounts and stay updated on the latest best practices to protect your funds.
We hope this guide has empowered you to confidently transfer your Litecoin from Coinbase to PayPal. As the world of cryptocurrencies and digital finance continues to evolve, it’s important to stay informed and adapt to new developments in the field.
If you encounter any issues or have further questions during the transfer process, reach out to the support teams of Coinbase and PayPal for assistance. They are there to help and ensure a smooth experience for their users.
Thank you for joining us on this journey to transfer Litecoin from Coinbase to PayPal. We hope you make the most of your newfound knowledge and enjoy the convenience of using your cryptocurrencies with PayPal!