Introduction
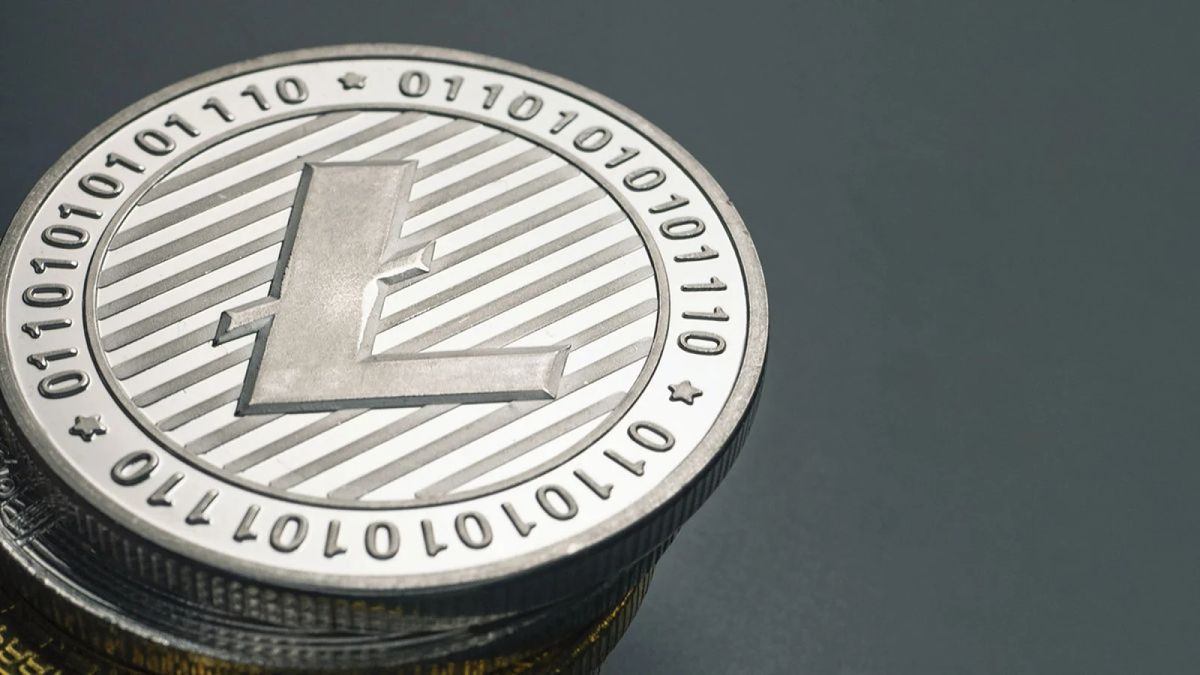
Welcome to the world of cryptocurrencies! If you’ve been researching digital currencies or are simply curious about exploring a new investment avenue, you’ve probably come across Litecoin. Litecoins are one of the leading cryptocurrencies, and the demand for them has been steadily increasing.
Whether you’re a seasoned investor or just starting out, this article will guide you through the process of buying Litecoin in the UK. Cryptocurrency exchanges are the primary platforms that facilitate the purchase of cryptocurrencies, and the UK has several reputable exchanges to choose from.
In this guide, we will walk you through the step-by-step process of buying Litecoin and storing it securely in a wallet. We’ll also touch upon optional steps you can take to optimize your investment strategy.
Before we dive into the details, it’s important to note that cryptocurrencies are a highly volatile and speculative investment. Prices can fluctuate significantly, and it’s essential to do your research and understand the risks involved before investing your hard-earned money.
Now, let’s get started on your journey to buying Litecoin in the UK!
Step 1: Choose a Cryptocurrency Exchange
The first step in buying Litecoin in the UK is to choose a reliable cryptocurrency exchange. An exchange is a digital platform that allows you to buy, sell, and trade cryptocurrencies. Here are a few important factors to consider when selecting an exchange:
1. Reputation and Security
Look for exchanges that have a solid reputation and a track record of securely handling customer funds. Research customer reviews and check if the exchange has implemented robust security measures such as two-factor authentication (2FA) and cold storage for storing cryptocurrencies.
2. Supported Currencies and Pairs
Make sure the exchange supports Litecoin and offers the option to trade with GBP (British Pound). Some exchanges may have a limited selection of cryptocurrencies or only offer trading pairs with Bitcoin.
3. User-Friendly Interface
Opt for an exchange with a user-friendly interface that makes it easy to navigate and execute trades. Intuitive features, such as real-time price charts and order books, can be helpful for making informed decisions.
4. Fees and Trading Options
Consider the fee structure of the exchange, including deposit, withdrawal, and trading fees. Some exchanges have tiered fee structures based on trading volume. Additionally, check if the exchange offers trading options such as limit orders, market orders, and stop-loss orders to suit your trading preferences.
5. Customer Support
Choose an exchange that provides responsive customer support to address any queries or issues you may encounter during the trading process. Look for exchanges that offer multiple support channels, including live chat, email, and phone support.
Some popular cryptocurrency exchanges in the UK include Coinbase, Binance, and Bitstamp. Take your time to research and compare different exchanges based on the factors mentioned above. Once you’ve chosen an exchange that meets your requirements, it’s time to move on to the next step: creating an account.
Step 2: Create an Account
After selecting a cryptocurrency exchange, the next step is to create an account. Here’s a step-by-step guide on how to create an account on most cryptocurrency exchanges:
1. Visit the Exchange’s Website
Go to the official website of the selected exchange. Look for a ‘Sign Up’ or ‘Register’ button on the homepage and click on it.
2. Fill in Your Details
You will be directed to a registration page where you’ll need to provide your personal information. This typically includes your name, email address, and password. Ensure that you choose a strong and secure password to protect your account.
3. Agree to the Terms and Conditions
Read through the exchange’s Terms and Conditions and Privacy Policy. If you agree to the terms, check the box provided and proceed to the next step.
4. Verify Your Email
Check your email inbox for a verification email from the exchange. Click on the verification link provided to confirm your email address. Some exchanges may require you to enter a verification code received via email or SMS.
5. Set Up Two-Factor Authentication (2FA)
To further enhance the security of your account, it is highly recommended to enable two-factor authentication (2FA). This adds an extra layer of protection by requiring a verification code generated by an authentication app on your smartphone.
6. Complete Additional Identity Verification (KYC)
In compliance with Know Your Customer (KYC) regulations, some exchanges may require additional identity verification before you can start trading. This typically involves uploading a copy of your government-issued identification, such as a passport or driver’s license. Follow the instructions provided by the exchange to complete this process.
Once you have successfully created your account and completed any necessary verification steps, you are now ready to move on to the next step: depositing funds into your account.
Step 3: Verify Your Identity
Before you can start buying Litecoin on a cryptocurrency exchange, you may need to go through an identity verification process. This step is often required to comply with anti-money laundering (AML) and know your customer (KYC) regulations. The purpose of this verification is to confirm your identity and ensure the safety and security of the platform. Here’s how you can verify your identity:
1. Login to Your Account
Access your cryptocurrency exchange account using the credentials you created during the registration process.
2. Navigate to the Verification Section
Look for the “Verification” or “KYC” section within your account dashboard. The location may vary depending on the exchange, but it is usually easily accessible from the main menu or account settings.
3. Follow the Instructions
The exchange will guide you through the identity verification process, providing clear instructions on the documents and information required. Typically, you will be asked to provide the following:
- Personal information: Full name, date of birth, and residential address.
- Identity proof: A scanned or photographed copy of your government-issued identification document, such as a passport or driver’s license. Make sure the document is valid and the image is clear.
- Proof of address: A recent utility bill, bank statement, or official document that displays your name and residential address. Ensure the document is not older than a few months.
4. Submit the Documents
Once you have gathered the required documents, follow the instructions provided by the exchange to upload them securely. Most exchanges have online document submission tools or dedicated email addresses for this purpose. Make sure to submit high-quality copies to avoid delays in the verification process.
5. Wait for Verification
The verification process can take anywhere from a few minutes to a couple of days, depending on the exchange’s workload and the accuracy of the documents you provided. You will receive an email notification once your verification is complete.
It’s important to note that cryptocurrency exchanges prioritize the security and privacy of their users. Your personal information and documents are handled with strict confidentiality and stored securely.
Once your identity is verified, you are one step closer to buying Litecoin. The next step is to deposit funds into your account, which we will cover in the following section.
Step 4: Deposit Funds into Your Account
Now that your account is set up and your identity is verified, it’s time to deposit funds into your cryptocurrency exchange account. Here’s how you can do it:
1. Login to Your Account
Access your cryptocurrency exchange account using your login credentials.
2. Navigate to the Deposit Section
Look for the “Deposit” or “Funds” section within your account dashboard. The location may vary depending on the exchange, but it is typically easily accessible from the main menu or account settings.
3. Choose the Deposit Method
Most cryptocurrency exchanges offer multiple deposit methods, including bank transfer, credit/debit cards, and sometimes even alternative payment methods like PayPal. Choose the method that is most convenient for you.
4. Follow the Instructions
The exchange will provide you with detailed instructions on how to initiate the deposit. This may include providing your bank account details for a bank transfer or filling in your card information for a debit/credit card payment. Follow these instructions carefully.
5. Input the Deposit Amount
Specify the amount of money you want to deposit into your account. Make sure to review any minimum or maximum deposit limits set by the exchange.
6. Double-Check the Details
Before proceeding, double-check all the information you have entered, including your bank account details or card information. Ensuring accuracy at this stage will prevent any delays or issues with your deposit.
7. Initiate the Deposit
Once you are satisfied with the details, initiate the deposit by confirming it. The time it takes for the funds to appear in your account will vary depending on the deposit method and the processing times of the exchange.
8. Wait for Confirmation
After initiating the deposit, you will receive a confirmation email or notification from the exchange. This confirmation will indicate whether your deposit was successful or if any further action is required on your part.
It’s important to note that some exchanges may charge a fee for depositing funds into your account, especially for certain payment methods. Familiarize yourself with the fee structure of the exchange to avoid any surprises.
Once your funds are successfully deposited into your account, you are now ready to proceed to the next step: buying Litecoin using GBP.
Step 5: Buy Litecoin using GBP
Now that you have funds in your cryptocurrency exchange account, it’s time to buy Litecoin using GBP. Follow these steps to make your purchase:
1. Login to Your Account
Access your cryptocurrency exchange account using your login credentials.
2. Navigate to the Buy/Sell Section
Look for the “Buy” or “Trade” section within your account dashboard. The location may vary depending on the exchange, but it is typically easily accessible from the main menu or trading dashboard.
3. Select Litecoin (LTC)
From the list of available cryptocurrencies, locate Litecoin (LTC) and select it as the cryptocurrency you wish to buy.
4. Choose GBP as the Trading Pair
Select GBP as the trading pair for Litecoin. This will ensure that you are buying Litecoin directly using GBP.
5. Specify the Amount to Buy
Enter the amount of Litecoin you want to purchase or the amount of GBP you want to spend. Some exchanges also provide an option to specify the price at which you want to buy.
6. Review the Order
Review your order details, including the purchase amount, total cost, and any associated fees. Double-check the details to ensure they are accurate before proceeding.
7. Place the Order
Once you are satisfied with the order details, place the order by clicking on the “Buy” or “Place Order” button. The exchange will execute the transaction and deduct the corresponding amount from your account balance.
8. Wait for Confirmation
After placing the order, you will receive a confirmation email or notification from the exchange. This confirmation will indicate whether your order has been successfully executed or if any further action is required on your part.
It’s worth noting that the price of Litecoin and other cryptocurrencies can fluctuate rapidly. Therefore, the actual price at which your order is executed may slightly differ from the displayed price at the time of placing the order.
Once your Litecoin purchase is complete, you will see the balance of Litecoin in your account. Congratulations, you have successfully bought Litecoin using GBP!
Now, it’s time to consider the next step: storing your Litecoin in a secure wallet.
Step 6: Store Your Litecoin in a Wallet
After purchasing Litecoin, it’s important to store your digital assets in a secure wallet. While cryptocurrency exchanges provide a convenient way to buy and sell cryptocurrencies, they are not the safest place to store your digital assets in the long term. Here’s what you need to do:
1. Understand the Types of Wallets
There are several types of wallets available to store your Litecoin:
- Hardware Wallets: These physical devices store your cryptocurrencies offline, providing the highest level of security.
- Software Wallets: These are applications that you can install on your desktop or mobile device to securely store your Litecoin.
- Online Wallets: These wallets are web-based and accessible through a browser. While convenient, they are more susceptible to hacking.
- Paper Wallets: This involves printing out your cryptographic keys and keeping them offline. It is the most secure form of cold storage.
2. Choose a Wallet
Research different wallet options and choose the one that best fits your needs in terms of security, accessibility, and user-friendliness. Popular wallet options for Litecoin include Ledger Nano S (hardware wallet), Electrum (software wallet), and LiteAddress (paper wallet).
3. Set Up Your Wallet
Follow the instructions provided by your chosen wallet provider to set up your wallet. This may involve downloading and installing software, creating a new wallet account, or generating a new wallet address.
4. Transfer Your Litecoin
Once your wallet is set up, you’ll need to transfer your Litecoin from the exchange to your wallet. This involves the following steps:
- Access your cryptocurrency exchange account and navigate to the withdrawal or send section.
- Enter your wallet address (public key) in the recipient field. Ensure that you enter the correct address, as transactions on the blockchain are irreversible.
- Specify the amount of Litecoin you wish to transfer to your wallet.
- Review the transaction details, including any withdrawal fees, before confirming the transfer.
- Complete the withdrawal process and wait for the transaction to be confirmed on the blockchain. This may take some time, depending on network congestion.
5. Secure Your Wallet
Ensure that you follow best practices for securing your wallet, such as enabling additional security features like two-factor authentication (2FA) and backup your wallet passphrase or private keys in a safe place.
By transferring your Litecoin to a secure wallet, you gain full control over your digital assets, reducing the risk of losing funds due to exchange hacks or other security breaches.
Congratulations, you have successfully stored your Litecoin in a wallet! Now you can confidently hold onto your Litecoin for the long term or even use it for transactions when needed.
Additionally, you might want to consider setting up a recurring buy to automate your Litecoin purchases over time, which we will cover in the optional step below.
Step 7: Optional: Set Up a Recurring Buy
If you are looking to build your Litecoin investment gradually over time, you can consider setting up a recurring buy. This allows you to automatically purchase a specific amount of Litecoin at regular intervals. Here’s how you can set up a recurring buy:
1. Choose a Buying Schedule
Determine how often you want to make your recurring purchase. It could be daily, weekly, monthly, or any other interval that suits your investment strategy and budget.
2. Decide on the Purchase Amount
Decide on the amount of GBP you want to allocate for each recurring purchase. Set a realistic budget that aligns with your financial goals and risk tolerance.
3. Select the Recurring Buy Option
Access your cryptocurrency exchange account and navigate to the buy/sell section. Look for an option or feature that allows you to set up a recurring buy. Some exchanges offer this feature directly, while others may require the use of additional tools or third-party apps.
4. Configure the Details
Configure the details of your recurring buy, including the frequency, purchase amount, and the specific cryptocurrency pair (Litecoin/GBP) you want to buy.
5. Review and Confirm
Review the details of your recurring buy setup, ensuring that they are correct. Take note of any applicable fees or charges associated with the recurring buy feature. Once you are satisfied, confirm and activate the recurring buy.
6. Monitor and Adjust
Monitor the performance of your recurring buy strategy over time. Keep an eye on the market conditions and make adjustments to your recurring buy settings if necessary. You can increase or decrease the purchase amount, change the frequency, or even pause the recurring buy feature temporarily.
Setting up a recurring buy can help you take advantage of dollar-cost averaging, which involves buying assets at regular intervals regardless of the market price. This strategy smooths out the impact of short-term fluctuations and allows you to accumulate Litecoin over a longer period.
However, please note that cryptocurrency investments carry inherent risks, and past performance is not indicative of future results. It’s always essential to do your own research and consult with a qualified financial advisor before making any investment decisions.
With the option of a recurring buy in place, you can continue to build your Litecoin investment gradually while staying on track with your investment goals.
Conclusion
Congratulations! You have successfully navigated the process of buying Litecoin in the UK. By following the steps outlined in this guide, you have set yourself up for participation in the exciting world of cryptocurrencies.
In summary:
You started by choosing a reputable cryptocurrency exchange that met your needs in terms of security, supported currencies, user experience, and customer support.
Next, you created an account on the exchange and went through the necessary identity verification process to comply with regulatory requirements.
Once your account was set up and verified, you deposited funds into your exchange account using GBP, readying yourself to purchase Litecoin.
You proceeded to buy Litecoin using GBP, taking advantage of the exchange’s trading platform to execute your order.
Following your purchase, you prioritized the security of your Litecoin by transferring it to a secure wallet, where you have full control over your digital assets.
Lastly, you had the option to set up a recurring buy, allowing you to strategically accumulate Litecoin over time.
Remember, investing in cryptocurrencies carries risks, and it’s crucial to stay informed and make decisions aligned with your financial goals and risk tolerance. Regularly review your investment strategy, monitor market conditions, and consider seeking professional financial advice when needed.
Now that you have completed the process, you can confidently participate in the cryptocurrency market and potentially benefit from the exciting opportunities it presents.
Happy investing!


