Introduction
Are you looking to buy XRP with Litecoin? If you’re eager to invest in XRP, one of the top cryptocurrencies in the market, and you have Litecoin at your disposal, you’re in the right place. This guide will walk you through the process of buying XRP using Litecoin, providing you with step-by-step instructions to ensure a smooth and successful transaction.
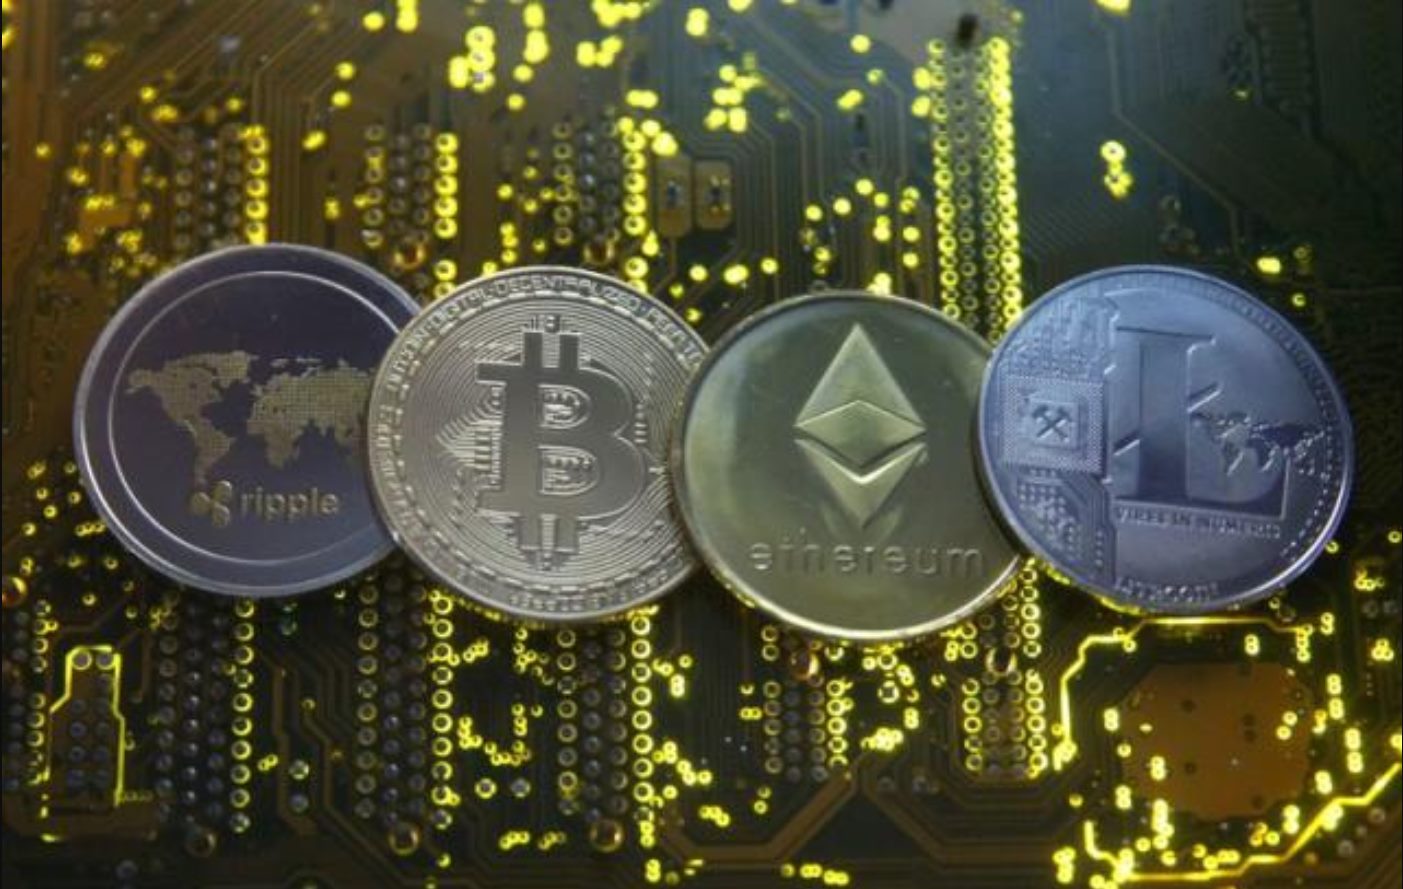
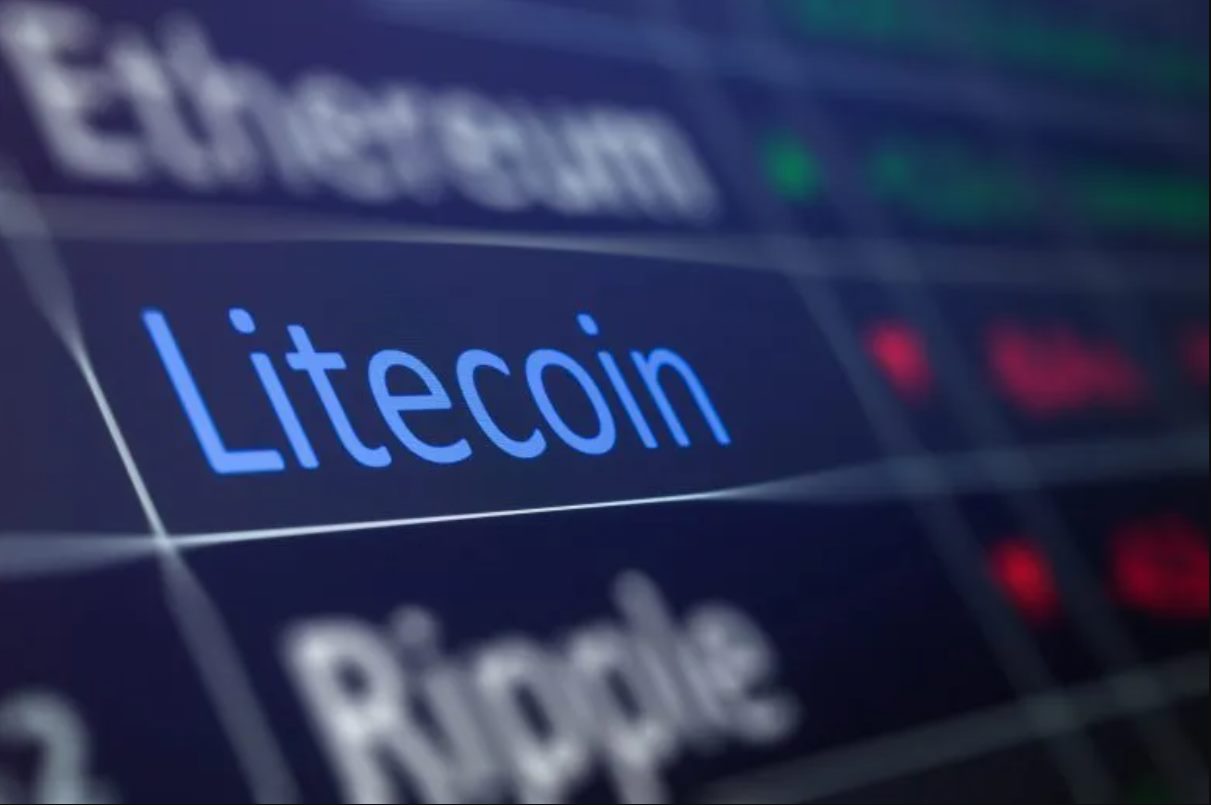
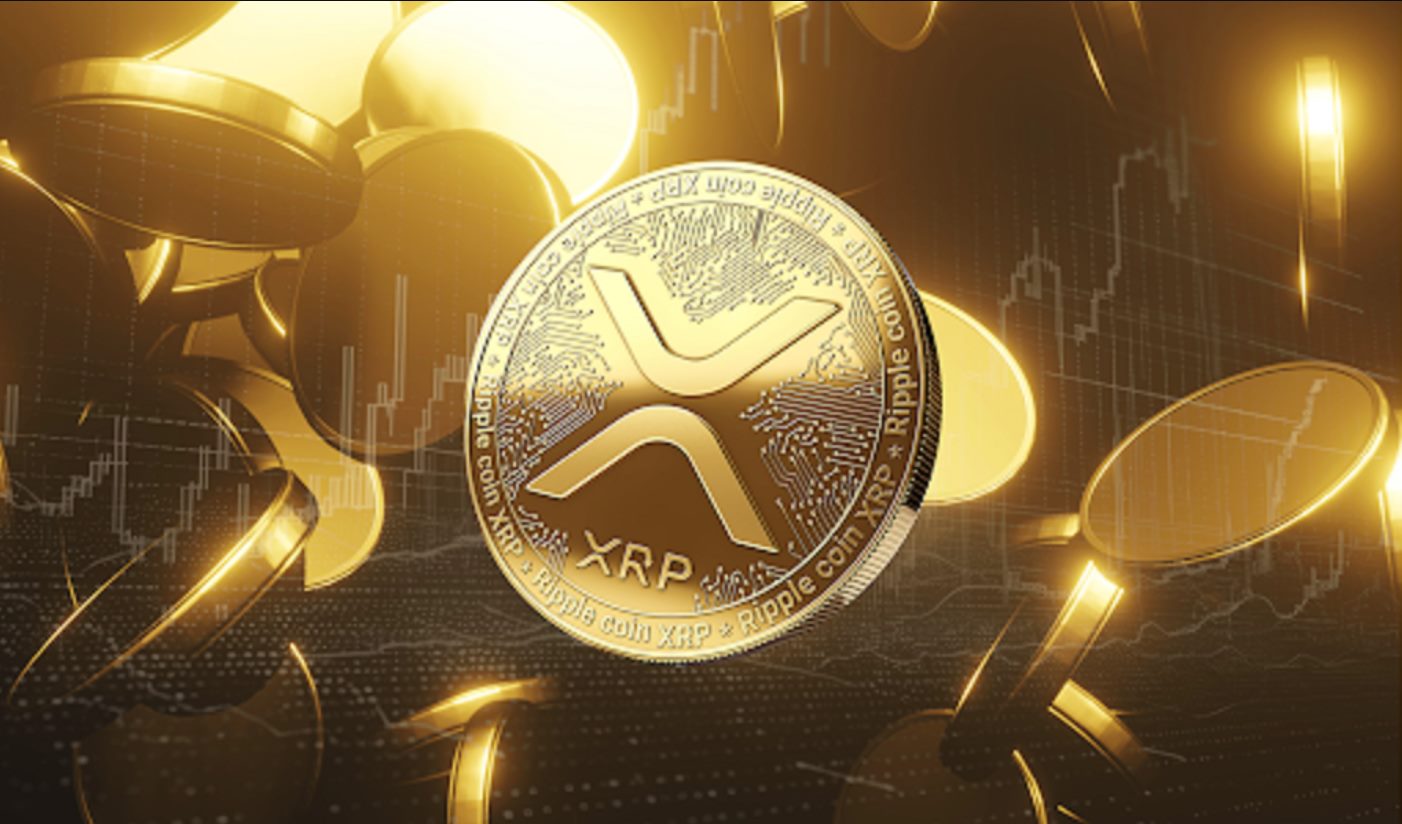
Before we dive into the specifics, let’s take a moment to understand the basics. XRP is a digital currency that was created by Ripple Labs Inc. as a means to facilitate fast and low-cost international transactions. Litecoin, on the other hand, is another popular cryptocurrency that was created as a fork of Bitcoin, offering faster confirmation times and a different mining algorithm.
By leveraging the benefits of both XRP and Litecoin, you can take advantage of their unique features and potentially enjoy significant returns on your investment. The process of buying XRP with Litecoin involves setting up a wallet, creating an account on a cryptocurrency exchange, depositing Litecoin into your exchange account, and finally placing an order to buy XRP.
While the process may seem daunting at first, rest assured that it can be easily accomplished with a little guidance. In this guide, we will break down each step in detail, ensuring that you have all the necessary information to successfully complete the transaction.
It’s important to note that the cryptocurrency market is highly volatile, and prices can fluctuate rapidly. Therefore, it’s always a good idea to conduct thorough research and consult with a financial advisor before making any investment decisions.
Now that we have a general understanding of what’s involved, let’s move on to the first step: setting up a wallet.
Setting Up a Wallet
Before you can start buying XRP with Litecoin, you’ll need to set up a wallet to store your cryptocurrencies. A cryptocurrency wallet is a digital wallet that allows you to securely store, send, and receive digital currencies like XRP and Litecoin.
There are several types of wallets available, including web-based wallets, mobile wallets, desktop wallets, and hardware wallets. Each type has its own advantages and considerations, so it’s important to choose one that aligns with your needs and preferences.
If you’re just starting out and prefer convenience and accessibility, a web-based wallet or mobile wallet may be a good option for you. These wallets can be accessed through a browser or mobile app, making it easy to manage your XRP and Litecoin on the go.
On the other hand, if you’re concerned about security and want to have full control over your funds, a hardware wallet may be a better choice. Hardware wallets are physical devices that securely store your cryptocurrencies offline, reducing the risk of hacking or theft.
Once you’ve chosen the type of wallet that suits you best, you’ll need to set it up by following the wallet provider’s instructions. This usually involves creating an account, choosing a strong password, and generating a unique wallet address.
Remember to keep your wallet credentials and private keys secure, as they provide access to your funds. Consider using a password manager or writing them down in a safe place that only you have access to.
Setting up a wallet is an essential first step in your cryptocurrency journey. It ensures that you have a secure and reliable place to store your XRP and Litecoin, making it easier to manage and transact with them in the future.
Now that you have your wallet up and running, it’s time to move on to the next step: creating an account on a cryptocurrency exchange.
Creating an Account on an Exchange
In order to buy XRP with Litecoin, you’ll need to create an account on a cryptocurrency exchange that supports the trading of both cryptocurrencies.
A cryptocurrency exchange is a digital platform that facilitates the buying, selling, and trading of various cryptocurrencies. There are numerous exchanges to choose from, each with its own features, fees, and user experience. It’s important to research and select a reputable exchange that meets your specific requirements.
To create an account on an exchange, follow these general steps:
- Choose an exchange: Research different crypto exchanges and select one that supports XRP/Litecoin trading and aligns with your needs.
- Visit the exchange’s website: Once you’ve selected an exchange, visit their official website to begin the account creation process.
- Sign up: Look for the “Sign up” or “Create Account” button and click on it. Provide the required information, which typically includes your name, email address, and a strong password. Some exchanges may require additional information due to regulatory requirements.
- Verify your account: After providing the necessary information, you may need to verify your account. This often involves providing identification documents and completing a Know Your Customer (KYC) process.
- Set up two-factor authentication (2FA): Enable two-factor authentication for an added layer of security. This typically involves linking your exchange account to a mobile authenticator app or receiving a text message with a verification code.
- Read and understand the exchange’s terms and policies: Familiarize yourself with the exchange’s terms of service and policies before proceeding.
Once you’ve completed these steps, your account should be created, and you’ll be ready to move on to the next phase: depositing Litecoin into your exchange account.
Creating an account on a reputable cryptocurrency exchange is essential for safe and secure trading. It provides you with a platform to buy, sell, and trade XRP with Litecoin, and gives you access to various tools and features to manage your cryptocurrency investments effectively.
Now that you have your exchange account set up, let’s move onto the next step: depositing Litecoin into your exchange account.
Deposit Litecoin into Your Exchange Account
Now that you have created an account on a cryptocurrency exchange, you will need to deposit Litecoin into your exchange account. This will allow you to use your Litecoin to purchase XRP.
Here are the general steps to deposit Litecoin into your exchange account:
- Log in to your exchange account: Visit the exchange’s website and log in using your account credentials.
- Navigate to the “Deposit” or “Funds” section: Look for a tab or button that directs you to the deposit options for Litecoin.
- Generate a deposit address: Each exchange will provide you with a unique deposit address for Litecoin. This address is used to identify your account when you send Litecoin from your wallet to the exchange.
- Copy the deposit address: Once you have generated the deposit address, copy it to your clipboard or write it down. Be sure to double-check the address to ensure accuracy.
- Open your Litecoin wallet: Launch your Litecoin wallet and look for the option to send or transfer funds.
- Paste the deposit address and enter the amount: In your wallet, paste the deposit address you copied from the exchange and enter the amount of Litecoin you wish to deposit.
- Confirm and initiate the transaction: Review the details of the transaction and confirm it. Depending on the wallet you’re using, you may need to provide additional authorization, such as entering your wallet password or verifying the transaction with a security code.
- Wait for confirmation: After initiating the transaction, you will need to wait for the network to confirm the transaction. This confirmation process can take a few minutes to several hours, depending on the network congestion.
Once the transaction is confirmed, the Litecoin will be credited to your exchange account, and you will be ready to proceed with the next step: choosing an exchange that supports XRP/Litecoin trading.
It’s important to note that different exchanges may have specific procedures or requirements for depositing cryptocurrencies. Be sure to follow the instructions provided by your chosen exchange to ensure a successful deposit.
Now that you have Litecoin in your exchange account, let’s move on to the next step: selecting an exchange that supports XRP/Litecoin trading.
Choose an Exchange that Supports XRP/Litecoin Trading
After depositing Litecoin into your exchange account, the next step is to choose an exchange that supports XRP/Litecoin trading. Selecting the right exchange is crucial for a smooth and efficient trading experience.
Here are some factors to consider when choosing an exchange:
- Liquidity: Look for an exchange that has a significant trading volume and good liquidity for both XRP and Litecoin. Higher liquidity means that there is a greater chance of executing trades at desired prices, reducing the possibility of slippage.
- Security: Ensure that the exchange has robust security measures in place to protect your funds. Look for features such as two-factor authentication (2FA), cold storage for funds, and a strong track record of handling security breaches or incidents.
- Trading fees: Compare the fees charged by different exchanges. Exchanges typically charge a fee for each trade executed, so it’s important to consider the fee structure and find an exchange that offers competitive rates.
- User experience: Consider the user interface and overall user experience offered by the exchange. A user-friendly platform with intuitive navigation and clear trading features can make your trading experience more enjoyable and efficient.
- Regulation and compliance: Check if the exchange operates in a regulated environment and complies with applicable laws. Exchanges that adhere to regulatory standards provide an added layer of trust and transparency.
- Customer support: Look for an exchange that offers responsive customer support. In case you encounter any issues or need assistance, having reliable customer support can be instrumental in resolving problems and providing guidance.
Research and compare different exchanges based on these factors. Popular exchanges that support XRP/Litecoin trading include Binance, Kraken, and Bitstamp. Take the time to read reviews, check exchange rankings, and gather information from reputable sources to make an informed decision.
Remember, choosing the right exchange is an important step in the process of buying XRP with Litecoin. It can impact the trading experience, security of your funds, and overall success of your investment strategy.
Now that you have selected an exchange that meets your criteria, it’s time to move on to the next step: placing an order to buy XRP with Litecoin.
Place an Order to Buy XRP with Litecoin
Now that you have chosen an exchange that supports XRP/Litecoin trading, it’s time to place an order to buy XRP with your Litecoin. Placing an order on a cryptocurrency exchange involves specifying the type of trade you want to execute and the desired price or conditions.
Here’s a general overview of how to place an order on a cryptocurrency exchange:
- Log in to your exchange account: Visit the exchange’s website and log in using your credentials.
- Navigate to the trading section: Look for a tab or button that directs you to the trading section of the exchange.
- Choose the XRP/Litecoin trading pair: Select the XRP/Litecoin trading pair from the available options. This will ensure that you are buying XRP with your deposited Litecoin.
- Select the type of order: Common types of orders include market orders and limit orders. A market order will execute the trade at the current market price, while a limit order allows you to specify the price at which you want the trade to be executed.
- Specify the quantity: Enter the quantity of XRP you want to buy. This can be in terms of XRP units or the equivalent value in Litecoin.
- Review order details: Double-check all the details of your order, including the price, quantity, and any applicable fees.
- Place the order: Click on the “Buy” or “Trade” button to place your order. Depending on the exchange, you may need to confirm the order or provide additional authentication.
Once your order is placed, the exchange will attempt to match your order with a corresponding sell order from another user on the platform. If the trade conditions are met, the order will be executed, and the XRP will be credited to your exchange account.
It’s important to remember that the cryptocurrency market is highly volatile, and prices can fluctuate rapidly. Be mindful of the price you are paying and consider setting stop-loss orders or taking other risk management measures to protect your investment.
Now that you have placed your order to buy XRP with Litecoin, it’s time to monitor the order and verify the purchase.
Monitor Your Order and Verify the Purchase
After placing your order to buy XRP with Litecoin, it’s important to monitor the progress of your order and verify the purchase to ensure a successful transaction. Here are the steps to monitor your order:
- Access your exchange account: Log in to your account on the cryptocurrency exchange where you placed the order.
- Navigate to the order history or open orders: Look for the section that displays your recent orders or open orders.
- Find your XRP/Litecoin order: Locate the specific order you placed to buy XRP with Litecoin. It should contain details such as the order type, quantity, and price.
- Monitor the status: Check the status of your order. It may be listed as “open,” “in progress,” or “executed.” If the order is open, it means that it has not yet been matched with a corresponding sell order.
- Wait for the order to be executed: If your order status is “in progress,” it means that the exchange is actively trying to match your buy order with a sell order. This process may take some time, depending on the liquidity and trading activity on the exchange.
- Verify the purchase: Once your order is executed, you will see the status change to “executed” or “completed.” At this point, the XRP you bought should be reflected in your exchange account balance.
Once you have verified the purchase, it’s important to review the details of your transaction, including the price you paid, any fees incurred, and the exact amount of XRP you received. This information is usually available in the order history or transaction history section of your exchange account.
Keep in mind that cryptocurrency transactions are typically irreversible, so it’s essential to double-check all the details before proceeding. If you have any concerns or issues with the transaction, reach out to the customer support of the exchange for assistance.
Now that you have successfully bought XRP with Litecoin, the next step is to transfer the XRP to your personal wallet for added security and control. We will cover this step in the next section.
Transferring XRP to Your Wallet
After purchasing XRP on a cryptocurrency exchange, it is recommended to transfer your XRP to a personal wallet for enhanced security and control over your funds. While exchanges provide convenience for trading, storing your XRP in a wallet that you control mitigates the risk of potential exchange hacks or closures.
Here’s how you can transfer your XRP to your personal wallet:
- Access your personal wallet: Open the wallet you have previously set up to store your XRP. This could be a hardware wallet, software wallet, or an online wallet.
- Locate your XRP wallet address: In your personal wallet, find and copy your unique XRP wallet address. This address is required to receive XRP.
- Access your exchange account: Log in to your account on the cryptocurrency exchange where you bought the XRP.
- Locate the withdrawal or send function: Look for the option to withdraw or send XRP from your exchange account.
- Enter your wallet address: Paste the XRP wallet address from your personal wallet into the recipient field in the withdrawal or send form on the exchange.
- Specify the amount to transfer: Enter the amount of XRP you wish to transfer to your personal wallet. Double-check the amount to ensure accuracy.
- Confirm the withdrawal: Review the withdrawal details thoroughly, including the address and amount, before confirming the withdrawal.
- Verify the transaction: Once you confirm the withdrawal, the exchange will process the transaction. Monitor your exchange account for any withdrawal or transaction confirmations.
- Verify the arrival in your personal wallet: After the transaction is completed, check your personal wallet to ensure that the XRP has arrived.
Transferring XRP to your personal wallet provides you with full control and ownership of your cryptocurrencies. It also adds an extra layer of security by storing your XRP in a wallet that is not susceptible to exchange vulnerabilities.
Remember, it’s crucial to keep your personal wallet credentials secure and regularly back up your wallet to avoid the risk of losing access to your XRP.
Congratulations! You have successfully transferred your XRP to your personal wallet. Feel free to hold your XRP as an investment, use them to transact, or explore other opportunities in the cryptocurrency space.
Conclusion
Buying XRP with Litecoin can open up new opportunities in the world of cryptocurrency investing. By following the steps outlined in this guide, you can successfully acquire XRP using your Litecoin holdings.
In summary:
1. Set up a wallet: Begin by setting up a wallet to store your cryptocurrencies securely. Choose a wallet type that suits your preferences and offers a balance of convenience and security.
2. Create an account on an exchange: Select a reputable cryptocurrency exchange that supports XRP/Litecoin trading. Follow the registration process, verify your account, and enable two-factor authentication for added security.
3. Deposit Litecoin into your exchange account: Transfer your Litecoin from your personal wallet to your exchange account using the provided deposit address. Allow for confirmation time, as network congestion can affect transaction speed.
4. Choose an exchange that supports XRP/Litecoin trading: Consider factors such as liquidity, security, fees, user experience, regulation, and customer support when selecting an exchange. Ensure that it meets your trading requirements and aligns with your goals.
5. Place an order to buy XRP with Litecoin: Access the trading section of the exchange, select the XRP/Litecoin trading pair, specify the type of order, and enter the quantity of XRP you wish to purchase. Review the order details before placing it.
6. Monitor your order and verify the purchase: Keep an eye on your order status on the exchange platform. Once your order is executed, verify that the XRP has been successfully credited to your exchange account.
7. Transfer XRP to your personal wallet: For added security, transfer your XRP from the exchange account to your personal wallet. Copy your personal wallet address, initiate the withdrawal on the exchange, and verify the arrival of XRP in your wallet.
With your XRP securely stored in your personal wallet, you have control over your digital assets and can explore different avenues for using, trading, or holding them as part of your investment strategy.
Remember, the cryptocurrency market is dynamic and can experience significant fluctuations in value. It’s essential to conduct thorough research, diversify your investments, and consult with a financial advisor to make informed decisions.
By following these steps, you can navigate the process of buying XRP with Litecoin successfully. Enjoy your journey in the exciting world of cryptocurrencies!