Introduction
Welcome to the world of cryptocurrencies, where digital assets are revolutionizing the financial industry. If you’re a crypto enthusiast looking to diversify your investments, buying Ethereum with Litecoin can be a smart move. Ethereum, often referred to as the “next generation” blockchain, offers unique features and capabilities that attract many investors.
In this guide, we’ll walk you through the process of buying Ethereum with Litecoin. We’ll cover everything from setting up a wallet for your Litecoin to finding a cryptocurrency exchange that supports both Litecoin and Ethereum. So, whether you’re new to the world of cryptocurrencies or an experienced investor, let’s delve into the steps necessary to make this transaction.
But first, let’s quickly refresh our memory on what Litecoin and Ethereum are.
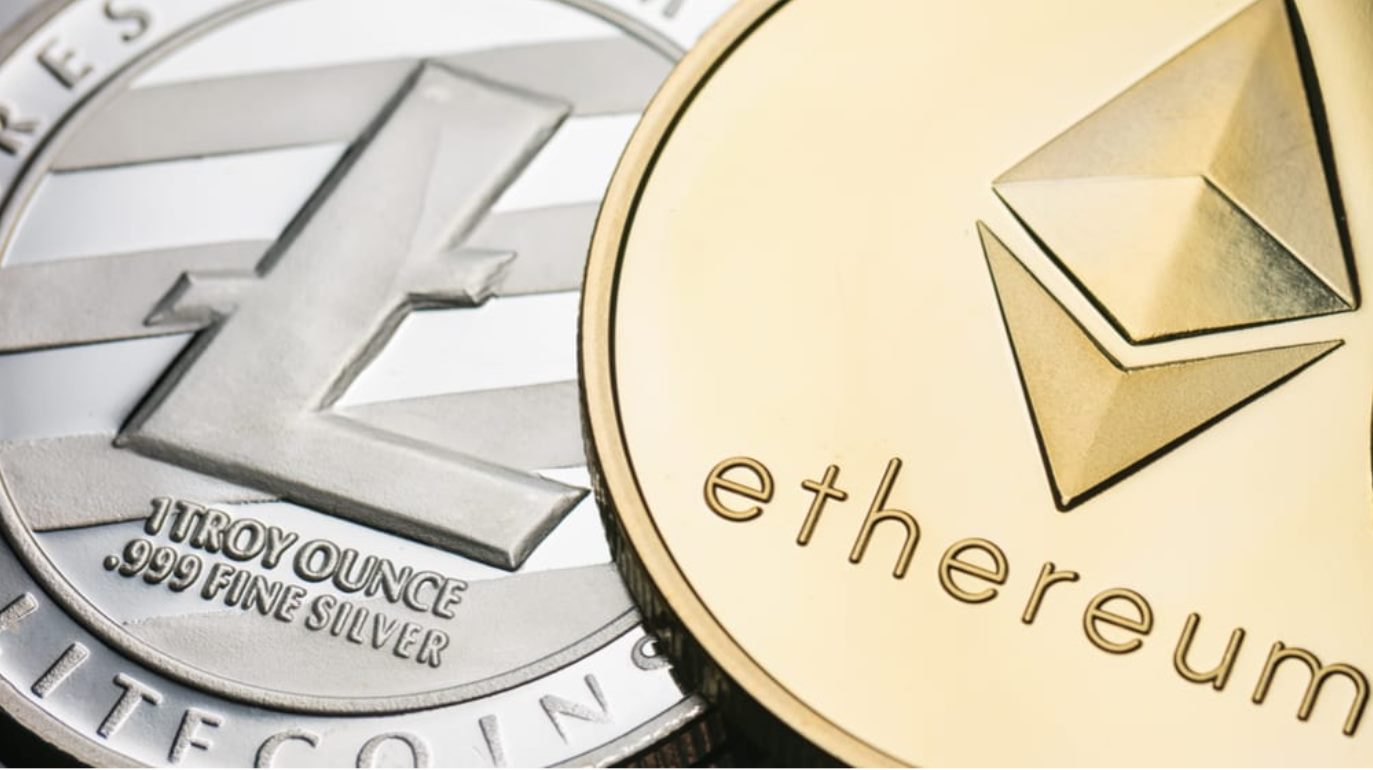
Litecoin (LTC) was created by Charlie Lee in 2011 as a “lite” version of Bitcoin. It is a decentralized, peer-to-peer digital currency that aims to enable fast, low-cost transactions. Litecoin has gained popularity for its ability to process transactions more quickly than Bitcoin and boasts a strong community of supporters.
Ethereum (ETH), on the other hand, is not just a digital currency but also a decentralized platform that enables the creation of smart contracts and decentralized applications (DApps). Vitalik Buterin introduced Ethereum in 2015, and since then, it has become one of the most dominant players in the crypto market.
Now that we have a basic understanding of Litecoin and Ethereum, let’s dive into the step-by-step process of buying Ethereum with Litecoin.
Step 1: Set up a wallet for your Litecoin
Before you can purchase Ethereum with Litecoin, you’ll need a wallet to securely store your Litecoin. It’s essential to choose a reliable wallet that provides a high level of security for your digital assets. Here are a few options:
- Hardware Wallets: Considered one of the most secure options, hardware wallets store your Litecoin offline. Popular hardware wallets include Ledger Nano S and Trezor.
- Desktop Wallets: These wallets are installed on your computer and provide you with full control over your Litecoin. Examples of desktop wallets are Exodus and Electrum.
- Mobile Wallets: If you prefer to manage your Litecoin on the go, mobile wallets such as Trust Wallet and Jaxx are convenient options.
- Online Wallets: Online wallets, or web wallets, can be accessed via a web browser. While they offer convenience, be cautious of the security risks involved. Some popular online wallets include Coinbase and Kraken.
Once you’ve selected a wallet that suits your needs, follow these general steps to set it up:
- Visit the wallet’s official website and download the software or app, depending on your chosen type of wallet.
- Install the wallet on your device and follow the on-screen instructions to create a new wallet.
- Generate a recovery phrase or seed phrase. This phrase will be used to restore your wallet in case your device is lost or damaged.
- Create a strong password for your wallet and ensure it is kept in a secure place.
- Your wallet is now ready to use! Take note of your wallet address, as you’ll need it in the next steps when depositing Litecoin into your exchange account.
Setting up a wallet for your Litecoin ensures that your digital assets are stored safely and under your control. With a wallet in place, you’re now ready to move on to the next step: finding a cryptocurrency exchange that supports both Litecoin and Ethereum.
Step 2: Find a cryptocurrency exchange that supports Litecoin and Ethereum
In order to buy Ethereum with Litecoin, you’ll need to find a cryptocurrency exchange that supports both of these digital assets. An exchange acts as a platform where buyers and sellers can trade cryptocurrencies.
When selecting an exchange, it’s important to consider factors such as security, fees, user experience, and supported countries. Here are a few popular exchanges that support both Litecoin and Ethereum:
- Binance: Binance is one of the largest and most reputable cryptocurrency exchanges globally. It offers a wide range of trading pairs, including LTC/ETH, and provides a user-friendly interface.
- Coinbase: Coinbase is a well-known exchange that caters to beginners and experienced traders alike. It supports multiple cryptocurrencies and offers a simple and intuitive trading platform.
- Kraken: Kraken is a trusted exchange that provides advanced trading options. It offers robust security features and supports a variety of cryptocurrencies, including Litecoin and Ethereum.
- Bitstamp: Bitstamp is one of the oldest exchanges in the crypto space. It boasts a solid reputation and offers various trading pairs, including LTC/ETH.
Before choosing an exchange, take the time to research and compare the features and fees of each platform. Consider factors such as deposit and withdrawal options, trading volume, customer support, and any additional services or features that may be of interest to you.
It’s important to note that regulations and availability may vary depending on your country of residence. Ensure that the exchange you choose is accessible and compliant with local laws and regulations.
Once you’ve selected an exchange that suits your needs, proceed to the next step: creating an account on the exchange.
Step 3: Create an account on the exchange
Now that you’ve found a cryptocurrency exchange that supports both Litecoin and Ethereum, it’s time to create an account. The account creation process may slightly vary between exchanges, but the general steps remain similar.
Follow these steps to create an account on the exchange:
- Visit the official website of the exchange you’ve chosen.
- Look for the “Sign Up” or “Register” button and click on it.
- Provide the required information, such as your email address, a secure password, and any additional verification steps that the exchange may require, such as two-factor authentication (2FA).
- Read and agree to the exchange’s terms and conditions.
- Complete the account verification process, which may involve identity verification (KYC) by submitting relevant documents, such as a copy of your identification.
- Once your account is created and verified, you’ll typically receive a confirmation email. Follow the instructions in the email to activate your account.
- Log in to your newly created account using your email address and password.
- Take some time to explore the exchange’s user interface, familiarize yourself with the available features, and adjust your account settings as needed.
It’s important to note that some exchanges have different account tiers, each with varying deposit and withdrawal limits. Depending on the level of verification you’ve completed, you may have specific limitations on your account usage. Be sure to check the specific requirements and limits for your chosen exchange.
Once your account is ready, you’re now prepared to move on to the next step: depositing Litecoin into your exchange account.
Step 4: Deposit Litecoin into your exchange account
With your cryptocurrency exchange account created, the next step is to deposit your Litecoin into the account. This will allow you to make the necessary transactions to buy Ethereum.
Follow these steps to deposit Litecoin into your exchange account:
- Log in to your exchange account using your credentials.
- Navigate to the “Wallet” or “Balances” section of the exchange platform.
- Locate Litecoin (LTC) in your list of supported currencies and click on it.
- Click on the “Deposit” or “Receive” button next to Litecoin.
- You will be provided with a deposit address, a long string of alphanumeric characters. This address represents your unique destination for depositing Litecoin into your exchange account. Copy this address or scan the provided QR code.
- Open your Litecoin wallet (the one you set up in Step 1) and initiate a transaction to send the desired amount of Litecoin to the deposit address on the exchange.
- Double-check the accuracy of the deposit address before confirming the transaction. Cryptocurrency transactions are irreversible, so any mistakes may result in permanent loss of funds.
- Wait for the transaction to be confirmed on the Litecoin network. This process may take a few minutes or more, depending on network congestion.
- Once the transaction is confirmed, you will see the deposited Litecoin reflected in your exchange account balance. You are now ready to proceed to the next step: buying Ethereum with your Litecoin.
It’s important to note that some exchanges may require a minimum deposit amount for Litecoin or may charge a small fee for depositing funds. Be sure to check the exchange’s deposit policies and fee structure beforehand.
Now that you have Litecoin in your exchange account, let’s move on to the exciting part: buying Ethereum with your Litecoin.
Step 5: Buy Ethereum with Litecoin
Now that you have Litecoin in your exchange account, it’s time to exchange it for Ethereum. Follow these steps to buy Ethereum with Litecoin:
- Log in to your exchange account.
- Navigate to the “Exchange” or “Trading” section of the platform.
- Search for the trading pair ETH/LTC or ETH/Litecoin.
- Select the trading pair and choose the market or limit order option, depending on your preferences.
- If you choose a market order, you will buy Ethereum at the current market price. If you prefer a limit order, you can set your desired price for the trade and wait for it to be matched.
- Enter the amount of Litecoin you want to exchange for Ethereum or the amount of Ethereum you wish to acquire.
- Review the details of your trade, including the transaction fees and total cost.
- Once you are satisfied with the trade, click on the “Buy” or “Execute Order” button to proceed.
- Wait for the trade to be executed, which may take a few moments or more, depending on the order type and market conditions.
- After the trade is completed, you will see your Ethereum balance updated in your exchange account.
It’s essential to note that cryptocurrency prices are highly volatile, and they can fluctuate rapidly. Be mindful of the current market conditions and set realistic expectations for your trades.
Additionally, keep in mind that some exchanges may charge transaction fees for buying and selling cryptocurrencies. It’s wise to familiarize yourself with the fee structure of your chosen exchange to better understand the costs involved.
Congratulations! You have successfully bought Ethereum with your Litecoin. The final step is to withdraw your Ethereum from the exchange and store it securely in your wallet.
Step 6: Withdraw your Ethereum to your wallet
Now that you’ve purchased Ethereum with your Litecoin and have it in your exchange account, it’s crucial to withdraw it to a wallet that you control. Storing your cryptocurrency in a personal wallet enhances security and ensures that you have full control over your digital assets.
Follow these steps to withdraw your Ethereum from the exchange to your wallet:
- Log in to your exchange account.
- Navigate to the “Wallet” or “Balances” section of the platform.
- Locate your Ethereum (ETH) balance and click on it.
- Click on the “Withdraw” or “Send” button next to Ethereum.
- You will be prompted to enter your Ethereum wallet address. Copy and paste your wallet address into the designated field.
- Enter the amount of Ethereum you wish to withdraw from the exchange to your wallet.
- Verify that the withdrawal details are accurate, including the destination wallet address and the amount to be sent.
- Double-check the accuracy of the wallet address, as sending Ethereum to the wrong address may result in permanent loss of funds.
- Confirm the withdrawal and wait for the transaction to be processed on the Ethereum network. This process may take a few minutes or longer, depending on network congestion.
- Once the transaction is confirmed, you will receive a transaction ID (TXID) or hash. This serves as a proof of the transaction and can be used to track its progress on the blockchain.
- Your Ethereum will now be transferred from your exchange account to your wallet. Monitor your wallet balance to ensure that the transfer is completed successfully.
It’s worth mentioning that the withdrawal process may incur a transaction fee, which covers the network cost of processing the transaction. The fee amount varies depending on the current network congestion and the exchange’s fee structure.
By withdrawing your Ethereum to your personal wallet, you have taken another step towards securing your digital assets. Now, you can safely hold, store, and manage your Ethereum as you see fit.
With that, you have successfully completed the process of buying Ethereum with Litecoin. Congratulations on expanding your cryptocurrency portfolio and taking control of your investments!