Introduction
Welcome to this guide on how to sell Litecoin on Binance for Ethereum. If you’re looking to trade your Litecoin holdings for Ethereum, Binance is a popular and trusted cryptocurrency exchange that can help you facilitate the transaction quickly and securely.
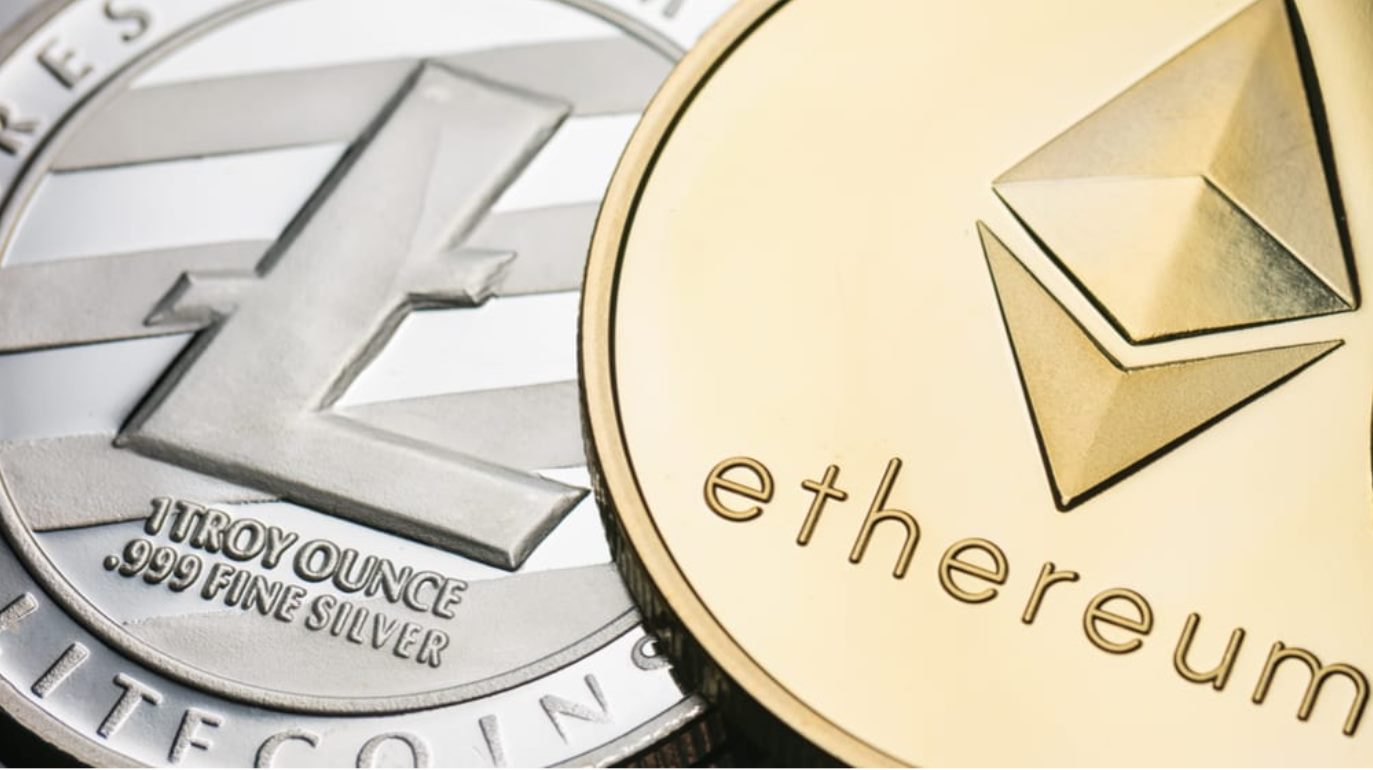
Litecoin (LTC) and Ethereum (ETH) are two of the most prominent cryptocurrencies in the market, each with its own unique features and advantages. Whether you’re looking to diversify your holdings, take advantage of price fluctuations, or simply want to switch between these two popular cryptocurrencies, Binance provides a seamless platform for you to make the trade.
In this step-by-step guide, we will walk you through the entire process of selling your Litecoin on Binance for Ethereum. You’ll learn how to set up an account, deposit your Litecoin, navigate the trading page, place a sell order, and withdraw your Ethereum to your personal wallet. We’ll also provide some tips and insights to make the process smoother and to help you make more informed decisions.
As with any financial transaction, it’s important to exercise caution and do your own research before making any trades. Cryptocurrency markets can be volatile, so it’s important to stay informed and be aware of potential risks.
So, if you’re ready to start selling your Litecoin on Binance for Ethereum, let’s dive in and get started with setting up your account on Binance.
Step 1: Setting up an account on Binance
Before you can sell Litecoin for Ethereum on Binance, you’ll need to create an account on the platform. Here’s a step-by-step guide to help you get started:
1. Visit the Binance website and click on the “Register” button. You can find it at the top right corner of the homepage.
2. Enter your email address and create a strong password for your account. It’s crucial to choose a password that is unique and difficult to guess to ensure the security of your funds.
3. Agree to the terms of use and click on the “Create Account” button.
4. Binance will send a verification email to the address you provided. Click on the verification link in the email to activate your account.
5. Once your account is activated, you can proceed to set up two-factor authentication (2FA) for added security. Binance supports various 2FA methods, such as Google Authenticator and SMS verification. Enable 2FA to protect your account from unauthorized access.
6. Completing the 2FA setup will grant you access to your Binance account. Take a moment to familiarize yourself with the platform’s interface and features.
7. As an optional step, you can go through the Know Your Customer (KYC) verification process to increase your account’s withdrawal limit. KYC verification requires providing personal information and supporting documents to confirm your identity.
8. It’s important to note that Binance has different account types with varying withdrawal limits based on your level of verification. For most users, the basic level of verification should be sufficient.
Now that your account is set up, you’re ready to deposit your Litecoin into your Binance account. In the next step, we’ll guide you through the process of depositing Litecoin into Binance.
Step 2: Depositing Litecoin into your Binance account
Once you have set up your account on Binance, the next step is to deposit your Litecoin into your Binance wallet. Here’s how you can do that:
1. Log in to your Binance account using your registered email address and password.
2. After logging in, click on the “Wallet” tab at the top of the page and select “Spot Wallet” from the dropdown menu.
3. Look for the Litecoin (LTC) wallet and click on the “Deposit” button next to it.
4. Binance will generate a unique Litecoin deposit address for your account. This is the address you will use to send your Litecoin to Binance.
5. Make sure to double-check the address before proceeding with the transaction. Sending Litecoin to an incorrect address can result in permanent loss of funds.
6. You have two options to deposit Litecoin into your Binance account:
- Option 1: Copy the generated deposit address and paste it into the “Recipient’s Litecoin Address” field when sending Litecoin from another wallet or exchange.
- Option 2: Use the provided QR code to scan and initiate the transaction from a mobile wallet.
7. Once you have entered or initiated the transaction, the Litecoin will be sent to your Binance account.
8. It’s important to note that Binance requires a certain number of network confirmations before the Litecoin deposit is credited to your account. This process may take some time, depending on the Litecoin network’s congestion and transaction volume.
9. To check the status of your deposit, you can go back to the “Wallet” tab and click on “Spot Wallet”. Look for the Litecoin (LTC) wallet and click on the “Deposit” button again. You will see the transaction history and the number of confirmations received.
Congratulations! You have successfully deposited Litecoin into your Binance account. Now you’re ready to navigate to the trading page and start selling Litecoin for Ethereum.
Step 3: Navigating to the trading page
After depositing your Litecoin into your Binance account, the next step is to navigate to the trading page where you can sell your Litecoin for Ethereum. Here’s how you can do it:
1. Once you are logged in to your Binance account, click on the “Trade” tab in the top menu.
2. From the dropdown menu, select “Classic” if it’s not already selected. The classic trading view provides a more detailed and comprehensive trading interface.
3. On the trading page, you will see a wide range of trading pairs available for trade. Since you want to sell Litecoin for Ethereum, look for the LTC/ETH trading pair.
4. The trading pairs are usually listed in different markets. Make sure to select the ETH market to view and execute trades specifically in Ethereum.
5. You should now see the LTC/ETH trading chart, along with the order book and the trading interface. Take a moment to familiarize yourself with the different sections of the trading page.
6. The chart section displays the price movement of the trading pair over time. You can customize the chart by adjusting the time frame, adding technical indicators, and applying drawing tools.
7. The order book shows the current buy and sell orders placed by other traders interested in the LTC/ETH trading pair. This information can help you gauge the market sentiment and liquidity.
8. The trading interface allows you to place different types of orders, including market orders and limit orders. A market order executes instantly at the current market price, while a limit order allows you to set a specific price at which you want to buy or sell.
9. Before proceeding to place a sell order, it’s important to review the current market conditions, analyze the price movements, and consider any relevant news or events that may impact the market.
Now that you have navigated to the trading page and have a better understanding of the interface, let’s move on to the next step: selecting the LTC/ETH trading pair and placing a sell order.
Step 4: Selecting the LTC/ETH trading pair
Now that you’re on the trading page of Binance and have a clear understanding of the interface, it’s time to select the LTC/ETH trading pair. This will allow you to sell your Litecoin for Ethereum. Follow these steps:
1. Look for the market selector on the trading page. It is usually located at the top left corner and may show the currently selected market.
2. Click on the market selector and search for “LTC/ETH” in the search bar. Alternatively, you can scroll through the markets and locate the LTC/ETH trading pair.
3. Once you find the LTC/ETH trading pair, click on it to select it. This will change the trading chart, order book, and trading interface to reflect the selected trading pair.
4. Take a moment to analyze the trading chart for the LTC/ETH pair. Check for any recent price movements, trends, and indicators to help inform your trading decisions.
5. In the order book, you will see buy and sell orders placed by other traders for the LTC/ETH pair. This information can give you insights into the current market depth and liquidity.
6. Familiarize yourself with the trading interface for the LTC/ETH pair. This is where you will place your sell order to convert your Litecoin into Ethereum.
7. It’s important to note that the price of Ethereum is quoted in terms of Litecoin when trading the LTC/ETH pair. You will be selling Litecoin to buy Ethereum at the quoted price.
8. Before proceeding to place your sell order, consider the current market conditions, your desired price targets, and any other factors that may impact your trading strategy.
By selecting the LTC/ETH trading pair, you are now ready to proceed with the next step: placing a limit sell order to convert your Litecoin into Ethereum on Binance.
Step 5: Placing a limit sell order
After selecting the LTC/ETH trading pair on Binance, the next step is to place a limit sell order to convert your Litecoin into Ethereum. Follow these instructions:
1. On the trading interface for the LTC/ETH pair, locate the “Sell” section. This is where you will enter the details of your sell order.
2. Choose the “Limit” order type. A limit order allows you to set a specific price at which you want to sell your Litecoin.
3. Enter the amount of Litecoin you want to sell in the “Amount” or “Quantity” field. Make sure to check your available balance to ensure you have enough Litecoin for the order.
4. Specify the price at which you want to sell your Litecoin in the “Price” field. This should be based on your analysis of the market and your desired sell price.
5. Binance offers several additional options for limit orders, such as “Time in Force” and “Maker Only”. These options allow you to customize the execution and placement of your order. You can choose the default options or adjust them according to your preferences.
6. Take a moment to review the order details, including the quantity, price, and the total value of your sell order. Make sure everything is accurate before proceeding.
7. If you’re satisfied with the order details, click on the “Sell” or “Place Sell Order” button to submit your sell order.
8. After submitting your sell order, it will be placed on the order book and will wait for a buyer to match it at your specified price. If the market reaches your desired sell price, your sell order will be executed.
9. It’s important to note that limit orders do not guarantee immediate execution. The time it takes for your sell order to be filled depends on market conditions and the availability of buyers. Be patient and monitor the order book for any updates.
10. You can check the status of your sell order in the “Open Orders” section of the trading interface. Here, you’ll be able to see if your order has been filled or if it’s still pending.
By placing a limit sell order, you’ve taken the necessary step to sell your Litecoin for Ethereum. Now, let’s move on to the next step: confirming and executing the sell order on Binance.
Step 6: Confirming and executing the sell order
After placing a limit sell order to convert your Litecoin into Ethereum on Binance, the next step is to confirm and execute the order. Follow these steps:
1. Once you have placed your sell order, you will see a confirmation screen displaying the details of the order, including the quantity of Litecoin being sold and the price at which the order will be executed.
2. Take a careful look at the order details and ensure everything is accurate. Verify the quantity, price, and the total value of the sell order before proceeding.
3. As an additional security measure, Binance may prompt you to enter your account password or authenticate the transaction using your two-factor authentication (2FA) method.
4. After confirming the order details and completing any required authentication, click on the “Confirm” or “Execute Sell Order” button to finalize the transaction.
5. Once your sell order is executed, you will receive a notification confirming the success of the transaction. You can also check your account balance to see the updated amounts of Litecoin and Ethereum.
6. It’s important to note that Binance charges a fee for every trade executed. The fee amount is typically a small percentage of the total transaction value and may vary based on your account’s trading volume and other factors. Make sure to review Binance’s fee structure for more information.
7. If, for any reason, you need to cancel your sell order before it is executed, you can do so by navigating to the “Open Orders” section on the trading interface and locating your pending order. From there, you can choose to cancel the order.
8. After executing the sell order, it’s recommended to monitor the market conditions and stay updated on any relevant news or events that may impact the price of Ethereum. This will help you make informed decisions regarding your remaining holdings.
By confirming and executing your sell order, you have successfully sold your Litecoin for Ethereum on Binance. Now, let’s move on to the final step: withdrawing your Ethereum from Binance to your personal wallet.
Step 7: Withdrawing Ethereum from Binance to your personal wallet
After successfully selling your Litecoin for Ethereum on Binance, the final step is to withdraw your Ethereum from Binance to your personal wallet for better security and control over your funds. Follow these steps:
1. Log in to your Binance account and click on the “Wallet” tab at the top of the page.
2. From the dropdown menu, select “Spot Wallet” to access your cryptocurrency balances.
3. Locate the Ethereum (ETH) wallet in your Spot Wallet section and click on the “Withdraw” button next to it.
4. Binance will prompt you to enter the withdrawal details for Ethereum, including the withdrawal address and the amount you wish to withdraw.
5. Ensure the withdrawal address is accurate and belongs to your personal Ethereum wallet. Double-check the address to avoid any potential mistakes, as sending Ethereum to the wrong address can result in irreversible loss of funds.
6. Enter the amount of Ethereum you want to withdraw in the “Amount” field. Make sure the amount does not exceed your available balance and consider any withdrawal fees that may be associated with the transaction.
7. Binance may require additional verification steps, such as two-factor authentication (2FA) or email confirmation, to confirm the withdrawal.
8. Once you have entered all the withdrawal details and completed any necessary verifications, click on the “Withdraw” or “Submit” button to initiate the withdrawal process.
9. Binance will process your withdrawal request and send the specified amount of Ethereum to the provided withdrawal address. The processing time may vary depending on network congestion and other factors.
10. You can monitor the status of your withdrawal by navigating to the “Withdraw History” section within your Binance account. Here, you will find information about the status of your withdrawal, including any transaction IDs or confirmations.
It’s important to note that withdrawing Ethereum from Binance to your personal wallet enhances the security of your funds, as you have full control over the private keys associated with your personal wallet. Remember to keep your personal wallet secure and safeguard your private keys to prevent unauthorized access.
Congratulations! You have successfully completed the process of selling your Litecoin for Ethereum on Binance and withdrawing the Ethereum to your personal wallet. You now have full control over your Ethereum holdings, ready to utilize or hodl as you see fit.
Conclusion
Congratulations on successfully selling your Litecoin for Ethereum on Binance! You have navigated through the process of setting up an account, depositing Litecoin, navigating the trading page, placing a sell order, and withdrawing Ethereum to your personal wallet. By following these steps, you have gained control over your funds and diversified your cryptocurrency holdings.
Remember, trading cryptocurrencies involves risks, and it’s crucial to stay informed and make well-informed decisions. Keep an eye on market trends, news developments, and price movements to make the most out of your trading experience.
Binance is a reliable and popular cryptocurrency exchange, offering a user-friendly interface, robust security measures, and a wide range of trading options. Take the time to explore and take advantage of the features it offers, such as advanced charting tools, order types, and market insights.
Additionally, don’t forget the importance of securing your account and personal wallet. Use strong passwords, enable two-factor authentication (2FA), and never share your private keys or recovery phrases with anyone.
As the cryptocurrency market continues to evolve, it’s essential to stay updated on new trading opportunities, regulations, and industry trends. Continuously learning and adapting will help you navigate the world of cryptocurrencies more effectively.
We hope that this guide has provided you with the necessary steps to sell Litecoin for Ethereum on Binance and withdraw your Ethereum to your personal wallet. If you have any further questions or need additional assistance, consult Binance’s support documentation or reach out to their customer support team.
Enjoy your Ethereum holdings and explore the exciting possibilities that the world of cryptocurrencies offers!


