Introduction
Welcome to the world of cryptocurrencies! If you’ve recently started exploring the realm of digital currencies, you may have come across Litecoin. Created in 2011 by Charlie Lee, a former Google engineer, Litecoin is a popular decentralized cryptocurrency that offers faster transaction confirmation times and a different hashing algorithm compared to Bitcoin.
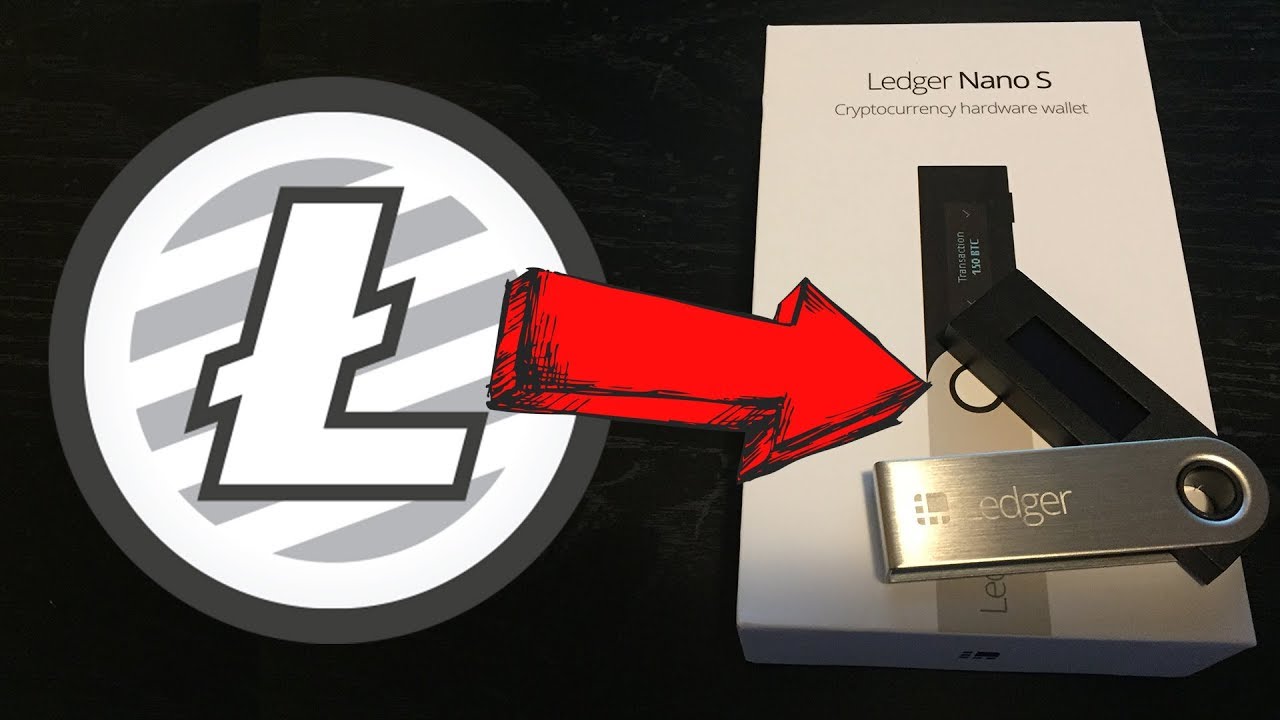
As with any form of digital currency, it’s essential to have a secure and reliable wallet to store your Litecoin. One of the most trusted and widely-used wallets is the Ledger Wallet. In this guide, we’ll walk you through the process of setting up a Litecoin wallet on your Ledger device, ensuring that your digital assets remain safe and accessible.
Using the Ledger Wallet has several benefits. With Ledger, you have full control over your private keys, which means you have full ownership and control of your cryptocurrencies. The Ledger Wallet also provides robust security measures, including the ability to store your private keys offline, protecting them from potential hacking attempts or online vulnerabilities.
Before we delve into the setup process, let’s take a look at what you’ll need to get started.
What is a Litecoin Wallet?
A Litecoin wallet is a digital tool that allows you to securely store, send, and receive your Litecoin. It functions similarly to a traditional wallet, where you keep your physical currency, but with the added convenience and security of the digital world.
When you own Litecoin, what you actually possess are the private keys that grant access to specific addresses on the Litecoin blockchain. These addresses represent your ownership of Litecoin and are stored on the blockchain, a decentralized ledger that records all Litecoin transactions.
A Litecoin wallet acts as an interface between you and the blockchain. It enables you to view your Litecoin balance, send funds to others, and receive funds from others by generating unique addresses.
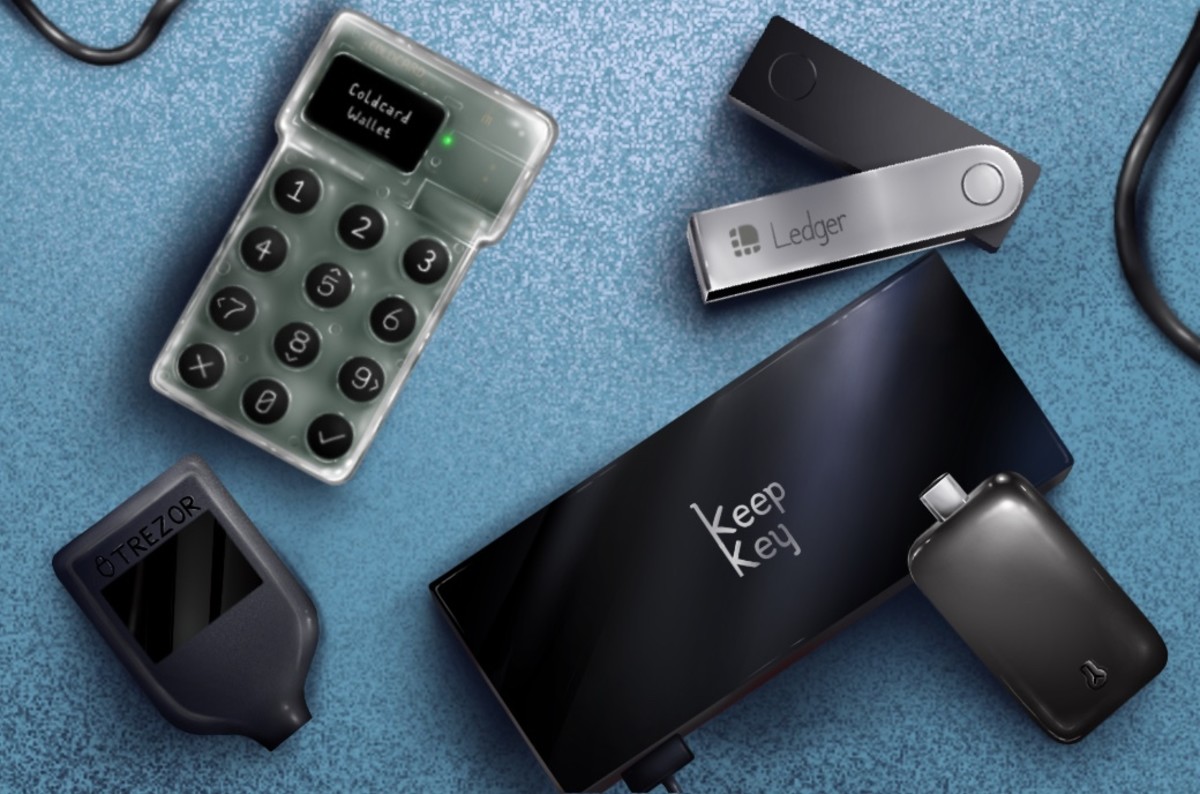
There are different types of Litecoin wallets available, including desktop wallets, mobile wallets, hardware wallets, and online wallets. Each type has its own advantages and considerations for security and convenience.
Desktop wallets are software applications installed on your computer. They offer full control over your private keys, with the advantage of being accessible only from the computer where the wallet is installed. Examples of popular Litecoin desktop wallets include Litecoin Core Wallet and Exodus Wallet.
Mobile wallets, as the name suggests, are designed for use on mobile devices such as smartphones. They provide the convenience of accessing your Litecoin on the go and are usually easy to use. Popular mobile wallets that support Litecoin include Coinomi and Trust Wallet.
Hardware wallets, like the Ledger Wallet, are physical devices specifically designed for storing cryptocurrencies securely. They offer an offline storage option, keeping your private keys and transaction signing offline, away from potential hackers. With hardware wallets, your Litecoin stays safe even if your computer or mobile device is compromised.
Online wallets, also known as web wallets, are wallets that exist on the internet. They are provided by third-party companies and allow you to access your Litecoin using a web browser. While online wallets are convenient, they inherently have more security risks compared to other types of wallets, as your private keys are stored online.
Choosing the right Litecoin wallet depends on your needs and preferences. For the highest level of security and control, a hardware wallet like the Ledger Wallet is recommended. Now that we understand what a Litecoin wallet is, let’s move on to setting up your Ledger Wallet for Litecoin.
Why Use the Ledger Wallet for Litecoin?
When it comes to safeguarding your Litecoin, choosing a reliable and secure wallet is paramount. The Ledger Wallet is a popular choice among cryptocurrency enthusiasts for several compelling reasons.
First and foremost, the Ledger Wallet provides you with complete control over your private keys. By owning the private keys to your Litecoin, you have full ownership and control over your digital assets. This control eliminates the need to trust a third-party service with your funds, reducing the risk of potential hacks or security breaches.
Another advantage of using the Ledger Wallet for Litecoin is its robust security features. The Ledger Wallet is a hardware wallet, meaning it is a physical device that stores your private keys offline. This offline storage ensures that your private keys cannot be accessed by hackers or malicious software that may be present on your computer or mobile device.
The Ledger Wallet also offers a secure transaction confirmation process. When you initiate a transaction using the Ledger Wallet, you need to physically confirm the transaction on the device itself. This process prevents any unauthorized transactions from taking place, providing an additional layer of protection against potential attacks.
Additionally, the Ledger Wallet enables you to conveniently manage multiple cryptocurrencies in one device. In addition to Litecoin, the Ledger Wallet supports a wide range of other popular cryptocurrencies such as Bitcoin, Ethereum, Ripple, and many more. Having all your cryptocurrencies in one place simplifies the management process and provides a seamless user experience.
Furthermore, the Ledger Wallet is backed by a strong and reputable company. Ledger, the company behind the wallet, is a well-established and trusted player in the cryptocurrency industry. With a proven track record of security and reliability, you can have peace of mind knowing that your Litecoin is in safe hands.
Lastly, the Ledger Wallet offers a user-friendly interface through its companion application called Ledger Live. This application allows you to easily manage your Litecoin wallet, view your transaction history, and perform various operations such as sending and receiving Litecoin.
By choosing the Ledger Wallet for Litecoin, you ensure that your digital assets are stored securely and that you have complete control over your funds. Now that we’ve covered why the Ledger Wallet is an excellent choice, let’s move on to the next steps in setting up your Litecoin wallet.
What You’ll Need
Before you begin setting up your Litecoin wallet on the Ledger device, there are a few things you’ll need to ensure a smooth and successful process:
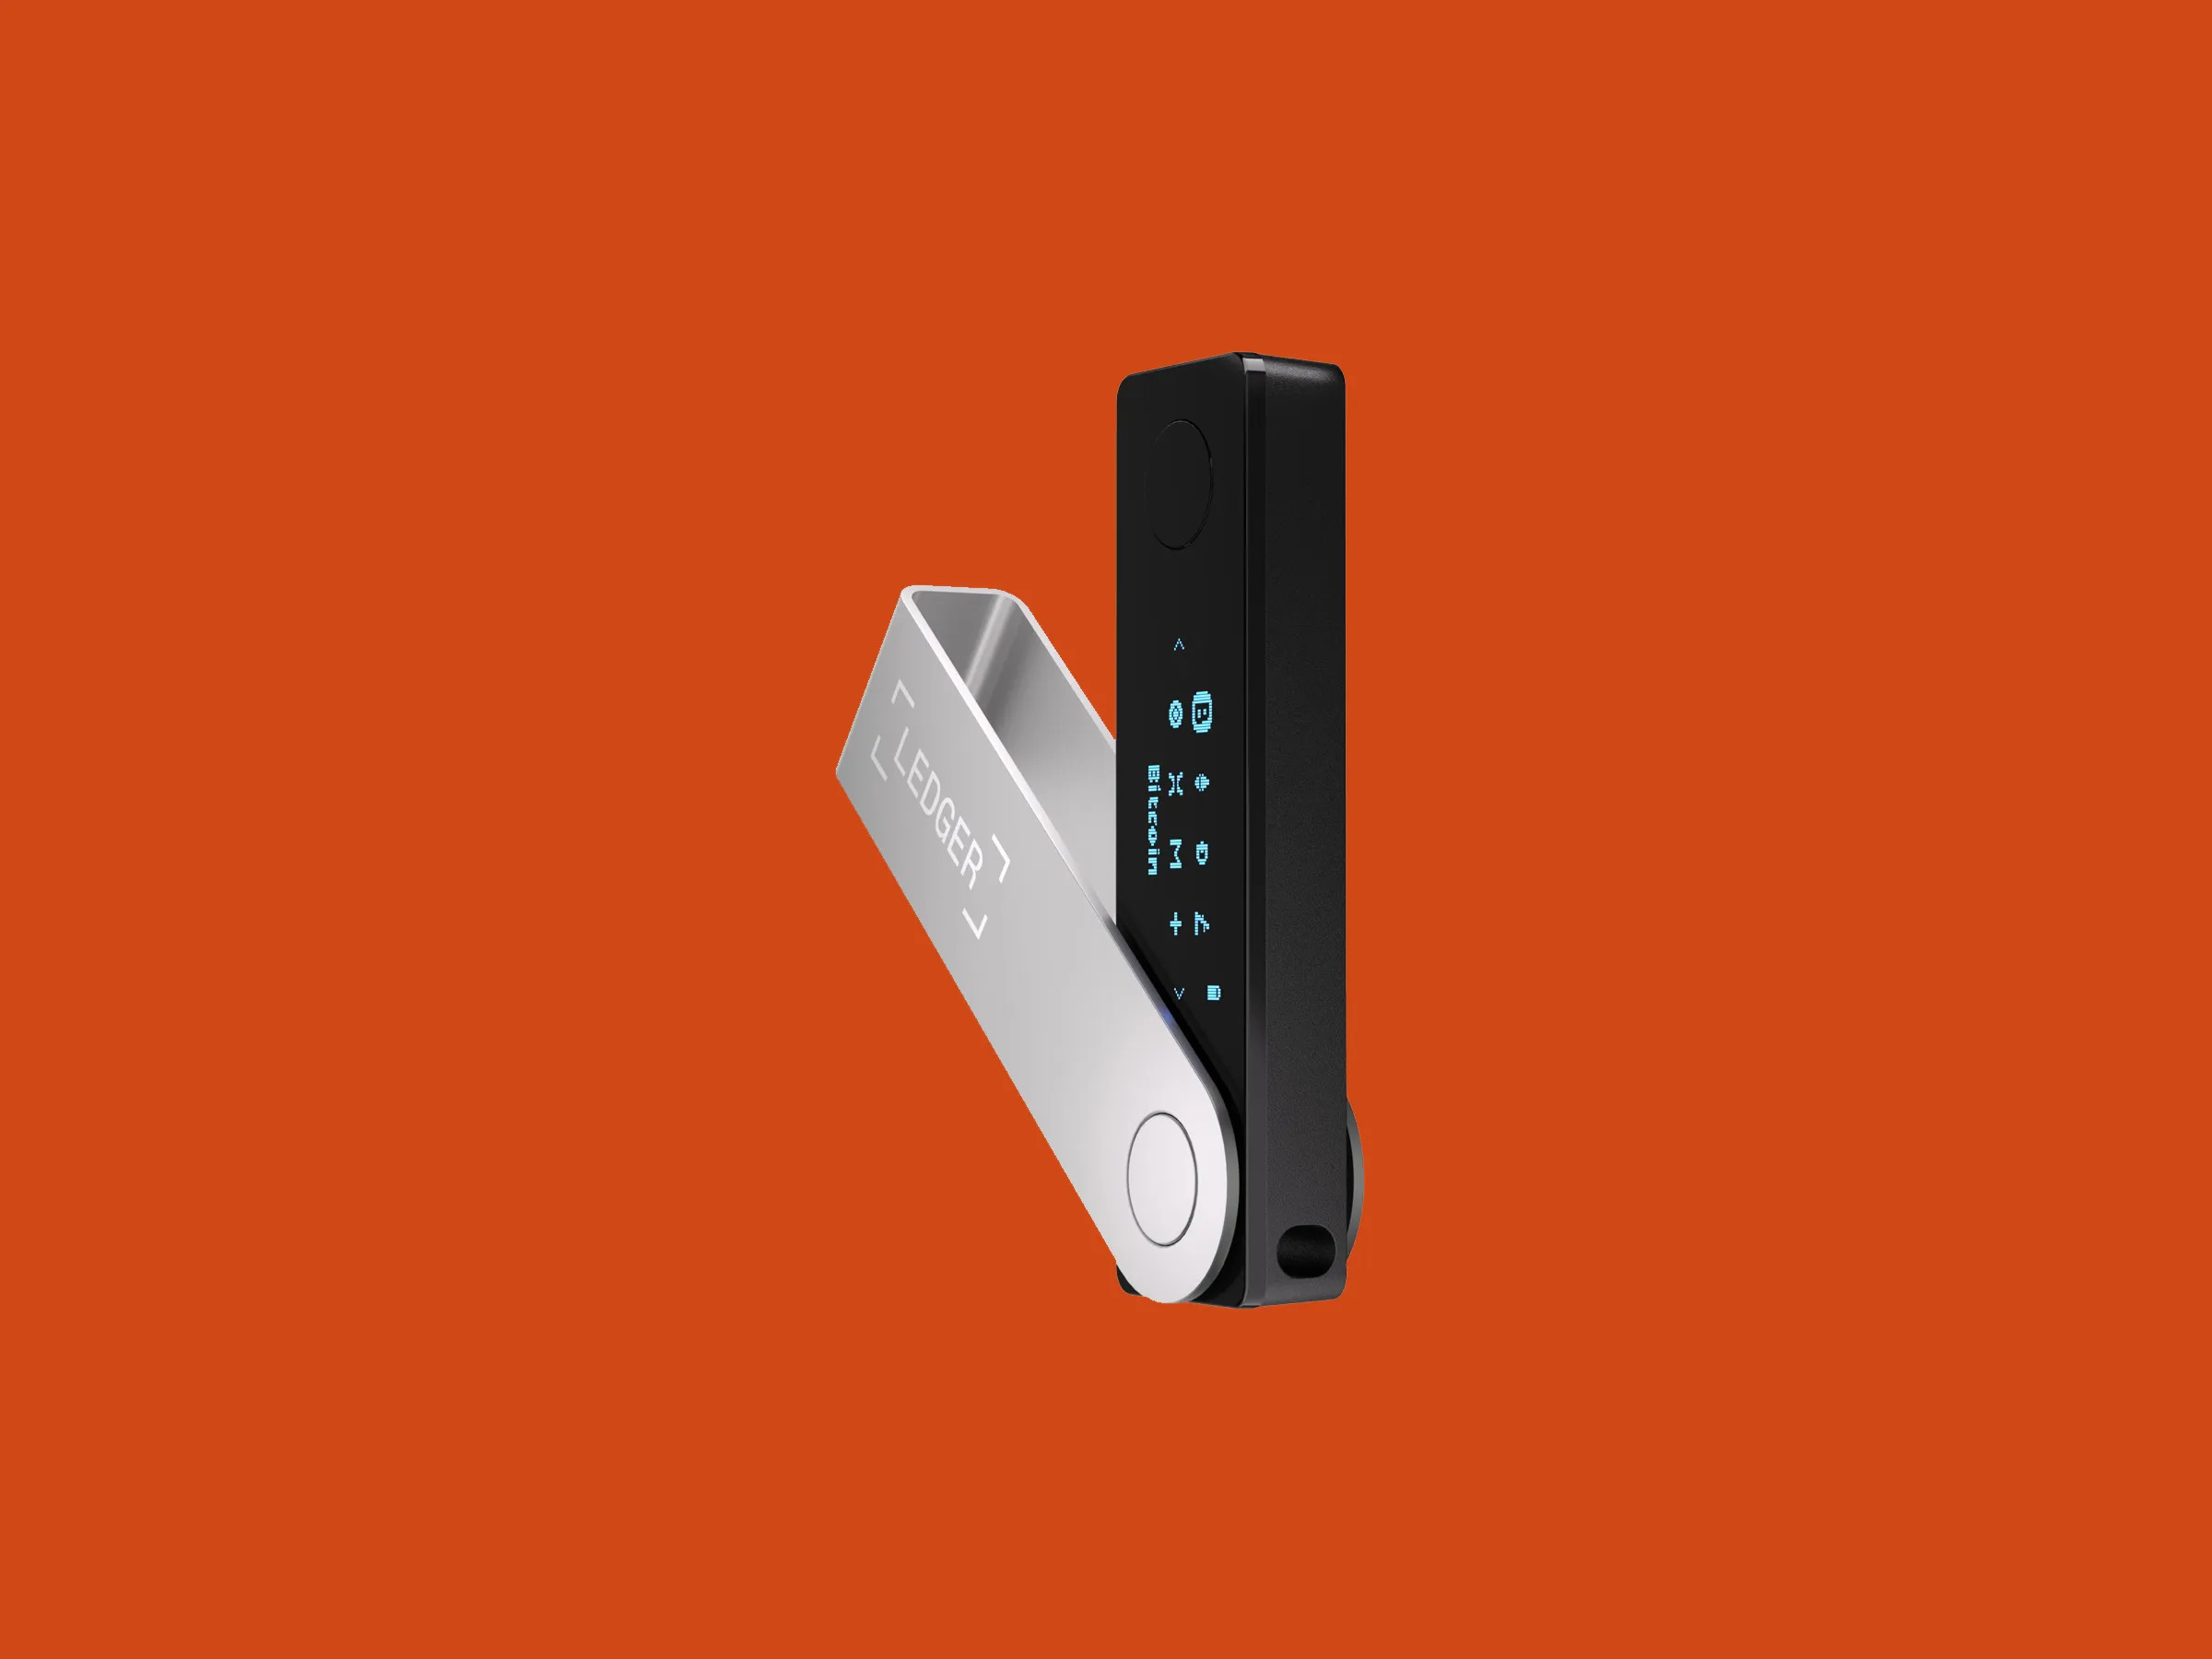
- A Ledger Device: To use the Ledger Wallet, you’ll need to have a Ledger hardware wallet. Popular models include the Ledger Nano S and the Ledger Nano X.
- A Computer or Smartphone: You’ll need a computer or smartphone to connect your Ledger device and install the necessary software.
- USB Cable or Bluetooth Connectivity: Depending on the model of your Ledger device, you’ll require a USB cable or Bluetooth connectivity to connect your Ledger device to your computer or smartphone.
- Access to the Internet: You’ll need a stable internet connection to download the required software and install updates on your Ledger device.
- Time and Patience: Setting up a Litecoin wallet on your Ledger device may take some time, especially if it’s your first time. It’s important to have enough time and patience to follow the instructions carefully and securely set up your wallet.
Once you have gathered all the necessary items, you’ll be ready to begin the setup process and take control of your Litecoin funds with the Ledger Wallet. In the following sections, we’ll guide you through each step of the setup process, ensuring that you have a clear understanding of the process and successfully set up your Litecoin wallet.
Step 1: Download the Ledger Live Application
The first step in setting up your Litecoin wallet on the Ledger device is to download the Ledger Live application. Ledger Live is the official companion app for your Ledger hardware wallet, providing a user-friendly interface to manage and interact with your cryptocurrencies.
To get started, follow these steps:
- Open your preferred web browser on your computer or smartphone.
- Go to the official Ledger website by typing “ledger.com” in the address bar.
- Navigate to the “Downloads” section of the website.
- Choose the appropriate version of Ledger Live for your operating system. Options include Windows, macOS, Linux, iOS, and Android.
- Click on the download link to initiate the download process.
- Once the download is complete, locate the downloaded file and run the installer for your operating system.
- Follow the prompts and instructions provided by the installer to complete the installation process.
- After the installation is finished, launch the Ledger Live application.
With the Ledger Live application successfully downloaded and installed on your computer or smartphone, you are now one step closer to setting up your Litecoin wallet on your Ledger device. In the next section, we will guide you through the process of setting up your Ledger device itself, ensuring that it is ready to store and secure your Litecoin funds.
Step 2: Set Up Your Ledger Device
Once you have downloaded and installed the Ledger Live application, it’s time to set up your Ledger device. This step is essential to ensure the security and integrity of your Litecoin wallet.
Follow these steps to set up your Ledger device:
- Connect your Ledger device to your computer or smartphone using the provided USB cable or Bluetooth connectivity, depending on the model of your device.
- On your Ledger device, navigate through the menu using the buttons on the device until you reach the option to set up as a new device.
- Press the button on your Ledger device to confirm that you want to set it up as a new device.
- Next, you will be asked to choose a PIN code. Using the device’s buttons, enter a PIN code of your choice. Make sure to choose a strong and memorable PIN code. Avoid using common or easily guessable numbers.
- After selecting your PIN code, you will be asked to confirm it. Re-enter the PIN code to proceed.
- Following the confirmation of your PIN code, your Ledger device will generate a recovery phrase. This is a crucial step for securely backing up your wallet. Write down the recovery phrase on the paper provided with your Ledger device or in a secure location. Make sure to keep this phrase confidential and never share it with anyone, as it can be used to gain access to your funds.
- Once you have noted down the recovery phrase, you will be prompted to confirm it. This step is important to ensure that you have correctly recorded the recovery phrase. Select the words in the correct order according to the prompts on the Ledger device.
- After confirming the recovery phrase, your Ledger device will finalize the setup process. It will display a message indicating that it is ready to be used.
By completing the setup process of your Ledger device, you have taken a significant step towards securing your Litecoin wallet. In the next section, we will discuss how to install the Litecoin app on your Ledger device, enabling you to access your Litecoin funds.
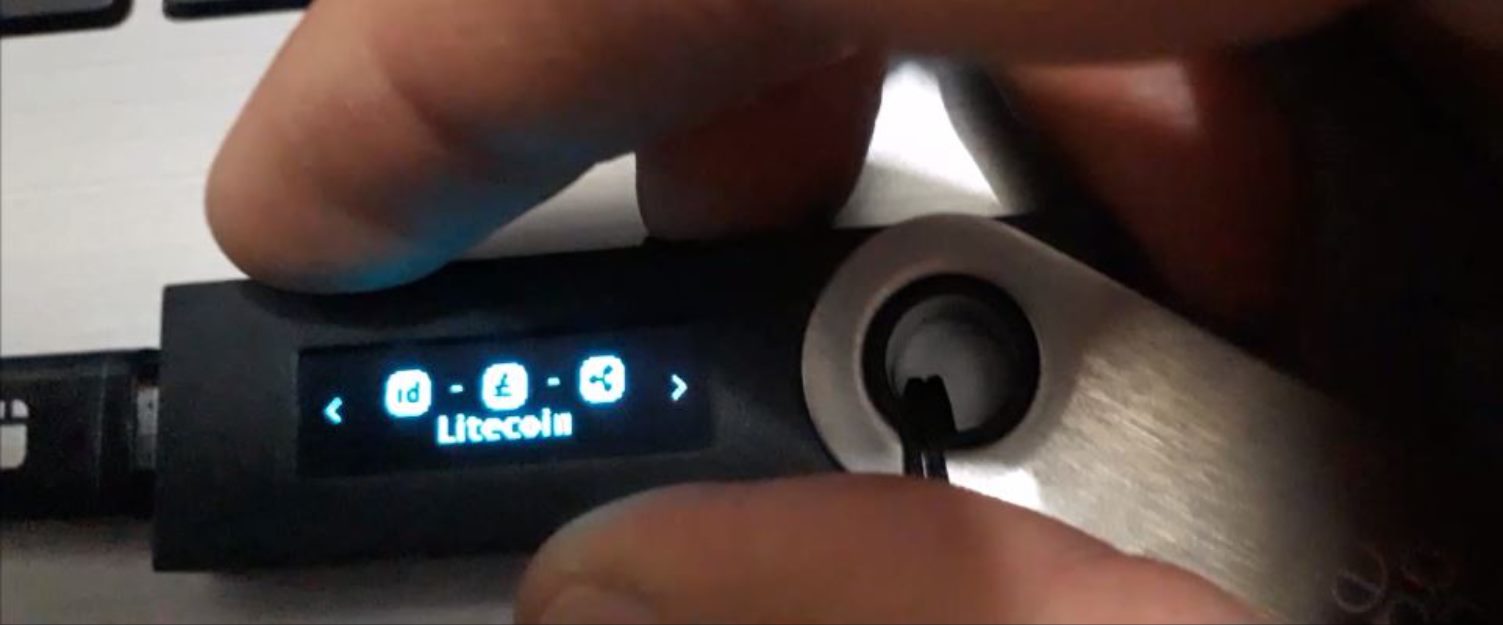
Step 3: Install the Litecoin App on Your Ledger Device
After setting up your Ledger device, the next step is to install the Litecoin app on your Ledger device. Installing the Litecoin app will enable you to securely manage your Litecoin funds and perform transactions using your Ledger device.
Follow these steps to install the Litecoin app on your Ledger device:
- Launch the Ledger Live application on your computer or smartphone.
- Connect your Ledger device to your computer or smartphone using the provided USB cable or Bluetooth connectivity.
- In the Ledger Live app, click on the “Manager” tab. This tab is usually located at the bottom of the application.
- On the Manager tab, you will find a list of available apps for installation. Search for “Litecoin” in the search bar or scroll through the list to locate the Litecoin app.
- Click on the “Install” button next to the Litecoin app to initiate the installation process.
- Follow the prompts provided by the Ledger Live app to confirm the installation on your Ledger device. This may involve verifying the installation on your Ledger device itself using the buttons on the device.
- Wait for the installation process to complete. You can monitor the progress on the Ledger Live app.
- Once the installation is finished, the Litecoin app will appear on your Ledger device, indicating that it is ready to be used.
With the Litecoin app successfully installed on your Ledger device, you now have the necessary tools to securely manage your Litecoin funds. In the next section, we will guide you through connecting your Ledger device to your computer or smartphone to access your Litecoin wallet.
Step 4: Connect Your Ledger Device to Your Computer
Now that you have installed the Litecoin app on your Ledger device, you need to connect your Ledger device to your computer or smartphone to access your Litecoin wallet securely.
Follow these steps to connect your Ledger device to your computer:
- Ensure that your Ledger device is powered on and unlocked.
- Connect your Ledger device to your computer using the provided USB cable or establish a Bluetooth connection, depending on the model of your Ledger device.
- On your Ledger device, navigate to the Litecoin app by using the buttons on the device.
- Once the Litecoin app is open on your Ledger device, the device will indicate that it is ready to communicate with your computer.
- If prompted by your computer or the Ledger Live application, grant the necessary permissions for your computer to recognize and communicate with your Ledger device.
- Keep your Ledger device connected to your computer throughout the duration of your Litecoin wallet management. Remember to ensure a stable connection to avoid any interruptions.
- With your Ledger device successfully connected to your computer, you are now ready to proceed to the next step of accessing your Litecoin wallet using the Ledger Live application.
By establishing a secure connection between your Ledger device and your computer, you can now safely manage your Litecoin funds. In the next section, we will guide you through opening the Litecoin app on your Ledger device to access your Litecoin wallet on the Ledger Live application.
Step 5: Open the Litecoin App on Your Ledger
With your Ledger device successfully connected to your computer, it’s time to open the Litecoin app on your Ledger device. Opening the Litecoin app will allow you to access and manage your Litecoin wallet through the Ledger Live application.
Follow these steps to open the Litecoin app on your Ledger device:
- Launch the Ledger Live application on your computer.
- Ensure that your Ledger device is connected to your computer and powered on.
- In the Ledger Live application, navigate to the “Accounts” tab. This tab is usually located at the top or side of the application.
- On the “Accounts” tab, you will see a list of cryptocurrency accounts associated with your Ledger device.
- Look for the Litecoin account in the list and click on it to select it.
- A message will appear on your computer screen, prompting you to open the Litecoin app on your Ledger device.
- On your Ledger device, navigate through the menu using the buttons on the device until you find the Litecoin app and select it.
- The Litecoin app will now open on your Ledger device, indicating that it is ready to communicate with the Ledger Live application on your computer.
- You can now manage your Litecoin wallet, view your transaction history, and perform various operations through the Ledger Live application.
By opening the Litecoin app on your Ledger device, you establish a secure connection between your Ledger device and the Ledger Live application. This connection enables you to interact with your Litecoin wallet, ensuring the safety and integrity of your funds. In the next section, we will guide you through accessing your Litecoin wallet on the Ledger Live application.
Step 6: Access Your Litecoin Wallet on Ledger Live
Now that you have opened the Litecoin app on your Ledger device, it’s time to access your Litecoin wallet on the Ledger Live application. By accessing your Litecoin wallet on Ledger Live, you can manage your Litecoin funds, view your transaction history, and perform various operations securely.
Follow these steps to access your Litecoin wallet on Ledger Live:
- Ensure that your Ledger device is connected to your computer and the Litecoin app is open on your device.
- In the Ledger Live application on your computer, navigate to the “Accounts” tab. This tab is usually located at the top or side of the application.
- On the “Accounts” tab, you will see a list of accounts associated with your Ledger device.
- Look for the Litecoin account in the list and click on it to select it.
- A prompt will appear on your computer screen, indicating that Ledger Live is requesting access to your Litecoin account on your Ledger device.
- On your Ledger device, verify that the address shown on the device matches the address displayed on the Ledger Live application.
- Confirm the access request on your Ledger device by pressing the appropriate button.
- The Ledger Live application will now display your Litecoin wallet, allowing you to manage your funds and monitor your transactions.
- You can perform various operations, such as sending Litecoin, receiving Litecoin, and viewing your transaction history, through the Ledger Live application.
By accessing your Litecoin wallet on Ledger Live, you can conveniently manage your Litecoin funds and ensure the security of your transactions. In the next section, we will guide you through the process of receiving Litecoin to your Ledger wallet.
Step 7: Receive Litecoin to Your Ledger Wallet
Once you have accessed your Litecoin wallet on Ledger Live, you can start receiving Litecoin into your wallet. Receiving Litecoin is a straightforward process that involves generating a receiving address and sharing it with the sender.
Follow these steps to receive Litecoin to your Ledger wallet:
- Ensure that you have access to your Litecoin wallet on Ledger Live.
- In the Ledger Live application, navigate to the “Accounts” tab and select your Litecoin account.
- On the Litecoin account page, click on the “Receive” button. This button is usually located near the top of the page.
- A receiving address will be generated for your Litecoin wallet.
- Copy the generated receiving address. You can do this by clicking on the copy button next to the address or by manually copying it.
- Share the generated receiving address with the sender. This can be done by providing them with the copied address or using a QR code.
- Once the sender sends Litecoin to the provided address, the transaction will be recorded on the Litecoin blockchain.
- Wait for the transaction to be confirmed, which typically takes a few minutes.
- Once the transaction is confirmed, the received Litecoin will be reflected in your Ledger wallet balance on Ledger Live.
- You can view the details of the received transaction, such as the transaction ID and the amount received, by navigating to the transaction history on Ledger Live.
By following these steps, you can safely and securely receive Litecoin into your Ledger wallet. The generated receiving address ensures that the funds are credited directly to your wallet. In the next section, we will guide you through the process of sending Litecoin from your Ledger wallet.
Step 8: Send Litecoin from Your Ledger Wallet
Once you have received Litecoin into your Ledger wallet, you may want to send it to another recipient or exchange. Sending Litecoin from your Ledger wallet is a simple and secure process that ensures the safe transfer of your funds.
Follow these steps to send Litecoin from your Ledger wallet:
- Ensure that you have access to your Litecoin wallet on Ledger Live.
- In the Ledger Live application, navigate to the “Accounts” tab and select your Litecoin account.
- Click on the “Send” button or icon. This button is usually located near the top of the page.
- Fill in the required details for the transaction, including the recipient’s Litecoin address and the amount of Litecoin you want to send.
- Double-check the recipient’s Litecoin address to ensure its accuracy. Litecoin transactions are irreversible, so it’s important to make sure you are sending the funds to the correct address.
- Review the transaction details, including the amount and fees, before proceeding.
- Confirm the transaction on your Ledger device by verifying the details displayed on the device and following the prompts accordingly.
- Wait for the transaction to be processed and confirmed on the Litecoin blockchain. This typically takes a few minutes, but it may vary depending on network congestion.
- Once the transaction is confirmed, the sent Litecoin will be deducted from your wallet balance on Ledger Live.
- You can view the details of the sent transaction, such as the transaction ID and the recipient’s address, by navigating to the transaction history on Ledger Live.
By following these steps, you can securely send Litecoin from your Ledger wallet to another recipient. The transaction details, combined with your Ledger device’s confirmation, ensure that the funds are transferred correctly. It’s important to carefully review all transaction details before confirming to prevent any errors or losses.
Conclusion
Congratulations! You have successfully set up your Litecoin wallet on your Ledger device using the Ledger Live application. By following the step-by-step guide provided, you have gained the knowledge and tools to securely store, send, and receive Litecoin.
The Ledger Wallet offers robust security measures, giving you full control over your private keys and ensuring the safety of your digital assets. With features like offline storage and secure transaction confirmations, you can have peace of mind knowing that your Litecoin is protected from potential threats.
Remember to always keep your Ledger device and recovery phrase in a safe and secure location. These are essential to accessing and recovering your Litecoin wallet, should you ever need to restore it. Additionally, exercise caution when sharing your receiving address and ensure its accuracy to prevent any loss of funds.
As the world of cryptocurrencies continues to evolve, it’s important to stay informed about the latest security best practices and updates. Take the time to familiarize yourself with any new features or updates released by Ledger and regularly update your Ledger Live application to benefit from the latest enhancements and bug fixes.
With your Litecoin wallet set up on the Ledger device, you can now confidently manage your Litecoin funds and participate in the exciting world of digital currencies. Whether you’re holding Litecoin as an investment or using it for everyday transactions, your Ledger wallet will keep your assets secure and accessible.
Thank you for following this guide, and we hope you continue to enjoy the world of cryptocurrencies with your secure Litecoin wallet on the Ledger device!