Introduction
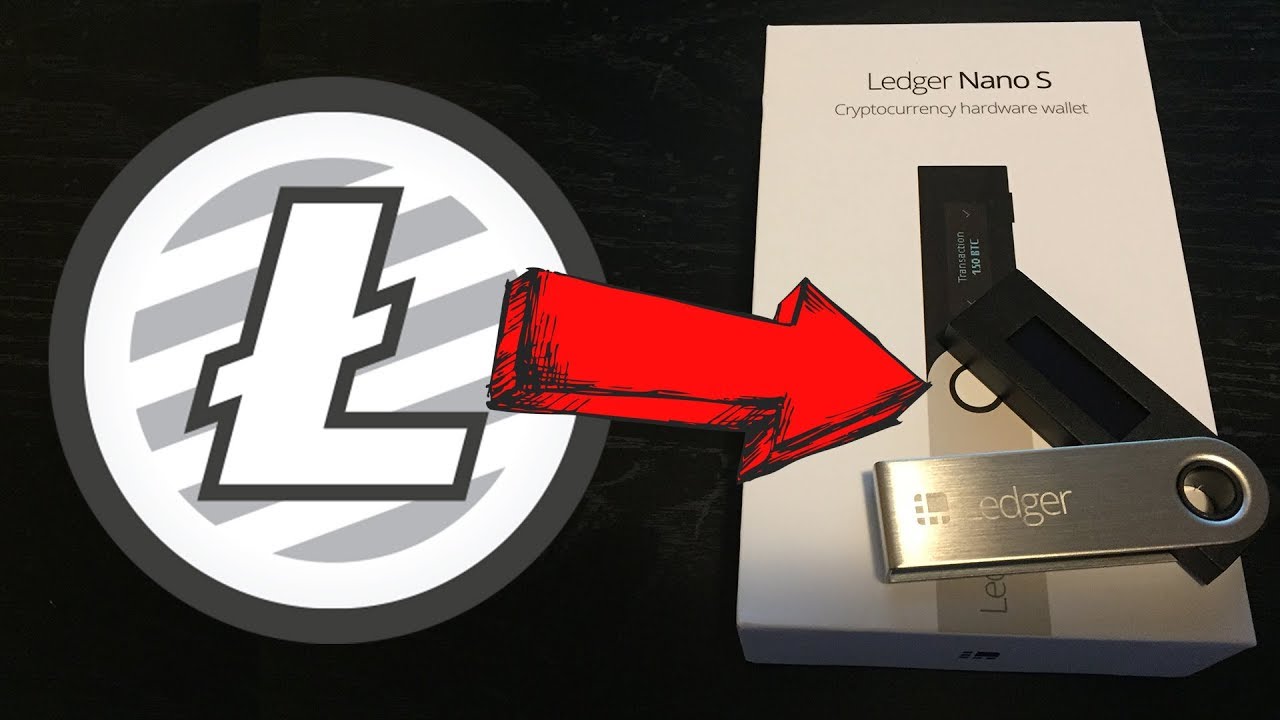
Welcome to the world of cryptocurrencies, where digital assets are transforming the way we handle transactions. If you are a proud owner of a Ledger Nano S, a popular hardware wallet, and want to send Litecoin to it, you’re in the right place! In this guide, we’ll walk you through the steps required to send your Litecoin to your Ledger Nano S securely.
Litecoin, often referred to as the silver to Bitcoin’s gold, is a decentralized cryptocurrency known for its fast transaction processing times and low fees. By sending your Litecoin to your Ledger Nano S, you can rest assured knowing that your valuable assets are stored offline in a secure hardware wallet, protecting them from potential online threats.
Before we delve into the process, let’s make sure you have everything you need:
Prerequisites:
- A Ledger Nano S hardware wallet
- A computer or laptop with a USB port
- The Ledger Live software installed on your computer
- The Litecoin app installed on your Ledger Nano S
If you have all these prerequisites covered, it’s time to set up your Ledger Nano S and get your Litecoin wallet ready. Don’t worry if you haven’t done this before – we’ll guide you every step of the way! Ready? Let’s get started!
Prerequisites
Before we begin the process of sending Litecoin to your Ledger Nano S, there are a few things you’ll need to have in place:
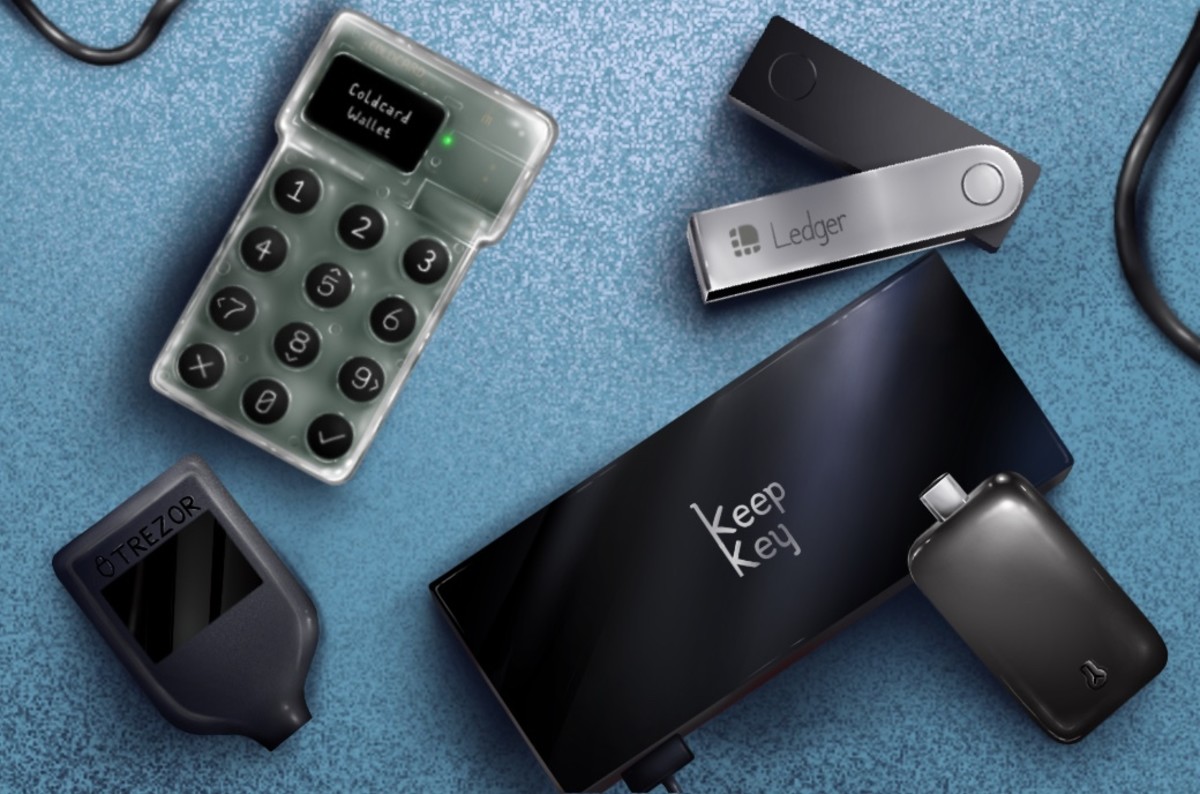
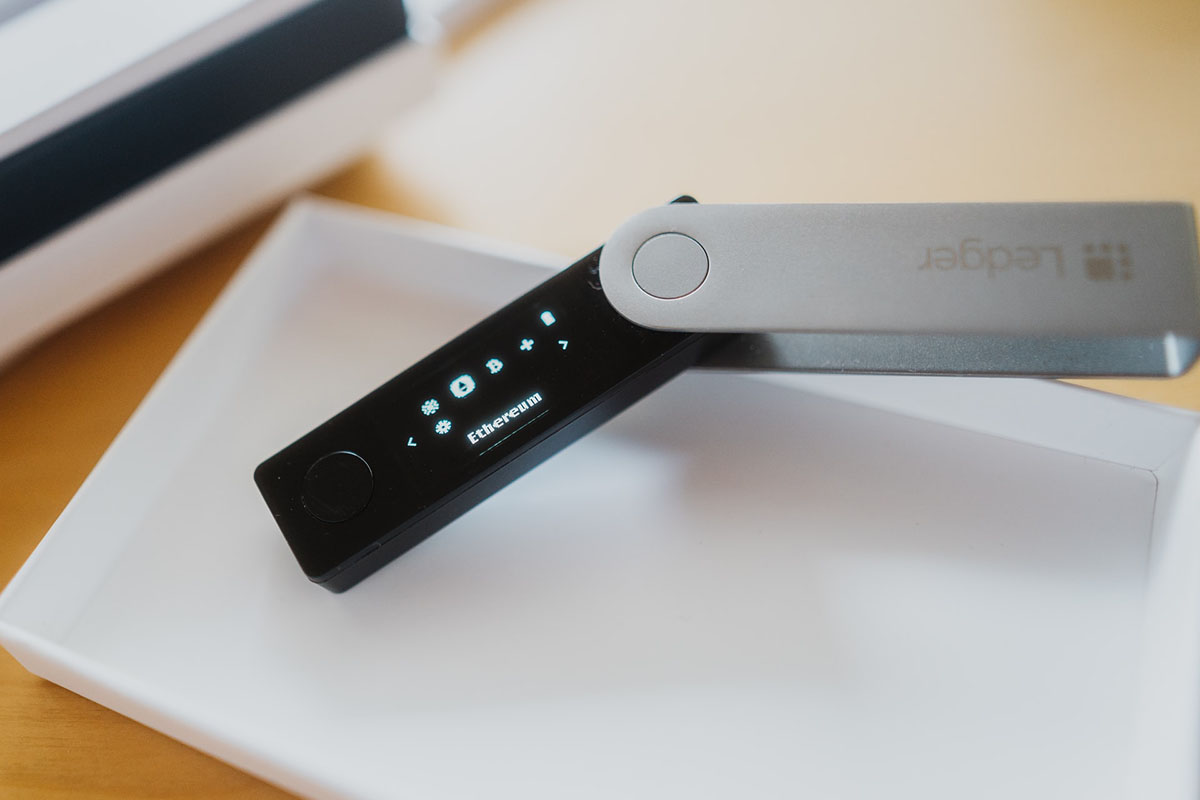
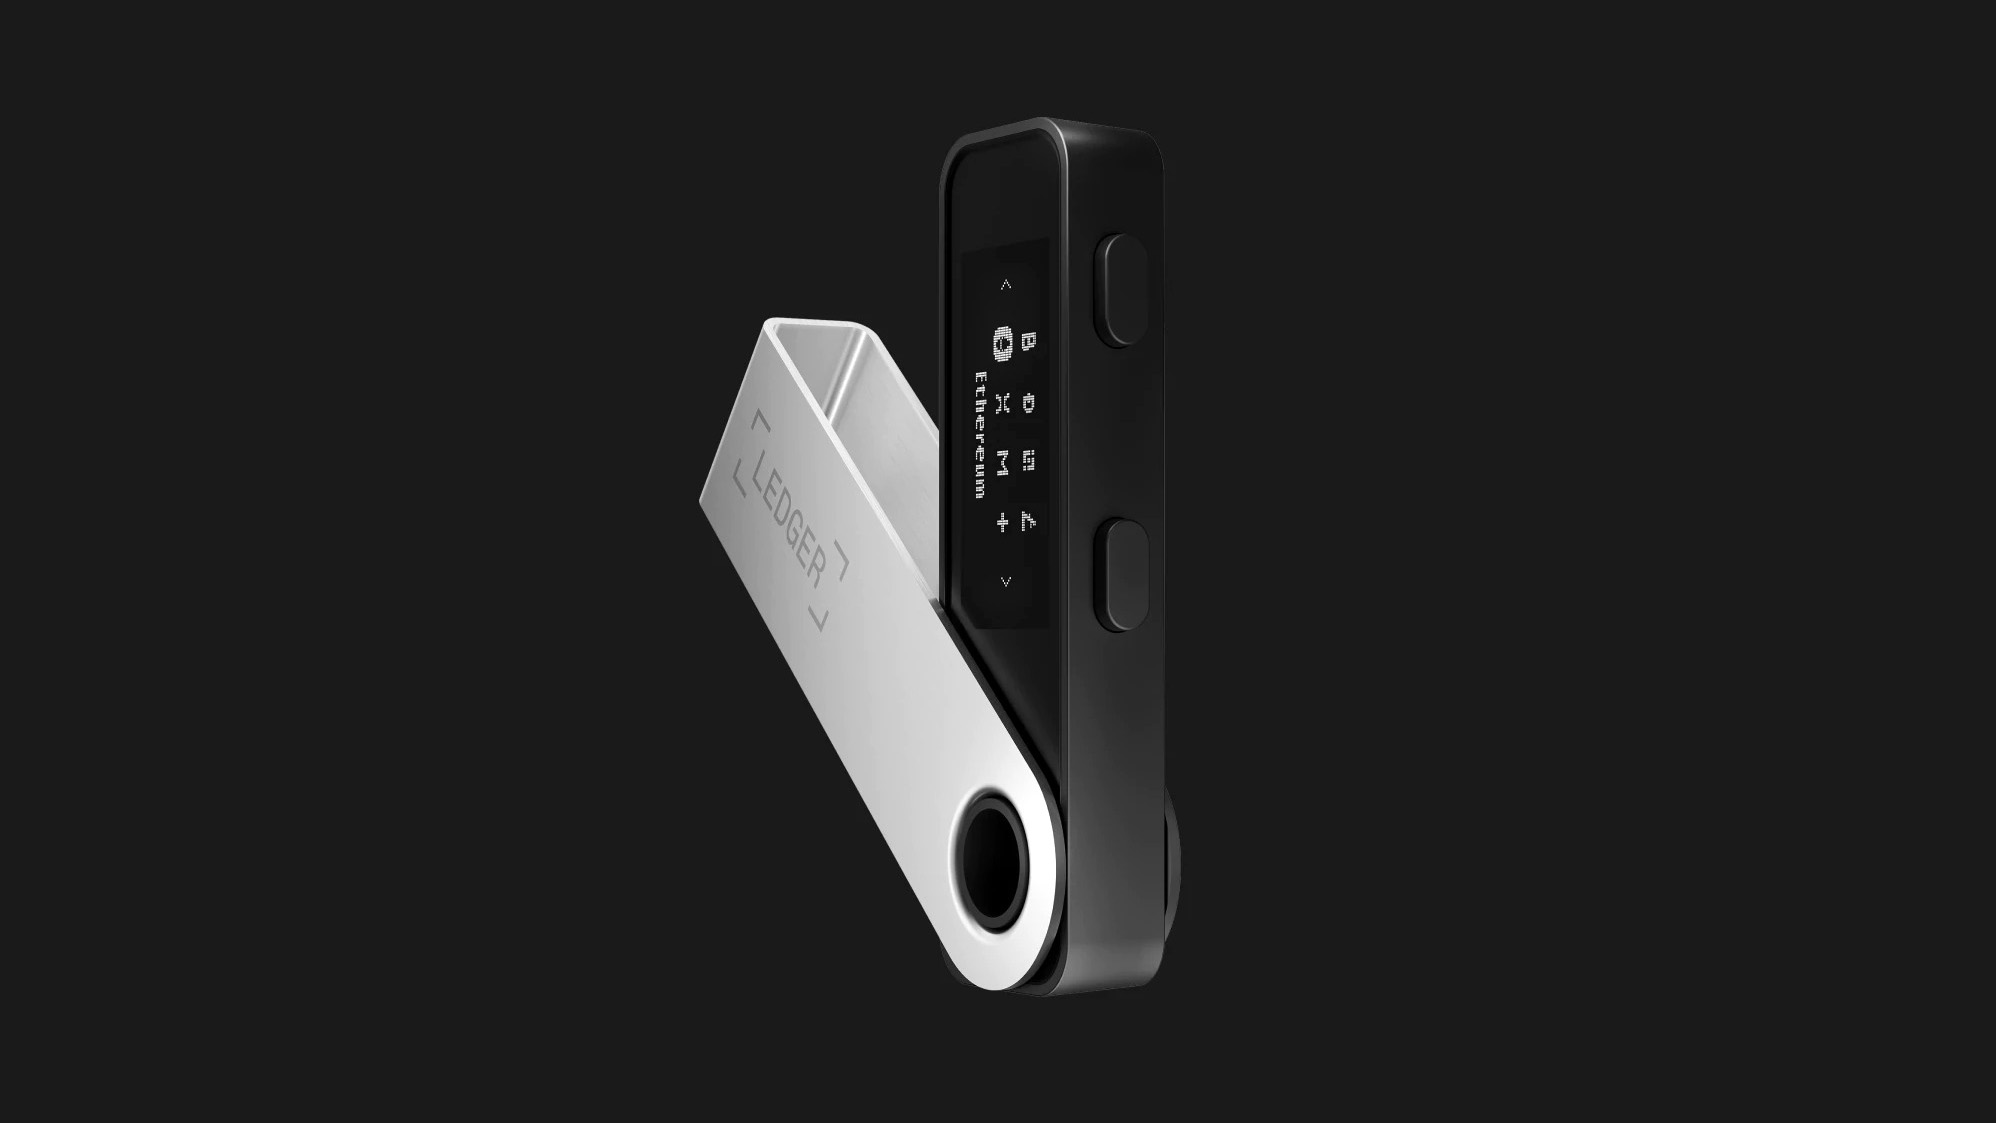
- A Ledger Nano S hardware wallet: The Ledger Nano S is a popular and highly secure hardware wallet. It allows you to store your cryptocurrencies offline, protecting them from potential online threats such as hacking or malware attacks.
- A computer or laptop with a USB port: To connect your Ledger Nano S to your computer and perform the necessary steps, you’ll need a computer or laptop that has a functioning USB port. Make sure your device is powered on and ready for use.
- The Ledger Live software installed on your computer: The Ledger Live software is a companion application that allows you to manage your cryptocurrencies and interact with your Ledger Nano S. It provides a user-friendly interface for easy navigation and control.
- The Litecoin app installed on your Ledger Nano S: To send Litecoin to your Ledger Nano S, you’ll need to have the Litecoin app installed on the device. The Ledger Live software will guide you through the process of installing the app onto your Ledger Nano S.
Once you have these prerequisites in place, you’ll be ready to set up your Ledger Nano S and prepare your Litecoin wallet for receiving funds. If you don’t have one or more of these prerequisites, make sure to obtain them before proceeding further.
Setting up a secure and reliable infrastructure is crucial when dealing with cryptocurrencies, as it ensures the safety of your valuable assets. By having a Ledger Nano S, a computer with a USB port, the Ledger Live software, and the Litecoin app, you’ll be equipped with the necessary tools to securely manage and store your Litecoin.
Now that you have all the prerequisites covered, let’s move on to setting up your Ledger Nano S and configuring your Litecoin wallet. Follow the upcoming steps closely, and soon you’ll be able to send your Litecoin to your Ledger Nano S with confidence!
Setting up your Ledger Nano S
Before we can start sending Litecoin to your Ledger Nano S, we need to ensure that your hardware wallet is properly set up. Follow these steps to get your Ledger Nano S ready:
- Unboxing and connecting: Begin by unboxing your Ledger Nano S and connecting it to your computer or laptop using the provided USB cable. Ensure that the device is securely connected and powered on.
- Initializing the device: On the Ledger Nano S screen, select “Initialize as new device” and press both buttons simultaneously. This will start the initialization process.
- Setting up a PIN code: Follow the on-screen instructions to set up a 4 to 8-digit PIN code. Use the left and right buttons on your Ledger Nano S to navigate and select the numbers. Make sure to choose a PIN code that is easy for you to remember but difficult for others to guess.
- Writing down the recovery phrase: After setting up the PIN code, you will be provided with a recovery phrase. This is a crucial step in securing your Ledger Nano S. Write down the 24-word recovery phrase on the provided recovery sheet, in the exact order it is shown on the device.
- Confirming the recovery phrase: Once you have written down the recovery phrase, the device will ask you to confirm it. Select the words in the order they are shown on the device to ensure that you have correctly recorded the recovery phrase.
- Installing firmware updates: After confirming the recovery phrase, the device may prompt you to install any available firmware updates. It is recommended to always keep your Ledger Nano S firmware up to date, as it ensures the latest security features and improvements.
- Completing the setup: Once the firmware updates are installed, your Ledger Nano S will be ready for use. Keep it connected to your computer for the next steps.
Congratulations! Your Ledger Nano S is now set up and ready to be used as a secure wallet for your cryptocurrencies. In the next section, we’ll guide you through the process of setting up your Litecoin wallet within the Ledger Live software.
Setting up your Litecoin Wallet
Now that your Ledger Nano S is set up, it’s time to configure your Litecoin wallet within the Ledger Live software. Follow these steps to get started:
- Launch the Ledger Live software: Open the Ledger Live software on your computer. If you haven’t installed it yet, you can download it from the official Ledger website and follow the installation instructions.
- Connect your Ledger Nano S: Using the USB cable, connect your Ledger Nano S to your computer. On the Ledger Live software, click on “Get Started” and select “Connect a Ledger Wallet.”
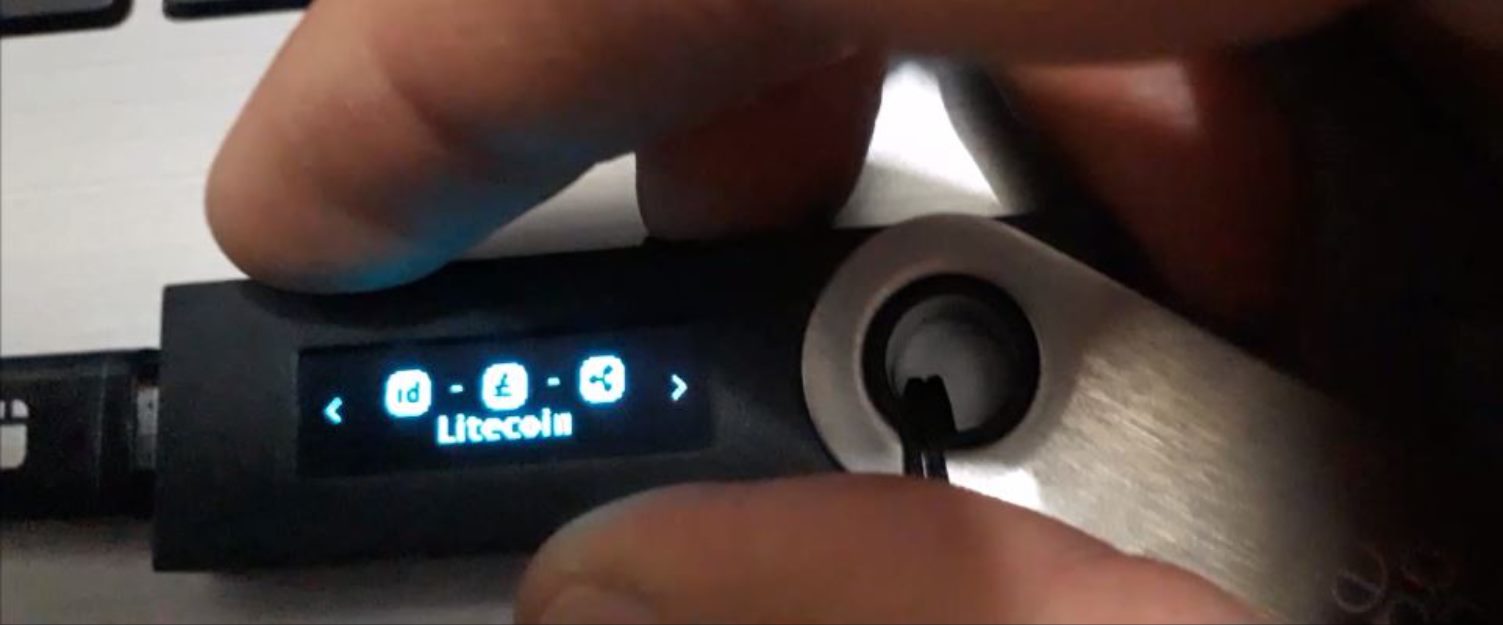
- Select the Litecoin app on your Ledger Nano S: On your Ledger Nano S, navigate to the Litecoin app and open it. This will prompt the Ledger Live software to detect the Litecoin app on your device.
- Create or Sync your Litecoin account: In the Ledger Live software, click on “Add Account” and select “Litecoin.” You can choose to create a new account or synchronize an existing account by following the on-screen instructions.
- Verify your Litecoin address: Once your Litecoin account is created or synced, you will see a Litecoin address displayed on the Ledger Live software. Take note of this address, as it will be used to receive Litecoin.
Congratulations! You have successfully set up your Litecoin wallet within the Ledger Live software. Your Ledger Nano S is now ready to receive Litecoin transactions securely. In the next section, we’ll guide you through the steps to send Litecoin to your Ledger Nano S.
Step 1: Connect your Ledger Nano S to your computer
The first step in sending Litecoin to your Ledger Nano S is to connect the device to your computer. Follow these instructions to establish a secure connection:
- Locate the USB cable: Take the USB cable that came with your Ledger Nano S and ensure it is readily accessible.
- Connect the USB cable to your computer: Plug one end of the USB cable into your Ledger Nano S and the other end into an available USB port on your computer. Ensure that the connection is secure.
- Power on your Ledger Nano S: Press the buttons on your Ledger Nano S to power it on. You may need to enter your PIN code if prompted.
- Unlock your Ledger Nano S: If your Ledger Nano S is locked with a PIN code, enter the appropriate code to unlock it.
- Access the Ledger Live software: Launch the Ledger Live software on your computer if it is not already open. Ensure that your Ledger Nano S is recognized and connected within the software.
Once your Ledger Nano S is successfully connected to your computer, you are ready to proceed to the next step. The secure connection between your Ledger Nano S and the Ledger Live software guarantees the safety of your transactions and helps ensure the integrity of your Litecoin holdings.
Remember to keep your Ledger Nano S and the USB cable in a secure location when not in use. This will help prevent unauthorized access to your device and reduce the risk of misplacing it.
In the following step, we will guide you through the process of installing the Litecoin app on your Ledger Nano S.
Step 2: Install Litecoin app on your Ledger Nano S
Now that your Ledger Nano S is connected to your computer, the next step is to install the Litecoin app on the device. Follow these instructions to ensure that the Ledger Nano S is ready to receive and manage your Litecoin:
- Access the Ledger Live Manager: Within the Ledger Live software, locate and click on the “Manager” tab. This will open the Ledger Live Manager.
- Locate the Litecoin app: In the manager, search for the Litecoin app by typing “Litecoin” in the search bar or scrolling through the list of available apps.
- Click on “Install”: Once you have located the Litecoin app, click on the “Install” button next to it. This will begin the installation process onto your Ledger Nano S.
- Follow the on-screen instructions: During the installation process, you may be prompted on both your computer and the Ledger Nano S to confirm and authorize the installation. Make sure to carefully follow the instructions on both devices.
- Wait for the installation to complete: The installation process may take a few seconds. Once it is completed, you will receive a confirmation message on your computer and the Ledger Nano S screen will update accordingly.
Congratulations! You have successfully installed the Litecoin app on your Ledger Nano S. This app allows you to manage your Litecoin securely and perform transactions directly from your hardware wallet.
It is important to note that you may need to uninstall and reinstall the Litecoin app on your Ledger Nano S if you have not used it in a while or if you have recently updated the firmware. This ensures that your Ledger Nano S is running the latest version of the app and maintaining optimal security.
In the next step, we will guide you through launching the Ledger Live software to configure your Litecoin account.
Step 3: Launch the Ledger Live software
After installing the Litecoin app on your Ledger Nano S, the next step is to launch the Ledger Live software on your computer. The Ledger Live software provides a convenient and user-friendly interface for managing your cryptocurrencies. Follow these instructions to launch the Ledger Live software:
- Locate the Ledger Live software: Look for the Ledger Live icon on your computer’s desktop or search for it in your list of installed applications. Double-click on the icon to launch the software.
- Sign in or create an account: If you have previously used the Ledger Live software, you can sign in with your existing account credentials. If this is your first time using the software, you will be prompted to create a new account. Follow the on-screen instructions to complete the sign-in or account creation process.
- Connect your Ledger Nano S: To connect your Ledger Nano S to the Ledger Live software, use the provided USB cable to connect the device to your computer. Make sure that your Ledger Nano S is powered on and unlocked.
- Access the “Manager” tab: Once your Ledger Nano S is connected, navigate to the “Manager” tab within the Ledger Live software. This tab allows you to manage and control the apps installed on your Ledger Nano S.
- Verify the Litecoin app: In the manager, locate the Litecoin app and ensure that it is correctly installed on your Ledger Nano S. This step verifies that the Litecoin app is ready to be used.
By launching the Ledger Live software, you gain access to a range of features and functionalities that enable you to manage your Litecoin and perform transactions securely. The Ledger Live interface is intuitive and user-friendly, allowing you to easily navigate through different sections and perform necessary actions with ease.
Now that you have launched the Ledger Live software, you are ready to move on to the next step, where we will guide you through creating or syncing your Litecoin account within the software.
Step 4: Create or Sync your Litecoin account
Once you have launched the Ledger Live software and connected your Ledger Nano S to your computer, it’s time to create or sync your Litecoin account. This step allows you to manage your Litecoin holdings and perform transactions within the Ledger Live software. Follow these instructions to create or sync your Litecoin account:
- Navigate to the “Accounts” tab: Within the Ledger Live software, locate and click on the “Accounts” tab. This tab displays all the cryptocurrencies that you can manage with your Ledger Nano S.
- Click on “Add Account”: In the “Accounts” tab, click on the “Add Account” button. This will open a list of available cryptocurrencies.
- Select “Litecoin”: From the list of available cryptocurrencies, locate and select “Litecoin.” This will initiate the process of creating or syncing your Litecoin account.
- Follow the on-screen instructions: The Ledger Live software will guide you through the process of creating a new Litecoin account or syncing an existing account. Follow the on-screen instructions carefully and provide any necessary information.
- Complete the account creation or sync process: Once you have followed all the instructions and provided the required information, the Ledger Live software will create or sync your Litecoin account. This will allow you to manage your Litecoin transactions and balances within the software.
Creating or syncing your Litecoin account within the Ledger Live software is an essential step in securely managing your Litecoin holdings. This ensures that your Ledger Nano S is properly linked to the software and that you have full access to your Litecoin funds.
By creating or syncing your Litecoin account, you can conveniently view your transaction history, check your account balance, and perform various actions such as sending and receiving Litecoin. The Ledger Live software provides a user-friendly interface to make managing your Litecoin account a seamless and straightforward process.
In the next step, we will guide you through the process of verifying your Litecoin address within the Ledger Live software, which is necessary to receive Litecoin transactions.
Step 5: Verify your Litecoin address
Verifying your Litecoin address is an important step in the process of sending Litecoin to your Ledger Nano S. This ensures that you are sending your Litecoin to the correct address and helps prevent any potential errors. Follow these instructions to verify your Litecoin address:
- Access your Litecoin account: Open the Ledger Live software on your computer and navigate to your Litecoin account. This is the account where you want to receive the Litecoin.
- Click on “Receive”: In the Litecoin account view, locate and click on the “Receive” button. This will open a window displaying your Litecoin address.
- Verify the address on your Ledger Nano S: On your Ledger Nano S, navigate to the Litecoin app and select it. Look for the option to display the Litecoin receive address on the device. Compare the address shown on your Ledger Nano S with the address displayed in the Ledger Live software. Ensure that they match exactly.
- Scan the QR code (optional): If you prefer, you can use the QR code displayed in the Ledger Live software to scan the Litecoin address directly into a mobile wallet or another cryptocurrency platform. This can save you time by eliminating the need to manually enter the address.
- Copy or note down the Litecoin address: If you’re not using the QR code, you can copy the Litecoin address from the Ledger Live software and paste it into the desired field in another application or platform. Alternatively, you can write down the address on a piece of paper if you need to provide it manually.
Verifying your Litecoin address is crucial to ensure that you are sending your Litecoin to the correct destination. Make sure to double-check the address on your Ledger Nano S and compare it with the address displayed in the Ledger Live software. It is essential to be accurate and cautious when dealing with cryptocurrency transactions.
By verifying your Litecoin address, you can be confident that the Litecoin you send will be securely received in your Ledger Nano S wallet. This step adds an extra layer of security and helps prevent any potential errors or misdirection of your funds.
In the next step, we will guide you through the process of sending Litecoin to your Ledger Nano S, allowing you to complete the transaction and have your Litecoin securely stored in your hardware wallet.
Step 6: Send Litecoin to your Ledger Nano S
Now that you have verified your Litecoin address, it’s time to send your Litecoin to your Ledger Nano S. Follow these instructions to complete the transaction:
- Access your Litecoin wallet: Open the application or platform where you currently hold your Litecoin. This could be a cryptocurrency exchange, a software wallet, or any other platform that allows you to send Litecoin.
- Select “Send” or “Withdraw”: Look for the option to send or withdraw Litecoin from your current wallet or platform. This option is typically located in the main menu or within the account settings.
- Enter the recipient address: In the recipient field, enter the Litecoin address of your Ledger Nano S that you previously verified. Make sure to double-check the address for accuracy to prevent any errors.
- Specify the amount to send: Enter the amount of Litecoin you wish to send to your Ledger Nano S. Ensure that you are not sending more than what is available in your current wallet and that the transaction fee is reasonable.
- Review and confirm the transaction: Take a moment to review the details of the transaction, including the recipient address and the amount of Litecoin to be sent. Confirm and submit the transaction once you are satisfied with the information provided.
- Wait for confirmation: Depending on the network congestion and the transaction fee you chose, it may take a few minutes to a few hours for the transaction to be confirmed and included in a Litecoin block.
- Check your Ledger Live software: Once the transaction is confirmed, you can check the Ledger Live software on your computer to verify the status of the transaction. Your Litecoin balance should increase to reflect the Litecoin you just sent to your Ledger Nano S.
Congratulations! You have successfully sent Litecoin to your Ledger Nano S. By storing your Litecoin in a hardware wallet like the Ledger Nano S, you benefit from increased security and control over your digital assets.
Remember to keep your Ledger Nano S and the recovery phrase you previously wrote down in a safe and secure location, as they are essential for accessing and recovering your Litecoin in the future.
With your Litecoin securely stored in your Ledger Nano S, you can enjoy peace of mind knowing that your valuable assets are protected from potential online threats.
That concludes the process of sending Litecoin to your Ledger Nano S. You can now confidently manage and store your Litecoin using this secure hardware wallet.
Conclusion
Congratulations on successfully sending your Litecoin to your Ledger Nano S! By following the steps outlined in this guide, you have ensured that your Litecoin is securely stored in a hardware wallet, protecting it from potential online threats.
We started by highlighting the prerequisites, including having a Ledger Nano S hardware wallet, a computer with a USB port, the Ledger Live software, and the Litecoin app installed on your Ledger Nano S. These prerequisites provide the foundation for securely managing and storing your Litecoin.
We then walked you through the process of setting up your Ledger Nano S and configuring your Litecoin wallet within the Ledger Live software. This involved initializing the device, setting up a PIN code, writing down the recovery phrase, installing firmware updates, and verifying the Litecoin app on your Ledger Nano S.
Next, we guided you on how to launch the Ledger Live software and create or sync your Litecoin account. This step ensured that you could conveniently manage your Litecoin holdings and perform transactions directly from the Ledger Live software.
We then focused on the importance of verifying your Litecoin address, which provides an extra layer of security by confirming that you are sending your Litecoin to the correct destination. We emphasized the necessity of double-checking the address on both your Ledger Nano S and the Ledger Live software for accuracy.
Finally, we discussed the process of sending Litecoin to your Ledger Nano S. We guided you on how to access your Litecoin wallet, enter the recipient address, specify the amount to send, review and confirm the transaction, and monitor the transaction status through the Ledger Live software.
With your Litecoin securely stored in your Ledger Nano S, you can confidently manage and monitor your digital assets. Remember to always keep your Ledger Nano S and recovery phrase in a safe and secure place to protect your Litecoin from potential loss or theft.
Thank you for choosing the Ledger Nano S and following our guide! We hope that this information has been helpful in the process of sending your Litecoin to your Ledger Nano S and ensuring its ultimate security.