Introduction
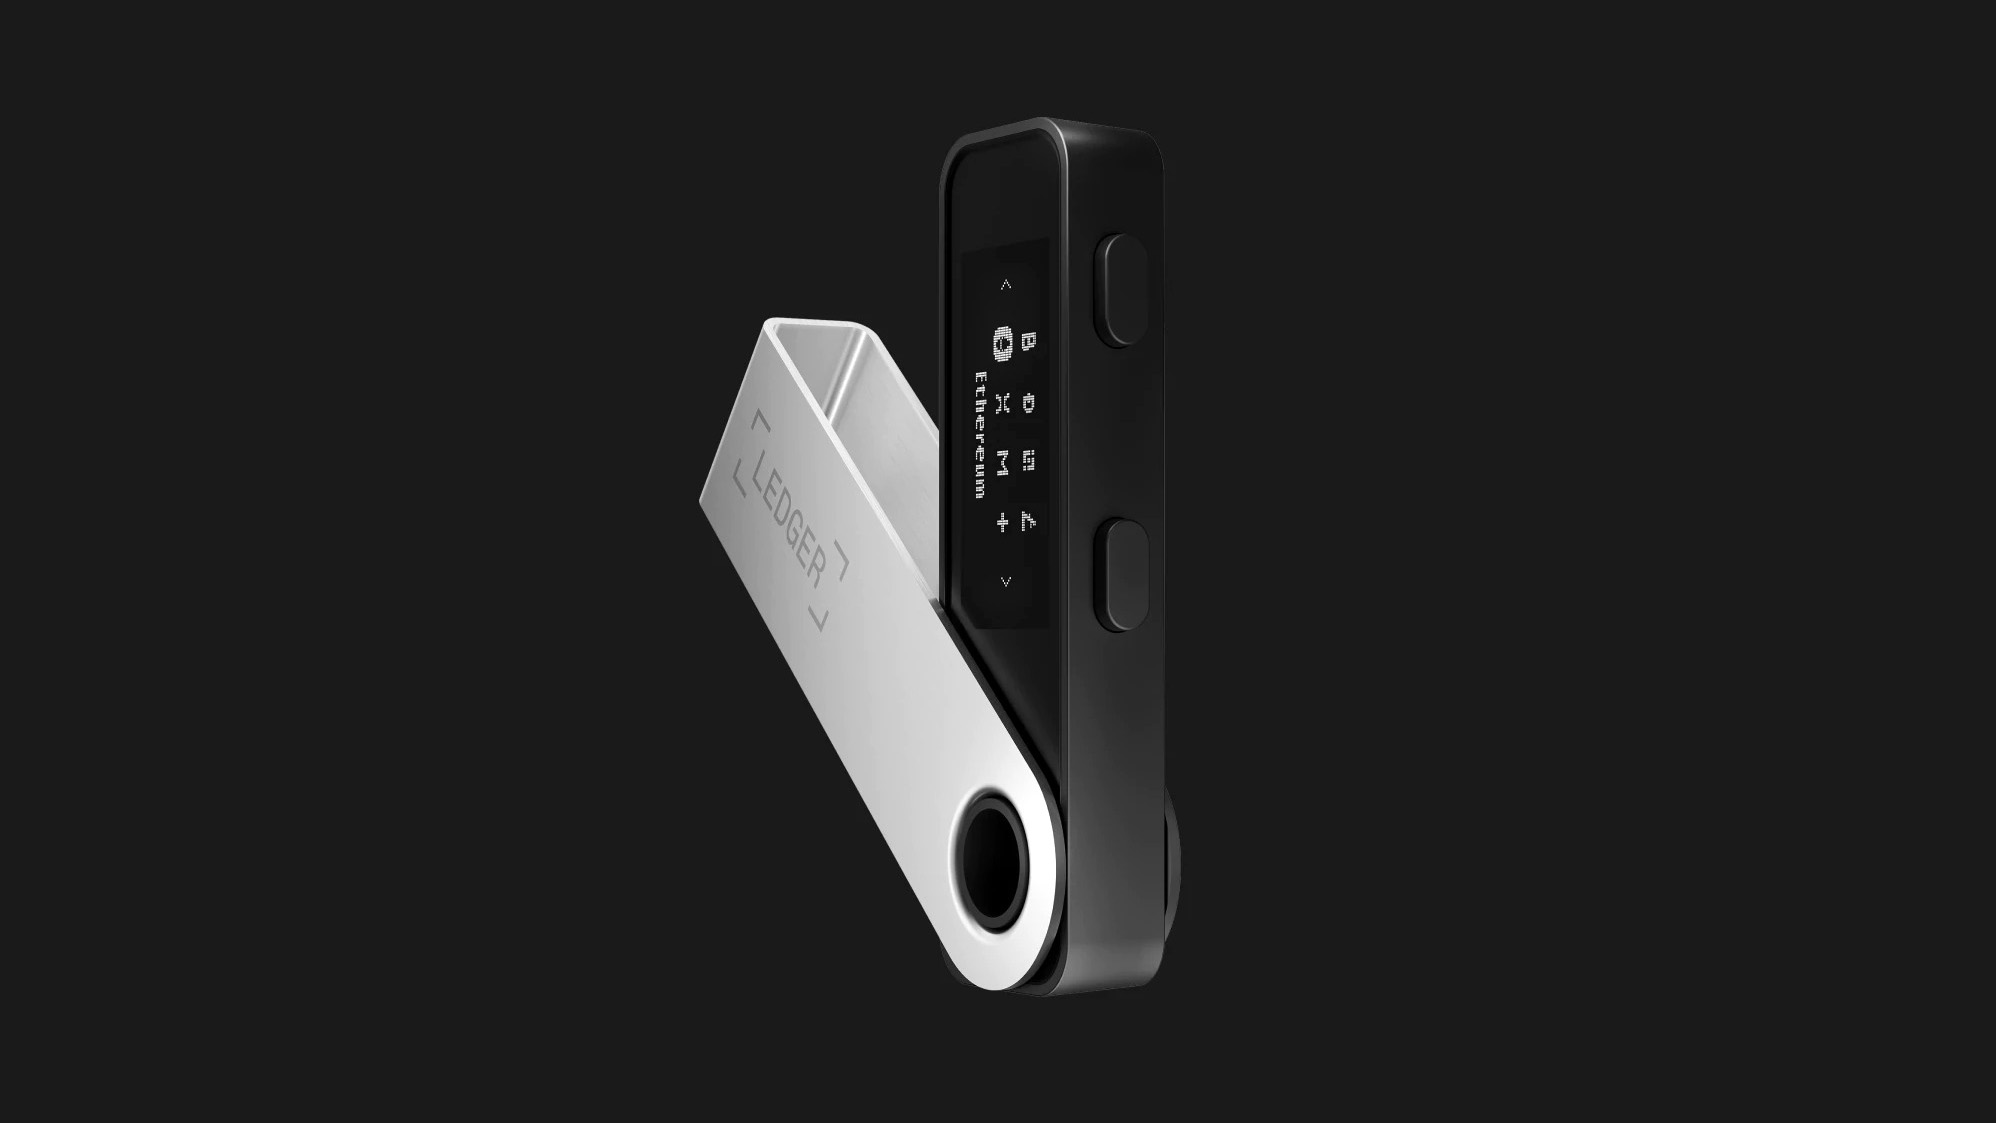
Welcome to our guide on how to send cryptocurrency to your Ledger Nano X! The Ledger Nano X is a popular hardware wallet that provides secure storage for your digital assets. Whether you’re new to the world of cryptocurrencies or an experienced user, understanding how to transfer your digital coins to your Ledger Nano X is essential for the safety and control of your funds.
With its advanced security features and user-friendly interface, the Ledger Nano X offers peace of mind when it comes to managing and storing your cryptocurrencies. By following this step-by-step guide, you’ll learn how to send your crypto assets to your Ledger Nano X, ensuring that your funds are protected against potential hacks or online vulnerabilities.
Before we dive into the process, it’s worth noting that the Ledger Nano X supports a wide range of cryptocurrencies, including popular options like Bitcoin, Ethereum, and Litecoin. Regardless of the specific cryptocurrency you want to send, the basic steps for transferring your assets to your Ledger Nano X remain the same.
Throughout this guide, we’ll walk you through the process of setting up your Ledger Nano X, installing the necessary software, accessing your wallet, selecting the cryptocurrency you want to send, and confirming the transaction on your device. By the end, you’ll have a clear understanding of how to securely transfer your digital assets to your Ledger Nano X.
Remember, keeping your cryptocurrencies on an exchange or an online wallet makes them more vulnerable to hacking attempts. By transferring your funds to a hardware wallet like the Ledger Nano X, you retain full control of your assets and have an additional layer of security to safeguard your investments.
Now that we’ve covered the basics, let’s proceed to the first step: setting up your Ledger Nano X.
Step 1: Set up your Ledger Nano X
The first step in sending cryptocurrency to your Ledger Nano X is to set up the device. Follow these instructions to get started:
- Begin by unpacking your Ledger Nano X and ensuring that you have all the necessary components, including the device, USB cable, and recovery sheet.
- Connect your Ledger Nano X to your computer using the provided USB cable. The device will automatically turn on and display the Ledger logo.
- Use the buttons on the device to navigate through the options until you see “Configure as new device.” Press both buttons to select this option.
- Next, you will be prompted to choose a PIN code for your Ledger Nano X. Use the buttons to enter a PIN code of your choice. Make sure to choose a strong and memorable PIN to ensure the security of your device.
- After entering your PIN, you will be asked to confirm it to ensure accuracy. Follow the on-screen instructions to complete the PIN code setup.
- Once your PIN code is confirmed, you will be provided with a recovery phrase. This phrase is crucial for recovering your funds in case your device is lost, stolen, or damaged. Write down the recovery phrase on the provided recovery sheet and store it in a safe place.
- Finally, you will be prompted to verify your recovery phrase. This step is essential to ensure that you have accurately recorded the phrase. Follow the instructions on the screen to complete the verification process.
With these steps completed, your Ledger Nano X is now set up and ready to use. It’s important to keep your device and recovery phrase secure at all times. Never share your recovery phrase with anyone and avoid storing it digitally to minimize the risk of unauthorized access to your funds.
Now that your Ledger Nano X is successfully set up, you can proceed to the next step: installing the Ledger Live application.
Step 2: Install the Ledger Live application
To manage your cryptocurrencies on your Ledger Nano X, you’ll need to install the Ledger Live application. Follow these steps to install it on your computer:
- Visit the official Ledger website (ledger.com) and navigate to the “Downloads” section.
- Choose the version of Ledger Live that is compatible with your operating system (Windows, Mac, or Linux).
- Once downloaded, locate the installation file and run it on your computer.
- Follow the on-screen instructions to complete the installation process.
- Launch the Ledger Live application once the installation is complete.
- Connect your Ledger Nano X to your computer using the provided USB cable.
- On the Ledger Nano X device, navigate to the “Settings” option and select “Device” and then “Connect with Ledger Live”.
- On the Ledger Live application, click on the “Add Account” button to add your cryptocurrency accounts.
- Select the type of cryptocurrency you want to add from the list of available options.
- Follow the on-screen instructions to complete the process of adding the account.
Once you have successfully installed the Ledger Live application and added your cryptocurrency account(s), you are now ready to access your wallet and proceed with sending your digital assets to your Ledger Nano X. The Ledger Live application serves as a central hub for managing your cryptocurrencies, allowing you to view balances, send and receive funds, and perform other important tasks.
Now that you have installed Ledger Live, let’s move on to the next step: accessing your crypto wallet through Ledger Live.
Step 3: Access your crypto wallet through Ledger Live
Once you have the Ledger Live application installed and your Ledger Nano X connected to your computer, you can now access your crypto wallet through Ledger Live. Follow these steps:
- Open the Ledger Live application on your computer if it’s not already open.
- Enter your PIN code on the Ledger Nano X to unlock the device.
- On the Ledger Live application, click on the account icon or the “Portfolio” tab to view your cryptocurrency accounts.
- Your Ledger Nano X will display a list of available accounts. Use the buttons on the device to navigate through the accounts and select the one you want to access.
- Once you have selected your account, you will be able to view its balance and transaction history on the Ledger Live application.
Accessing your crypto wallet through Ledger Live allows you to manage your digital assets with ease and convenience. You can track your transaction history, check your balances, and perform various actions, including sending and receiving cryptocurrencies.
Now that you have successfully accessed your crypto wallet through Ledger Live, it’s time to choose the specific cryptocurrency you want to send. Proceed to the next step: choosing the cryptocurrency you want to send.
Step 4: Choose the cryptocurrency you want to send
Now that you have accessed your crypto wallet through Ledger Live, it’s time to choose the specific cryptocurrency you want to send. Follow these steps:
- On the Ledger Live application, navigate to the “Accounts” tab or click on the account icon to view your cryptocurrency accounts.
- Scroll through the list of accounts and select the account that holds the cryptocurrency you want to send.
- Once you have selected the account, you will be able to see details such as the account balance and transaction history.
- Double-check that you have selected the correct cryptocurrency account before proceeding to the next step.
Choosing the right cryptocurrency account is crucial to ensure that you send your funds to the intended blockchain network. Each cryptocurrency has its own network, and sending funds to the wrong network can result in the loss of your assets.
By following these steps, you will be able to easily choose the specific cryptocurrency you want to send from your Ledger Nano X. Make sure to double-check all details to ensure accuracy before proceeding to the next step.
Now that you have chosen the cryptocurrency you want to send, let’s move on to the next step: starting the transaction and confirming the recipient address.
Step 5: Start the transaction and confirm the recipient address
With the desired cryptocurrency selected, it’s time to start the transaction and confirm the recipient address. Follow these steps carefully:
- On the Ledger Live application, locate and click on the “Send” or “Transfer” button, depending on the specific cryptocurrency you are sending.
- Enter the amount of cryptocurrency you wish to send. Make sure to double-check the amount and ensure that it matches your intention.
- Next, you will need to enter the recipient’s wallet address. This is a crucial step, so it’s important to be extremely careful and accurate. Make sure to copy and paste the recipient’s wallet address to avoid any typing errors.
- Double-check that the recipient address is correct before proceeding. Sending cryptocurrency to an incorrect address can result in irreversible loss of funds.
- If applicable, you may have the option to include a memo or message along with your transaction. This is optional and depends on the specific cryptocurrency you are sending.
Once you have entered and reviewed all the necessary details, you are ready to proceed with the transaction. Click on the “Continue” or “Next” button to confirm the transaction.
At this point, Ledger Live will provide you with a summary of the transaction details, including the amount, recipient address, and any additional fees. Take a moment to review this information carefully to ensure everything is correct.
If you are satisfied with the transaction details, you will need to confirm and authorize the transaction using your Ledger Nano X device. On the device, carefully review the transaction details displayed, including the amount, recipient address, and any fees. If everything looks accurate, press the button(s) on the device to confirm and authorize the transaction.
By following these steps and confirming the recipient address, you are taking the necessary precautions to ensure that your cryptocurrency is sent to the intended recipient and minimize the risk of any errors or losses.
Now that you have started the transaction and confirmed the recipient address, it’s time to proceed to the next step: confirming the transaction on your Ledger Nano X.
Step 6: Confirm the transaction on your Ledger Nano X
After initiating the transaction on your Ledger Live application, it’s time to confirm the transaction on your Ledger Nano X device. Follow these steps to complete the transaction:
- On your Ledger Nano X device, you will see a prompt asking you to review the transaction details.
- Carefully check the transaction details, including the amount, recipient address, and fees, to ensure they match your intentions.
- If everything looks correct, press the buttons on your Ledger Nano X to confirm the transaction.
- You may be required to enter your PIN code or password on the device to authorize the transaction.
- Once you have confirmed the transaction on your Ledger Nano X, the device will display a confirmation message, indicating that the transaction has been successfully approved.
Confirming the transaction on your Ledger Nano X adds an extra layer of security to the process. It ensures that only those with physical access to the device can authorize and approve transactions, protecting your funds from unauthorized use.
It’s important to carefully review the transaction details on both the Ledger Live application and your Ledger Nano X before confirming. Any mistakes or discrepancies in the transaction details could result in the loss of your funds.
With the transaction confirmed on your Ledger Nano X, the funds will be sent to the recipient address you specified. Depending on network congestion and other factors, it may take some time for the transaction to be confirmed and recorded on the blockchain.
Now that you have successfully confirmed the transaction on your Ledger Nano X, it’s time to move on to the next step: verifying the transaction on your Ledger Live application.
Step 7: Verify the transaction on your Ledger Live application
After confirming the transaction on your Ledger Nano X, it’s essential to verify the transaction on your Ledger Live application to ensure its successful completion. Follow these steps to verify the transaction:
- On your Ledger Live application, you will receive a notification or see a prompt indicating that a new transaction has been initiated.
- Click on the notification or navigate to the “Accounts” or “Transactions” section to view the transaction details.
- Locate the transaction you just confirmed on your Ledger Nano X and click on it to view the details.
- Review the transaction details, including the amount sent, transaction fees, and recipient address, to ensure they match your intentions.
- Verify that the transaction status is marked as “Confirmed” or “Pending”.
- If everything looks accurate and the transaction status is in line with your expectations, you can be confident that your transaction is in progress.
Verifying the transaction on your Ledger Live application allows you to double-check that the information sent from your Ledger Nano X matches what is displayed on your computer. This step adds an extra layer of assurance and ensures that the transaction has been initiated and is in progress.
If you notice any discrepancies or issues with the transaction details, it’s crucial to investigate further. Contact Ledger support or consult the official Ledger documentation for troubleshooting assistance.
Now that you have verified the transaction on your Ledger Live application, you can rest assured that your funds are on their way to the recipient address. However, it’s important to remember that transaction confirmations on the blockchain may take some time, depending on network congestion and other factors.
With the transaction successfully verified on your Ledger Live application, it’s time to proceed to the next step: safely disconnecting your Ledger Nano X.
Step 8: Safely disconnect your Ledger Nano X
Once the transaction has been verified and you have completed all the necessary steps, it’s important to safely disconnect your Ledger Nano X from your computer. Follow these steps to ensure a secure disconnection:
- Double-check that the transaction on your Ledger Live application is successfully completed and confirmed.
- Close any open cryptocurrency wallet applications or tabs on your computer.
- On your computer, safely eject and disconnect the USB cable connected to your Ledger Nano X device.
- On the Ledger Nano X device, navigate to the “Settings” option and select “Power off” or “Disconnect” to turn off the device.
- Wait until the device displays a message indicating that it is safe to disconnect.
- Once the message appears, you can safely disconnect the Ledger Nano X from your computer.
Safely disconnecting your Ledger Nano X ensures that your device and funds are kept secure. It reduces the risk of any unauthorized access or potential security breaches, protecting your valuable cryptocurrencies.
Remember to store your Ledger Nano X and recovery phrase in a secure location. Keep them separate and safeguarded from unauthorized access to maintain the highest level of security for your digital assets.
Now that you have safely disconnected your Ledger Nano X, you can rest assured that your cryptocurrencies are in your control and protected. You can always reconnect your device for future transactions or account management.
Congratulations! You have successfully completed the process of sending cryptocurrency to your Ledger Nano X using Ledger Live. By following these steps, you have ensured the security and integrity of your digital assets.
Conclusion
Congratulations on successfully sending your cryptocurrency to your Ledger Nano X! By following the step-by-step guide outlined in this article, you have learned how to set up your Ledger Nano X, install the Ledger Live application, access your crypto wallet, choose the cryptocurrency to send, start the transaction, confirm the recipient address, verify the transaction, and safely disconnect your device.
Utilizing a hardware wallet like the Ledger Nano X ensures that your digital assets are securely stored offline, minimizing the risk of unauthorized access and potential online vulnerabilities. With its advanced security features and user-friendly interface, the Ledger Nano X provides peace of mind when managing and storing your cryptocurrencies.
Remember to keep your Ledger Nano X device and recovery phrase in a safe and secure location, away from potential theft or damage. By following best practices for security, such as using strong PIN codes and safeguarding your recovery phrase, you can ensure the long-term safety of your digital assets.
Whether you are new to cryptocurrencies or an experienced user, understanding how to transfer your funds to a hardware wallet like the Ledger Nano X is essential for maintaining control and security over your investments. By using Ledger Live, you can easily manage your crypto assets, monitor balances, and perform transactions in a user-friendly and secure manner.
We hope that this guide has provided you with a comprehensive understanding of how to send cryptocurrency to your Ledger Nano X. If you have any further questions or need assistance, consult the official Ledger documentation or reach out to their support team for additional guidance.
Now that you have successfully sent cryptocurrency to your Ledger Nano X, you can enjoy the peace of mind that comes with knowing your digital assets are secure and under your full control.