Introduction
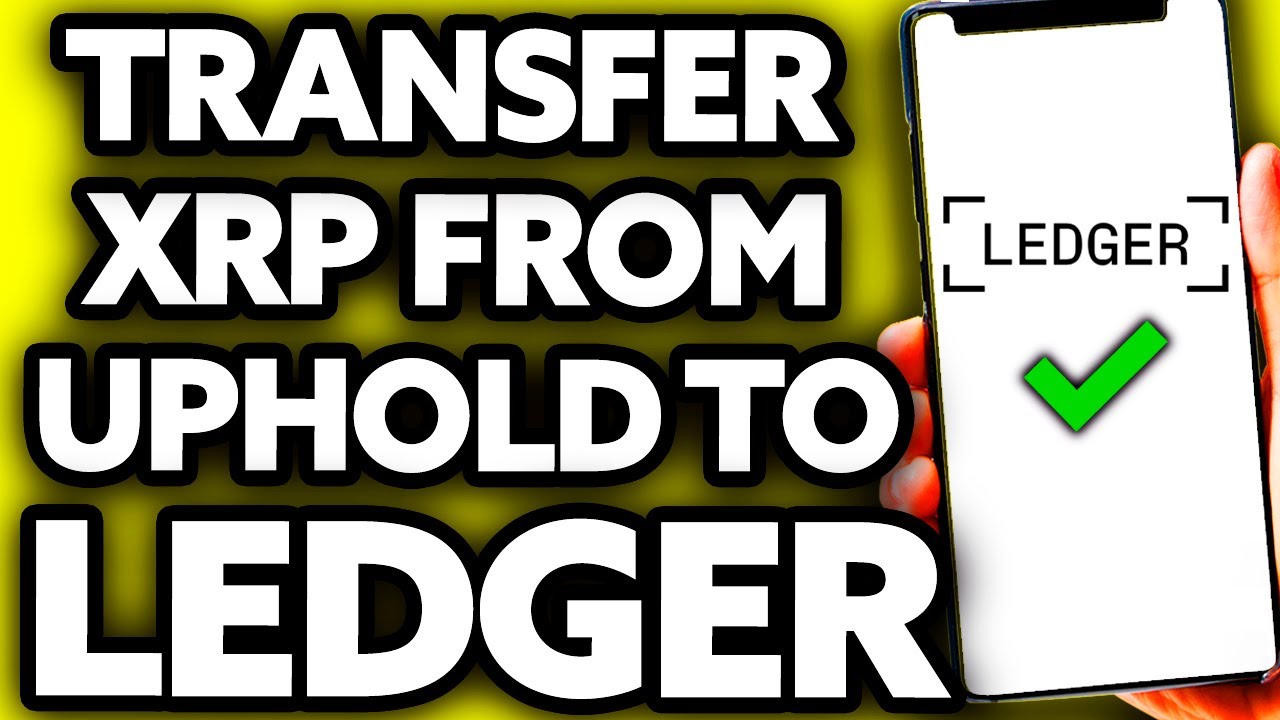
Are you looking to transfer your XRP holdings from Uphold to your Ledger Nano X? This step-by-step guide will walk you through the process and ensure a smooth and secure transfer of your XRP funds.
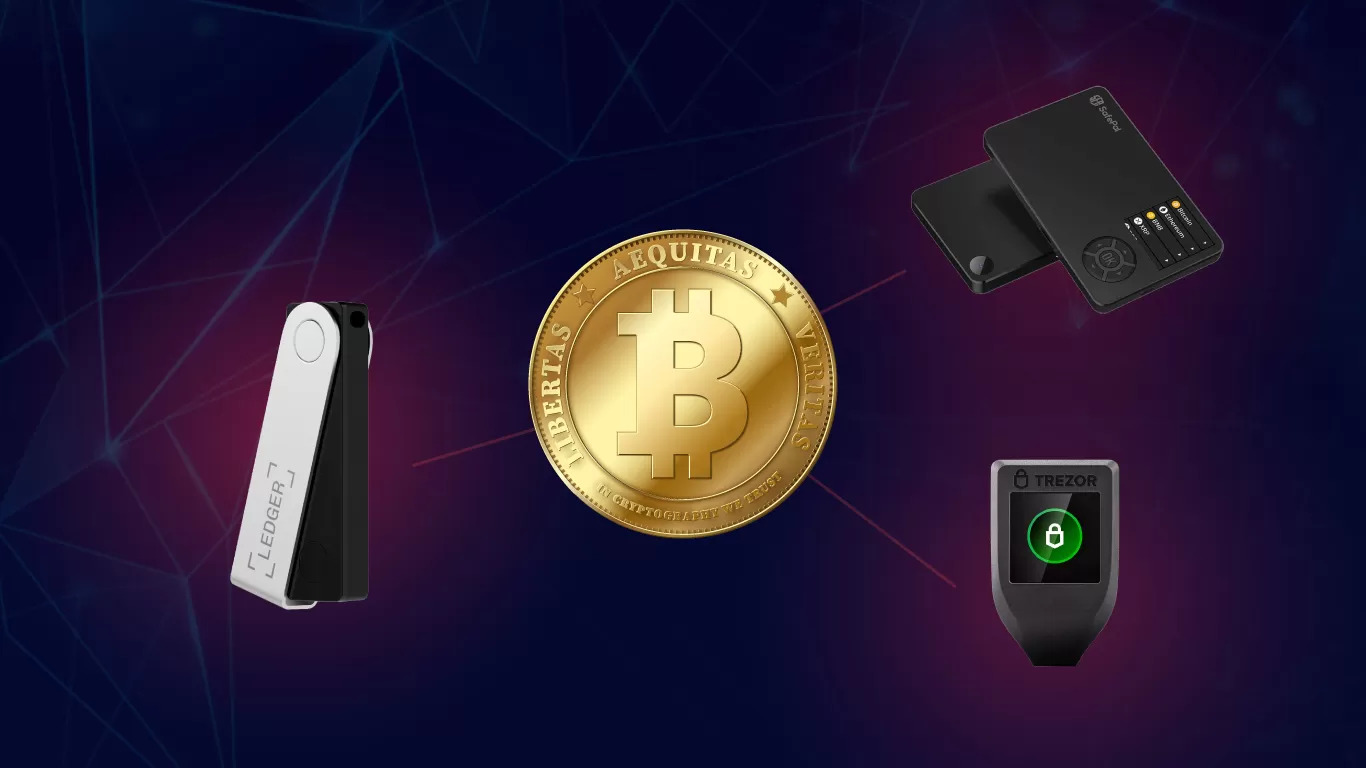
Uphold is a popular cryptocurrency exchange that allows users to buy, sell, and hold various digital assets, including XRP. On the other hand, Ledger Nano X is a top-of-the-line hardware wallet known for its enhanced security features and support for multiple cryptocurrencies, including XRP.
Transferring your XRP to a Ledger Nano X wallet provides an added layer of security by storing your funds offline, away from potential online threats. By following these steps, you can have peace of mind knowing that your XRP holdings are protected by the robust security measures of your Ledger Nano X.
Before we dive into the process, it’s important to note that you should ensure you have both a fully set up and functional Ledger Nano X wallet and an Uphold account with XRP holdings. If you haven’t set up your Ledger Nano X yet, please follow the manufacturer’s instructions to get it up and running.
Now that you have both your Ledger Nano X wallet and Uphold account ready, let’s proceed to the step-by-step guide on how to transfer XRP from Uphold to your Ledger Nano X.
Step 1: Set Up Your Ledger Nano X Wallet
The first step in transferring your XRP from Uphold to your Ledger Nano X is to ensure that your Ledger Nano X wallet is properly set up and ready for use.
To begin, unbox your Ledger Nano X and connect it to your computer using the provided USB cable. Follow any on-screen prompts and instructions to set up the device, including creating a secure PIN code and writing down your recovery phrase.
Next, visit the official Ledger website and download the Ledger Live software. Install the software on your computer and open it. Ledger Live is the desktop application that will allow you to manage your cryptocurrencies and perform transfers.
Launch Ledger Live and select the option to set up a new device. Follow the on-screen instructions to connect your Ledger Nano X to the Ledger Live software. Make sure your device is powered on and unlocked.
During the setup process, you will be asked to choose a PIN code for your Ledger Nano X. This PIN code will be required each time you want to access your wallet or perform any transactions, so be sure to choose a secure and memorable PIN code.
After setting up your PIN code, Ledger Live will prompt you to write down your recovery phrase. This recovery phrase is a crucial backup in case your Ledger Nano X is lost, stolen, or damaged. It is important to write down the recovery phrase on the provided recovery sheet and store it in a secure location.
Finally, complete the setup process by confirming the firmware on your Ledger Nano X is up to date. If an update is available, follow the prompts to install it.
Once your Ledger Nano X wallet is set up, secure, and connected to Ledger Live, you are now ready to proceed with the XRP transfer from Uphold.
Step 2: Install the XRP App on Your Ledger Nano X
In order to transfer XRP to your Ledger Nano X, you need to install the XRP app on your device. This app enables your Ledger Nano X to recognize and interact with XRP transactions.
To begin, open the Ledger Live software on your computer and connect your Ledger Nano X to it using the USB cable. Enter your PIN code and unlock the device if prompted.
Once your Ledger Nano X is connected and unlocked, navigate to the Manager tab within Ledger Live. Here, you will find a list of available apps that can be installed on your device.
Scroll through the list of apps and locate the XRP app. Click on the “Install” button next to the XRP app to initiate the installation process.
Follow the on-screen instructions to complete the installation. Your Ledger Nano X will display a message asking you to confirm the installation of the XRP app. Press the right button on your device to confirm the installation.
Once the installation is complete, you will see the XRP app listed under the “Installed Apps” section in the Manager tab of Ledger Live.
With the XRP app successfully installed on your Ledger Nano X, you are now ready to generate a new XRP address on your device to receive the funds from Uphold.
It is worth noting that each cryptocurrency on Ledger Nano X requires its own dedicated app. If you wish to manage other cryptocurrencies on the same device, you will need to install their respective apps following a similar process.
Step 3: Generate a New XRP Address on Your Ledger Nano X
Now that the XRP app is installed on your Ledger Nano X, the next step is to generate a new XRP address. This address will serve as your destination for transferring XRP from Uphold.
To begin, ensure that your Ledger Nano X is connected to your computer and unlocked. Open the Ledger Live software and navigate to the XRP app on your device.
Once you have accessed the XRP app on your Ledger Nano X, you will be prompted to choose an address to generate. Select “Generate a new address” to proceed.
The Ledger Nano X will generate a unique XRP address for you. This address consists of a string of alphanumeric characters and serves as your unique identifier on the XRP network.
Take note of the generated XRP address displayed on your Ledger Nano X screen. You will need this address in the next step when transferring XRP from Uphold.
It is essential to double-check the accuracy of the XRP address generated. Ensure that there are no typos or missing characters as any mistakes could result in the loss of funds.
Additionally, ensure that the XRP address on your Ledger Nano X matches the address displayed on the Ledger Live software. This is an extra precaution to verify the address’s correctness.
With your newly generated XRP address ready, you can now proceed to the next step to initiate the XRP transfer from Uphold.
It is important to note that each time you want to receive XRP, you should generate a new address. Generating a new address for each transaction enhances privacy and security by preventing anyone from linking multiple transactions to the same address.
Step 4: Access Uphold and Initiate XRP Transfer
With your Ledger Nano X ready to receive XRP, the next step is to access your Uphold account and initiate the transfer of XRP to your Ledger Nano X address.
Open your web browser and navigate to the Uphold website. Login to your Uphold account using your credentials.
Once you are logged in, locate your XRP holdings within your Uphold account. This may be listed under your “Wallet” or “Balance” section, depending on the Uphold interface.
Click on the option to send XRP or initiate a withdrawal. Uphold will present you with a form to fill in the necessary details for the transfer.
In the recipient address field, enter the XRP address that you generated on your Ledger Nano X in the previous step. Take extra care to ensure the address is copied correctly to avoid any loss of funds due to typos.
Specify the amount of XRP you wish to transfer from Uphold to your Ledger Nano X. It is recommended to review the available XRP balance in your Uphold account to ensure you have sufficient funds for the transfer.
Double-check the recipient address and the transfer amount to ensure their accuracy. Once you are confident that all details are correct, proceed to the next step to confirm the transfer.
Uphold may also prompt you to input additional security measures, such as a two-factor authentication code or a confirmation email. Follow the necessary steps to complete the security verification process.
Once you have confirmed the transfer, Uphold will initiate the XRP transaction from your account to the XRP address on your Ledger Nano X. Depending on network congestion and other factors, the transfer may take some time to complete.
During the transfer process, it is important to remain patient and avoid interrupting the transaction. You can monitor the progress of the transfer on the Uphold platform or by exploring blockchain explorers that provide real-time information on XRP transactions.
Once the XRP transfer is complete, you can proceed to the next step to verify and confirm the receipt of XRP on your Ledger Nano X.
Step 5: Enter Ledger Nano X XRP Address in Uphold
After initiating the XRP transfer from Uphold to your Ledger Nano X, the next step is to enter your Ledger Nano X XRP address in the Uphold platform. This ensures that the XRP funds are sent to the correct destination.
Once the XRP transfer process is complete, navigate back to your Uphold account. Access the section where you initiated the transfer or withdrawal process.
Before confirming the transaction, you will typically find a field labeled “Recipient Address” or “Destination Address” in the Uphold form. This is where you’ll need to input your Ledger Nano X XRP address.
Retrieve the XRP address from your Ledger Nano X by accessing the XRP app on the device as explained in earlier steps. Take note of the complete address and ensure its accuracy.
Copy and paste the XRP address from your Ledger Nano X into the designated field in the Uphold form. Alternatively, you can manually enter the address, ensuring there are no typographical errors.
Double-check that the XRP address entered in Uphold matches exactly with the one generated on your Ledger Nano X. Consistency between the two addresses is crucial to ensuring the successful receipt of XRP funds.
Once you have entered the Ledger Nano X XRP address, review all the other details of the transaction, including the amount of XRP being transferred. Verify everything is correct before proceeding to the next step.
Uphold may ask you to confirm the transaction, enter any required security codes, or follow additional security measures such as two-factor authentication.
After completing the necessary steps, Uphold will process the transaction and send the XRP to the specified Ledger Nano X XRP address. The transfer may take some time to finalize depending on network congestion and other factors.
It’s important to note that once the XRP has been sent to your Ledger Nano X, it cannot be reversed. Hence, always ensure that you have entered the appropriate XRP address to avoid any irreversible loss of funds.
With the XRP address entered in Uphold, you can proceed to the next step to verify and confirm the XRP transfer on your Ledger Nano X.
Step 6: Verify and Confirm XRP Transfer Details
After entering your Ledger Nano X XRP address in Uphold, it is essential to verify and confirm the details of the XRP transfer to ensure everything is correct and accurate.
To begin, open the XRP app on your Ledger Nano X. Navigate to the transaction history or balance section to check for any incoming transactions.
Locate the specific XRP transaction that corresponds to the transfer you initiated from Uphold. Take note of the transaction amount and the timestamp to match it with the expected transfer.
Verify that the transaction details in your Ledger Nano X match the information from Uphold, including the amount of XRP transferred and the time of the transaction.
It is also important to compare the XRP address to which the funds have been sent on your Ledger Nano X with the address you entered in Uphold. Ensure they match exactly to confirm that the funds were successfully directed to the intended destination.
In case there are any discrepancies or inconsistencies in the transaction details, double-check your steps and ensure you have entered and confirmed the correct XRP address in both Uphold and on your Ledger Nano X.
If the transaction details match and everything appears accurately on your Ledger Nano X, it indicates a successful transfer of XRP from Uphold to your hardware wallet.
By verifying and confirming these details, you can have peace of mind knowing that your XRP funds have been securely transferred to your Ledger Nano X, protected by the device’s robust security features.
Now that you have verified the XRP transfer, you can proceed to the final step to conclude the process and ensure your Ledger Nano X is safely storing your XRP holdings.
Step 7: Check Your Ledger Nano X for XRP Receipt
Once you have verified and confirmed the XRP transfer details, the final step is to check your Ledger Nano X to ensure that you have received the XRP funds successfully.
First, access the XRP app on your Ledger Nano X. Navigate to the transaction history or balance section to view your XRP holdings.
Look for the recent transaction that corresponds to the XRP transfer from Uphold. Make sure that the transaction is marked as incoming or received.
Check the transaction amount to ensure it aligns with the amount you transferred from Uphold. This confirms that the XRP funds have been successfully received on your Ledger Nano X.
Review the transaction details on your Ledger Nano X, including the sender’s address (Uphold’s XRP send address) and the timestamp of the transaction.
If the transaction details match the information from Uphold and you see the expected XRP balance in your Ledger Nano X, it indicates a successful and completed transfer.
Furthermore, you can use block explorers specific to the XRP network to independently verify the transaction by searching for your Ledger Nano X XRP address. This can provide an additional level of confirmation and transparency.
By checking your Ledger Nano X for the XRP receipt, you can ensure that your funds have been securely transferred to your hardware wallet and are under your control. This adds an extra layer of protection against potential risks associated with exchanges or online storage.
Congratulations! You have now successfully transferred your XRP from Uphold to your Ledger Nano X, and your funds are securely stored in your hardware wallet, protected by its advanced security features.
Remember to keep your Ledger Nano X and recovery phrase in a safe place, and always practice good security habits when managing your cryptocurrency holdings.
Now that you have completed the transfer process, you can confidently continue managing and using your XRP on your Ledger Nano X whenever you need.
Conclusion
Transferring your XRP from Uphold to your Ledger Nano X is a straightforward process that provides enhanced security and control over your cryptocurrency holdings. By following the step-by-step guide outlined in this article, you can ensure a smooth and secure transfer of your XRP funds.
We began by setting up your Ledger Nano X wallet and installing the XRP app, which allows your device to recognize and interact with XRP transactions. Then, we generated a new XRP address on your Ledger Nano X, serving as the destination for the transfer.
Afterward, we accessed Uphold and initiated the XRP transfer, entering your Ledger Nano X XRP address in the Uphold platform. We then verified and confirmed the XRP transfer details, ensuring the accuracy of the transaction.
Finally, we checked your Ledger Nano X for the XRP receipt, ensuring that the funds were successfully received and securely stored in your hardware wallet.
By transferring your XRP to your Ledger Nano X, you have taken an important step towards enhancing the security and control over your cryptocurrency holdings. Your XRP funds are now stored offline, safeguarded from potential online threats.
Remember to always double-check the accuracy of the addresses, amounts, and transaction details before initiating any transfers. Security and attentiveness are paramount in the world of cryptocurrencies.
Thank you for following this guide on transferring XRP from Uphold to your Ledger Nano X. Enjoy the peace of mind and increased security that comes with managing your XRP on a hardware wallet.
Happy transferring and safe crypto managing!