Introduction
Welcome to our guide on how to make an NFC Tag Amiibo. If you are a fan of Nintendo’s popular Amiibo figurines and want to expand your collection without breaking the bank, creating your own NFC Tag Amiibos is a great option. Amiibos are small figurines or cards that can be used to unlock additional content in various Nintendo games. However, purchasing official Amiibo can be costly and some are even limited edition, making them hard to find.
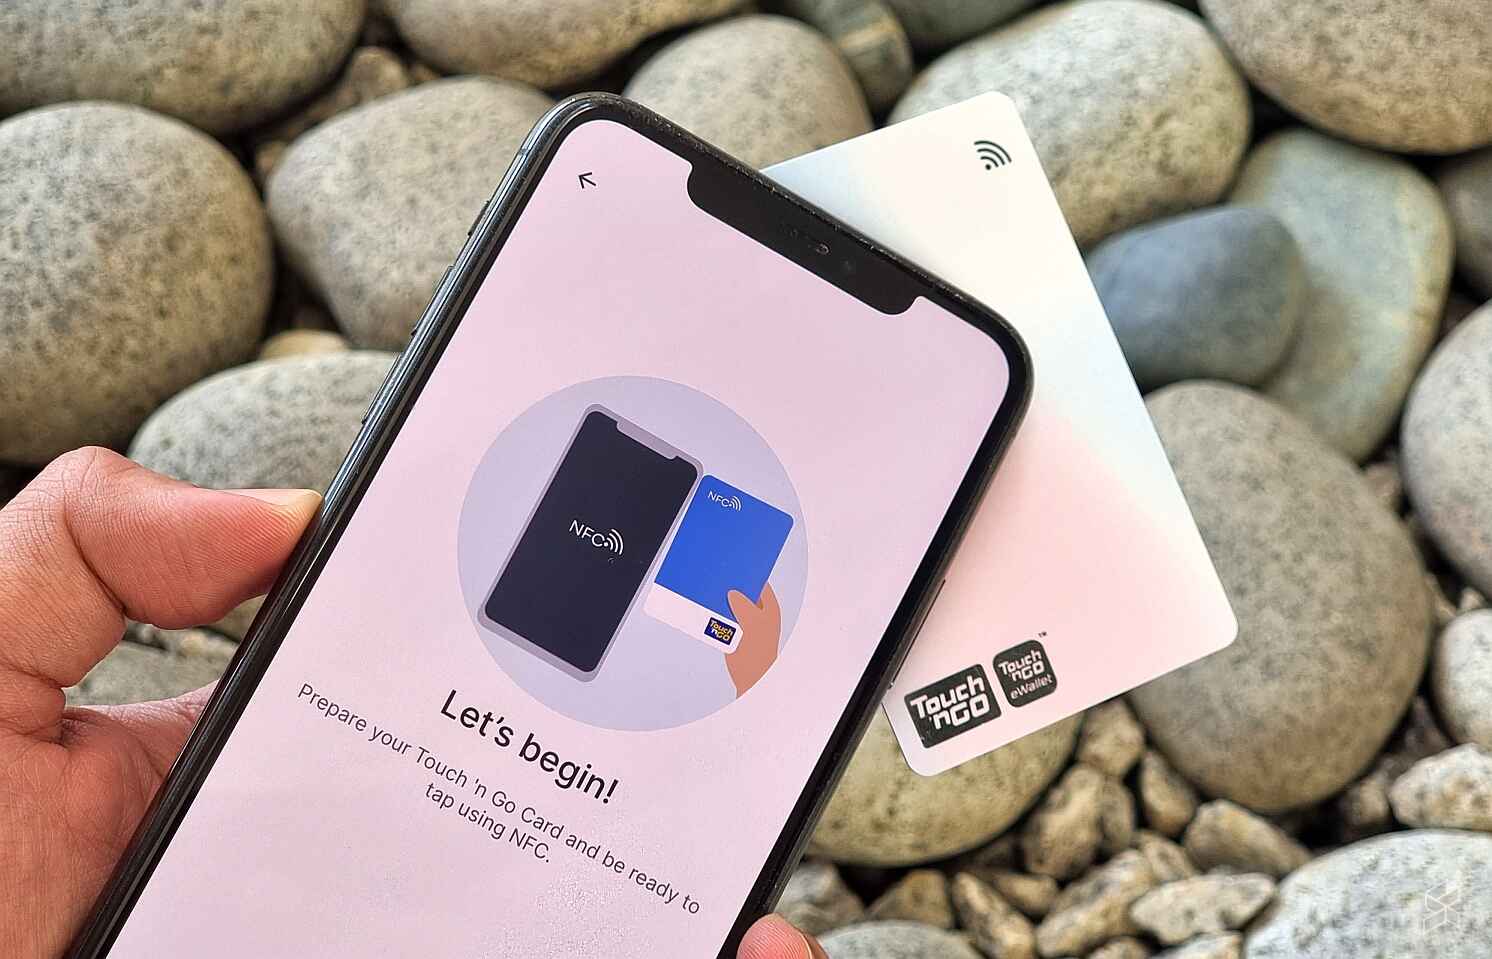
Luckily, with the help of NFC (Near Field Communication) technology, you can create your own custom Amiibo by utilizing inexpensive NFC tags. NFC tags are programmable objects that can store data and transmit it when in proximity to an NFC-enabled device, such as a Nintendo Switch console or a smartphone. By writing the Amiibo data onto an NFC tag, you can essentially create a virtual Amiibo that functions just like the original figurine.
In this guide, we will walk you through the process of creating your own NFC Tag Amiibo. We will provide instructions on how to find the desired Amiibo data, prepare the NFC tag, download and install an NFC writing app, write the Amiibo data to the tag, and finally, test the NFC Tag Amiibo on your Nintendo device. So, let’s get started and dive into the world of DIY Amiibos!
What is an NFC Tag Amiibo?
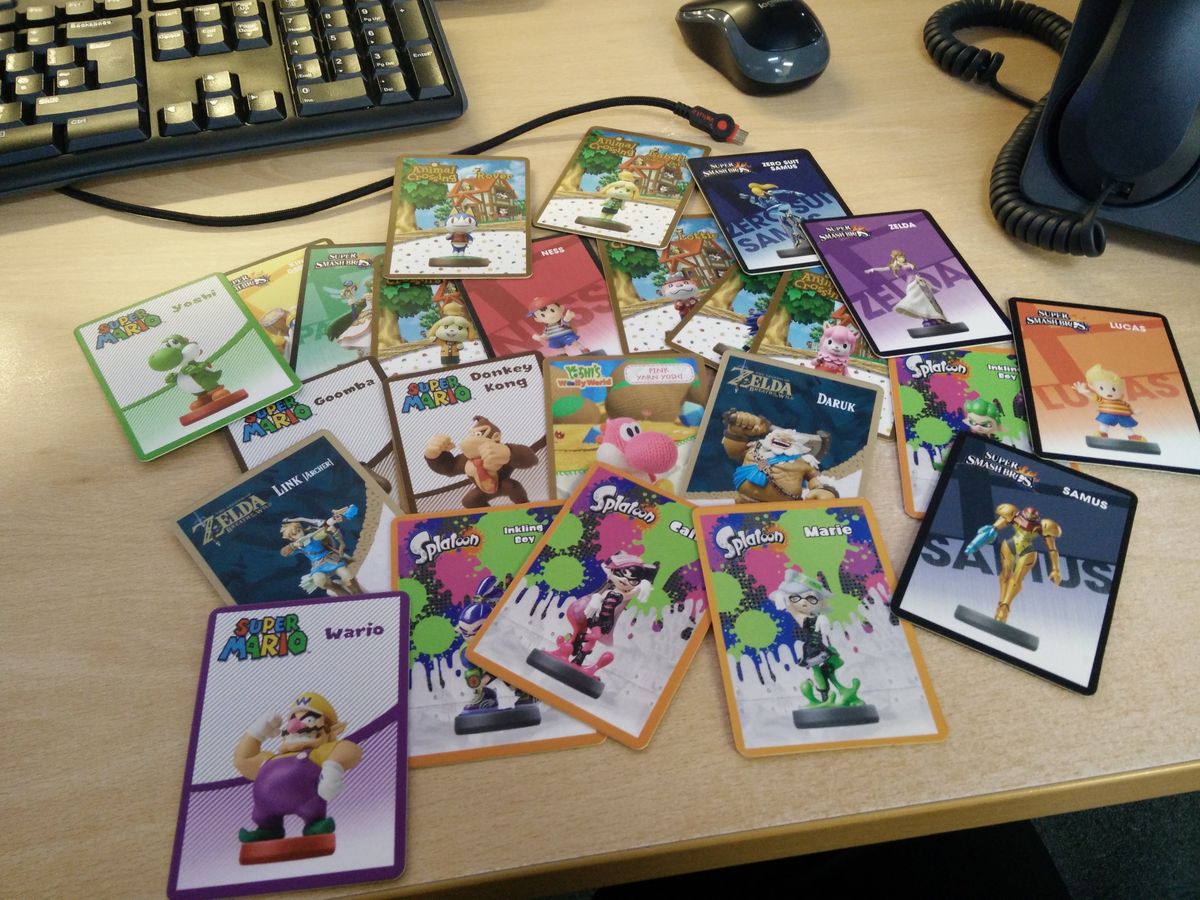
An NFC Tag Amiibo is a virtual representation of a physical Amiibo figurine or card created using NFC technology. Amiibos are originally designed and sold by Nintendo to enhance the gaming experience on their consoles, such as the Nintendo Switch, 3DS, and Wii U. These small figurines or cards contain an NFC chip that can be scanned by the console to unlock exclusive content, such as new characters, costumes, power-ups, or levels, in compatible games.
However, purchasing official Amiibo can be expensive, especially when trying to collect a wide variety of characters. This is where the concept of NFC Tag Amiibos comes in. NFC tags are programmable objects that can store data and interact with NFC-enabled devices. By writing the specific data of an Amiibo onto an NFC tag, you essentially create a virtual version of the Amiibo that can be read by the console, replicating the functionality of the original physical Amiibo.
Creating NFC Tag Amiibos allows you to enjoy the benefits of using Amiibo without the cost or rarity limitations. You can customize the content on the tags to unlock different features in games or access unique items. The process of creating NFC Tag Amiibos involves finding the desired Amiibo data from reputable sources, preparing the NFC tag to be written onto, downloading an NFC writing app, and finally writing the Amiibo data to the tag.
It’s important to note that NFC Tag Amiibos are not official Nintendo products. While they emulate the functionality of Amiibos, they should be used responsibly and for personal enjoyment only. Creating and using NFC Tag Amiibos should not be considered a replacement for supporting and purchasing official Amiibo products. It’s always recommended to support game developers and companies that create these unique gaming experiences.
Materials Needed
To create your own NFC Tag Amiibo, you will need a few materials. Most of these items are readily available and affordable, making the process accessible to anyone interested in expanding their Amiibo collection. Here’s a list of the materials you will need:
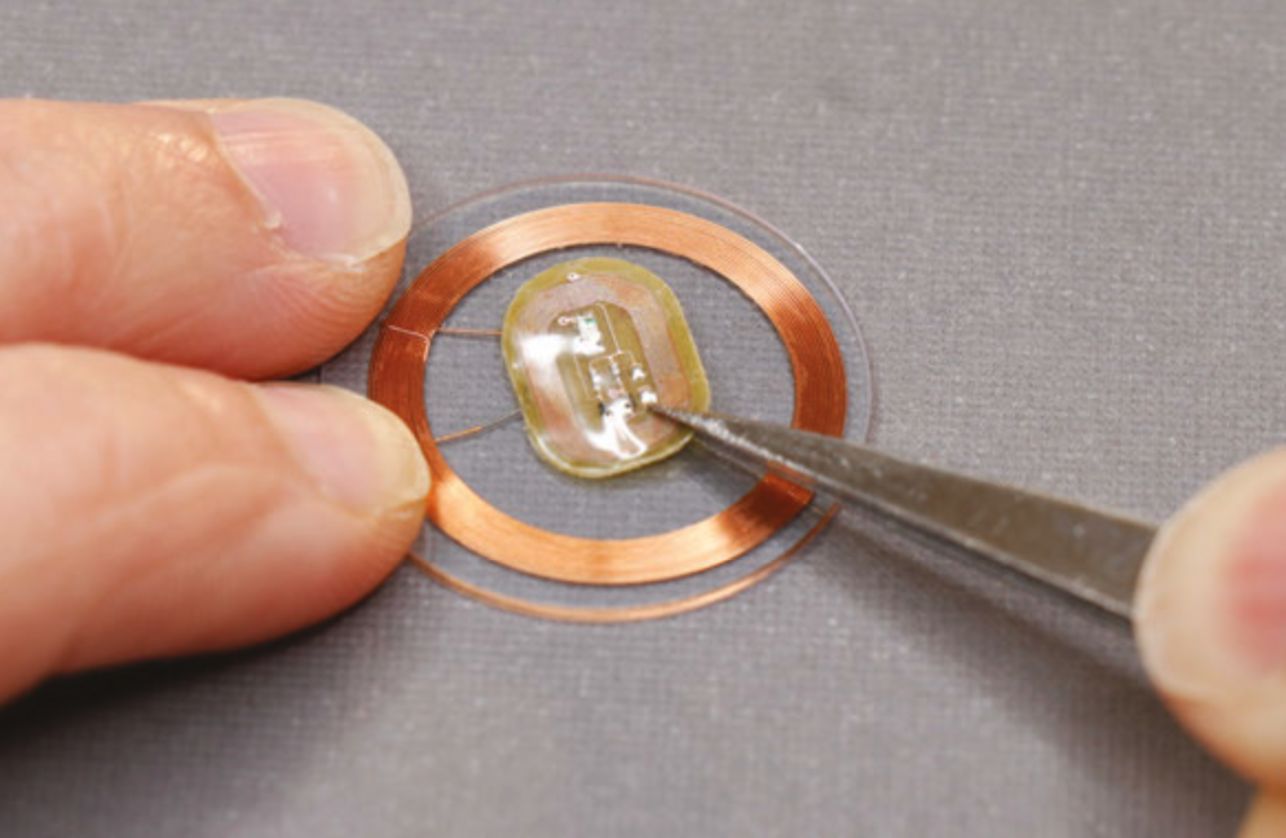
- NFC Tags: These are small programmable stickers or keychain tags that contain an NFC chip. You can purchase them online or at electronics stores, and they typically come in various shapes and sizes. Make sure to choose NFC tags that are compatible with the NFC writing app you’ll be using.
- Device with NFC Capability: You will need a device that supports NFC, such as a smartphone or tablet. This device will be used to write the Amiibo data onto the NFC tag. Make sure to check if your device has NFC functionality before proceeding.
- Amiibo Data: You will need the specific Amiibo data that you want to replicate. This data is usually in the form of an Amiibo bin file, which contains the unique identification and characteristics of the Amiibo. You can find these files from reputable sources online or by using specialized Amiibo data sharing platforms.
- NFC Writing App: An NFC writing app is required to write the Amiibo data onto the NFC tag. There are various NFC writing apps available for different devices and operating systems. Make sure to choose a reliable app that has positive user reviews.
- Optional: If you prefer to protect the NFC tag or give it a personalized touch, you can also consider getting a protective sleeve or a small keychain holder for the tag.
With these materials on hand, you’ll have everything you need to start creating your own NFC Tag Amiibos. Make sure to gather all the necessary items before moving on to the next steps of the process.
Step 1: Find the Desired Amiibo Data
The first step in creating an NFC Tag Amiibo is to find the specific Amiibo data that you want to replicate. This data will be the foundation of the virtual Amiibo you’ll create on the NFC tag. Here’s how you can find the desired Amiibo data:
- Research Amiibo Data Sources: Start by researching reputable sources that provide Amiibo data files. There are websites and communities dedicated to sharing Amiibo files, where you can find a wide range of characters and their corresponding data.
- Choose a Reliable Source: It’s important to choose a reliable source to ensure that you’re getting accurate and legitimate Amiibo files. Look for platforms that have positive reviews and feedback from other users. This will help prevent any potential issues or compatibility errors when writing the data onto the NFC tag.
- Download the Amiibo Data: Once you’ve identified a reliable source, navigate to their website and search for the specific Amiibo you want to replicate. Most sources will provide a download link to access the Amiibo data file in .bin format. Click on the download link and save the file to a location on your device.
- Verify the Amiibo Data: Before proceeding further, it’s a good practice to verify the Amiibo data to ensure it’s not corrupted or incomplete. There are online tools available that can check the integrity and validity of Amiibo data files. Use one of these tools or refer to the instructions provided by the Amiibo data source to verify the downloaded file.
By following these steps, you will be able to find and download the specific Amiibo data that matches the character or functionality you desire. Take your time to explore different sources and choose the Amiibo files that resonate with you the most. Once you have the Amiibo data downloaded, you can proceed to the next step: preparing the NFC tag.
Step 2: Prepare the NFC Tag
Now that you have the desired Amiibo data, it’s time to prepare the NFC tag for writing the data onto it. This involves making sure the NFC tag is ready and properly formatted to receive the Amiibo data. Follow these steps to prepare the NFC tag:
- Choose an NFC tag: Select the NFC tag you want to use for your NFC Tag Amiibo. Make sure it is compatible with the NFC writing app you’ll be using and has enough storage capacity to hold the Amiibo data.
- Format the NFC tag: Before writing the Amiibo data onto the NFC tag, it needs to be formatted to ensure any previous data is erased and it is in a writable state. To format the NFC tag, open the NFC writing app and follow the instructions provided in the app to format the tag. This will prepare it for writing the Amiibo data.
- Keep the NFC tag clean: It’s important to keep the NFC tag clean and free from any dust or debris that may interfere with its functionality. Use a soft cloth or microfiber cloth to gently clean the surface of the tag before writing the data. Avoid using harsh cleaners or abrasive materials that may damage the tag.
- Protect the NFC tag (optional): If you want to protect the NFC tag or give it a personalized touch, you can consider using a protective sleeve or a small keychain holder. This will help preserve the tag and prevent any physical damage or wear.
By following these steps, you will ensure that your NFC tag is ready to receive the Amiibo data. Taking the time to properly prepare the NFC tag ensures a smooth writing process and helps maintain the longevity of the tag. Once the NFC tag is prepared, you can move on to the next step: downloading and installing an NFC writing app.
Step 3: Download and Install an NFC Writing App
For the next step in creating an NFC Tag Amiibo, you will need to download and install an NFC writing app on your device. This app will allow you to write the Amiibo data onto the prepared NFC tag. Follow these steps to download and install an NFC writing app:
- Research NFC Writing Apps: Start by researching NFC writing apps that are compatible with your device’s operating system. Look for apps that have positive reviews and a good reputation in the NFC community. Popular options include TagMo for Android devices and amiitool for Windows computers.
- Download the App: Once you’ve identified a suitable NFC writing app, navigate to the official download source for the app. This could be an app store, a developer’s website, or a trusted online platform. Download the app and wait for the installation process to complete.
- Grant Necessary Permissions: Once the app is installed, open it and make sure to grant any necessary permissions for it to access NFC functionality on your device. This will allow the app to communicate with the NFC tag and write the Amiibo data onto it.
- Learn App Functionality: Familiarize yourself with the app’s interface and functionality. Explore the various features and options available, such as writing, editing, and managing NFC tags. Take the time to understand how the app works to ensure a smooth writing process.
- Verify Compatibility: Before proceeding to the next step, make sure that the NFC writing app you have chosen is compatible with the NFC tag and Amiibo data file you have. Refer to the app’s documentation or online resources to confirm compatibility.
By following these steps, you will have successfully downloaded and installed an NFC writing app on your device. This app will serve as the tool for writing the Amiibo data onto the NFC tag. Take the time to explore the app’s features and interface to ensure you are comfortable using it. Once the NFC writing app is installed, you can proceed to the next step: writing the Amiibo data onto the NFC tag.
Step 4: Write the Amiibo Data to the NFC Tag
With the NFC tag prepared and the NFC writing app installed, you are now ready to write the Amiibo data onto the NFC tag. This step is crucial as it transforms the blank tag into a virtual Amiibo that can be used in compatible games. Follow these steps to write the Amiibo data onto the NFC tag:
- Open the NFC Writing App: Launch the NFC writing app that you installed in the previous step. Make sure that NFC is enabled on your device.
- Load the Amiibo Data: Within the NFC writing app, locate the option to load or import the Amiibo data that you downloaded in Step 1. Select the Amiibo data file and load it into the app.
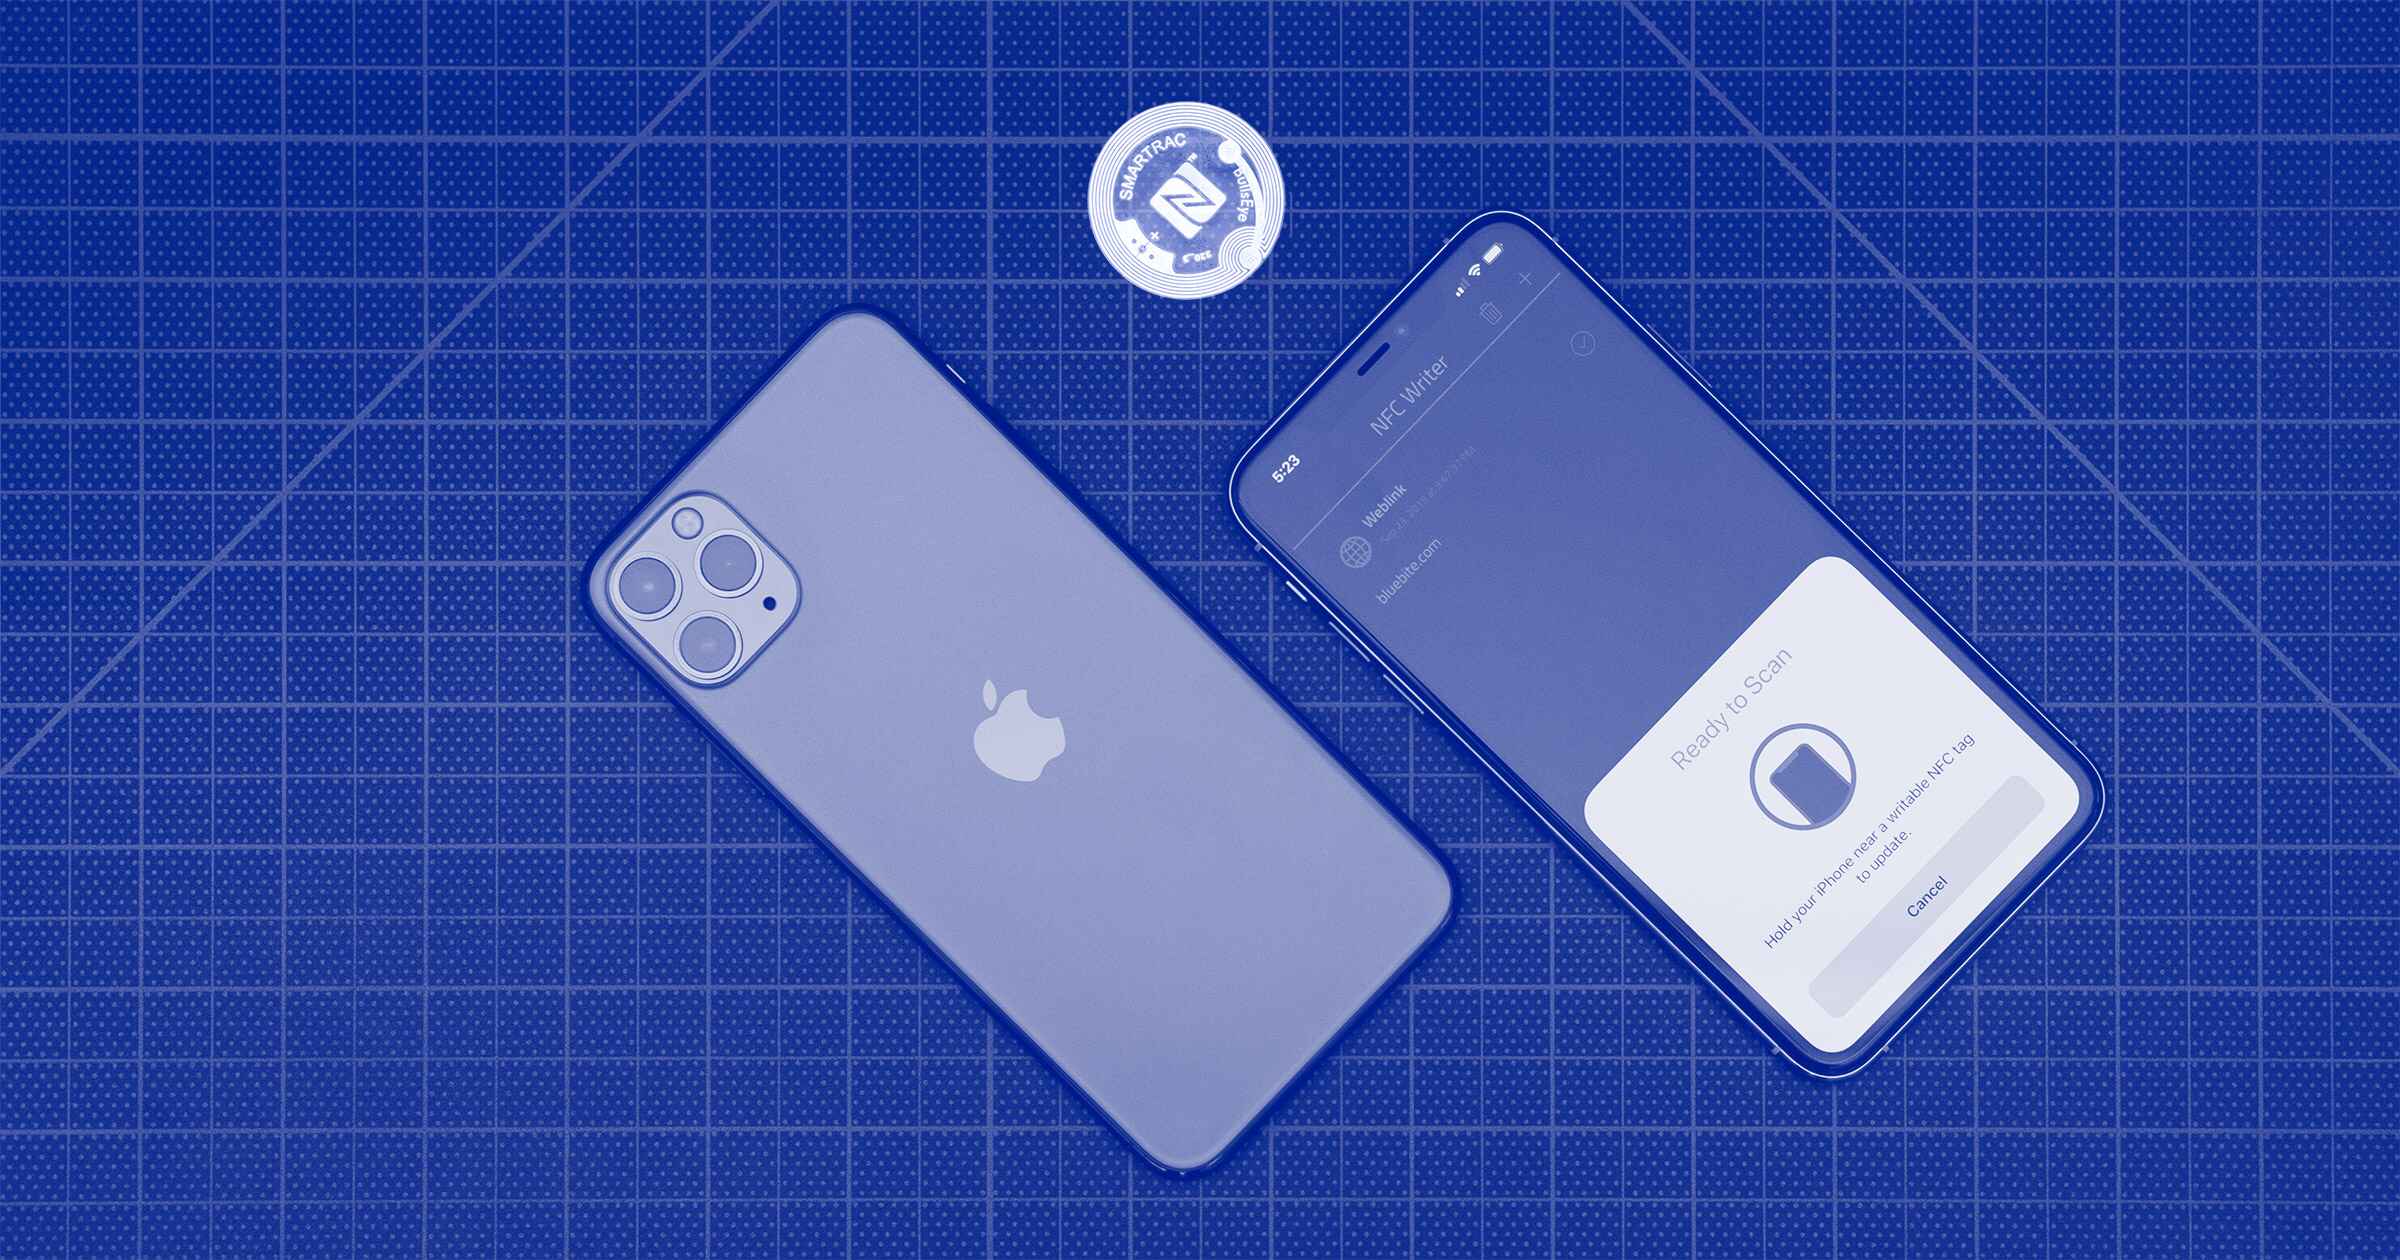
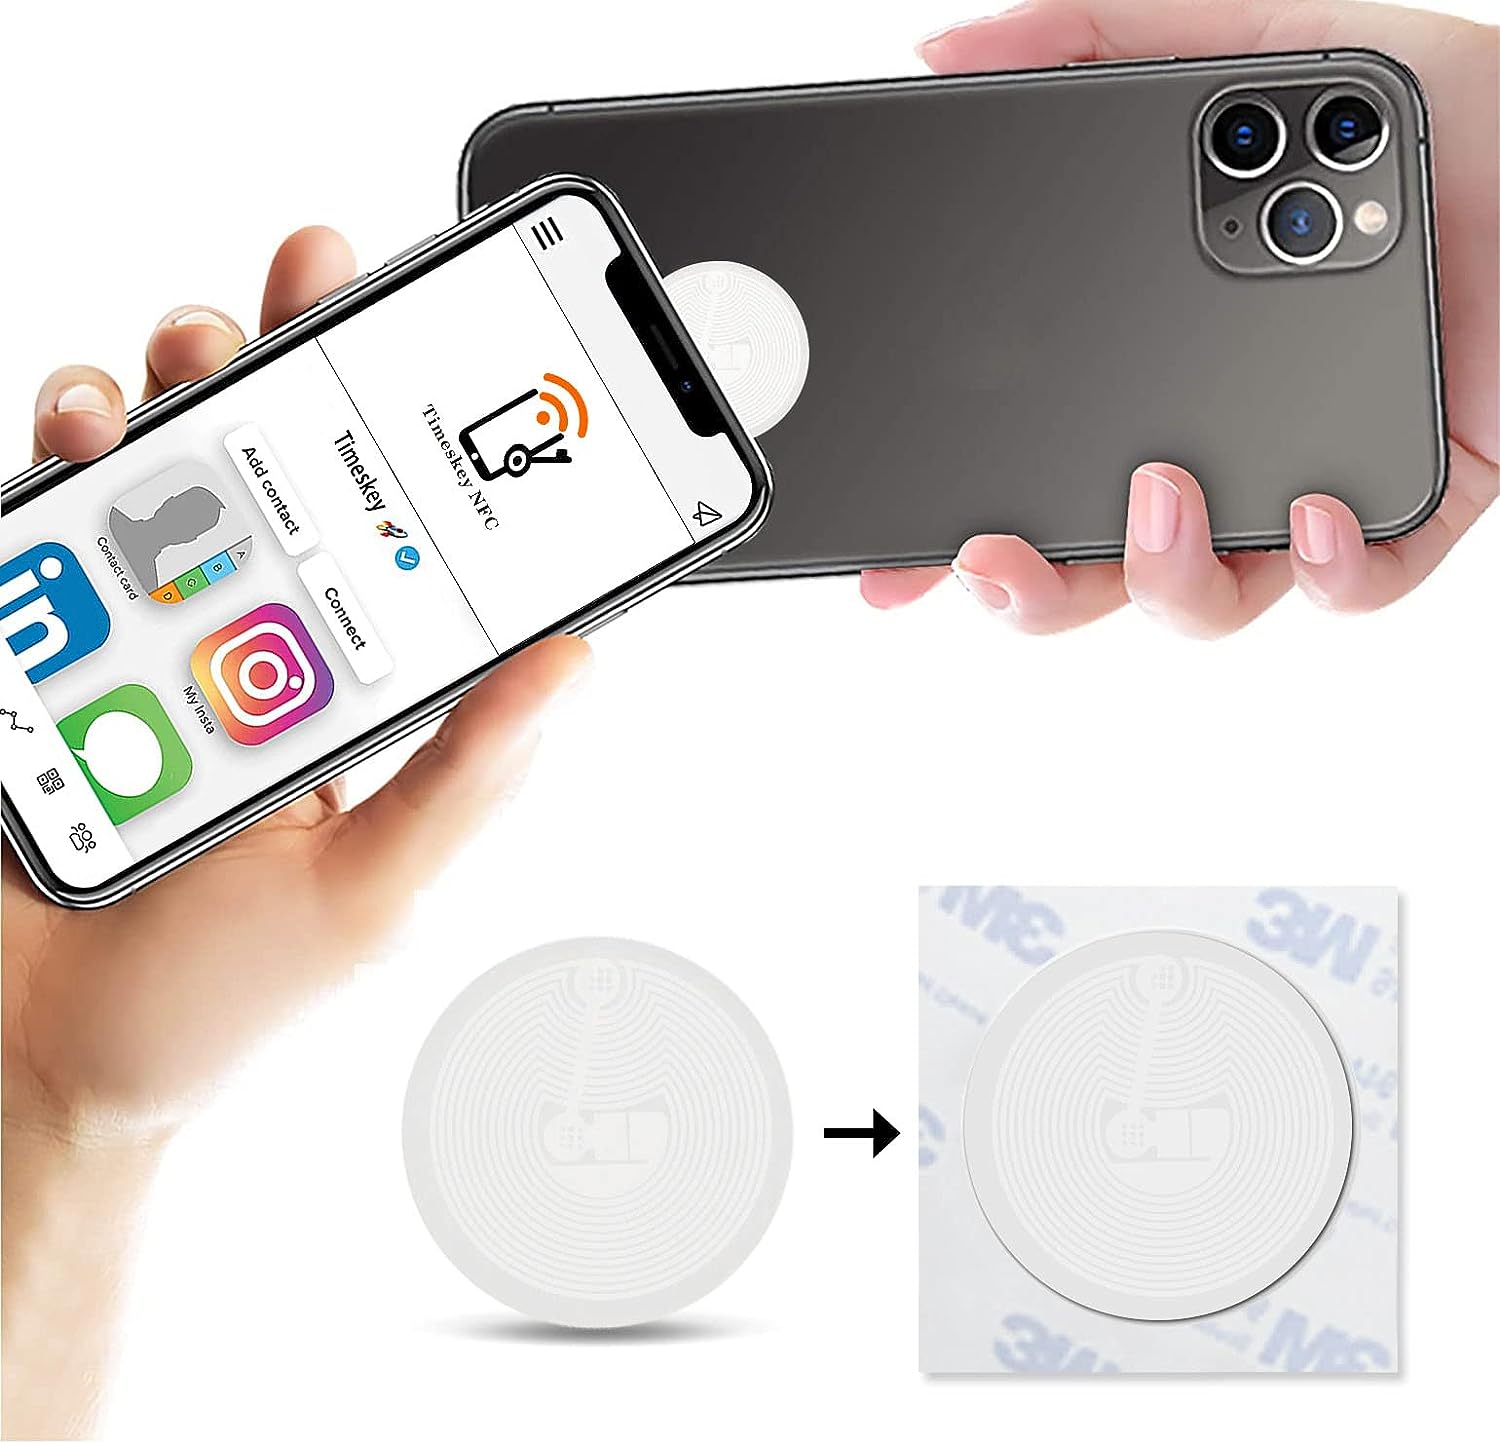
- Ready the NFC Tag: Hold the NFC tag close to the back of your device, where the NFC sensor is located. The app should detect the NFC tag’s presence and prompt you to proceed.
- Write the Amiibo Data: Once the NFC tag is detected, follow the prompts in the app to initiate the writing process. The app will write the Amiibo data onto the NFC tag, transferring the character’s information, abilities, and other attributes.
- Wait for the Writing Process: The writing process may take a few seconds to complete, depending on the size of the Amiibo data file. Ensure that your device remains in proximity to the NFC tag until the process is fully finished.
- Verify Successful Writing: Once the writing process is complete, the NFC writing app will indicate that the Amiibo data has been successfully written to the NFC tag. You can remove the NFC tag from your device.
It is important to note that different NFC writing apps may have slightly different interfaces and processes. Therefore, it is recommended to follow the instructions provided within the specific NFC writing app you are using.
By following these steps, you will have successfully written the Amiibo data onto the NFC tag. The NFC tag is now transformed into a virtual Amiibo that can be used with your Nintendo device. Once the writing process is complete, you can proceed to the final step: testing the NFC Tag Amiibo.
Step 5: Test the NFC Tag Amiibo
Once you have written the Amiibo data onto the NFC tag, it’s time to test its functionality. Testing will ensure that the virtual Amiibo you created can be recognized and used in compatible games on your Nintendo device. Follow these steps to test the NFC Tag Amiibo:
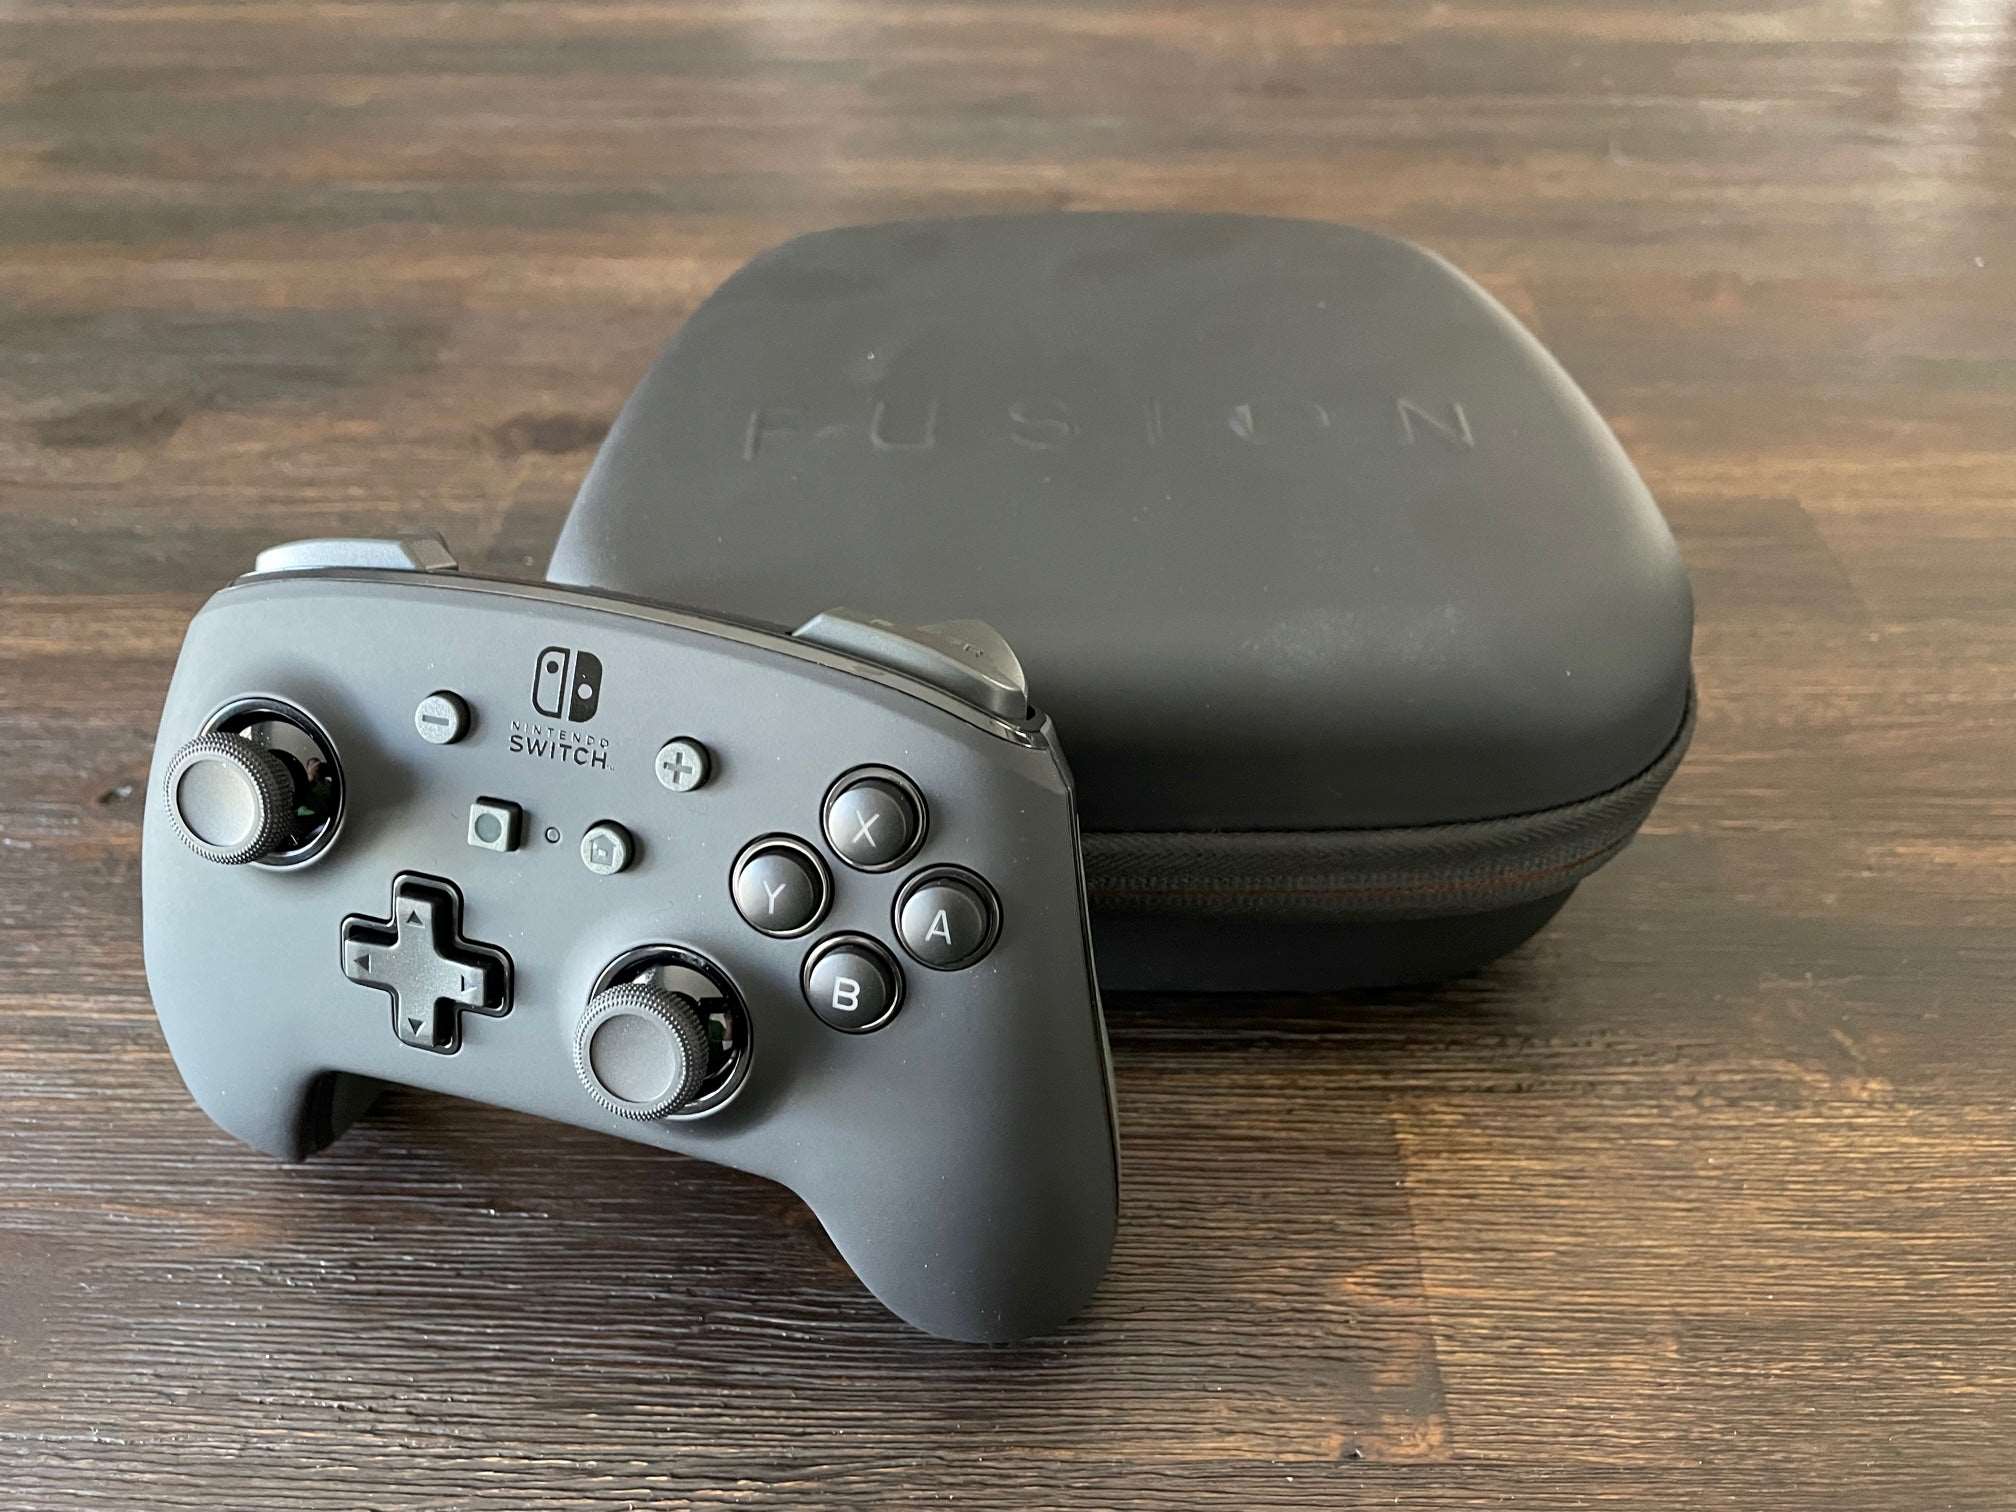
- Ensure NFC Compatibility: Ensure that your Nintendo device, whether it’s a Nintendo Switch, 3DS, or Wii U, has NFC functionality. Some devices may have the NFC sensor in different locations, so refer to your device’s user manual or online resources to determine the correct placement.
- Power on your Nintendo device: Make sure your Nintendo device is powered on and ready to be used.
- Launch a compatible game: Select a game that supports Amiibo functionality. Popular Nintendo games such as “The Legend of Zelda: Breath of the Wild” or “Super Smash Bros. Ultimate” are known for their extensive Amiibo integration.
- Access the Amiibo feature: In the game, access the Amiibo feature or menu usually found in the options or settings. Look for an option that allows you to scan Amiibo or use Amiibo content.
- Scan the NFC Tag Amiibo: Hold the NFC tag close to the NFC sensor on your Nintendo device. The device should recognize the NFC Tag Amiibo and prompt you with the virtual character’s information or a confirmation message.
- Enjoy the Amiibo content: Once the NFC Tag Amiibo is recognized, you can start enjoying the exclusive content, bonuses, or features in the game. This can range from unlocking new characters, gaining special items, or accessing additional levels.
It’s important to note that the functionality and features available through the NFC Tag Amiibo will vary depending on the game and the specific Amiibo data you used. Some games may have limited Amiibo integration, while others may offer extensive content and benefits.
By following these steps and testing the NFC Tag Amiibo, you can ensure that your virtual Amiibo creation is working as expected. If the NFC Tag Amiibo is not recognized or the expected content is not unlocked, double-check the writing process and compatibility to ensure everything was executed correctly.
Now that you have successfully tested the NFC Tag Amiibo, you can start using it in your favorite Nintendo games and enjoy the additional content and features it provides.
Conclusion
Congratulations! You have successfully learned how to create an NFC Tag Amiibo. By following the steps outlined in this guide, you now have the knowledge and tools to expand your Amiibo collection without breaking the bank. Creating your own NFC Tag Amiibos allows you to unlock exclusive content, characters, and features in your favorite Nintendo games.
We started by understanding what an NFC Tag Amiibo is and how it functions as a virtual representation of a physical Amiibo figurine. We then discussed the materials needed for the process, including NFC tags, a device with NFC capability, Amiibo data, and an NFC writing app.
Throughout the step-by-step process, you learned how to find the desired Amiibo data, prepare the NFC tag, download and install an NFC writing app, write the Amiibo data onto the NFC tag, and test the functionality of the NFC Tag Amiibo on your Nintendo device.
Remember, NFC Tag Amiibos are not official Nintendo products, but they can provide a cost-effective way to enjoy the benefits of Amiibo functionality. It’s essential to use them responsibly and for personal enjoyment, respecting the efforts of game developers and supporting the creators of the original Amiibo products.
Now that you have the skills and knowledge to create NFC Tag Amiibos, have fun exploring and adding new characters and content to your gaming experiences. Let your creativity soar as you customize your NFC Tag Amiibos and unlock new adventures in your favorite Nintendo games.
Enjoy the world of DIY Amiibos and have a blast gaming with your newly created virtual figurines!