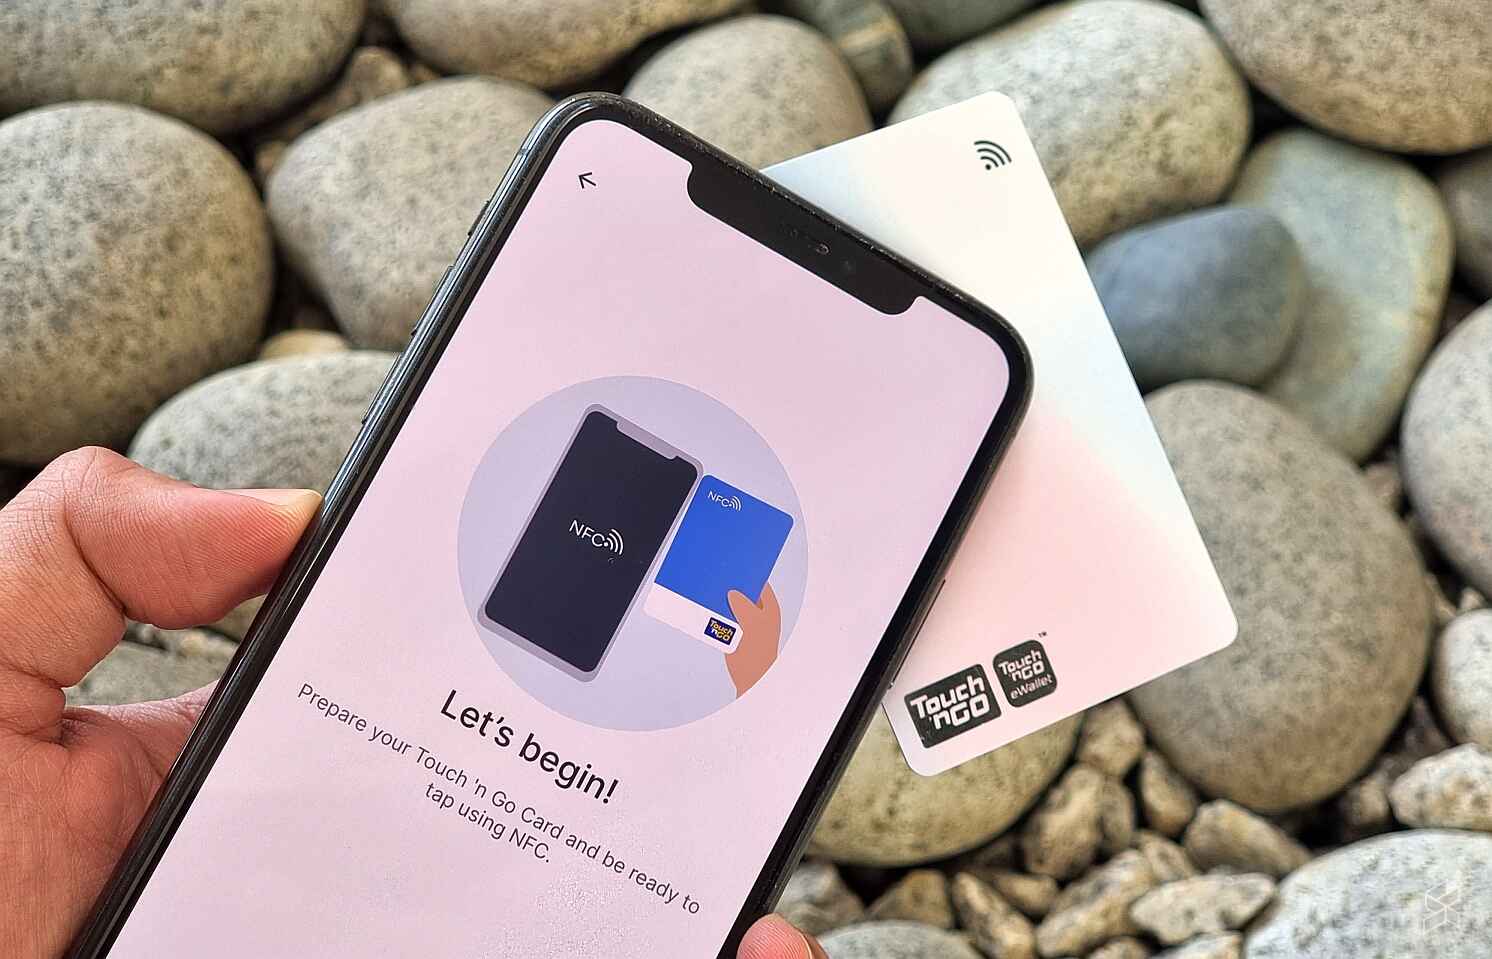
What is NFC?
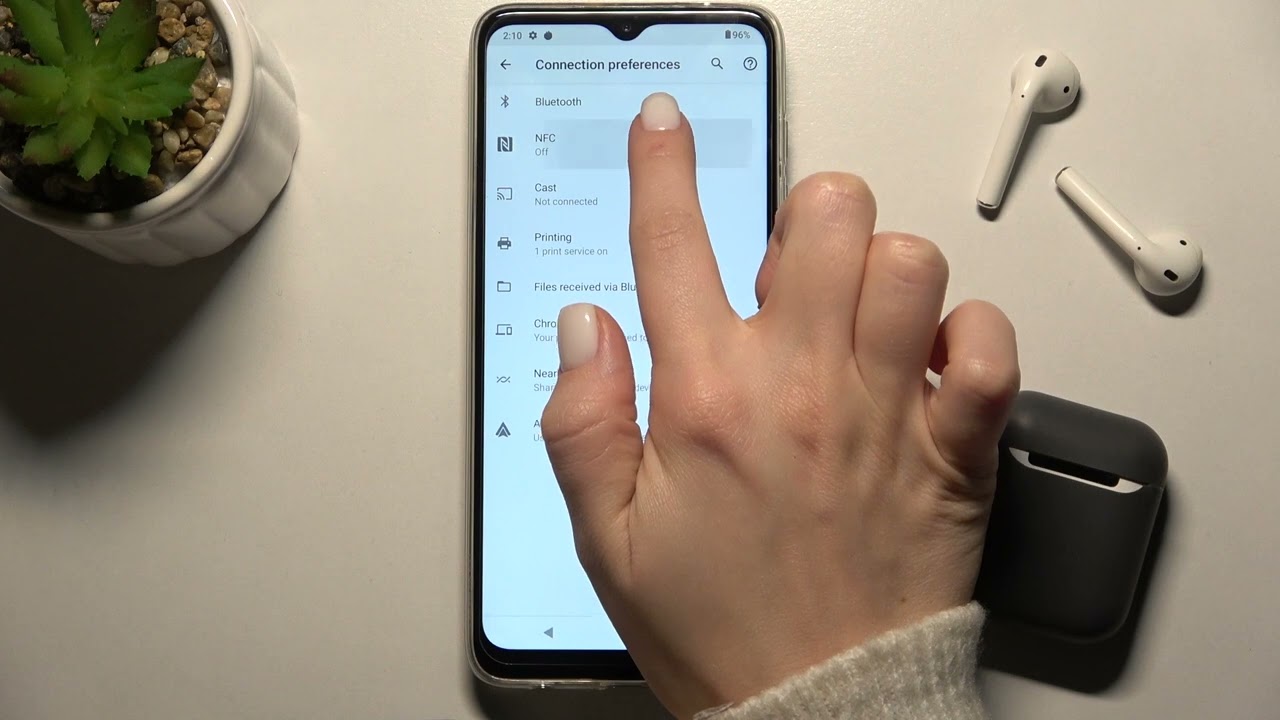
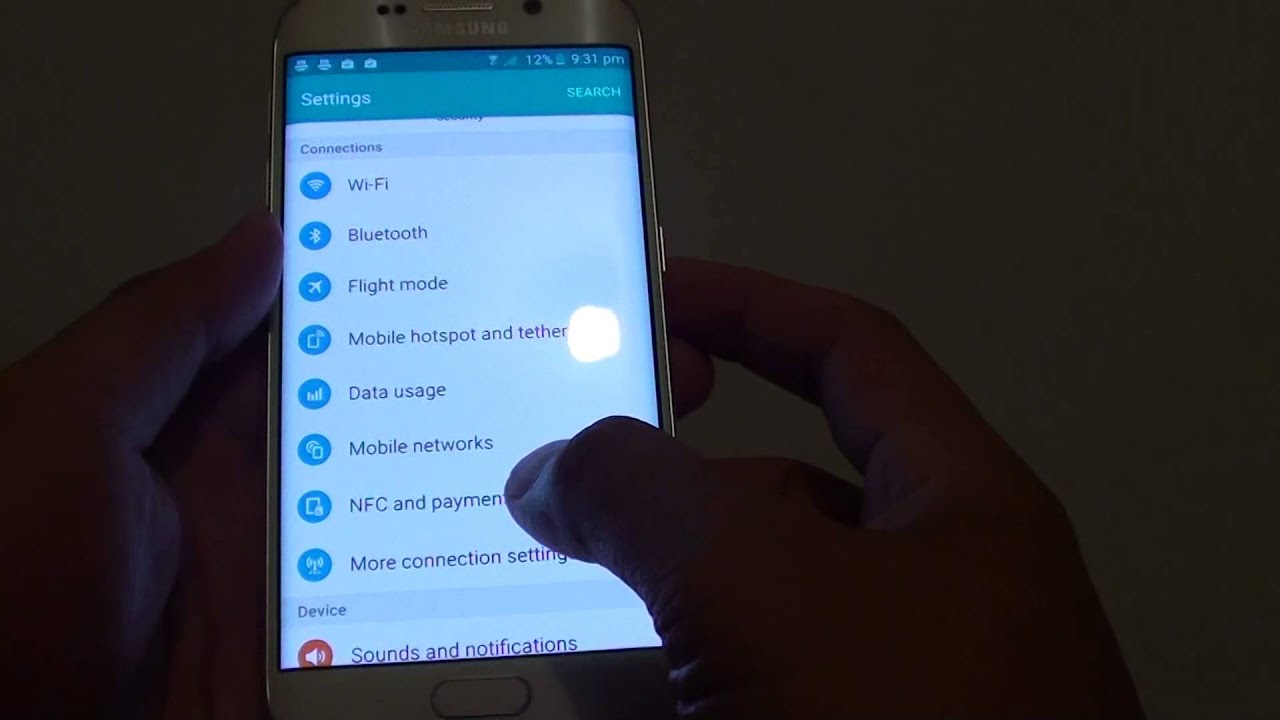
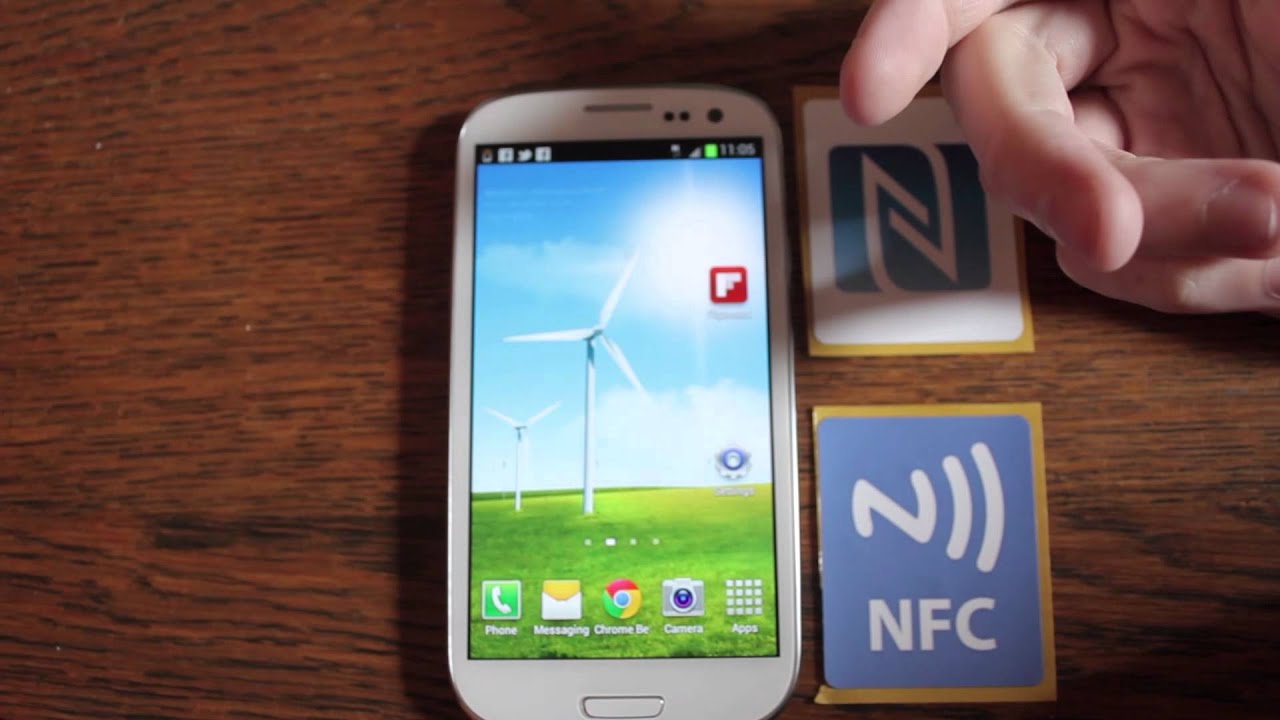
NFC, which stands for Near Field Communication, is a technology that allows devices to communicate with each other when they are in close proximity. It enables wireless communication between compatible devices, making it convenient for transferring data, making payments, and even unlocking doors.
NFC operates on a high-frequency radio frequency identification (RFID) technology that is capable of transmitting data over short distances. It utilizes electromagnetic fields to establish a connection between devices, typically within a range of a few centimeters.
One of the main advantages of NFC is its simplicity and ease of use. It doesn’t require any intricate setup or configuration, and it’s as simple as bringing two NFC-enabled devices close to each other to establish a connection. This makes it a popular choice for various applications, including contactless payments, access control systems, and smart device connectivity.
NFC technology is integrated into many modern smartphones, tablets, and other electronic devices. In fact, if you own a smartphone released within the past few years, chances are it is NFC-enabled.
With NFC, users can perform a wide range of tasks, including making mobile payments, sharing contacts and files, pairing Bluetooth devices, and even programming NFC tags to automate certain actions on their devices.
Many people are familiar with NFC through its use in contactless payment systems, such as Apple Pay and Google Pay. NFC cards or smartphone apps containing payment information can be tapped or brought close to a payment terminal to authorize a transaction, making it a convenient and secure payment method.
Overall, NFC technology has revolutionized the way we interact with our devices and simplified various everyday tasks. It provides a seamless and secure wireless connection that has found applications in various industries, from retail and transportation to healthcare and entertainment.
Now that we understand what NFC is and its basic functionality, let’s dive into the world of NFC cards and how they can be used with the Nintendo Switch.
What are NFC Cards?
NFC Cards, also known as NFC tags, are small, portable devices that utilize NFC technology to store and transmit information. These cards are typically small in size, similar to a credit card or a playing card, and are embedded with an NFC chip and antenna.
These cards can be programmed to perform specific actions when they come into contact with an NFC-enabled device, such as a smartphone or the Nintendo Switch. The information stored on the NFC card can be read and processed by the device, allowing for seamless interaction and automation of tasks.
NFC cards are versatile and can be used for various purposes. They can store contact information, enable access to restricted areas, launch specific apps or websites, or even trigger specific actions on smart devices.
One popular use of NFC cards is for amiibo functionality on the Nintendo Switch. amiibo are a line of interactive figurines that can be used to unlock additional content in compatible games. However, instead of purchasing physical amiibo figurines, users can opt to use NFC cards that have been programmed to emulate the same functionality.
Through the use of NFC cards, users can unlock special in-game items, gain access to new levels or modes, or even enhance game performance. The versatility of NFC cards makes them a cost-effective alternative to collecting physical amiibo figurines.
Besides amiibo functionality, NFC cards can also be used for other purposes on the Nintendo Switch. For example, they can be programmed to launch specific games, activate customization options, or even share gameplay data with friends.
Creating and using NFC cards is relatively simple. There are online tools and smartphone apps available that allow users to program their NFC cards with the desired information or functionality. Once programmed, the NFC card can be used by placing it near the NFC scanning area on the Nintendo Switch or other compatible devices.
NFC cards offer convenience and customization options for users of the Nintendo Switch. With their compact form factor and ability to store information, they provide a seamless way to enhance the gaming experience by unlocking additional content and features.
Now that we have a better understanding of NFC cards, let’s explore their compatibility with the Nintendo Switch and how to set them up.
Are NFC Cards Compatible with the Nintendo Switch?
Yes, NFC cards are compatible with the Nintendo Switch. The Nintendo Switch console has built-in NFC capabilities, allowing it to read and interact with NFC-enabled devices, including NFC cards.
The Nintendo Switch utilizes NFC technology primarily for its amiibo functionality. When an NFC card or figurine is placed near the NFC scanning area on the Joy-Con controllers or the Pro Controller, the console can recognize and communicate with the NFC device.
Since NFC cards can be programmed to emulate the functionality of physical amiibo figurines, they can be used as a cost-effective alternative for accessing amiibo content on the Nintendo Switch. This opens up a wide range of possibilities for gamers who want to enhance their gaming experience without investing in a collection of physical figurines.
It is important to note that not all games on the Nintendo Switch support amiibo functionality. However, a large number of popular titles do offer amiibo support, providing additional content or features when an amiibo card or figurine is scanned.
Additionally, NFC cards can also be used for other purposes on the Nintendo Switch. For example, they can be programmed to launch specific games or apps, unlock customization options, or trigger certain in-game events.
When using NFC cards with the Nintendo Switch, it is crucial to ensure that the cards are compatible with the console’s NFC reader. Most standard NFC cards should work fine, but it is always recommended to check the compatibility of specific cards with the Nintendo Switch before purchasing or using them.
Overall, NFC cards are indeed compatible with the Nintendo Switch, offering users a versatile and cost-effective way to enhance their gaming experience. These cards provide a seamless and convenient method for accessing amiibo content or triggering specific actions on the console.
Now that we know NFC cards are compatible with the Nintendo Switch, let’s explore how to set them up and use them with the console.
How to Set Up NFC Cards on the Switch
Setting up NFC cards on the Nintendo Switch is a straightforward process. Follow these steps to get started:
Step 1: Enable NFC on your Nintendo Switch
Ensure that NFC is enabled on your Nintendo Switch. To do this, go to System Settings on the console. In the Controllers and Sensors section, look for the option to enable NFC. Toggle the switch to turn it on.
Step 2: Prepare your NFC Cards
Before using NFC cards on the Switch, you need to prepare them. This involves programming or purchasing pre-programmed NFC cards with the desired amiibo or functionality. There are several online tools and smartphone apps available that allow you to program NFC cards. Follow the instructions provided by the tool or app to program the NFC cards with the desired content.
Step 3: Registering NFC Cards on the Nintendo Switch
Once you have prepared the NFC cards, it’s time to register them on the Nintendo Switch. On the main menu, go to System Settings, then scroll down and select amiibo. Choose Register amiibo and follow the on-screen prompts to register the NFC cards. Place the NFC card on the NFC scanning area when prompted by the console.
Step 4: Using NFC Cards on the Nintendo Switch
With the NFC cards registered, you can now use them on the Nintendo Switch. To activate the desired functionality, simply place the NFC card near the NFC scanning area on the Joy-Con controllers or the Pro Controller. The console will recognize the NFC card and trigger the corresponding action, such as unlocking additional content or features in a game.
Step 5: Managing the Registered NFC Cards
If you want to manage the registered NFC cards or remove them from your Nintendo Switch, you can do so by going to the amiibo section in System Settings. From there, you can view the list of registered NFC cards and choose to edit or delete them as needed.
That’s it! You have successfully set up and registered NFC cards on your Nintendo Switch. Now you can enjoy the convenience of using NFC cards to enhance your gaming experience and access additional content in compatible games.
Next, we’ll provide some tips and tricks for using NFC cards effectively on the Nintendo Switch.
Step 1: Enable NFC on your Nintendo Switch
To begin using NFC cards on your Nintendo Switch, you need to first enable NFC functionality on the console. By enabling NFC, you allow the Switch to communicate with NFC-enabled devices, such as NFC cards or figurines.
Follow these steps to enable NFC on your Nintendo Switch:
1. Power on your Nintendo Switch
Ensure that your Nintendo Switch is powered on and at the main menu.
2. Access System Settings
On the main menu, navigate to the System Settings option. It is represented by a gear icon and can be found at the bottom of the screen.
3. Locate Controllers and Sensors
Within the System Settings menu, scroll down and select the Controllers and Sensors option. This menu contains various settings related to the functionality of the controllers and sensors on the Switch.
4. Enable NFC
Within the Controllers and Sensors menu, look for the option to enable NFC. It typically has a toggle switch or checkbox next to it. Toggle the switch or check the box to enable NFC functionality on your Nintendo Switch.
5. Confirm NFC is enabled
After enabling NFC, double-check that it is activated by ensuring that the toggle switch is in the “On” position or that the checkbox is checked.
Once you have completed these steps, NFC will be enabled on your Nintendo Switch. You can now proceed to the next steps to prepare and register your NFC cards on the console.
It’s important to note that not all Nintendo Switch models have built-in NFC functionality. If you’re unsure whether your Switch supports NFC, check the specifications of your console or consult the user manual.
By enabling NFC on your Nintendo Switch, you unlock the capability to use NFC cards and figurines to enhance your gaming experience. The next step is to prepare the NFC cards and register them on the console, which we will cover in the following sections.
Step 2: Prepare your NFC Cards
Before you can start using NFC cards on your Nintendo Switch, you need to prepare them by programming or obtaining pre-programmed cards. This process allows you to customize the functionality and content that the NFC cards will provide when scanned by the console.
Follow these steps to prepare your NFC cards:
1. Gather NFC-compatible cards
Ensure that you have NFC-compatible cards, either blank cards that you can program yourself or pre-programmed NFC cards that are compatible with the Nintendo Switch. These cards are usually small and have a similar form factor to credit cards or playing cards.
2. Choose a programming method
Decide on a method to program your NFC cards. There are various online tools and smartphone apps available that allow you to program NFC cards. Research and choose a method that suits your preferences and is compatible with your devices.
3. Program the NFC cards
Using the chosen method, program the NFC cards with the desired content or functionality. This can include amiibo data for unlocking additional in-game content or custom actions such as launching specific games or triggering events on the Nintendo Switch.
4. Test the NFC cards
After programming the NFC cards, it’s a good idea to test them to ensure they function correctly. Use your smartphone or another NFC-enabled device to verify that the NFC cards are recognized and trigger the desired actions or display the intended information.
5. Keep your NFC cards organized
It’s important to keep your NFC cards organized and easily accessible. Consider using protective sleeves, cardholders, or storage cases to prevent damage and simplify their storage.
By following these steps, you can prepare your NFC cards for use with your Nintendo Switch. Once your NFC cards are ready, you can proceed to the next step of registering them on the console to begin using their functionality.
Take your time to ensure that the NFC cards are programmed correctly and that they meet your desired requirements. Programming the NFC cards allows you to customize your gaming experience by unlocking unique content, features, or actions on the Nintendo Switch.
Now that your NFC cards are prepared, let’s move on to the next step of registering them on the Nintendo Switch.
Step 3: Registering NFC Cards on the Nintendo Switch
Now that you have prepared your NFC cards, it’s time to register them on your Nintendo Switch. This step allows the console to recognize and interact with the NFC cards when they are placed near the NFC scanning area on the Joy-Con controllers or the Pro Controller.
Follow these steps to register NFC cards on your Nintendo Switch:
1. Power on your Nintendo Switch
Ensure that your Nintendo Switch is powered on and at the main menu.
2. Access System Settings
On the main menu, navigate to the System Settings option. It is represented by a gear icon and can be found at the bottom of the screen.
3. Select “amiibo”
Within the System Settings menu, scroll down and select the “amiibo” option. This menu contains settings related to amiibo functionality on the Nintendo Switch.
4. Choose “Register amiibo”
From the amiibo menu, select the “Register amiibo” option. This will initiate the registration process for your NFC cards.
5. Place NFC card on the scanning area
When prompted by the console, place the NFC card on the NFC scanning area. On Joy-Con controllers, this area is located on the right stick of the analog stick, while on the Pro Controller, it is located at the top of the controller. Ensure that the NFC card is placed in the correct position for proper scanning.
6. Follow on-screen prompts
As you place the NFC card on the scanning area, follow the on-screen prompts to complete the registration process. The console will detect and recognize the NFC card, associating it with the corresponding amiibo or programmed functionality.
7. Repeat for additional NFC cards
If you have more NFC cards to register, repeat steps 5 and 6 for each card you want to add to your Nintendo Switch.
That’s it! You have successfully registered your NFC cards on your Nintendo Switch. The console is now ready to recognize and interact with the NFC cards when you place them on the NFC scanning area.
Registered NFC cards can be used to unlock additional content, access special features, or trigger specific actions in compatible games. Make sure to experiment with your NFC cards and explore their functionality on various games and applications on the Nintendo Switch.
Next, we’ll discuss how to use NFC cards on the Nintendo Switch once they are registered.
Step 4: Using NFC Cards on the Nintendo Switch
Now that you have registered your NFC cards on your Nintendo Switch, it’s time to start using them. The NFC cards can unlock additional content, provide special features, or trigger specific actions in compatible games. Follow these steps to use NFC cards on your Nintendo Switch:
1. Power on your Nintendo Switch
Ensure that your Nintendo Switch is powered on and at the main menu.
2. Launch a compatible game or application
Choose a game or application that supports NFC functionality. Many popular games on the Nintendo Switch have amiibo support, allowing you to utilize the NFC cards for additional content or features.
3. Place the NFC card on the scanning area
When prompted by the game or application, place the NFC card on the NFC scanning area. On the Joy-Con controllers, this area is located on the right stick of the analog stick, while on the Pro Controller, it is located at the top of the controller.
4. Wait for recognition
Wait for the console to recognize the NFC card. Once recognized, the game or application will respond accordingly, unlocking content such as new characters, special items, or bonus levels.
5. Follow on-screen prompts
Depending on the game or application, you may be prompted with on-screen instructions or prompts after placing the NFC card on the scanning area. Follow these prompts to complete the interaction with the NFC card.
6. Explore the unlocked content
Once the NFC card is recognized and the interaction is complete, explore the unlocked content or features that were granted. This could include new in-game items, enhanced gameplay capabilities, or access to exclusive content.
7. Repeat for other NFC cards
If you have multiple NFC cards registered, you can use them in the same manner. Simply repeat steps 3 to 6 for each NFC card you want to utilize in the game or application.
Using NFC cards on the Nintendo Switch provides a seamless way to enhance your gaming experience. The ability to unlock additional content or features with a simple tap of an NFC card adds a new level of excitement and customization to compatible games.
Keep in mind that not all games or applications on the Nintendo Switch support NFC functionality or amiibo interaction. Make sure to check the compatibility of the game or application beforehand to ensure that you can make use of your NFC cards.
Now that you know how to use NFC cards on your Nintendo Switch, let’s move on to the next step of managing the registered NFC cards.
Step 5: Managing the Registered NFC Cards
Once you have registered NFC cards on your Nintendo Switch, it’s important to know how to manage them. This step allows you to view, edit, or delete the registered NFC cards based on your preferences and needs.
Follow these steps to manage the registered NFC cards on your Nintendo Switch:
1. Power on your Nintendo Switch
Ensure that your Nintendo Switch is powered on and at the main menu.
2. Access System Settings
On the main menu, navigate to the System Settings option. It is represented by a gear icon and can be found at the bottom of the screen.
3. Select “amiibo”
Within the System Settings menu, scroll down and select the “amiibo” option. This menu contains settings related to amiibo functionality on the Nintendo Switch.
4. Manage the NFC cards
In the amiibo menu, you will find options to manage the registered NFC cards. You can view the list of registered cards, edit their information or functionality, or delete them from the console.
5. Edit the registered NFC cards
If you want to edit the information or functionality associated with a registered NFC card, select the card from the list and choose the “Edit” option. Follow the on-screen prompts to make the desired changes.
6. Delete registered NFC cards
If you want to remove a registered NFC card from your Nintendo Switch, choose the card from the list and select the “Delete” option. Confirm the deletion when prompted by the console.
7. Review and organize your registered NFC cards
Take some time to review the list of registered NFC cards and ensure they are organized and labeled correctly. This will help you easily identify and use the desired NFC card when playing games or using applications on the Nintendo Switch.
By following these steps, you can effectively manage the registered NFC cards on your Nintendo Switch. This allows you to have better control over the NFC cards and ensures that you have the desired functionality and content available when you need it.
Regularly reviewing and managing the registered NFC cards allows you to keep your Nintendo Switch organized and optimally utilize the NFC functionality for an enhanced gaming experience.
Now, armed with knowledge on managing NFC cards, you can make the most out of your registered NFC cards and continue to enjoy the additional content and features they bring to your Nintendo Switch gaming sessions.
Tips and Tricks for Using NFC Cards on the Nintendo Switch
Using NFC cards on the Nintendo Switch can enhance your gaming experience and provide convenient access to additional content. To make the most out of your NFC cards, here are some tips and tricks to keep in mind:
1. Explore compatibility: Before purchasing or programming NFC cards, check the compatibility of the games and applications you plan to use them with. Not all games support amiibo functionality, so it’s important to ensure that your NFC cards will work with your desired titles.
2. Create custom functionality: Take advantage of the programmability of NFC cards to create custom functionality. You can program NFC cards to perform specific actions or trigger events that enhance your gameplay experience. Experiment with different programming options to personalize your NFC cards and align them with your gaming preferences.
3. Share NFC cards: If you have friends or family members who also own a Nintendo Switch, consider sharing your NFC cards with them. This allows them to experience the additional content and features without the need to purchase their own NFC cards. It adds a social dynamic to your gaming sessions and allows everyone to benefit from the NFC functionality.
4. Keep backups: It’s always a good idea to keep backups of your NFC cards. If you have programmable NFC cards, make sure to save the programming data in a secure location. In case of loss or damage to your NFC cards, you can easily reprogram new ones with the saved data, ensuring that you don’t lose access to your desired functionality.
5. Customize your NFC card storage: As your collection of NFC cards grows, consider investing in custom storage solutions to keep them organized. There are various options available, such as cardholders, storage cases, or display stands, that allow you to keep your NFC cards neatly organized and easily accessible.
6. Explore different game genres: Don’t limit yourself to using NFC cards in a single game or genre. Different games provide unique amiibo functionality and unlock different content. Explore a variety of game genres to fully utilize your NFC cards and uncover new experiences and hidden features.
7. Check for software updates: Occasionally, Nintendo releases software updates for the Nintendo Switch that include improvements to NFC functionality. Make sure to regularly check for updates and keep your console up to date, as these updates can enhance the performance and compatibility of your NFC cards.
8. Take care of your NFC cards: Treat your NFC cards with care to ensure their longevity. Avoid bending or scratching the cards and keep them away from liquids or extreme temperatures. Proper maintenance will ensure that your NFC cards continue to function properly and provide an optimal gaming experience.
By following these tips and tricks, you can maximize the benefits and enjoyment of using NFC cards on your Nintendo Switch. Whether you’re exploring new content, customizing functionality, or sharing with others, NFC cards offer a versatile and exciting way to enhance your gaming experience.
Now armed with these tips, go ahead and immerse yourself in the world of NFC card gaming on your Nintendo Switch!
Conclusion
NFC cards provide a convenient and customizable way to enhance your gaming experience on the Nintendo Switch. With their ability to unlock additional content, trigger specific actions, and provide unique functionality, NFC cards add a new level of excitement and personalization to compatible games and applications.
In this guide, we explored what NFC is and how it works, as well as what NFC cards are and their compatibility with the Nintendo Switch. We learned how to set up NFC cards on the console, including enabling NFC, preparing the cards, and registering them. We also discussed how to use NFC cards effectively and manage the registered cards to optimize their usage.
Throughout the process, we provided tips and tricks to help you make the most out of your NFC cards. From exploring compatibility to customizing functionality, these tips can enhance your gaming experience and allow you to fully utilize the potential of NFC cards on the Nintendo Switch.
Now that you have a solid understanding of NFC cards and how to use them on the Nintendo Switch, it’s time to embark on a gaming adventure filled with additional content, special features, and personalized experiences.
So go ahead, grab your NFC cards, and unlock the full potential of your gaming experience on the Nintendo Switch!