Introduction
NFC (Near Field Communication) is a technology that allows devices to establish communication when they are in close proximity to each other. It enables a simple and convenient way to share information, make payments, and connect devices with a simple touch or tap.
In today’s digital age, NFC has become increasingly popular and is being integrated into various devices, including smartphones like the Moto G Play. NFC offers a range of benefits and functionalities that can greatly enhance your mobile experience.
In this article, we will explore how to turn on NFC on your Moto G Play, a budget-friendly Android smartphone that offers a host of features. Whether you want to quickly and securely transfer files, make contactless payments, or connect with other NFC-enabled devices, enabling NFC on your Moto G Play opens up a world of possibilities.
If you’re new to NFC technology or simply want to get the most out of your Moto G Play, this guide will walk you through the steps to ensure that NFC is activated on your device.
Ready to unlock the potential of NFC on your Moto G Play? Let’s dive in and learn how to turn on NFC.
What is NFC?
Near Field Communication (NFC) is a short-range wireless communication technology that allows devices, such as smartphones, tablets, and even credit cards, to establish communication simply by being in close proximity to each other. By utilizing electromagnetic fields, NFC enables the exchange of data and information between compatible devices without the need for wires or complex setup processes.
NFC operates on the principle of radio frequency identification (RFID) technology, which involves two devices communicating with each other by generating electromagnetic fields. One device acts as the initiator, known as the active device, while the other device responds and acts as the target, known as the passive device.
NFC is commonly used for a variety of applications, including contactless payment systems, electronic ticketing, access control, and data sharing. It has gained popularity in recent years due to its convenience, security, and simplicity of use.
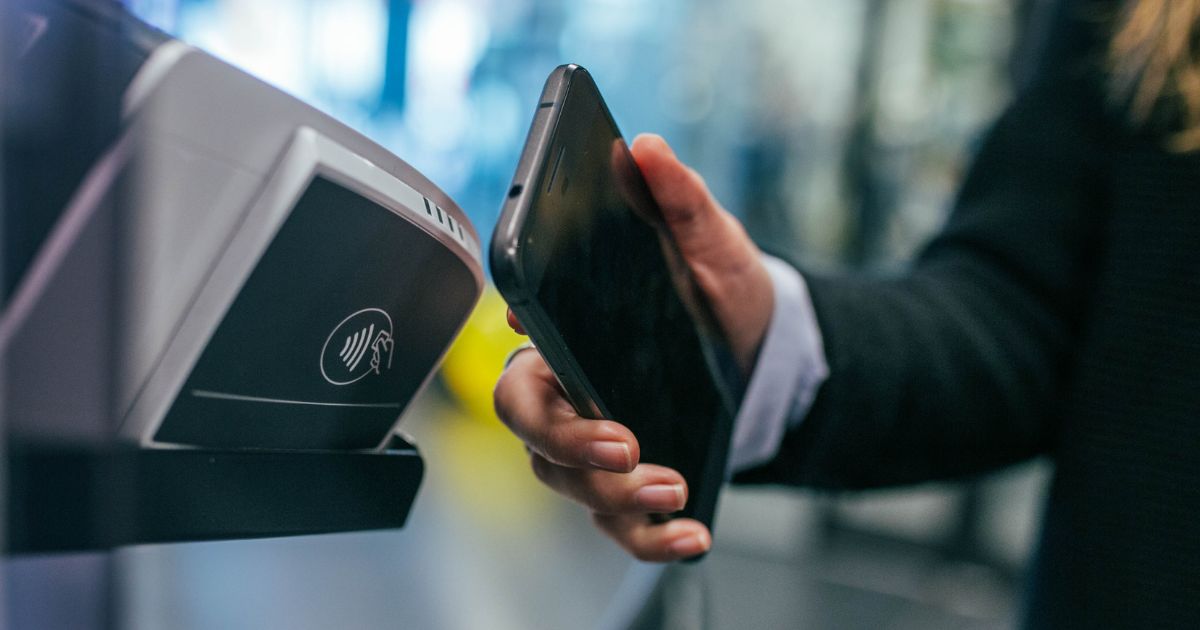
One of the key features of NFC is its ability to facilitate contactless payments, commonly referred to as mobile payments. By storing your credit card or payment details securely on your smartphone, you can simply tap your phone on a payment terminal to complete a transaction. This eliminates the need to carry around physical cards and provides a faster and more seamless payment experience.
Additionally, NFC can be used to transfer files, such as photos, videos, and documents, between two devices simply by bringing them close together. This makes sharing content with friends or colleagues quick and effortless.
Furthermore, NFC can enable quick and easy pairing of devices, such as headphones or speakers, with your smartphone. By tapping your phone against the NFC-enabled device, you can establish a Bluetooth connection without the need for complex setup procedures.
With its wide range of applications and ease of use, NFC has become an integral part of the modern mobile experience. Now that you have a better understanding of what NFC is, let’s explore why you should consider using NFC on your Moto G Play.
Why use NFC?
NFC technology offers a wide range of benefits and functionalities that make it a valuable feature to use on your Moto G Play. Here are a few compelling reasons why you should consider using NFC:
1. Contactless Payments: One of the primary reasons to use NFC is the ability to make contactless payments with your smartphone. By securely storing your payment details on your device, you can simply tap your Moto G Play on a payment terminal to complete a transaction. This provides a convenient and secure way to make payments without the need for physical cards or cash.
2. Easy File Sharing: NFC allows for quick and easy file sharing between devices. Whether you want to send photos, videos, or documents to a friend or coworker, simply place your Moto G Play close to the other NFC-enabled device and initiate the file transfer. This eliminates the need for complicated setup procedures or third-party apps.
3. Seamless Device Pairing: NFC simplifies the process of pairing your Moto G Play with other devices, such as headphones or speakers. By tapping your phone against the NFC-enabled device, you can quickly establish a Bluetooth connection without the hassle of manual pairing or entering passcodes. This enhances convenience and saves time.
4. Access Control and Ticketing: Many organizations utilize NFC technology for access control systems and electronic ticketing. With your Moto G Play’s NFC capabilities, you can easily gain access to secure areas or events by simply tapping your phone on an NFC reader. This eliminates the need for physical access cards or tickets.
5. Smart Home Integration: NFC can also be utilized to integrate your Moto G Play with other smart home devices. By simply tapping your phone on an NFC-enabled smart home hub or device, you can automate various tasks, control lighting or temperature settings, or even play your favorite music without navigating through multiple apps or menus.
By utilizing NFC on your Moto G Play, you can streamline your daily tasks, enhance your mobile experience, and enjoy the convenience and functionality that NFC offers. Now that you understand the benefits of NFC, let’s determine if your Moto G Play has NFC capabilities.
Checking if your Moto G Play has NFC
Before you can start using NFC on your Moto G Play, it’s important to check if your device has NFC capabilities. Here’s how you can quickly confirm if your Moto G Play supports NFC:
1. Look for NFC Support: Start by checking the specifications of your Moto G Play. You can find this information on the manufacturer’s website or in the user manual. Look for the section that mentions NFC support and verify if your device is listed as NFC-enabled.
2. Check Device Settings: Another way to check if your Moto G Play has NFC capabilities is by navigating to the device settings. Follow these steps:
- Open the Settings app on your Moto G Play.
- Scroll down and find the “Connected devices” or “Wireless & networks” option.
- Tap on it to open the connected devices menu.
- If your device has NFC capabilities, you should see an option for NFC or Near Field Communication in the list.
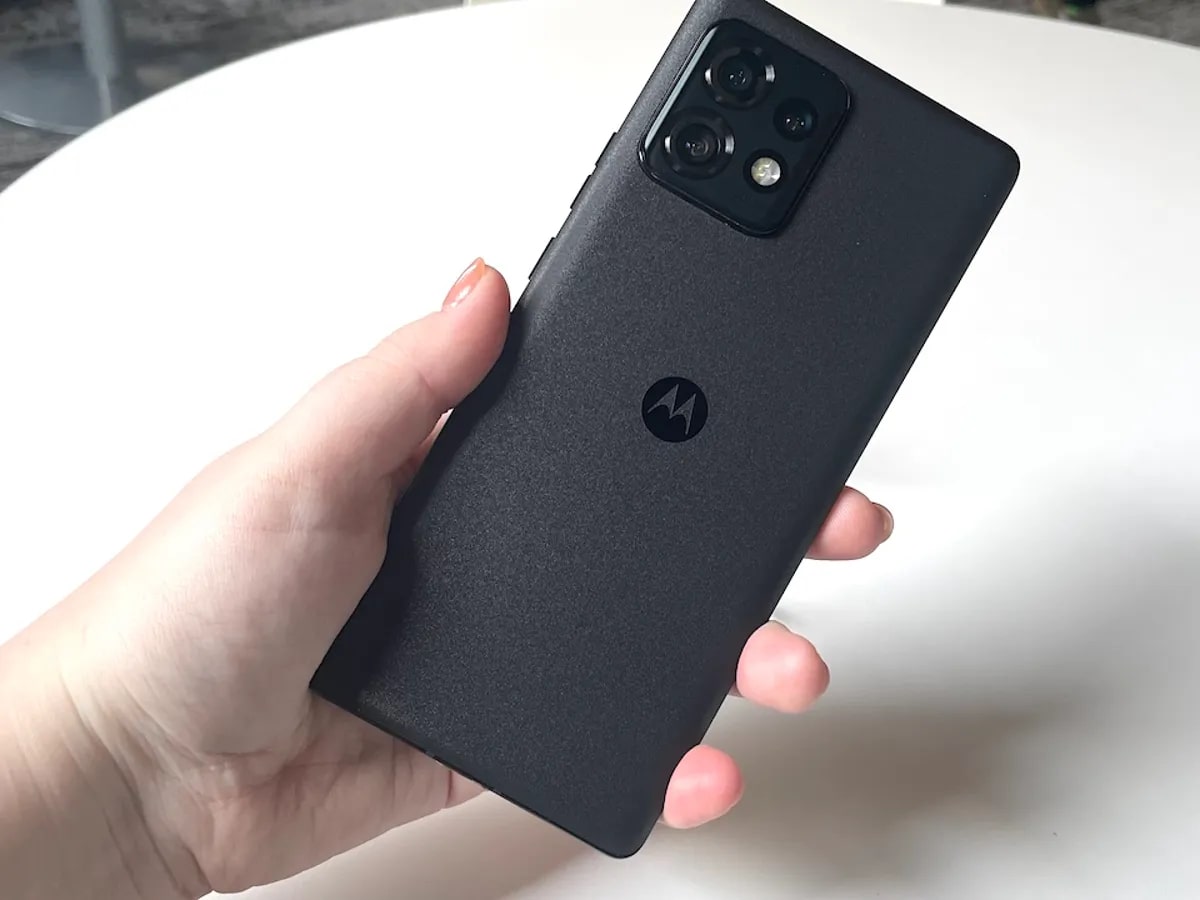
3. Look for NFC Symbol: Some devices, including the Moto G Play, may have a physical indicator or symbol on the back of the phone indicating NFC support. Look for the letters “NFC” or an NFC logo to confirm if your device has NFC capabilities.
If your Moto G Play has NFC capabilities, you’re ready to enable NFC and start enjoying its benefits. If your device does not have NFC support, unfortunately, you won’t be able to use NFC features.
Now that you’ve confirmed whether your Moto G Play has NFC capabilities, let’s move on to the next step: turning on NFC.
Turning on NFC on Moto G Play
Now that you’ve determined that your Moto G Play has NFC capabilities, it’s time to enable NFC on your device. Follow these simple steps to turn on NFC:
Step 1: Go to Settings
Unlock your Moto G Play and open the Settings app. You can usually find it in your app drawer or by swiping down from the top of the screen and tapping the gear-shaped icon.
Step 2: Tap on Connected devices
In the Settings menu, scroll down and look for the “Connected devices” option. Tap on it to open the connected devices menu.
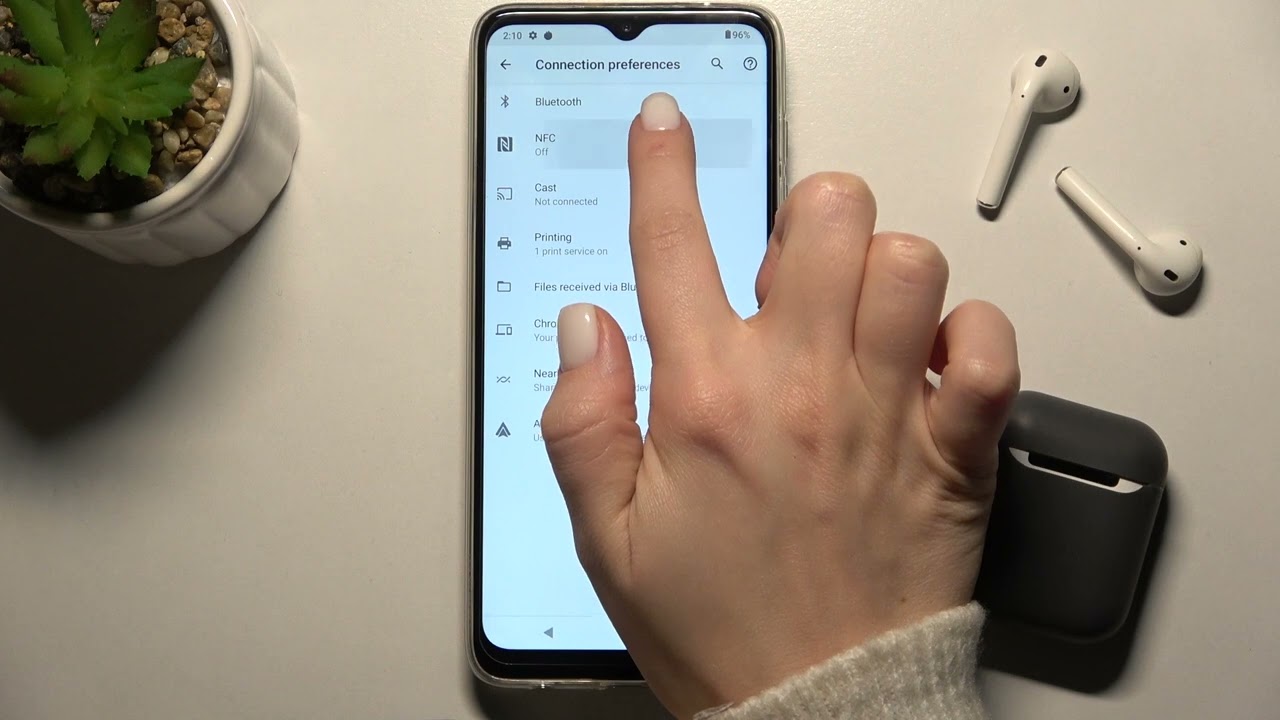
Step 3: Tap on NFC
Within the connected devices menu, you should see an option for “NFC” or “Near Field Communication”. Tap on it to access the NFC settings.
Step 4: Toggle the NFC switch to On
In the NFC settings, you will see a toggle switch next to “NFC”. Tap on the switch to turn on NFC. The switch should move to the ‘On’ position, indicating that NFC is now enabled on your Moto G Play.
That’s it! You have successfully turned on NFC on your Moto G Play. Now you can start taking advantage of NFC features, such as contactless payments, file sharing, and device pairing.
Remember, when using NFC features, ensure that the NFC chip on your Moto G Play is close to the other NFC-enabled device or NFC reader for a successful connection. Most NFC interactions require the devices to be within a few centimeters of each other.
Now that NFC is enabled on your Moto G Play, you’re ready to explore its full potential. Whether you want to make hassle-free payments, share files effortlessly, or connect with other NFC-enabled devices, NFC technology on your Moto G Play offers a world of convenience and possibilities.
Step 1: Go to Settings
The first step to turning on NFC on your Moto G Play is to navigate to the device’s Settings menu. Follow these simple instructions to access the Settings:
1. Unlock your Moto G Play: Start by waking up your Moto G Play and unlocking the screen. You can do this by pressing the power button or using the fingerprint scanner, depending on your device’s settings.
2. Open the Settings app: Once you have unlocked your Moto G Play, locate the Settings app. This app is represented by a gear-shaped icon and is usually found on your device’s home screen or in the app drawer. Tap on the icon to open the Settings menu.
3. Navigate to the Connected devices section: In the Settings menu, you will see a list of various options and categories. Scroll down until you find the “Connected devices” option. This option is typically located towards the middle or bottom of the menu. Tap on it to proceed.
4. Access the NFC settings: Within the Connected devices menu, you will find a range of connectivity options. Look for an option labeled “NFC” or “Near Field Communication” and tap on it to access the NFC settings.
5. Customize NFC settings (optional): Once you are in the NFC settings, you may have additional customization options available. These options can include preferences for NFC scanning, Android Beam, or writing on NFC tags. Take a moment to familiarize yourself with these settings and adjust them if necessary, based on your personal preferences.
That’s it! You have successfully completed the first step of turning on NFC on your Moto G Play. Now you can proceed to the next step to continue enabling NFC on your device.
Remember, the layout and organization of the Settings menu may vary slightly depending on your device’s software version and any customizations made by the manufacturer. However, the general steps provided above should help you locate and access the Settings menu on your Moto G Play.
Now that you have reached the Settings menu, you’re ready to move on to the next step and initiate the process of turning on NFC on your Moto G Play.
Step 2: Tap on Connected devices
After accessing the Settings menu on your Moto G Play, you can proceed to the next step of turning on NFC by tapping on the “Connected devices” option. Follow these instructions to navigate to the Connected devices section:
1. Open the Settings app: Begin by locating and opening the Settings app on your Moto G Play. You can typically find it on your device’s home screen or in the app drawer, represented by a gear-shaped icon.
2. Scroll down to find Connected devices: Once you have opened the Settings app, scroll down through the various options and categories until you come across the “Connected devices” section. This section is generally located towards the middle or bottom of the Settings menu.
3. Tap on Connected devices: When you have found the Connected devices section, tap on it to access the menu. This section contains settings related to various connectivity options such as Bluetooth, NFC, and more.
4. Explore the Connected devices menu: Upon entering the Connected devices menu, you will find a range of settings related to device connections. Take a moment to familiarize yourself with the options available, as this menu may also include settings for Bluetooth, Wi-Fi, and other relevant connections.
By following these steps, you have successfully reached the Connected devices section on your Moto G Play. Now, you can proceed to the next step and access the specific NFC settings that will allow you to turn on NFC functionality on your device.
Please note that the layout and organization of the Settings menu may vary slightly depending on your device’s software version and any customizations made by the manufacturer. However, the general instructions provided above should help you locate and access the Connected devices section on your Moto G Play.
Now that you have reached the Connected devices menu, you are one step closer to turning on NFC and enjoying its benefits on your Moto G Play. To continue, follow the next step in the process of enabling NFC on your device.
Step 3: Tap on NFC
Now that you have accessed the Connected devices menu on your Moto G Play, you can proceed to the next step of enabling NFC by tapping on the “NFC” option. Follow these instructions to navigate to the NFC settings:
1. Open the Settings app: Begin by locating and opening the Settings app on your Moto G Play. You can typically find it on your device’s home screen or in the app drawer, represented by a gear-shaped icon.
2. Scroll to find Connected devices: Once you have entered the Settings app, scroll through the available options until you spot the “Connected devices” section. It is usually located towards the middle or bottom of the Settings menu.
3. Tap on Connected devices: Upon finding the Connected devices section, tap on it to access the menu. Here, you will find settings related to various connectivity options.
4. Locate and tap on NFC: Within the Connected devices menu, look for the “NFC” or “Near Field Communication” option. Once you have found it, tap on it to proceed to the NFC settings.
5. Explore NFC settings: Upon entering the NFC settings, you will find various options related to NFC functionality on your Moto G Play. Depending on your device and software version, these settings may include options to enable or disable NFC, configure payment settings, or customize other NFC-related features.
By following these steps, you have successfully reached the NFC settings on your Moto G Play. Now you can proceed to the next and final step of enabling NFC on your device.
Please note that the layout and organization of the Settings menu may vary slightly depending on your device’s software version and any customizations made by the manufacturer. However, the general instructions provided above should help you locate and access the NFC settings on your Moto G Play.
Now that you have found and tapped on the NFC option in your Moto G Play’s settings, you can move on to the last step of turning on NFC and unleashing its capabilities on your device.
Step 4: Toggle the NFC switch to On
After accessing the NFC settings on your Moto G Play, you are now ready to turn on NFC by toggling the switch to the “On” position. Follow these instructions to enable NFC on your device:
1. Open the NFC settings: Start by opening the Settings app on your Moto G Play. Navigate to the Connected devices menu and tap on the NFC option. This will take you to the specific settings for NFC on your device.
2. Locate the NFC switch: Within the NFC settings, you’ll find a toggle switch next to the “NFC” or “Near Field Communication” option. This switch controls the activation of NFC on your Moto G Play.
3. Toggle the NFC switch to On: To enable NFC, tap on the switch and slide it to the On position. You should see the switch change its state, indicating that NFC is now enabled on your Moto G Play. It may be accompanied by a visual indication, such as a change in color or an icon.
4. Adjust additional NFC settings (optional): Depending on your device’s software version and customization by the manufacturer, there may be additional settings or options available within the NFC settings. Take a moment to explore these settings and adjust them according to your preferences, such as enabling Android Beam or adjusting NFC scanning settings.
By following these steps, you have successfully turned on NFC on your Moto G Play. Your device is now ready to take advantage of NFC capabilities, including contactless payments, file sharing, device pairing, and more.
Remember, when using NFC features, ensure that the NFC chip on your Moto G Play is brought into close proximity with the other NFC-enabled device or NFC reader for a successful connection. Most NFC interactions require the devices to be within a few centimeters of each other.
Now that NFC is enabled on your Moto G Play, you can start enjoying the convenience and functionalities offered by this versatile technology. Whether it’s making quick and secure payments or effortlessly sharing files, NFC opens up a world of possibilities on your device.
Conclusion
Congratulations! You have successfully learned how to turn on NFC on your Moto G Play. NFC technology offers a plethora of benefits and functionalities that can greatly enhance your mobile experience. By enabling NFC, you can enjoy contactless payments, seamless file sharing, easy device pairing, and more.
Throughout this guide, we covered the necessary steps to enable NFC on your Moto G Play. We walked you through accessing the Settings menu, finding the Connected devices section, navigating to the NFC settings, and finally toggling the NFC switch to the “On” position.
Now that NFC is activated on your Moto G Play, you can take advantage of its capabilities in various aspects of your daily life. Whether you want to make quick payments at compatible terminals, effortlessly share files with friends, or connect to other NFC-enabled devices, the possibilities are endless.
Remember to keep your Moto G Play’s NFC chip in close proximity to the other NFC-enabled device or reader for successful connections. Additionally, take some time to explore the NFC settings on your device, as you might find additional customization options that suit your preferences.
With NFC technology at your fingertips, you can streamline your tasks, enhance convenience, and experience a seamless integration of your Moto G Play with the digital world around you.
We hope this guide has been helpful in enabling NFC on your Moto G Play. Enjoy the benefits of NFC and make the most out of your device’s capabilities.
Thank you for choosing NFC and maximizing your Moto G Play experience!