Introduction
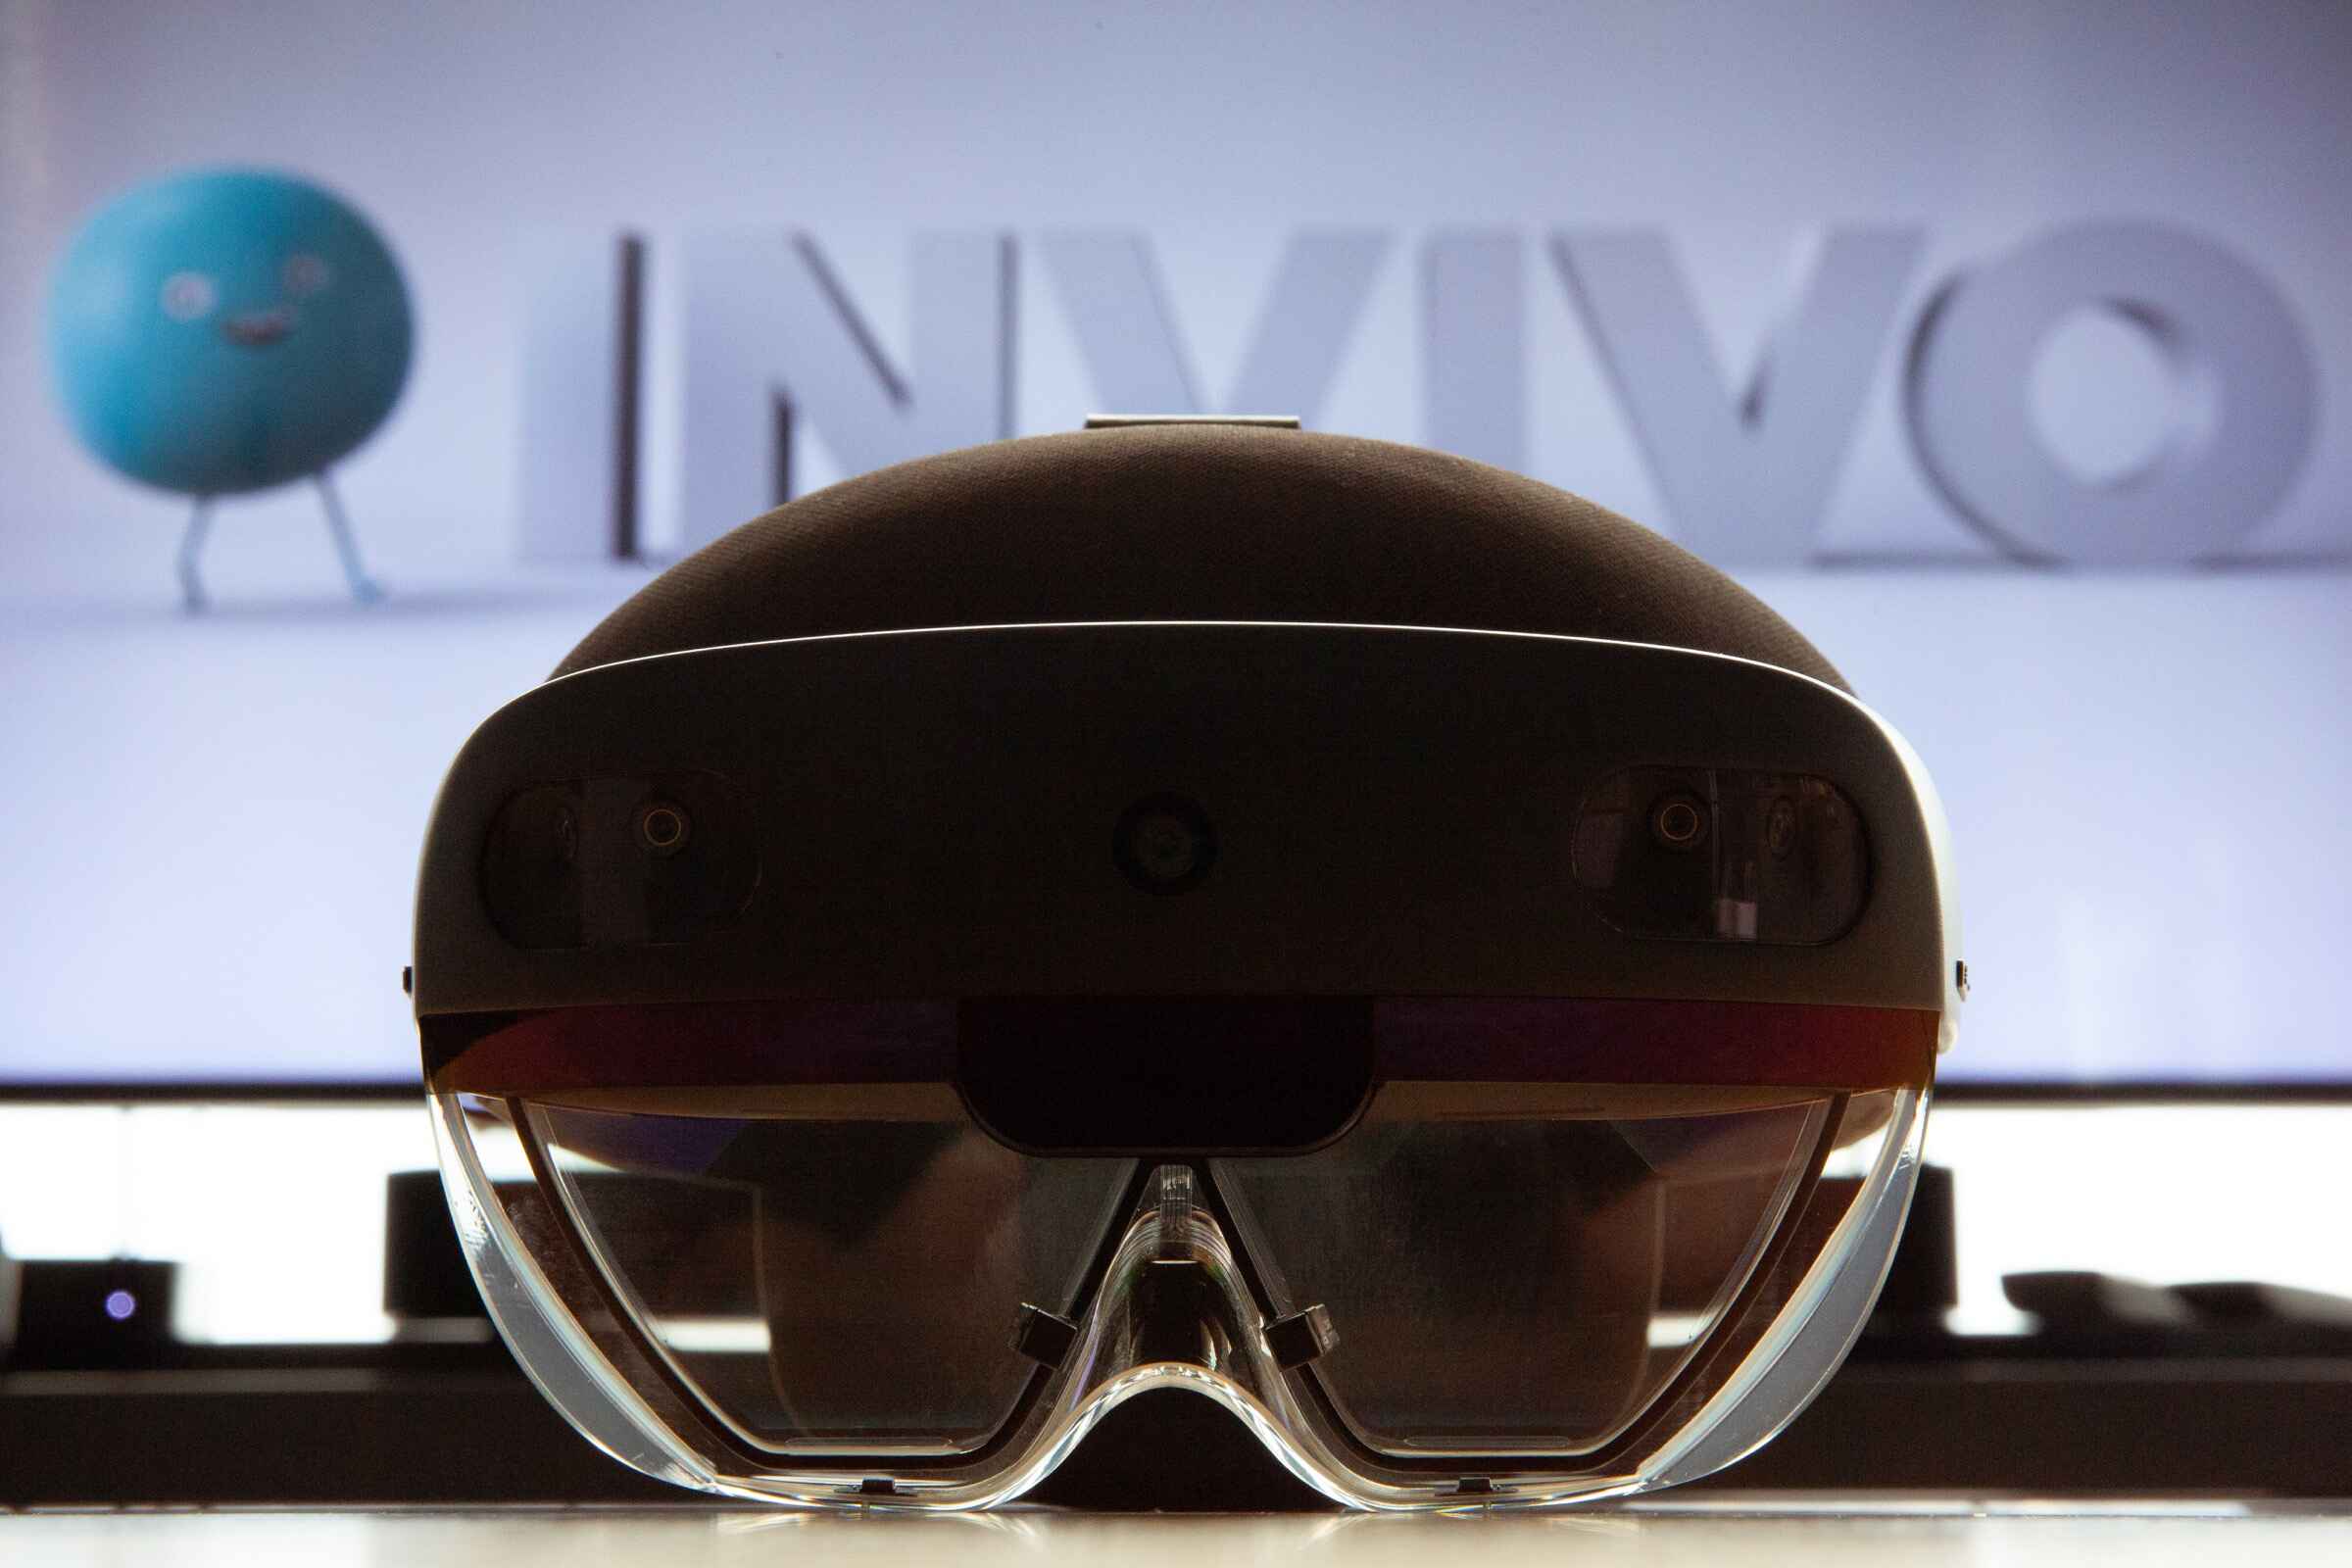
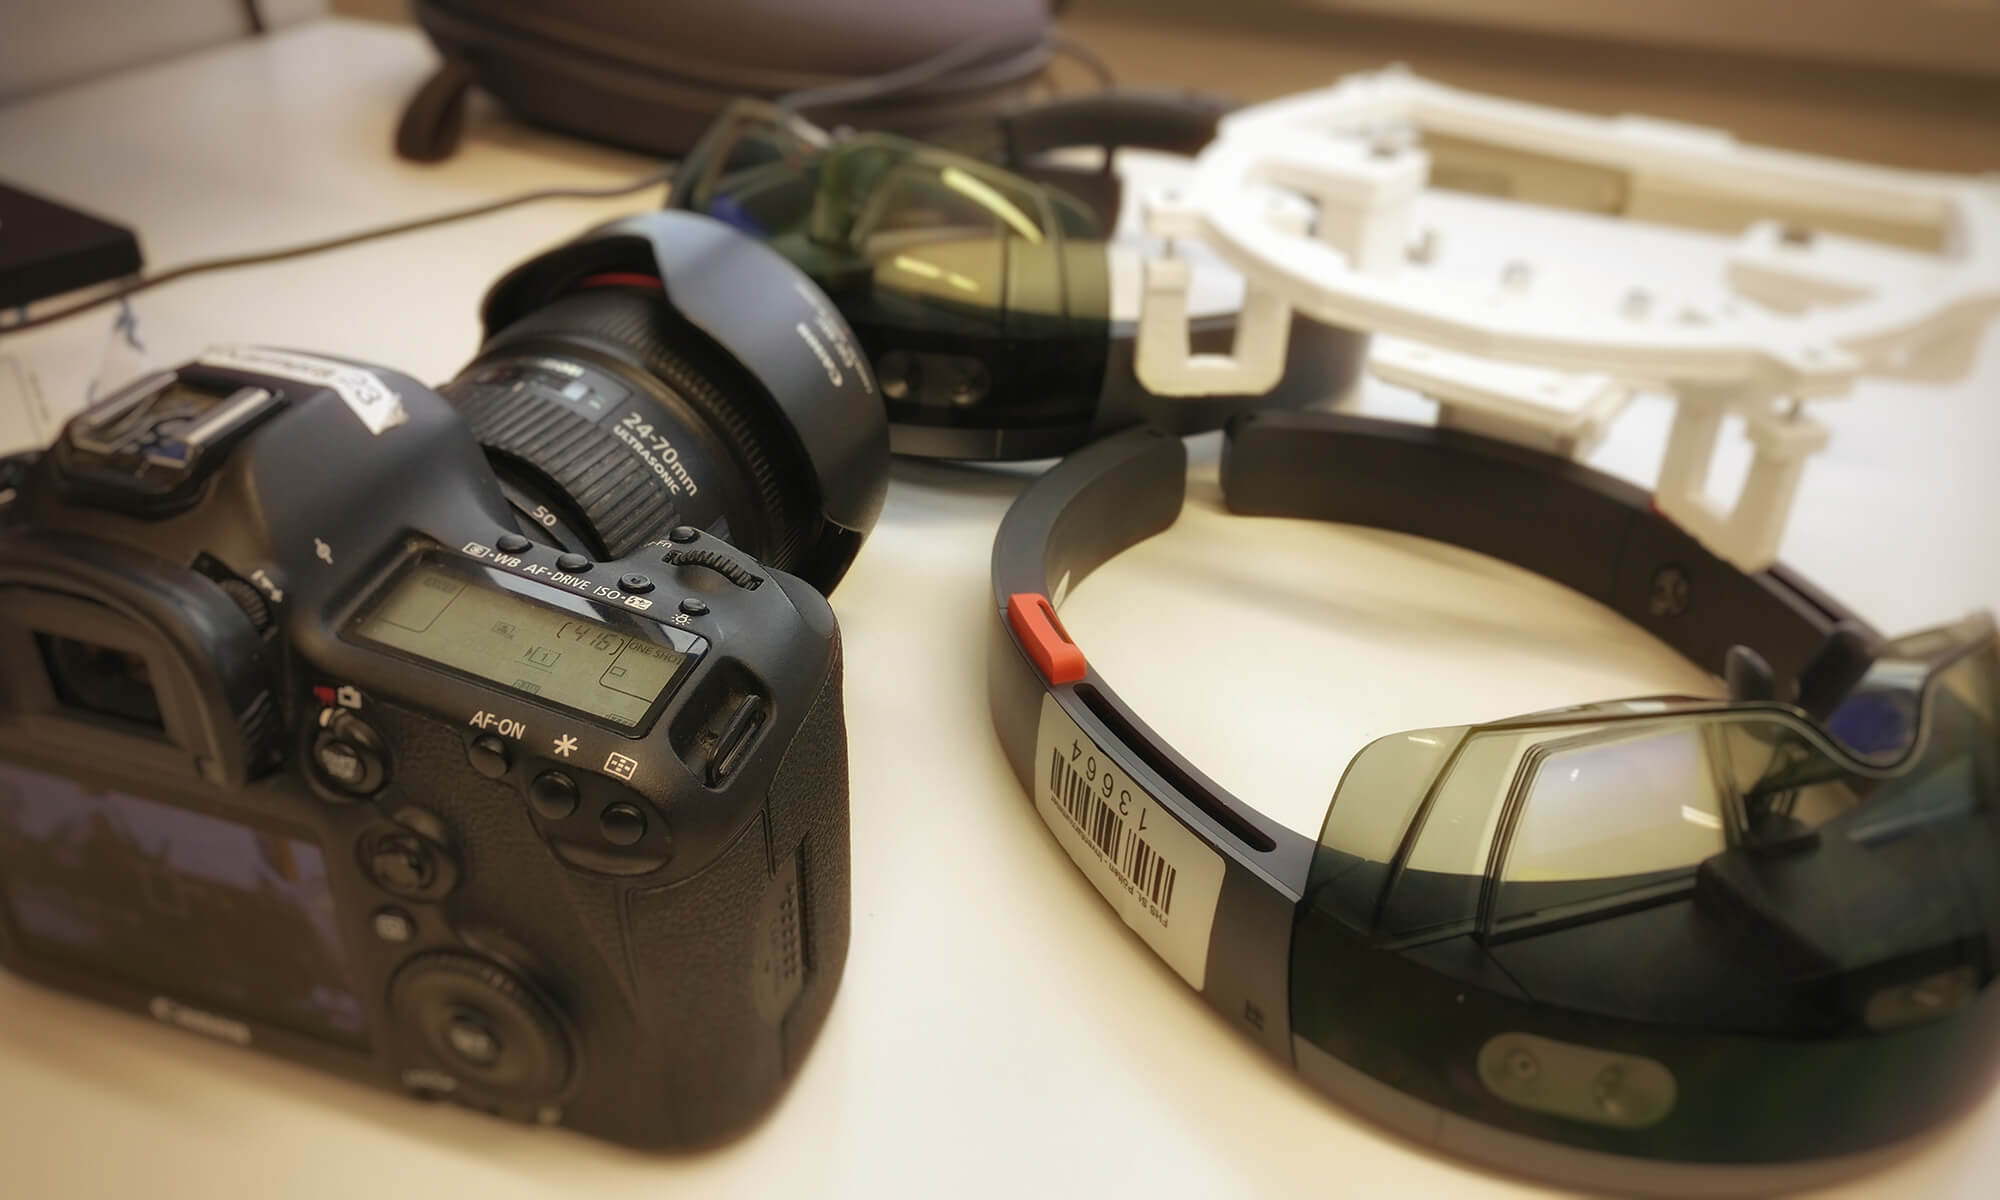
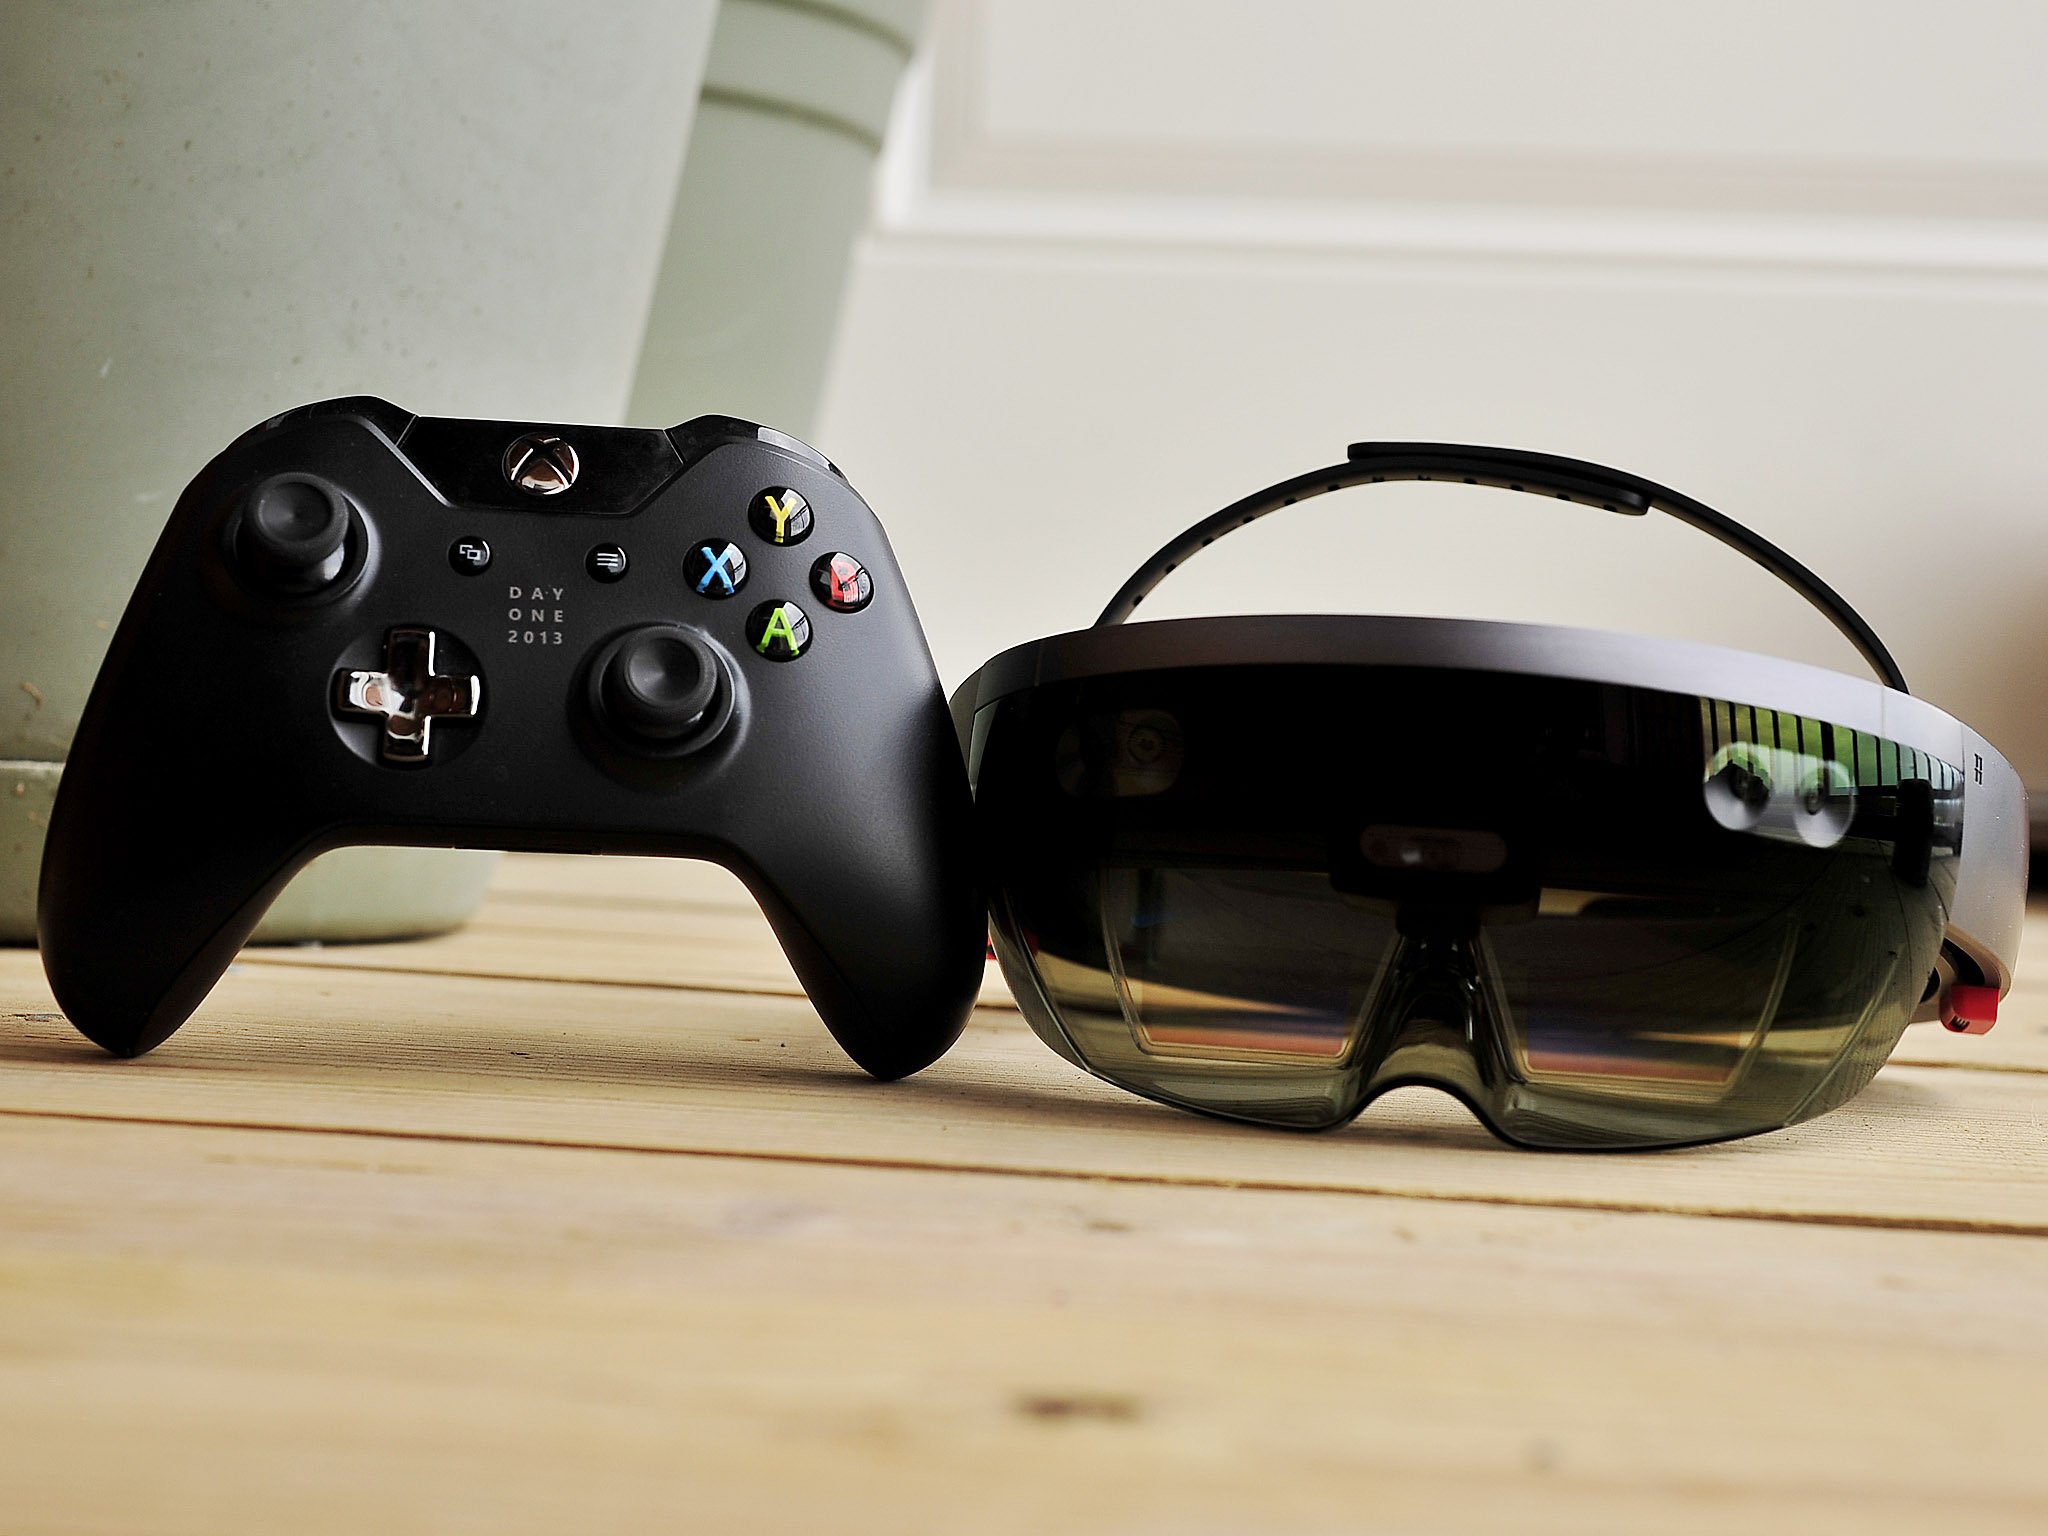
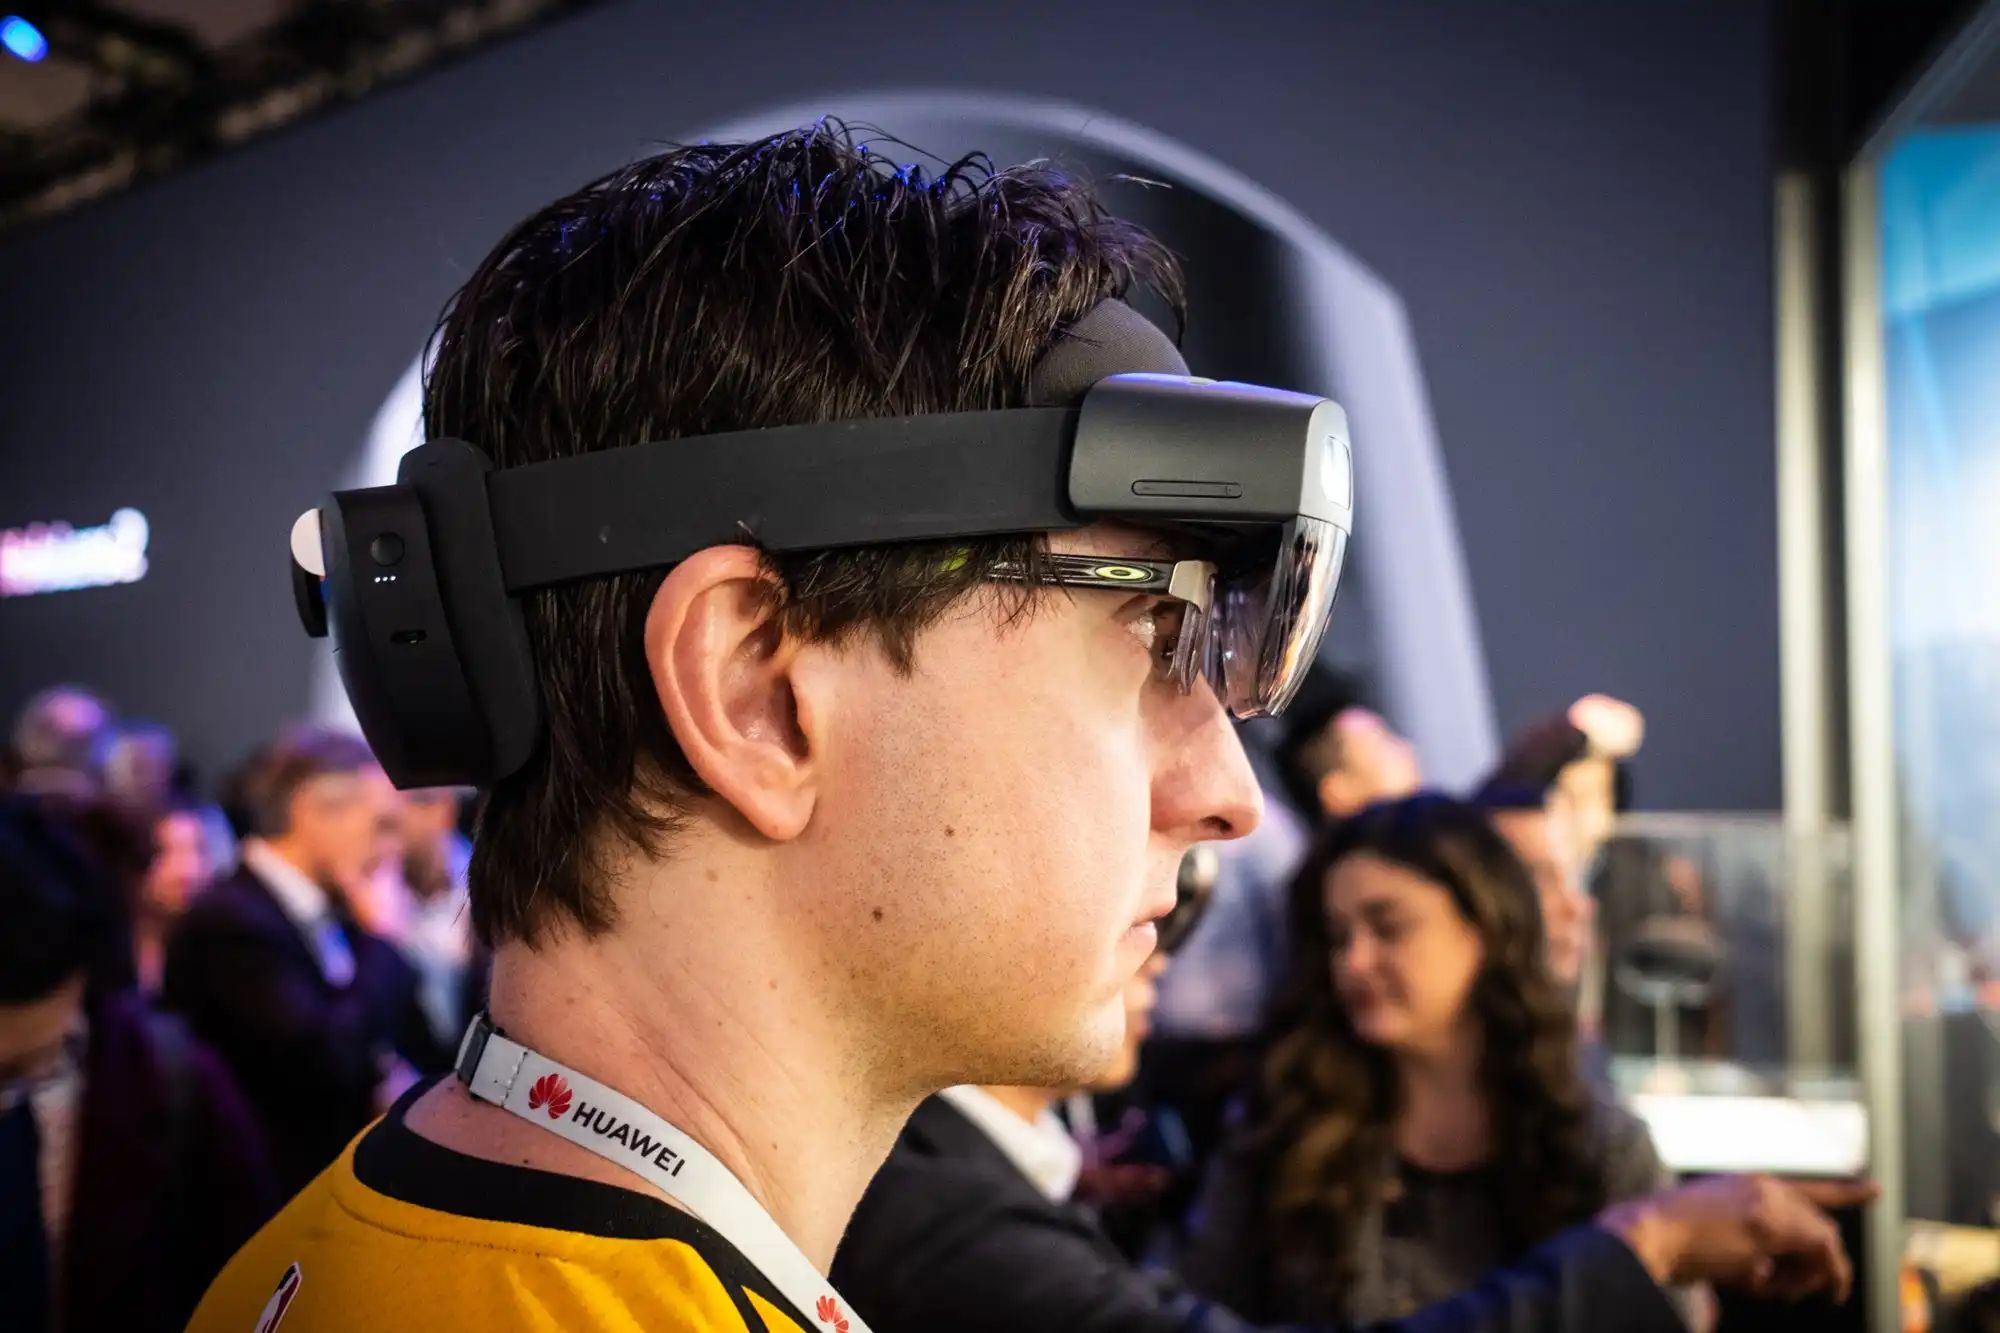
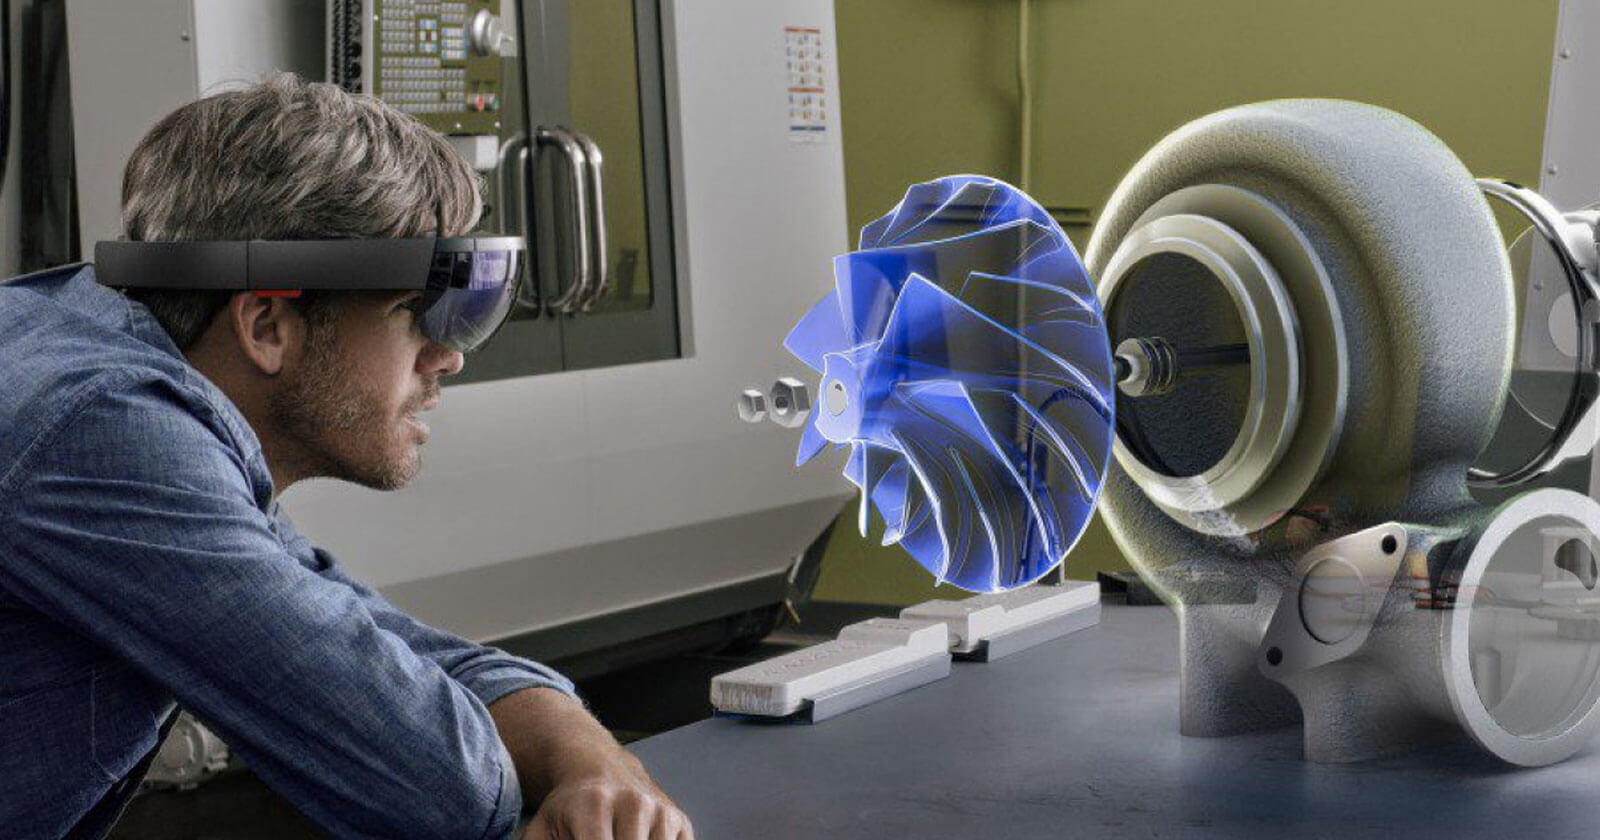
Welcome to the exciting world of live streaming from Hololens! Hololens, developed by Microsoft, is an innovative mixed reality device that combines virtual reality with real-world elements. With its powerful capabilities, Hololens opens up endless possibilities for immersive experiences and interactive storytelling. One such possibility is live streaming directly from the Hololens device, allowing you to share your holographic adventures with others in real-time.
In this guide, we will walk you through the process of setting up your hardware, installing the necessary streaming app, configuring the app, and testing the live stream. We will also provide some useful tips and tricks to ensure a smooth and enjoyable live streaming experience. So, whether you’re a developer, a content creator, or just a curious explorer, get ready to dive into the world of live streaming from Hololens!
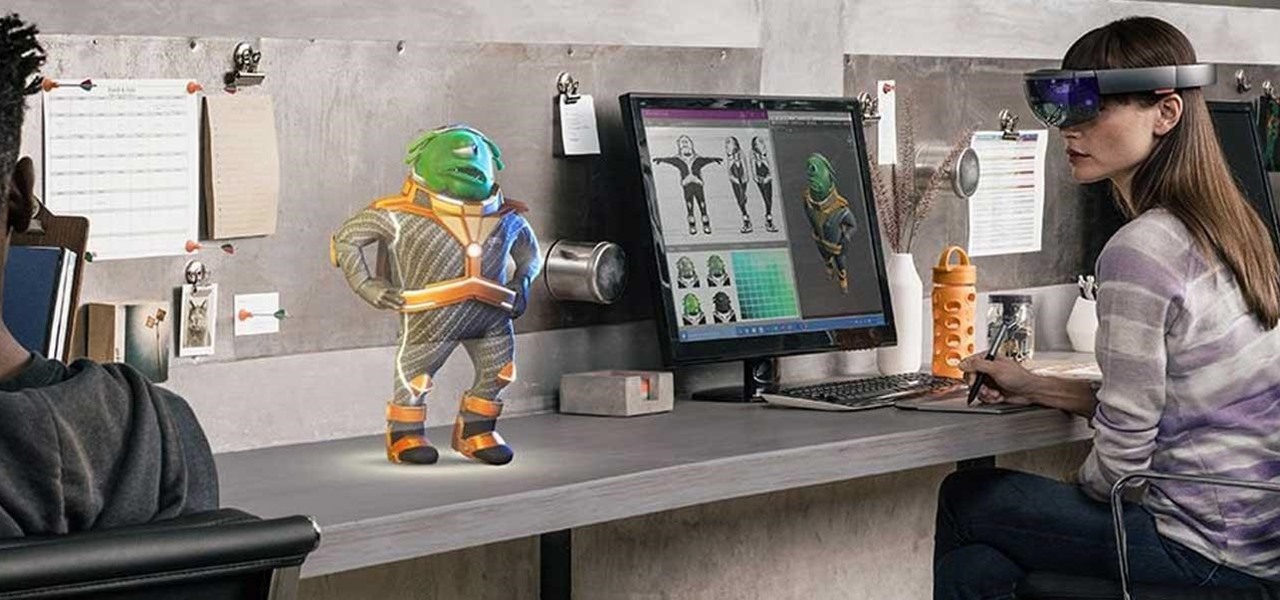
Live streaming from Hololens opens up new opportunities for a range of applications. It can be used for live presentations, virtual meetings, educational purposes, gaming, and even live events. With the ability to overlay holographic elements onto the real world, your live stream can provide a captivating and immersive experience for your audience. Whether you’re showcasing a new product, teaching a complex concept, or simply sharing your adventures, live streaming from Hololens allows you to connect with your audience in a whole new way.
Before we delve into the technicalities, it’s important to note that live streaming from Hololens requires a stable network connection and decent upload speed. Make sure you have a reliable internet connection to ensure a smooth live stream. Additionally, it’s always a good idea to familiarize yourself with the streaming app’s features and settings before starting your live stream, as this will allow you to customize your stream according to your preferences and needs.
Now that we’ve set the stage, let’s get started with the hardware setup!
Setting up the Hardware
Before you can start live streaming from your Hololens, you need to make sure that your hardware is properly set up. Here’s a step-by-step guide to help you set up your Hololens device:
- Start by ensuring that your Hololens is fully charged. Connect the device to a power source and let it charge until the battery is at least 50% or fully charged for optimal performance.
- Next, put on the Hololens headset and adjust it to fit comfortably on your head. Use the straps to secure the headset in place, ensuring a stable and snug fit.
- Once the headset is secured, adjust the inter-pupillary distance (IPD) to match your eyes. This is important for a clear and comfortable viewing experience. To adjust the IPD, look through the lenses and use the IPD adjustment wheel located on the right side of the headset.
- After adjusting the IPD, make sure that the lenses are clean and free from smudges or dirt. Use a microfiber cloth to gently wipe the lenses and ensure a clear field of view.
- Now that the hardware is set up, connect the Hololens to your computer using a USB cable. This will allow you to install the necessary streaming app and configure the device.
Setting up the hardware is a crucial step in the live streaming process, as a properly set up Hololens will ensure optimal performance and a seamless live streaming experience. Take your time to adjust the headset, clean the lenses, and connect the device to your computer before moving on to the next step. With your Hololens hardware all set, we can now move on to installing the streaming app.
Installing the Streaming App on Hololens
Now that your Hololens hardware is set up, it’s time to install the streaming app that will allow you to live stream from the device. Microsoft provides a range of streaming apps that are compatible with Hololens, such as OBS Studio and XSplit Broadcaster. Follow these steps to install the streaming app on your Hololens:
- First, open the Microsoft Store on your Hololens device. You can find the Microsoft Store app in the app launcher.
- In the Microsoft Store, search for the streaming app that you want to install. You can use keywords like “live streaming” or the specific name of the app you prefer.
- Once you’ve found the app, select it to open its details page. Review the app’s description, features, and user reviews to ensure it meets your requirements.
- Click on the “Install” button to start the installation process. The app will now be downloaded and installed on your Hololens.
- After the installation is complete, you can find the streaming app in your Hololens’ app list. Look for its icon and tap on it to open the app.
It’s important to choose a reliable and user-friendly streaming app that suits your needs. Consider factors such as ease of use, customization options, and compatibility with streaming platforms. OBS Studio and XSplit Broadcaster are popular choices among streamers, offering a wide range of features and compatibility with major streaming platforms like Twitch and YouTube.
Once the streaming app is installed on your Hololens, you’re one step closer to live streaming your holographic adventures. In the next section, we will discuss how to connect your Hololens to a network for seamless live streaming.
Connecting Hololens to a Network
In order to successfully live stream from your Hololens, you need to connect the device to a network. This will allow the streaming app to transmit your holographic content over the internet. Follow these steps to connect your Hololens to a network:
- Start by ensuring that your Hololens is powered on and the streaming app is closed.
- Swipe down on the device’s gesture to open the Action Center.
- From the Action Center, tap on the Wi-Fi icon to open the network settings.
- A list of available Wi-Fi networks will appear on the screen. Choose the network you want to connect to and tap on it.
- If the network is password protected, you will be prompted to enter the password. Use the on-screen keyboard to enter the password and tap “Connect” to join the network.
- Your Hololens will now attempt to connect to the selected network. Once connected, a confirmation message will appear.
- Once connected, you can close the network settings by swiping up on the gesture again, or you can keep the Action Center open for quick access to the network settings.
It’s important to note that a stable and reliable network connection is crucial for a smooth live streaming experience. If possible, choose a network with a strong signal and high bandwidth to ensure optimal performance. Additionally, make sure that your Hololens is within range of the Wi-Fi signal to avoid any connectivity issues.
Now that your Hololens is successfully connected to a network, you’re ready to configure the streaming app and start live streaming your holographic content. In the next section, we will guide you through the process of configuring the streaming app for a seamless live streaming experience.
Configuring the Streaming App
Now that you have your Hololens connected to a network, it’s time to configure the streaming app to ensure a seamless live streaming experience. The exact configuration steps may vary depending on the streaming app you have installed, but here are some general guidelines to help you get started:
- Open the streaming app on your Hololens device. You should see a user interface with various options and settings.
- Before you begin configuring the app, make sure to check its documentation or user guide for any specific instructions or recommendations.
- Next, navigate to the settings or preferences section of the app. This is where you can customize different aspects of your live stream, such as video quality, audio settings, and streaming platform integration.
- Configure the video settings according to your preferences. You can adjust the resolution, frame rate, and bitrate of your live stream. Keep in mind that higher settings may require a stronger network connection and more processing power.
- Similarly, configure the audio settings based on your requirements. Set the microphone input and adjust the audio quality to ensure clear and crisp audio in your live stream.
- If you plan to stream to a specific platform, such as Twitch or YouTube, you may need to enter your account credentials or authorize the app to access your streaming account. Follow the app’s instructions to integrate it with your chosen platform.
- Take a moment to explore any additional features or settings offered by the app. This may include overlays, scene transitions, or chat integration. Customize these features to enhance the visual experience for your viewers.
- Once you are satisfied with the app’s configuration, save the settings and exit the configuration menu.
It’s important to remember that different streaming apps may have unique features and settings. Don’t hesitate to experiment and find the configuration that works best for you and your holographic content. Additionally, periodically check for app updates to ensure that you have the latest features and bug fixes for an optimal live streaming experience.
With the streaming app properly configured, you’re now ready to test your live stream and share your holographic adventures with the world. In the next section, we will guide you through the process of testing the live stream and provide tips for a better streaming experience.
Testing the Live Stream
Before going live with your holographic content, it’s essential to test your live stream to ensure everything is working as expected. Testing allows you to identify any potential issues or adjustments needed before broadcasting to your audience. Follow these steps to test your live stream:
- Start by launching the streaming app on your Hololens.
- Ensure that your Hololens is connected to a stable Wi-Fi network and that the app is properly configured with the desired settings.
- Check your streaming account settings and confirm that the platform you want to stream to is selected.
- Open the preview or test stream option in the streaming app. This will display a window showing you what your viewers will see during the live stream.
- Verify that the audio and video are functioning correctly. Speak into your Hololens’ microphone to test the audio input, and move around within the device’s field of view to see if the holographic elements are captured accurately.
- Monitor the stream quality by observing the video resolution, frame rate, and overall stability. Ensure that the streaming app is not causing any significant performance issues that may degrade the user experience.
- Take note of any potential issues, such as audio syncing problems, poor video quality, or lag. Adjust the settings or troubleshoot accordingly to address these issues.
- Invite a few trusted friends or colleagues to join a private test stream. Ask for their feedback and observe their viewing experience to identify any remaining issues or areas for improvement.
Testing your live stream allows you to make any necessary adjustments and ensure a smooth experience for your audience. It’s crucial to thoroughly check all aspects of your stream, including audio, video quality, and stability, before broadcasting to a larger audience. By prioritizing testing and addressing any issues early on, you can provide a more polished and enjoyable live streaming experience.
With the live stream successfully tested and any adjustments made, you’re now ready to customize your stream settings for a better experience. In the next section, we’ll share some tips and tricks for maximizing the potential of your live streaming from Hololens.
Customizing the Live Stream Settings
Customizing your live stream settings allows you to enhance the overall experience for your viewers and tailor it to your specific needs. Here are some key aspects to consider when customizing your live stream settings:
- Video Resolution: Choose the appropriate video resolution for your live stream. Higher resolutions provide better clarity but require a stronger network connection and more processing power. Consider your audience’s internet capabilities when deciding on the resolution.
- Frame Rate: The frame rate determines the smoothness of your stream. Most platforms and devices support 30 or 60 frames per second (FPS). Higher frame rates provide a more fluid experience, particularly for fast-paced action, but also require more bandwidth.
- Bitrate: Bitrate refers to the amount of data transmitted per second. Higher bitrates result in better video quality but require a faster internet connection. It’s crucial to strike a balance between video quality and the viewer’s connection speed.
- Audio Quality: Ensure your audio settings are optimized for clarity. Test different microphone positions and settings to find the best audio quality for your live stream. Consider using a quality microphone or headset for better audio capture.
- Overlay and Alerts: Some streaming apps allow you to add overlays and alerts to your live stream. These can enhance the visual experience and provide useful information to your viewers, such as subscriber notifications or donation alerts.
- Streaming Platform Integration: Take advantage of the features offered by the streaming platform you’re using. Explore options like chat integration, viewer statistics, and custom channel branding. These features can help you engage with your audience and make your stream more interactive.
- Privacy and Security: Depending on your content and streaming goals, you may want to customize privacy settings. Determine whether you want your stream to be public, private, or accessible to specific viewers only. Additionally, consider enabling security measures, such as two-factor authentication, to protect your streaming account.
- Test and Fine-tune: After making changes to your live stream settings, test the new configuration to ensure everything is working as intended. Monitor the stream quality, audio levels, and any overlays or alerts. Fine-tune the settings as necessary to provide the best streaming experience for your viewers.
Customizing your live stream settings allows you to create a unique and engaging experience for your audience. Experiment with different configurations, but also consider your viewers’ preferences and technical capabilities. Regularly review and update your settings as needed to stay current with the evolving streaming landscape and improve the quality of your live streams.
With your live stream settings customized, it’s time to explore some tips and tricks for a better live streaming experience. In the next section, we will share valuable insights to enhance your Hololens live streaming journey.
Tips and Tricks for a Better Live Streaming Experience
To ensure a successful and engaging live streaming experience from your Hololens, here are some valuable tips and tricks to consider:
- Plan and Prepare: Before you start streaming, plan your content and prepare any holographic elements or scripts needed. Having a clear idea of what you want to showcase will help you deliver a smooth and professional stream.
- Engage with Your Audience: Interact with your viewers through chat or by incorporating their feedback into your stream. Engaging with your audience not only creates a sense of community but also makes the streaming experience more enjoyable for everyone involved.
- Optimize Your Environment: Ensure that your streaming environment is well-lit and free from distractions or background noise. A clean and visually appealing setup will enhance the quality of your stream and make it more immersive for your audience.
- Practice in Advance: Familiarize yourself with the streaming app and the Hololens controls before going live. Practice your movements and gestures to ensure smooth transitions between holographic elements and real-world objects.
- Utilize Guides and Tutorials: Take advantage of online guides, tutorials, and communities dedicated to live streaming from Hololens. These resources can provide valuable tips, troubleshooting techniques, and creative ideas to enhance your streams.
- Promote Your Stream: Utilize social media, your website, or other platforms to promote your upcoming streams. Build anticipation and notify your existing audience of your streaming schedule to maximize viewership.
- Experiment with Holographic Content: Get creative and explore different ways to incorporate holographic elements into your live stream. Experiment with overlays, spatial audio effects, and holographic interactions to enhance the immersive experience for your audience.
- Connect with Other Streamers: Network with fellow streamers and join streaming communities. Engaging with other content creators can provide valuable insights, collaboration opportunities, and inspiration to improve your own streams.
- Monitor and Analyze: Keep an eye on viewer metrics, comments, and feedback to gauge the success of your streams. Use this information to identify areas for improvement and make data-driven decisions to enhance future streams.
- Continuous Improvement: Regularly evaluate and evolve your live streaming setup, content, and engagement strategies. Embrace feedback, adapt to new trends, and consistently strive for improvement to provide the best possible experience for your viewers.
Remember, live streaming from Hololens opens up a world of possibilities for captivating and immersive experiences. By implementing these tips and tricks, you can create a memorable and engaging stream that stands out from the crowd. Enjoy the process, learn from each stream, and continue to refine your techniques to provide your audience with an exceptional streaming experience.
Now that you’re equipped with these tips and tricks, you’re ready to embark on your Hololens live streaming journey. In the next section, we will wrap up this guide, summarizing the key points and providing some closing thoughts.
Conclusion
Congratulations! You have now reached the end of this guide on live streaming from Hololens. We have covered everything from setting up the hardware to customizing your live stream settings and provided valuable tips and tricks for a better streaming experience. By following these steps and embracing the potential of Hololens, you can create captivating and immersive live streams that engage your audience like never before.
Live streaming from Hololens opens up a whole new world of possibilities, allowing you to share holographic adventures, deliver interactive presentations, host virtual meetings, and more. With a properly set-up Hololens device, a stable network connection, and a well-configured streaming app, you’re well on your way to creating memorable and immersive content.
Remember to plan and prepare, engage with your audience, optimize your environment, and continually improve your streaming techniques. By staying connected with other streamers, utilizing guides and tutorials, and promoting your streams effectively, you can attract a loyal and engaged viewer base.
As you embark on your Hololens live streaming journey, don’t be afraid to experiment, think outside the box, and push the boundaries of what’s possible. The world of mixed reality is constantly evolving, and by staying informed and embracing new technologies, you can continue to amaze your audience with captivating experiences.
Now go forth and let your creativity and imagination shine as you live stream from your Hololens. Enjoy the process, learn from each stream, and most importantly, have fun! Your holographic adventures await!


