Introduction
Sending money to friends, family, or businesses has never been easier. With the convenience of online banking, you can now securely transfer funds without the hassle of writing checks or dealing with cash. One popular method that offers both simplicity and speed is the email money transfer. This electronic payment option allows you to send money to anyone with an email address, making it a convenient choice for both personal and business transactions.
In this guide, we will walk you through the process of how to do an email money transfer. Whether you need to repay a friend, pay for goods or services, or send money to a family member, these step-by-step instructions will help you navigate through the process effortlessly.
Before we delve into the details, it’s important to note that email money transfers are typically facilitated through your online banking account. You’ll need to ensure you have access to online banking and have set up your account with your financial institution. Additionally, you’ll also need the email address of the recipient to whom you are sending the money.
Email money transfers offer numerous advantages over traditional payment methods. They are quick, secure, and allow for instant availability of funds to the recipient. Plus, you can easily track the transfer status and receive notifications once the recipient has received the money. No need for physical checks or cash, as everything can be done electronically from the comfort of your own home or office.
So, if you’re ready to learn how to send money via email, let’s dive into the step-by-step process and discover just how straightforward it can be.
Step 1: Setting up Your Online Banking Account
Before you can start sending money via email, you’ll need to ensure that you have set up your online banking account with your financial institution. If you haven’t done so already, follow these steps to get started:
- Visit the website of your bank or financial institution.
- Look for the “Register” or “Sign Up” button, typically located on the homepage or in the online banking section.
- Click on the appropriate link and provide the requested information to create your account. This may include your personal details, account number, and any other necessary identification information.
- Choose a strong and unique password to ensure the security of your online banking account. Avoid using easily guessable passwords and consider using a combination of letters, numbers, and symbols.
- Once your account is set up, you may need to verify your identity through a verification process. This could involve answering security questions, providing a code sent to your registered mobile number, or other similar methods.
- After successful verification, you should have access to your online banking account.
It’s important to note that the exact process may vary slightly depending on your financial institution. Some banks may require additional steps or documentation for account setup. If you encounter any difficulties or have questions, reach out to your bank’s customer support for assistance.
Once you have successfully set up your online banking account, you’re ready to move on to the next step in sending an email money transfer.
Step 2: Choosing the Email Money Transfer Option
Now that you have your online banking account set up, it’s time to navigate through your bank’s online platform to find the option for email money transfers. Follow these steps to select the email money transfer option:
- Login to your online banking account using your username and password.
- Once logged in, you will typically be directed to your account dashboard or overview page.
- Look for a tab or menu option labeled “Transfers” or “Send Money” within your online banking interface. The specific wording may vary based on your financial institution’s website design.
- Click on the relevant tab or option to proceed to the transfer section.
- Within the transfer section, you should see a list of available transfer methods. Look for the option that mentions email or email money transfer.
- Click on the email money transfer option to select it.
If you are unable to locate the email money transfer option in your online banking account, you may need to contact your bank’s customer support for guidance. They will be able to provide specific instructions based on your bank’s procedures and interface.
Once you have successfully chosen the email money transfer option, you’re ready to proceed to the next step of entering the recipient’s information.
Step 3: Entering the Recipient’s Information
After selecting the email money transfer option, it’s time to enter the recipient’s information. Follow these simple steps to complete this crucial step:
- On the email money transfer page, you will typically find a form where you can enter the recipient’s details.
- Start by entering the recipient’s email address. Make sure to double-check the email address to ensure it is accurate, as this is where the transfer instructions and notification will be sent.
- Some banking platforms may require you to enter the recipient’s name and contact information as well. Fill in any additional fields as necessary.
- Take a moment to review the recipient’s information for accuracy before proceeding to the next step. It’s essential to have the correct email address and contact details to ensure the smooth and successful transfer of funds.
If you are sending the funds to someone who is already in your list of saved recipients, you may be able to select their information from a dropdown menu rather than manually typing it in. This can save time and reduce the chances of errors.
Remember, it is crucial to verify the recipient’s email address and contact information before moving on. An incorrect email address could result in the funds being sent to the wrong person or a failed transfer.
Once you have entered the recipient’s information accurately, you’re ready to move on to the next step – specifying the transfer amount.
Step 4: Specifying the Transfer Amount
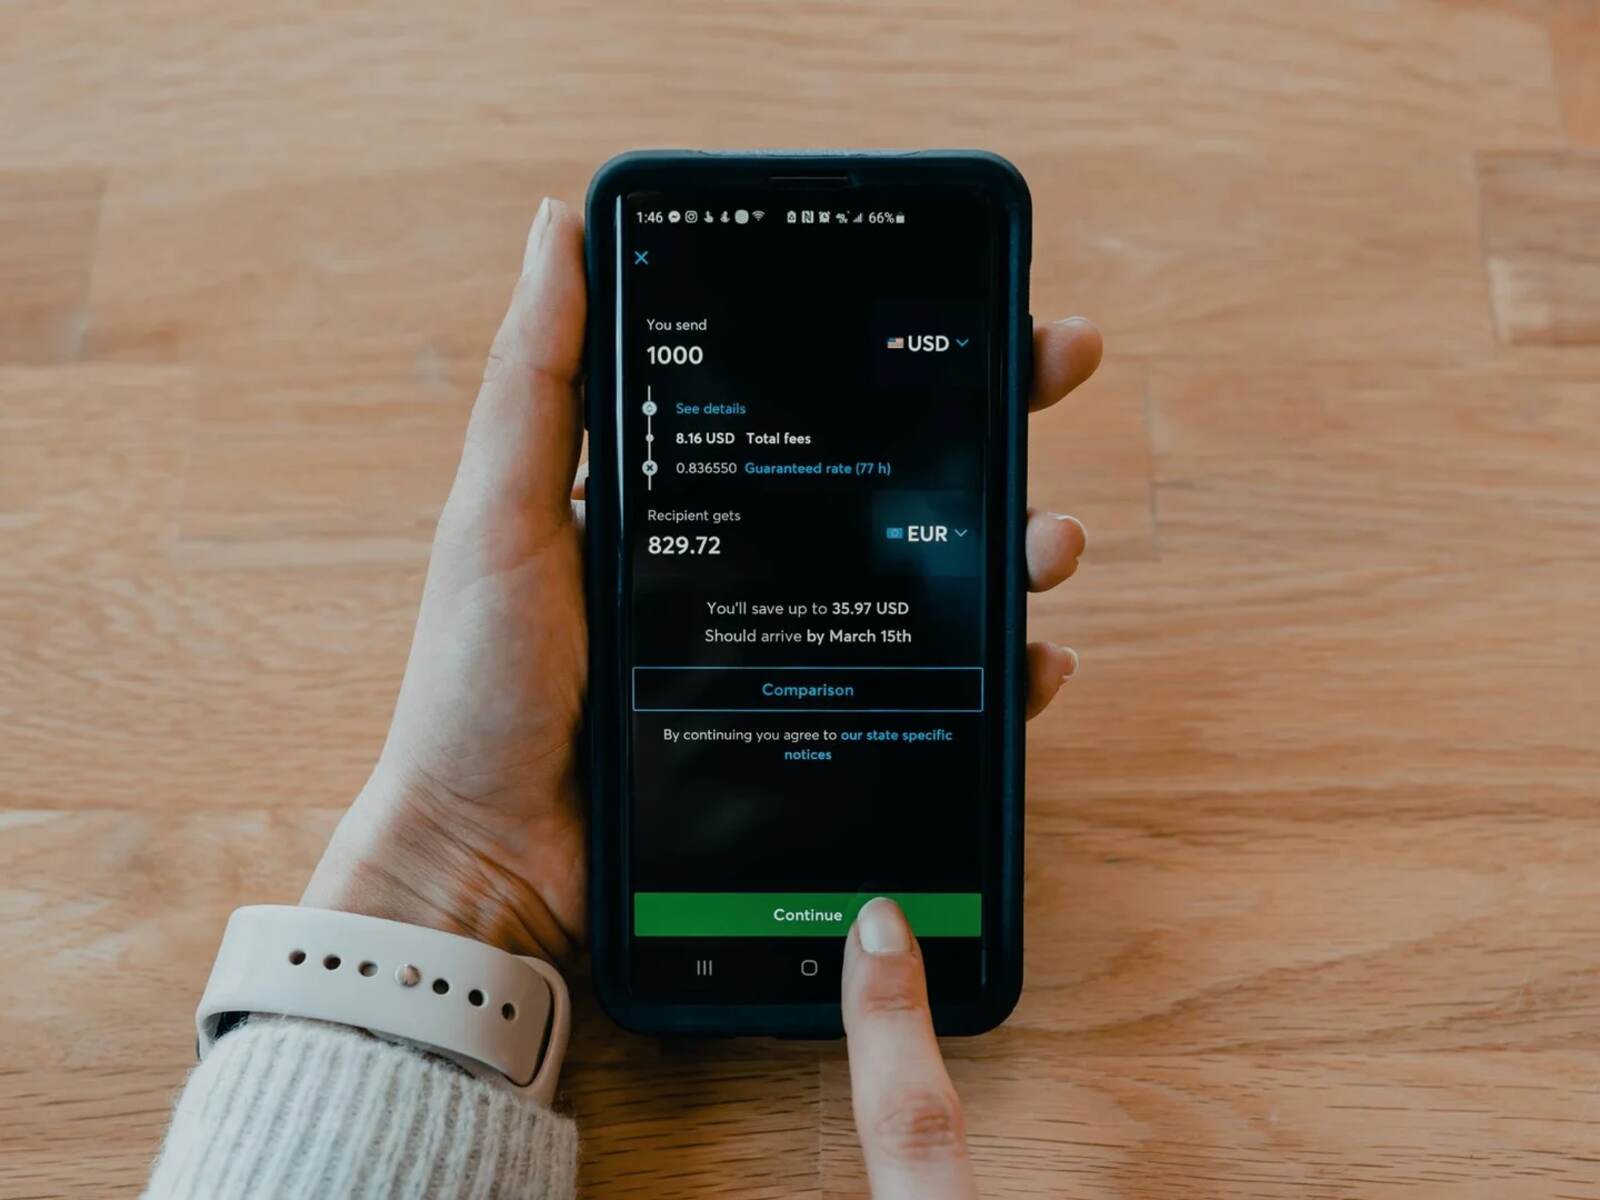
After entering the recipient’s information, the next step in the email money transfer process is specifying the transfer amount. Follow these steps to ensure a smooth and accurate transaction:
- In the transfer form, you will find a field labeled “Amount” or “Transfer Amount.”
- Enter the specific amount you wish to send to the recipient. Make sure to double-check the amount to ensure it is accurate.
- If you have the option to select the currency, choose the appropriate currency for the transaction.
- Some banking platforms may offer additional options, such as the ability to specify if the transfer is a recurring payment or a one-time transfer. Select the appropriate option based on your needs.
- Take a moment to review the transfer amount and any other options selected before proceeding to the next step.
It is crucial to enter the transfer amount accurately to ensure that the correct funds are transferred. Any mistakes in the transfer amount may result in overpaying or underpaying the recipient.
If you are unsure about the exchange rates or fees associated with the transfer, check with your bank or financial institution for clarification. Understanding these details can help you make an informed decision about the amount to send and ensure transparency in the transfer process.
Once you have specified the transfer amount, you’re ready to proceed to the next step – adding a personal message (optional).
Step 5: Adding a Personal Message (Optional)
In many email money transfer systems, you have the option to add a personal message along with the transaction. This step allows you to include a brief note or comment to the recipient. Follow these steps to add a personal message to your email money transfer:
- In the transfer form or on the payment page, look for an optional field labeled “Add a Message” or “Personal Message.”
- If you wish to include a personal message, type your desired message into the provided field. This could be a simple greeting, a thank you note, or any other message you want to convey to the recipient.
- Take a moment to review the message for accuracy and clarity.
Adding a personal message can add a thoughtful touch to your email money transfer. Whether you are sending money for a special occasion, a loan repayment, or simply to express your appreciation, a well-crafted message can leave a lasting impact on the recipient.
Keep in mind that the character limit for personal messages may vary depending on the banking platform or email money transfer system. If there is a limit, make sure your message fits within the provided space.
Remember, including a personal message along with your transfer is optional. If you prefer not to add a message, simply leave the field blank.
Once you have added your personal message (or skipped this step), you’re ready to move on to the next step – confirming the transfer.
Step 6: Confirming the Transfer
After entering the recipient’s information, specifying the transfer amount, and optionally adding a personal message, it’s time to review and confirm the details of the transfer. Follow these steps to ensure everything is in order before proceeding:
- Carefully review the transfer form or payment page to ensure that all the information entered is accurate. Check the recipient’s email address, transfer amount, and any other details you provided.
- If there is a “Review” or “Confirm” button, click on it to proceed to the confirmation page.
- On the confirmation page, take a moment to review all the details once again. Pay close attention to the transfer amount, as this is a critical element of the transaction.
- If everything looks correct, proceed to click the “Confirm” or “Send” button to finalize the transfer. This action may prompt you to enter a security code or password, depending on your bank’s security measures.
It is essential to review the transfer details carefully to avoid any errors or discrepancies. Any mistakes could result in funds being sent to the wrong recipient or an incorrect transfer amount being processed.
If you notice any errors or inconsistencies, utilize the “Edit” or “Back” button to go back and make the necessary corrections before confirming the transfer.
Once you have confirmed the transfer, you will typically receive a confirmation message or notification indicating that the transaction was successful. At this stage, the funds will be deducted from your account and be on their way to the recipient.
Now that the transfer has been confirmed, you’re ready to proceed to the next step – notifying the recipient of the transfer.
Step 7: Notifying the Recipient
Once you have confirmed the transfer, it is essential to notify the recipient that the money has been sent. This step ensures that they are aware of the incoming funds and can take the necessary actions to receive the money. Follow these steps to notify the recipient of the transfer:
- After confirming the transfer, look for an option to notify the recipient within the email money transfer system or your online banking platform.
- Click on the appropriate option to send a notification to the recipient.
- Some platforms may allow you to customize the notification message. If this option is available, consider including a brief message to clarify the purpose of the transfer or provide any additional instructions.
- Review the notification details and message before sending it to ensure accuracy.
- Click on the “Send” or “Notify” button to send the notification to the recipient.
Notifying the recipient is crucial because it ensures that they are aware of the incoming funds and can check their email for the necessary instructions to accept the transfer. This step helps minimize confusion and ensures a smooth process for both parties involved.
The recipient will typically receive an email notification containing instructions on how to accept and receive the funds. They may need to follow the prompts within the email or login to their own online banking account to complete the process.
Once the recipient has been notified, they can follow the instructions provided to accept the transfer and receive the funds. The exact steps they need to take may vary depending on their bank or financial institution.
With the recipient notified and the transfer process initiated, you are now one step closer to successfully completing the email money transfer. Proceed to the next step to verify the transfer status.
Step 8: Verifying the Transfer Status
After completing the email money transfer, it is important to verify the transfer status to ensure that the transaction has been successfully processed. Follow these steps to check the transfer status:
- Return to your online banking account or the email money transfer section, depending on your bank’s platform.
- Look for a tab or link labeled “Transfer History,” “Transaction Status,” or something similar.
- Click on the appropriate tab or link to access the transfer history or transaction status page.
- Locate the relevant transfer in the list and review the status. It may be labeled as “Completed,” “In Progress,” or “Pending.”
- If the status is “Completed,” it means that the funds have been successfully transferred to the recipient.
- If the status is “In Progress” or “Pending,” it may indicate that the transfer is still being processed. In such cases, it is advisable to allow some time for the transfer to be completed, as it may take a few minutes or longer depending on the banking system.
- Some banking platforms may provide additional details, such as the date and time of the transfer or the recipient’s confirmation status. Review any available information to ensure everything aligns with your expectations.
If there are any concerns or questions regarding the transfer status, it is recommended to reach out to your bank’s customer support for assistance. They will be able to provide additional information and address any potential issues or delays.
Verifying the transfer status is crucial to ensure that the funds have reached the intended recipient successfully. It provides peace of mind and allows you to track the progress of your transaction.
With the transfer status verified, you have successfully completed the email money transfer process. Congratulations! Whether it’s a personal payment or a business transaction, email money transfers offer a convenient and secure way to send funds electronically.
Remember to always keep your online banking account information secure and regularly monitor your transactions to ensure the safety of your financial activities.
Conclusion
Sending money through email money transfers has become a popular and convenient method for individuals and businesses alike. With just a few simple steps, you can securely transfer funds to anyone with an email address, eliminating the need for physical checks or cash.
In this guide, we have walked you through the step-by-step process of how to do an email money transfer. From setting up your online banking account to verifying the transfer status, each step is designed to ensure a smooth and successful transaction.
Setting up your online banking account with your financial institution is the first step in this process. Once that is accomplished, you can proceed to choose the email money transfer option within your online banking platform. From there, enter the recipient’s information accurately, specify the transfer amount, and optionally add a personal message.
After confirming the transfer, it is crucial to notify the recipient so they are aware of the incoming funds. Once the recipient has been notified, you can verify the transfer status to ensure the transaction has been successfully completed.
Email money transfers offer numerous benefits, including speed, convenience, and security. They allow for instant availability of funds to the recipient and provide a straightforward way to track the transfer status. Additionally, email money transfers save you time and effort by eliminating the need for physical checks or cash transactions.
As with any financial transaction, it is important to keep your online banking account information secure and be aware of any fees or exchange rates associated with the transfer. Always review the transfer details before confirming and monitor the transaction status for peace of mind.
Now that you have a clear understanding of how to do an email money transfer, you can confidently send funds to friends, family, or businesses with ease. Embrace the convenience and efficiency of email money transfers, and enjoy the seamless experience of securely transferring money online.


