Introduction
Welcome to our guide on how to do email money transfers with CIBC. In this digital age, online banking has become an essential tool for managing our finances conveniently and securely. CIBC, one of Canada’s leading banks, offers a seamless and secure way to transfer money through email. Whether you need to pay a friend, split the bill, or send money to a family member, email money transfers are a quick and convenient option.
In this step-by-step guide, we will walk you through the process of setting up your CIBC Online Banking account, adding a payee for email money transfers, initiating and confirming a transfer, as well as receiving and withdrawing funds. By following these simple steps, you can make hassle-free electronic transfers right from the comfort of your own home.
It’s worth noting that a CIBC bank account is required to use the email money transfer feature. Additionally, both the sender and the recipient must have an email address and access to online banking. With that said, let’s get started on how to do email money transfers with CIBC!
Step 1: Setting up your CIBC Online Banking account
Before you can start sending email money transfers with CIBC, you’ll need to set up an online banking account. Follow these steps to get started:
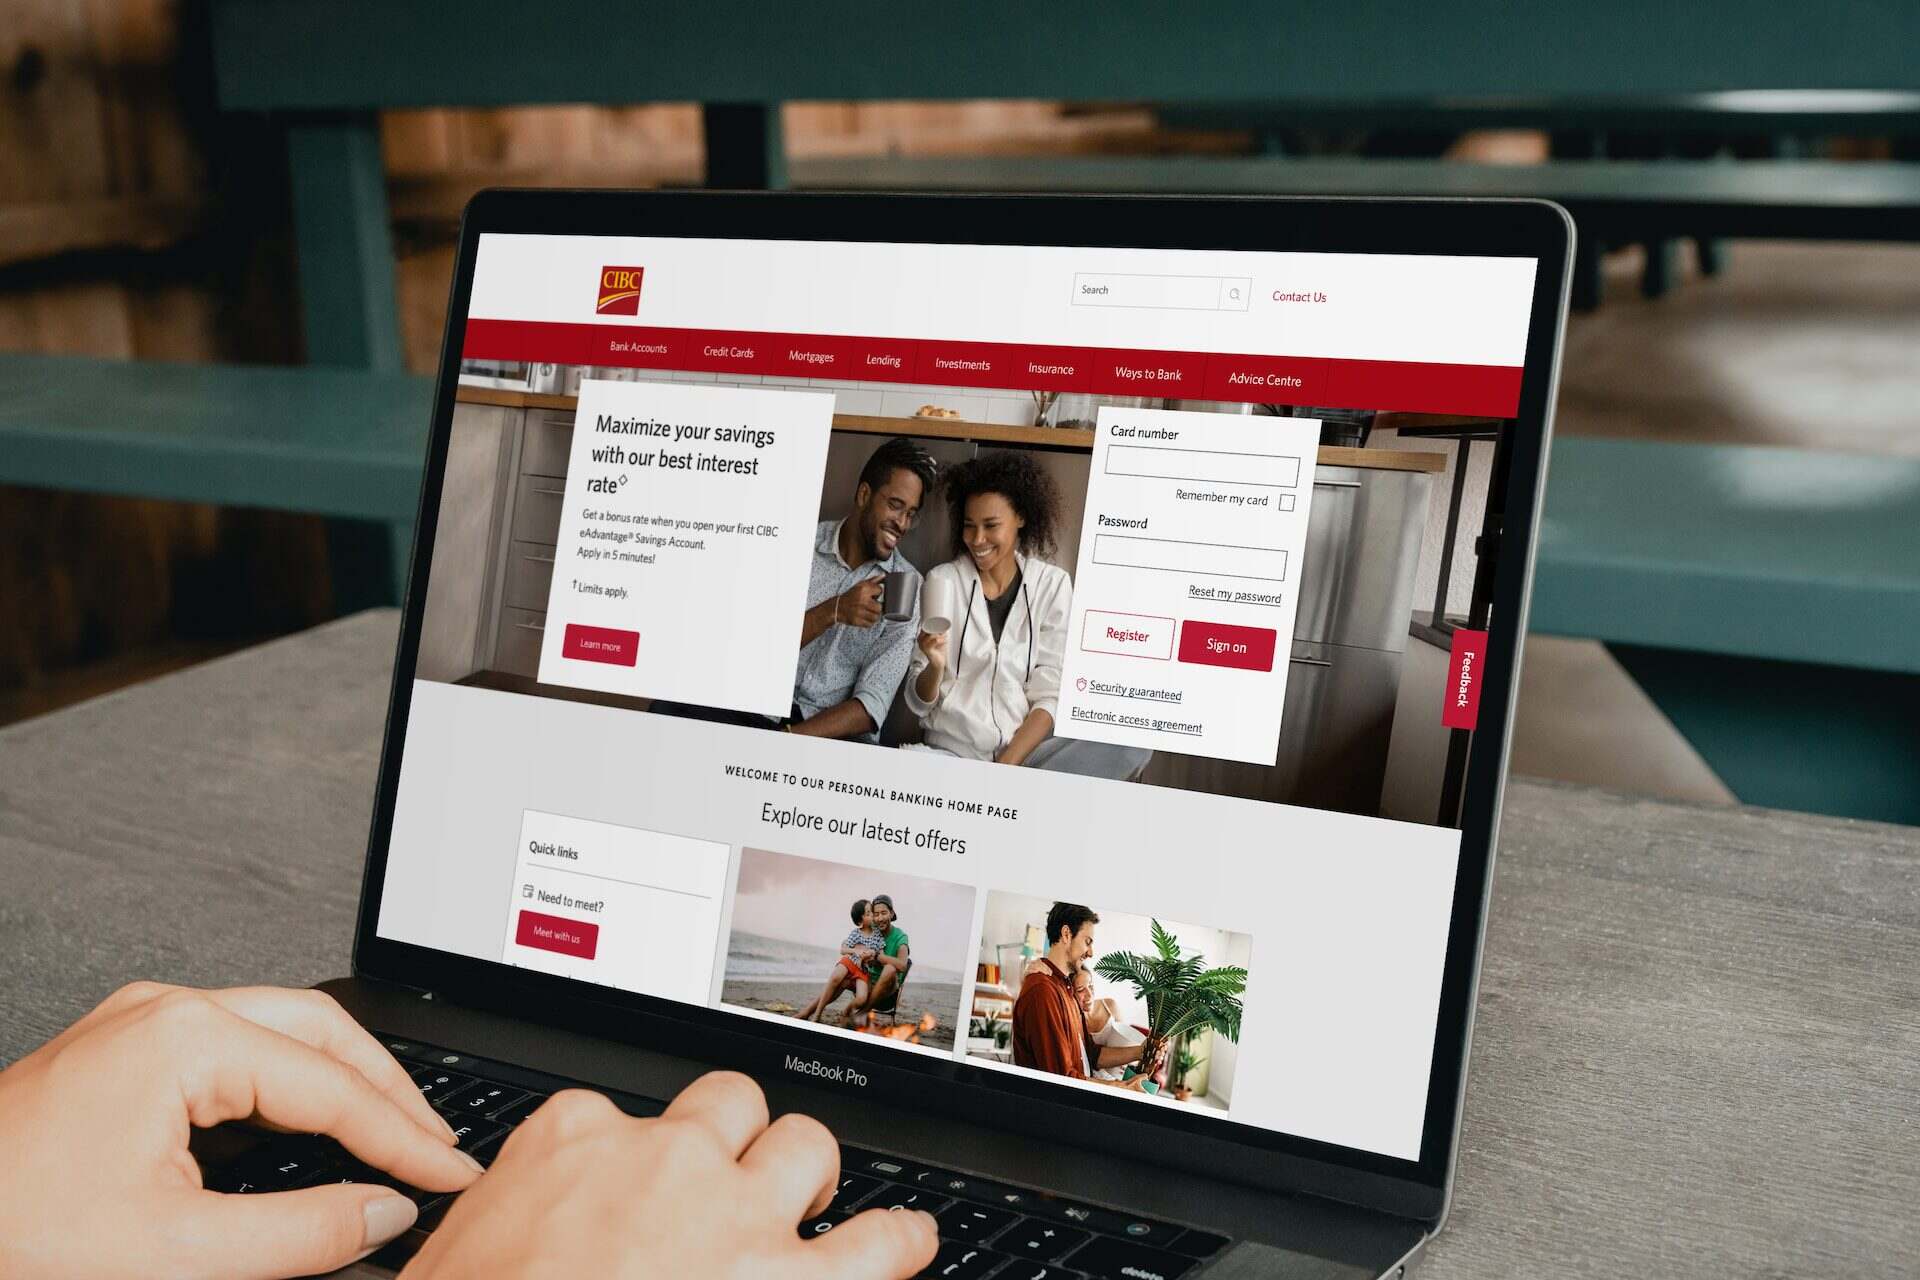
1. Visit the CIBC website:
Go to the official CIBC website (www.cibc.com) on your computer or mobile device.
2. Click on “Register” or “Sign up”:
Look for the registration or sign-up option on the homepage and click on it. You will be directed to the registration page.
3. Provide your personal information:
On the registration page, you’ll be asked to enter your personal information, such as your name, date of birth, and social insurance number. Make sure to fill in the required fields accurately.
4. Create your login credentials:
Next, you’ll need to create a username and password for your CIBC Online Banking account. Choose a username that is easy for you to remember but difficult for others to guess. Create a strong, unique password that includes a combination of letters, numbers, and symbols.
5. Set up security questions:
As an additional security measure, CIBC requires you to set up security questions and answers. These questions will be used to verify your identity if you forget your password or need to reset it in the future. Choose questions that you can easily remember but that are not easily guessable by others.
6. Accept the terms and conditions:
Read through the CIBC Online Banking terms and conditions carefully. Once you have reviewed them, check the box to indicate that you have read and understood the terms.
7. Complete the registration process:
Finally, click on the “Register” or “Sign up” button to complete the registration process. If all the information you provided is accurate, you will be successfully registered for CIBC Online Banking.
Once your online banking account is set up, you can proceed to the next step of adding a payee for email money transfers with CIBC.
Step 2: Adding a payee for email money transfer
After setting up your CIBC Online Banking account, the next step is to add a payee for email money transfers. Follow these steps to add a payee:
1. Log in to your CIBC Online Banking account:
Visit the CIBC website (www.cibc.com) and log in using your username and password. Ensure that you have selected the correct login option for personal banking.
2. Navigate to the “Transfer” section:
Once you are logged in, look for the “Transfer” or “Send Money” tab in your online banking dashboard. Click on it to proceed.
3. Select “Add a Payee” or “Add a Recipient”:
In the transfer section, you will see an option to “Add a Payee” or “Add a Recipient.” Click on this option to continue.
4. Provide payee’s information:
Enter the required information for the payee, such as their full name, email address, and a security question and answer that will be used to verify their identity when they receive the transfer. Make sure to double-check the information for accuracy.
5. Review and confirm the payee:
Check the information you entered for the payee and ensure that it is correct. This step is crucial to avoid any errors or delays in future transactions. If everything looks good, click on the “Confirm” or “Add Payee” button to save the payee’s details.
6. Verify the payee’s email address:
Once the payee is added, CIBC will send an email to the payee’s email address with instructions on how to verify their email. The payee will need to follow the provided steps to verify their email address before they can receive the email money transfer.
Great! You have successfully added a payee for email money transfers with CIBC. Now, let’s move on to the next step and learn how to initiate an email money transfer.
Step 3: Initiating an email money transfer
Now that you have added a payee for email money transfers with CIBC, it’s time to initiate a transfer. Follow these steps to send money to your desired recipient:
1. Log in to your CIBC Online Banking account:
Visit the CIBC website (www.cibc.com) and log in to your online banking account using your username and password.
2. Navigate to the “Transfer” section:
In your online banking dashboard, locate and click on the “Transfer” or “Send Money” tab to access the transfer options.
3. Select “Email Money Transfer”:
In the transfer options, you will find the option to send an “Email Money Transfer” or similar. Click on this option to proceed.
4. Choose the account to make the transfer:
If you have multiple accounts with CIBC, select the account from which you want to transfer money to complete the transaction. Make sure you have sufficient funds in that account to cover the transfer amount.
5. Select the payee:
You will see a list of payees you have added for email money transfers. Choose the payee to whom you want to send the money by selecting their name from the list.
6. Enter the transfer details:
Specify the amount you want to transfer to the payee and provide a brief description or message (optional). This message helps the recipient identify the purpose of the transfer.
7. Select the transfer date:
You can choose to send the email money transfer immediately or schedule it for a later date. Select the desired transfer date according to your preference.
8. Review and confirm the transfer:
Before finalizing the transfer, carefully review all the details you entered, including the amount, payee, and transfer date. If everything is correct, click on the “Confirm” or “Send” button to initiate the email money transfer.
That’s it! You have successfully initiated an email money transfer with CIBC. In the next step, we will guide you through the process of confirming the email money transfer.
Step 4: Confirming the email money transfer
After initiating an email money transfer with CIBC, it is important to verify and confirm the transfer to ensure it is successfully processed. Follow these steps to confirm your email money transfer:
1. Check your email:
Shortly after initiating the transfer, you will receive an email notification from CIBC. Open your email inbox and look for the email related to the money transfer. Make sure to check your spam or junk folder if you don’t see it in your main inbox.
2. Open the email:
Open the email from CIBC regarding the money transfer. This email will contain important details and instructions for confirming the transfer.
3. Click on the confirmation link:
Inside the email, there will be a confirmation link provided by CIBC. Click on this link to be redirected to the CIBC website and verify your transfer.
4. Log in to your CIBC Online Banking account:
After clicking on the confirmation link, you will be prompted to log in to your CIBC Online Banking account using your username and password. Enter the required information correctly to proceed.
5. Review the transfer details:
Once you are logged in, you will be redirected to a page displaying the transfer details. Take a moment to review the information, including the amount, payee, and transfer date, to ensure it matches your intended transfer.
6. Confirm the transfer:
If all the details are correct, click on the “Confirm” or “Finalize” button to confirm the email money transfer. This step verifies your authorization to proceed with the transaction.
7. Success!:
Upon confirming the transfer, you will receive a confirmation message indicating that your transfer has been completed successfully. You and the recipient will also receive email notifications regarding the transfer status.
It is essential to confirm your email money transfer to ensure that the funds are securely transferred to the intended recipient. By following these steps, you can ensure a smooth and reliable transfer process with CIBC. In the next step, we will guide you through the process of receiving an email money transfer.
Step 5: Receiving an email money transfer
After confirming an email money transfer with CIBC, the next step is to receive the transferred funds. Whether you are the intended recipient or someone who needs to receive money, follow these steps to receive an email money transfer:
1. Check your email:
If you are the recipient, check your email inbox for a notification from CIBC regarding the email money transfer. Make sure to also check your spam or junk folder in case the email landed there.
2. Open the email:
Open the email from CIBC about the money transfer. Inside the email, you will find instructions and information about the transfer, including the sender’s name and the security question associated with the transfer.
3. Click on the link:
Within the email, there will be a link provided by CIBC for accessing the funds. Click on the link to be redirected to the CIBC website.
4. Provide the security answer:
On the CIBC website, you will be prompted to enter the security answer associated with the email money transfer. This answer is provided by the sender, so make sure you communicate with the sender to obtain the correct security answer.
5. Confirm the transfer:
After providing the correct security answer, click on the “Confirm” or “Accept” button to confirm the transfer. This step verifies your authorization to receive the funds from the email money transfer.
6. Review the transfer details:
Once you confirm the transfer, you will be redirected to a page displaying the transfer details. Review the information, including the sender’s name and the transfer amount, to ensure accuracy.
7. Receive the funds:
After confirming the transfer details, the funds will be credited to your designated bank account linked to your CIBC Online Banking account. You can check your account balance or transaction history to verify the successful receipt of funds.
By following these steps, you can easily receive funds from an email money transfer with CIBC. It is important to communicate with the sender and ensure you have the correct security answer to access the funds. In the next step, we will guide you on how to withdraw funds from an email money transfer.
Step 6: Withdrawing funds from an email money transfer
Once you have received an email money transfer with CIBC, the final step is to withdraw the funds to use them as needed. Follow these steps to withdraw funds from an email money transfer:
1. Log in to your CIBC Online Banking account:
Visit the CIBC website (www.cibc.com) and log in to your online banking account using your username and password.
2. Navigate to the “Transfer” or “Withdraw” section:
In your online banking dashboard, locate the “Transfer” or “Withdraw” tab to access the withdrawal options.
3. Select the appropriate account:
If you have multiple accounts with CIBC, select the account where the transferred funds were deposited. Ensure that you have sufficient funds available in that account to withdraw.
4. Choose the withdrawal method:
Depending on your preferences and available options, choose the withdrawal method that suits you best. CIBC offers various options, such as electronic funds transfer (EFT), wire transfer, or requesting a physical cheque.
5. Enter the withdrawal details:
Provide the necessary information, such as the withdrawal amount and any additional details required based on the chosen withdrawal method.
6. Review and confirm the withdrawal:
Before finalizing the withdrawal, carefully review all the details you entered, including the withdrawal amount and the chosen withdrawal method. Ensure that all the information is accurate and click on the “Confirm” or “Submit” button to complete the process.
7. Receive the withdrawn funds:
Once the withdrawal is confirmed, the funds will be transferred to your designated bank account or sent via the chosen withdrawal method, allowing you to access the funds for your intended use.
It’s important to note that the time it takes to receive the withdrawn funds may depend on the withdrawal method chosen and may vary. Keep track of your transaction history or contact CIBC customer support if you have any concerns or questions regarding the withdrawal process.
Congratulations! You have successfully withdrawn funds from an email money transfer with CIBC. Now, you can utilize the funds as needed.
Conclusion
In this guide, we have explored the step-by-step process of how to do email money transfers with CIBC. Through setting up your CIBC Online Banking account, adding a payee, initiating a transfer, confirming the transfer, receiving the funds, and finally, withdrawing the funds, you can make secure and convenient money transfers right from your computer or mobile device.
CIBC’s email money transfer feature offers a reliable and efficient way to send and receive money. With just a few clicks, you can transfer funds to family, friends, or anyone else with a CIBC account and an email address. The process is quick, seamless, and can be done from the comfort of your own home.
Remember to always double-check the accuracy of the information entered, such as the payee’s details, transfer amount, and security question answers, to prevent any errors or delays in your transactions. Additionally, maintain clear communication with the sender or recipient to ensure a smooth transfer process.
If you encounter any issues or have further questions regarding email money transfers with CIBC, don’t hesitate to reach out to their customer support team. They are there to assist you and provide guidance throughout the process.
We hope that this guide has been helpful in navigating the email money transfer process with CIBC. Enjoy the convenience and ease of transferring funds with CIBC Online Banking, and make your financial transactions hassle-free.