Introduction
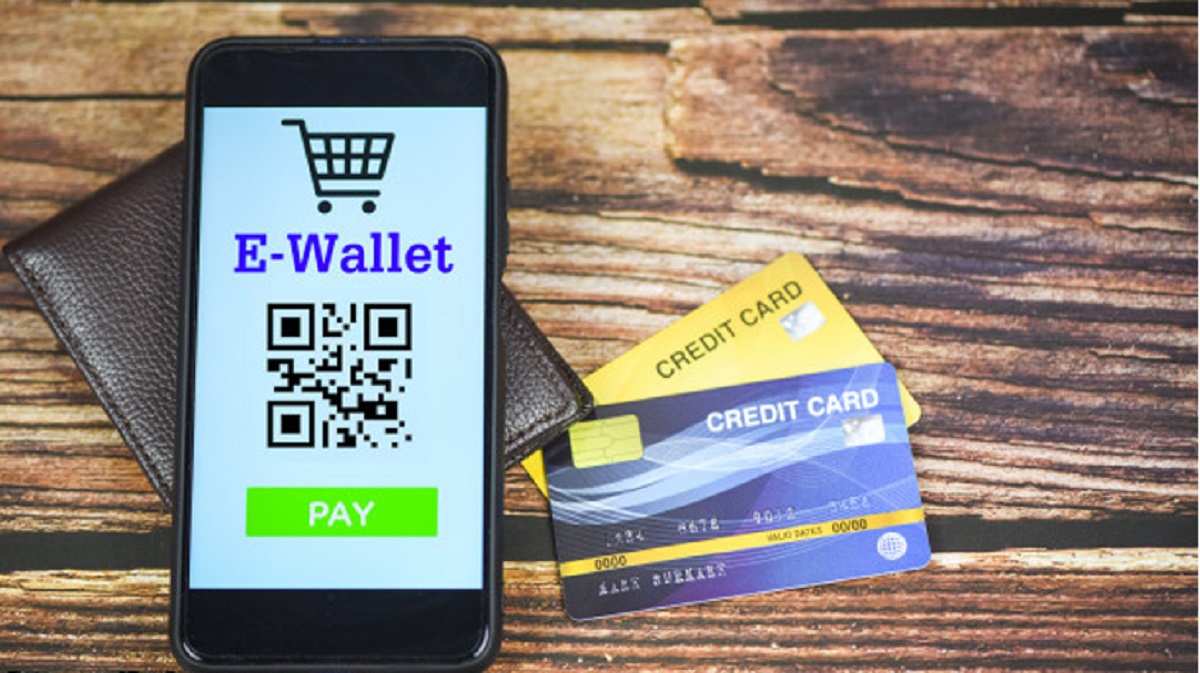
Welcome to the digital age, where our smartphones have become an essential part of our lives. From communication to entertainment, we rely on our phones for a multitude of tasks. One such task is managing our e-wallets, which provide a convenient and secure way to make payments, store loyalty cards, and even transfer money to friends and family.
But what happens when you upgrade to a new phone? Can you transfer your e-wallet from your old phone to the new one? The good news is, yes, you can! In this article, we will guide you through the process of transferring your e-wallet from one phone to a new phone.
There are several reasons why you might want to transfer your e-wallet to a new phone. The most common reason is upgrading to a new device with better features and improved performance. Additionally, if your old phone is damaged, lost, or stolen, transferring your e-wallet to a new phone ensures that you still have access to your funds and payment options.
Another reason to transfer your e-wallet is if you are switching from one operating system to another. For example, if you are moving from an Android device to an iPhone, or vice versa, you will need to transfer your e-wallet to ensure compatibility with the new device’s operating system.
Now that we have established the importance of transferring your e-wallet from one phone to a new phone, let’s dive into the step-by-step guide that will help you smoothly transition to your new device. So, grab your old phone, your new phone, and let’s get started!
Reasons to Transfer E-wallet from One Phone to a New Phone
There are several compelling reasons why you might find yourself needing to transfer your e-wallet from one phone to a new phone. Understanding these reasons will help you realize the importance of this process and the benefits it can bring. Let’s explore the main reasons to transfer your e-wallet:
- Upgrading to a new phone: One of the most common reasons to transfer your e-wallet is when you purchase a new phone. Upgrading to a newer device often comes with enhanced features, better performance, and improved security. By transferring your e-wallet, you can continue to enjoy the convenience of making payments, accessing loyalty programs, and managing your finances seamlessly on your new phone.
- Security concerns: If your old phone has been lost, stolen, or damaged, it’s crucial to transfer your e-wallet to a new phone to safeguard your funds and personal information. By doing so, you can prevent unauthorized access to your e-wallet and ensure that your financial data remains secure.
- Switching operating systems: Moving from one operating system to another, such as switching from Android to iOS or vice versa, may necessitate transferring your e-wallet. Different operating systems often have incompatible e-wallet apps, and transferring will ensure that you can continue to access your payment methods, loyalty cards, and transaction history on your new device.
- Device malfunction: If your old phone is experiencing technical issues or performance problems, transferring your e-wallet to a new phone can help you regain a seamless payment experience. By transferring, you can avoid the hassle of dealing with a faulty device and continue to use your e-wallet without any interruptions.
- Ease of use and convenience: Transferring your e-wallet to a new phone offers you the convenience of having all your financial information and payment options readily available on your preferred device. Whether it’s for business or personal use, having your e-wallet on a new phone ensures that you can effortlessly make purchases, manage your finances, and access loyalty programs wherever you are.
Now that you understand the reasons why you might need to transfer your e-wallet from one phone to a new phone, let’s move on to the step-by-step guide that will help you accomplish this task effectively and securely.
Step-by-Step Guide to Transferring E-wallet from One Phone to a New Phone
Transferring your e-wallet from one phone to a new phone may seem like a daunting task, but with the right guidance, it can be a smooth and straightforward process. Follow these step-by-step instructions to transfer your e-wallet seamlessly:
- Backup your e-wallet data on your old phone: Start by creating a backup of your e-wallet data on your old phone. This ensures that all your payment information, transaction history, and loyalty cards are safely stored. Depending on the e-wallet app you are using, you can usually find a backup or export option in the app’s settings.
- Install the e-wallet app on your new phone: On your new phone, navigate to the app store (Google Play Store for Android or App Store for iOS) and install the same e-wallet app you were using on your old phone. Make sure to download the latest version of the app.
- Sign in to your e-wallet account on the new phone: Open the e-wallet app on your new phone and sign in using your existing account credentials. This is usually the same username/email and password you used on your old phone.
- Restore your e-wallet data on the new phone: Once you are signed in to your e-wallet account on the new phone, look for the restore or import option within the app’s settings. Choose the backup file you created on your old phone and follow the prompts to restore your e-wallet data.
- Verify and update your e-wallet information: After restoring your e-wallet data, take a moment to review and update your information. Ensure that your payment methods, loyalty cards, and personal details are accurate and up-to-date. This step is essential to ensure a seamless experience when making payments or accessing your e-wallet features.
That’s it! You have now successfully transferred your e-wallet from your old phone to your new phone. You can now enjoy the convenience of managing your finances, making payments, and accessing your loyalty programs using your new device.
Remember, the specific steps may vary slightly depending on the e-wallet app you are using, but the general process remains the same. If you encounter any difficulties during the transfer process, consult the app’s support documentation or reach out to their customer support for assistance.
Now that you have completed the transfer, you can start exploring all the features and benefits of your e-wallet on your new phone.
Backup your e-wallet data on your old phone
Before you begin the process of transferring your e-wallet to a new phone, it is crucial to create a backup of your e-wallet data on your old phone. This ensures that all your payment information, transaction history, and loyalty cards are securely stored and can be easily restored on your new device. Follow these steps to backup your e-wallet data:
- Open the e-wallet app: Locate the e-wallet app on your old phone and open it.
- Access the settings: Look for the settings icon within the app. It is usually represented by a gear or three vertical dots.
- Find the backup or export option: Navigate through the settings menu and look for the option to backup or export your e-wallet data. The specific location of this option may vary depending on the app you are using.
- Select backup destination: Choose where you want to store your backup. You can select an external storage device, such as an SD card or cloud storage service, to ensure the backup is easily accessible when setting up your new phone.
- Initiate the backup: Once you have chosen the backup destination, initiate the backup process. Depending on the size of your e-wallet data, this may take a few moments.
- Verify backup completion: After the backup process is complete, verify that the backup was successful. Double-check that the backup file is properly stored in the chosen destination and that it contains all the necessary data.
It is essential to regularly backup your e-wallet data to ensure that you do not lose any important information. Consider setting up automatic backups if your e-wallet app supports this feature. This way, you can have peace of mind knowing that your data is always backed up and easily recoverable if needed.
By following these steps and creating a backup of your e-wallet data on your old phone, you are taking an important precautionary measure to secure your financial information and ensure a smooth transition to your new device.
Install the e-wallet app on your new phone
Once you have created a backup of your e-wallet data on your old phone, the next step is to install the e-wallet app on your new phone. Follow these steps to install the e-wallet app:
- Open the app store: Locate the app store on your new phone. On Android devices, it is typically the Google Play Store, while iOS devices have the App Store.
- Search for the e-wallet app: In the app store’s search bar, type the name of the e-wallet app you were using on your old phone.
- Select the correct app: From the search results, find the official app and ensure that it matches the one you were using previously. Look for the app’s developer name or logo as indicators of authenticity.
- Tap on the app: Once you have confirmed that you have found the correct app, tap on it to access the app’s page.
- Install the app: On the app’s page, look for the “Install” or “Get” button and tap on it. This will initiate the installation process.
- Wait for the installation to complete: The app will begin downloading and installing on your new phone. Depending on your internet connection and the app’s size, this process may take a few moments.
- Explore app permissions: During the installation process, you may be prompted to grant certain permissions to the app. Read through the permissions requests and allow access to the necessary features for the e-wallet app to function properly.
Once the installation is complete, the e-wallet app will be available on your new phone’s home screen or app drawer. Now, you are ready to proceed with transferring your e-wallet data to your new device.
Remember, it’s essential to download the official version of the e-wallet app from the trusted app store to ensure that you are using a legitimate and secure application. Avoid downloading from unauthorized sources to protect your personal and financial information.
Now that you have successfully installed the e-wallet app on your new phone, it’s time to move on to the next step of signing in to your e-wallet account on the new device.
Sign in to your e-wallet account on the new phone
After successfully installing the e-wallet app on your new phone, the next step is to sign in to your e-wallet account. This will allow you to access your existing e-wallet data and continue using your payment methods, loyalty cards, and transaction history. Follow these steps to sign in to your e-wallet account:
- Open the e-wallet app: Locate the e-wallet app on your new phone and tap on the app icon to open it.
- Access the sign-in page: Once the e-wallet app is open, you will be presented with a sign-in page. Look for the “Sign In” or “Log In” button and tap on it.
- Enter your account credentials: On the sign-in page, input your e-wallet account credentials, such as your username/email and password. If you have forgotten your password, look for the “Forgot Password” option to reset it.
- Tap on the sign-in button: After entering your account credentials, tap on the sign-in button to proceed.
- Wait for the sign-in process: The e-wallet app will verify your account information and sign you in. This process should only take a few moments.
- Set up authentication (if applicable): Depending on your e-wallet app, you may be prompted to set up additional security measures, such as fingerprint or facial recognition, PIN, or two-factor authentication. Follow the prompts to set up these security features.
Once you have successfully signed in to your e-wallet account, you will have access to all your saved payment methods, loyalty cards, and transaction history. This step ensures that your e-wallet data is synced with your new phone, allowing you to seamlessly continue using your e-wallet without any interruptions.
It is important to note that if you have changed your e-wallet account credentials since creating the backup on your old phone, you will need to use the updated credentials when signing in on your new phone.
Now that you have signed in to your e-wallet account on the new phone, you are ready to proceed with restoring your e-wallet data from the backup you created earlier. The next section will guide you through this process.
Restore your e-wallet data on the new phone
Now that you have signed in to your e-wallet account on your new phone, it’s time to restore your e-wallet data from the backup you created on your old phone. By restoring the backup, you can transfer all your payment information, transaction history, and loyalty cards to your new device. Follow these steps to restore your e-wallet data:
- Open the e-wallet app: Launch the e-wallet app on your new phone. Ensure that you are signed in to your e-wallet account.
- Access the settings: Look for the settings icon within the app. It is usually represented by a gear or three vertical dots.
- Find the restore or import option: Navigate through the settings menu and look for the option to restore or import your e-wallet data. The location of this option may vary based on the app you are using.
- Choose the backup file: Select the backup file that you created on your old phone. The file should be stored in the backup destination you chose earlier, such as an SD card or cloud storage service.
- Initiate the restore process: Once you have selected the backup file, initiate the restore process within the e-wallet app. This will prompt the app to extract and migrate your e-wallet data to your new phone.
- Wait for the restore to complete: The restore process may take a few moments, depending on the size of your e-wallet data. Ensure that you have a stable internet connection during this process.
- Verify the restored data: After the restore process is complete, verify that your e-wallet data has been successfully transferred to your new device. Check your payment methods, loyalty cards, and transaction history to ensure everything is intact.
It’s important to note that not all e-wallet apps have a built-in restore feature. Some apps may automatically sync your data when you sign in to your account on the new phone. Make sure to follow the specific instructions provided by the e-wallet app you are using.
Once the restore process is finished and you have verified that your e-wallet data is restored, you can proceed to the next step, which involves reviewing and updating your e-wallet information on the new phone.
Verify and Update Your E-wallet Information
After restoring your e-wallet data on your new phone, it is important to take the time to verify and update your e-wallet information. This step ensures that your payment methods, loyalty cards, and personal details are accurate and up-to-date. Follow these steps to verify and update your e-wallet information:
- Open the e-wallet app: Launch the e-wallet app on your new phone.
- Access the settings: Look for the settings icon within the app. It is usually represented by a gear or three vertical dots.
- Review payment methods: Navigate to the payment methods section in the app’s settings. Verify that all your saved payment methods are still valid and up-to-date. Remove any expired or unused payment methods and add any new ones if necessary. Update your card details if there have been any changes.
- Manage loyalty cards: If you have loyalty cards saved in your e-wallet, review them to ensure they are accurate. Update any information, such as membership numbers or expiration dates. Add any new loyalty cards that you wish to include in your e-wallet.
- Check transaction history: Explore the transaction history section of your e-wallet app to ensure that all past transactions have been transferred correctly. Verify that amounts and dates are accurate. If any transactions are missing or appear incorrect, contact the e-wallet app’s customer support for assistance.
- Update personal details: If there have been any changes to your personal information, such as your name, email address, or contact number, update these details in the app’s settings. Keeping your personal information up-to-date is important for security and effective communication.
By verifying and updating your e-wallet information, you ensure that your e-wallet on the new phone reflects the most accurate and current data. This step enhances the usability and convenience of your e-wallet, allowing for a seamless experience when making payments and accessing loyalty programs.
Remember to regularly review and update your e-wallet information as needed, especially when there are changes to your payment methods or personal details. By doing so, you can stay on top of your finances and ensure a hassle-free e-wallet experience.
Now that you have verified and updated your e-wallet information on your new phone, you can confidently use your e-wallet to make payments, manage your finances, and take advantage of loyalty benefits on your new device.
Conclusion
Transferring your e-wallet from one phone to a new phone might seem like a complex process, but by following a step-by-step guide, you can successfully migrate your e-wallet data and continue using your payment methods, loyalty cards, and transaction history seamlessly on your new device.
In this article, we explored the reasons why you might need to transfer your e-wallet, such as upgrading to a new phone, concerns about security, switching operating systems, and device malfunctions. We also provided a detailed step-by-step guide to help you through the process:
- Backup your e-wallet data on your old phone.
- Install the e-wallet app on your new phone.
- Sign in to your e-wallet account on the new phone.
- Restore your e-wallet data on the new phone.
- Verify and update your e-wallet information.
By following these steps, you can ensure a smooth and successful transfer of your e-wallet. Remember to download the official app from a trusted source, create regular backups of your e-wallet data, and keep your account credentials secure.
Transferring your e-wallet to a new phone allows you to enjoy the convenience and security of a digital wallet on the latest device, while retaining access to your payment methods, loyalty programs, and transaction history. It simplifies your financial management and provides a seamless payment experience wherever you go.
Now that you have completed the transfer process, take a moment to double-check that your e-wallet data is intact and up-to-date. Explore the features of your e-wallet on your new phone and familiarize yourself with its functionality. If you encounter any issues or have any questions, consult the app’s support documentation or contact their customer support for assistance.
By successfully transferring your e-wallet to your new phone, you can enjoy the benefits of a secure and convenient digital payment solution right at your fingertips.