Introduction
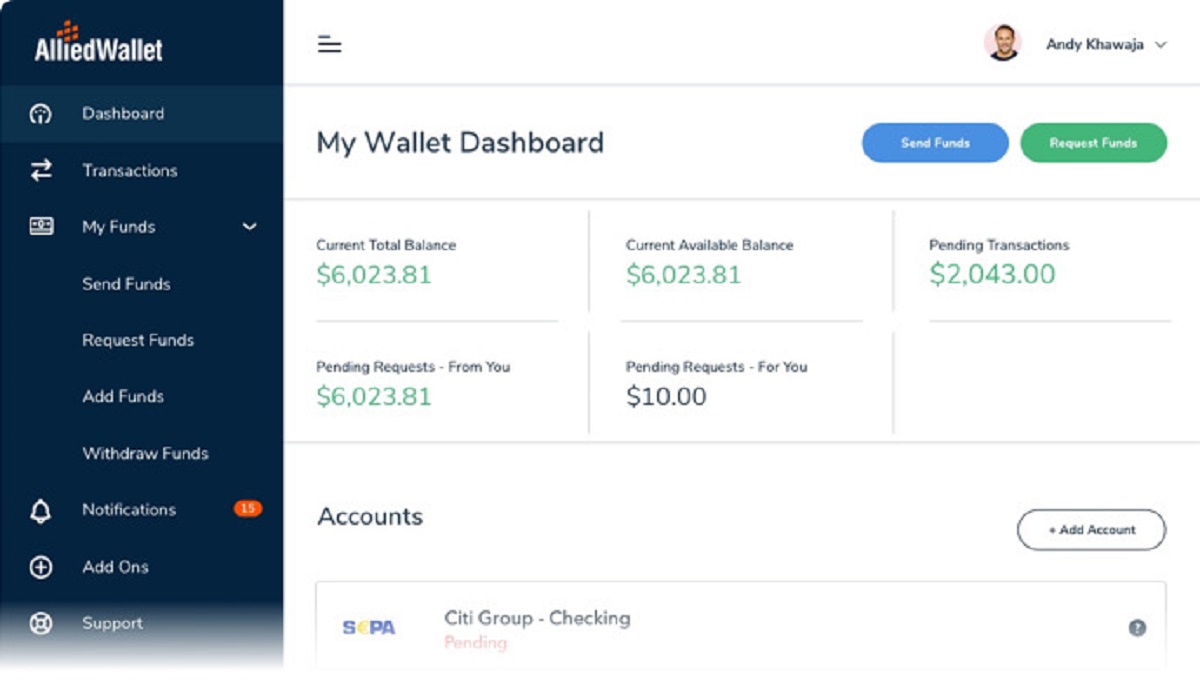
Welcome to our comprehensive guide on how to transfer funds from your e-wallet to your bank account. In today’s digital age, e-wallets have become increasingly popular as a convenient and secure method of managing our finances. However, there are instances when we may need to transfer money from our e-wallets to our bank accounts for various reasons, such as making larger purchases or accessing cash. This guide will take you through the step-by-step process of transferring funds from your e-wallet to your bank account, ensuring a seamless and hassle-free experience.
Whether you’re using popular e-wallets like PayPal, Venmo, or Paytm, the steps involved in transferring funds to your bank account are generally similar. It’s important to note that the specific instructions may vary depending on the e-wallet provider and your region. Our guide will provide you with a general overview of the process, giving you a good starting point to get your funds where you need them.
Transferring money from your e-wallet to your bank account offers several benefits. First and foremost, it provides you with easy access to your funds in a traditional banking setting. This can be particularly useful when making transactions that cannot be completed using your e-wallet, such as paying bills or making offline purchases. Additionally, by transferring funds to your bank account, you can take advantage of any interest rates or investment opportunities that your bank may offer, allowing your money to potentially grow over time.
However, before embarking on the transfer process, it’s crucial to ensure that your e-wallet and bank account are compatible and properly set up. This includes confirming that your account meets any requirements or restrictions set by your e-wallet provider and ensuring that your bank account is linked and verified. By taking these necessary steps, you’ll minimize any potential issues or delays that may arise during the transfer process.
Now that we’ve outlined the importance and benefits of transferring funds from your e-wallet to your bank account, let’s dive into the step-by-step guide to successfully completing this transaction. By following these instructions, you’ll be able to seamlessly move your funds and gain access to them whenever you need.
Step 1: Check Account Requirements and Settings
Before initiating a transfer from your e-wallet to your bank account, it’s important to check the account requirements and settings of both your e-wallet and bank. This will ensure that your accounts are eligible for transfers and that you have everything in place to successfully complete the transaction. Here are the key steps to follow:
1. Review e-wallet requirements: Each e-wallet may have specific requirements and restrictions when it comes to transferring funds to a bank account. Some e-wallets may require you to have a verified account, link your bank account in advance, or meet certain transaction minimums or maximums. Take the time to go through the terms and conditions or FAQs provided by your e-wallet provider to understand any relevant requirements.
2. Check bank account compatibility: Verify if your bank account is eligible for transfers from your e-wallet. Most banks allow transfers from popular e-wallets, but it’s always a good idea to confirm this information. Contact your bank’s customer service or check their website to ensure that you can receive funds from your e-wallet into your bank account.
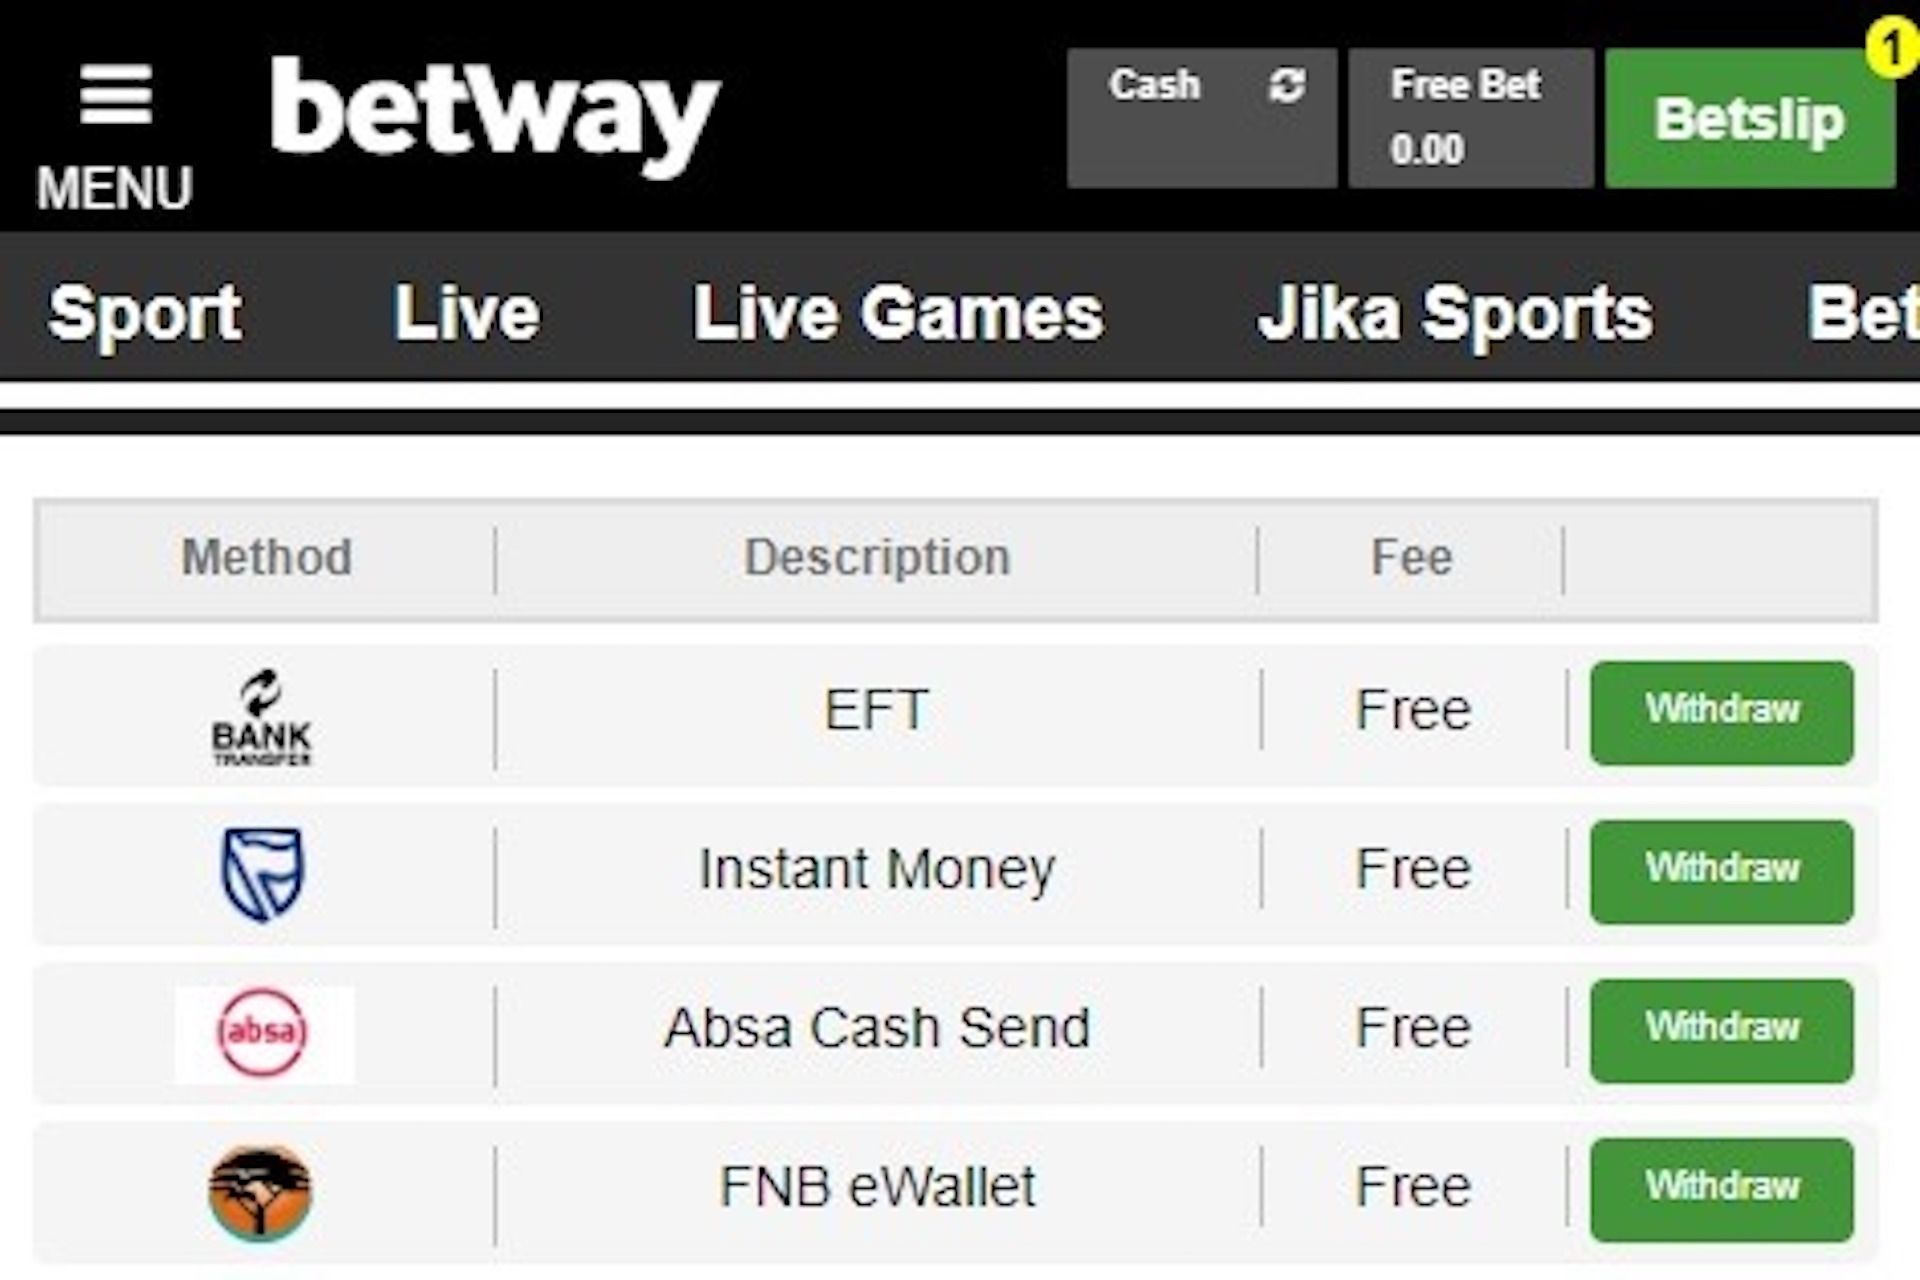
3. Review transfer fees and limits: Some e-wallets may charge fees for transferring funds to your bank account, while others may have certain limits on the amount you can transfer within a specific time period. Take note of any fees or limits associated with the transfer process, as this information will be useful when planning your transfers and managing your finances.
4. Ensure accurate account information: Before initiating the transfer, double-check that the account details you’ve provided, such as your bank account number and routing number, are accurate. Any mistakes in the account information can result in failed transfers or delays. If you’re unsure about any details, contact your bank for assistance in confirming the correct information.
By thoroughly reviewing the account requirements and settings of both your e-wallet and bank account, you’ll have a clear understanding of what is needed to facilitate a successful transfer. This step is crucial in avoiding any issues or complications that may arise throughout the process.
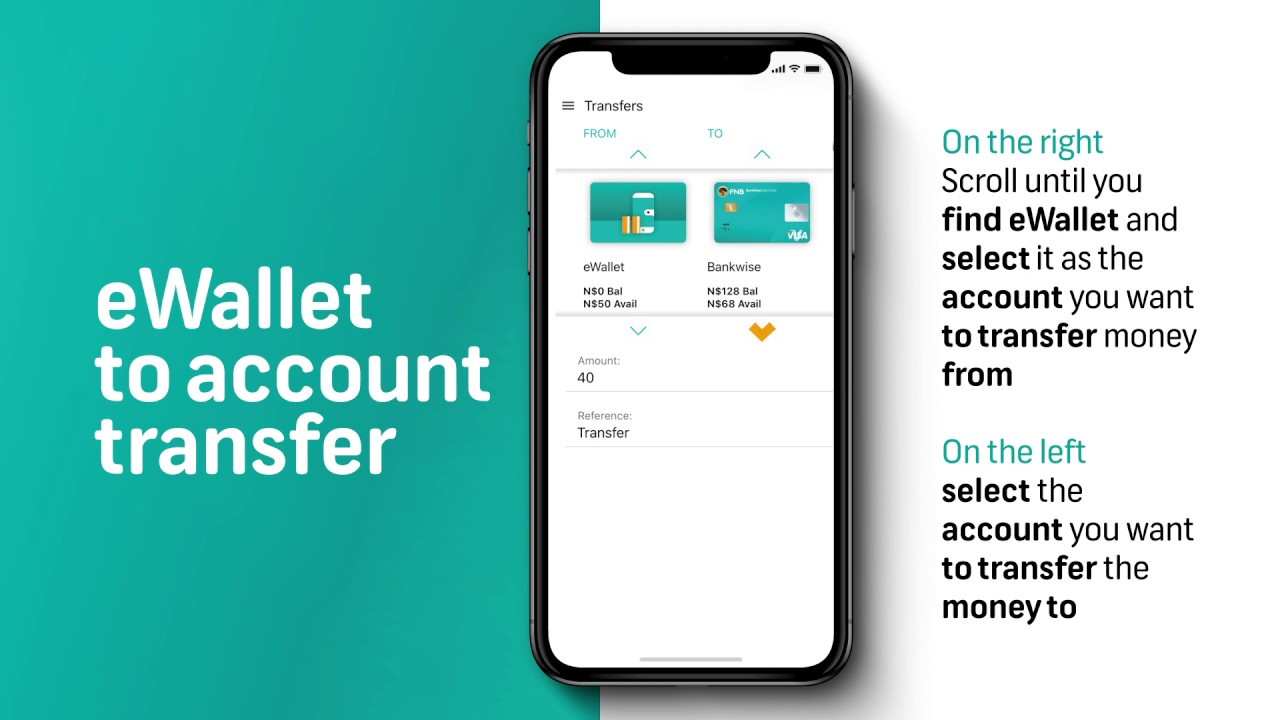
Step 2: Link Your Bank Account
Once you have reviewed the account requirements and settings of your e-wallet and bank account, the next step is to link your bank account to your e-wallet. This is necessary to facilitate the transfer of funds between the two accounts. Here’s how to link your bank account:
1. Open your e-wallet app or website: Launch the e-wallet application on your device or open the e-wallet’s website in your browser. Ensure that you are signed in to your e-wallet account.
2. Navigate to the “Settings” or “Account” section: Look for a menu or button that allows you to access your account settings. The exact location may vary depending on the e-wallet application or website design.
3. Select “Link Bank Account” or similar option: Within the account settings, you should find an option to link or add a bank account. Click on this option to proceed.
4. Provide your bank account information: You will be prompted to enter your bank account details, such as the account number and routing number. Ensure that you enter the information accurately to avoid any issues or delays with the linking process.
5. Verify your bank account: Depending on the e-wallet provider, you may need to verify your bank account. This typically involves confirming small deposits made by the e-wallet into your bank account or entering a verification code sent to your registered email or phone number. Follow the instructions provided by your e-wallet to complete the verification process.
6. Wait for confirmation: After submitting your bank account information and completing the verification process, you will typically receive a confirmation message indicating that your bank account is successfully linked. This step may take a few business days, so be patient and monitor your e-wallet for any updates.
By linking your bank account to your e-wallet, you are establishing a connection that allows for easier and more convenient transfers between the two accounts. This step is essential for initiating the transfer process and ensuring that your funds can be seamlessly moved from your e-wallet to your bank account.
Step 3: Verify Your Bank Account
Once you have successfully linked your bank account to your e-wallet, the next crucial step is to verify your bank account. This verification process adds an extra layer of security and ensures that the transfer of funds between your e-wallet and bank account is secure. Here’s how to verify your bank account:
1. Check for verification options: Each e-wallet may have different methods for bank account verification. Look for the available options in your e-wallet app or on the website. Common verification methods include small deposits, verification codes, or linking a debit card.
2. Small deposits: If your e-wallet offers this option, they will deposit small amounts of money into your bank account, typically less than a dollar. Check your bank account statement or online banking to find these deposits.
3. Enter verification amounts: In your e-wallet app or on the website, there will be a section dedicated to bank account verification. Enter the exact amounts of the small deposits made into your account.
4. Verification codes: Some e-wallets may send verification codes to your registered email address or mobile number. Check your inbox or messages for any codes received from your e-wallet and enter them in the specified area.
5. Linking a debit card: Instead of using small deposits or verification codes, your e-wallet may allow you to verify your bank account by linking a debit card associated with the same bank account. Follow the instructions provided to complete the verification process using this method.
6. Await verification confirmation: After completing the verification process, you will usually receive a confirmation message or notification within your e-wallet. This message will indicate that your bank account has been successfully verified and is ready to be used for transfers.
Verification may take a couple of business days, so be patient and regularly check your e-wallet for any updates. It’s important to note that completing the verification process is crucial to ensure the security of your financial transactions and prevent unauthorized access to your bank account.
By successfully verifying your bank account, you can proceed with confidence to the next step and initiate the transfer of funds from your e-wallet to your bank account. The verification process adds an essential layer of protection and ensures that your funds are transferred securely.
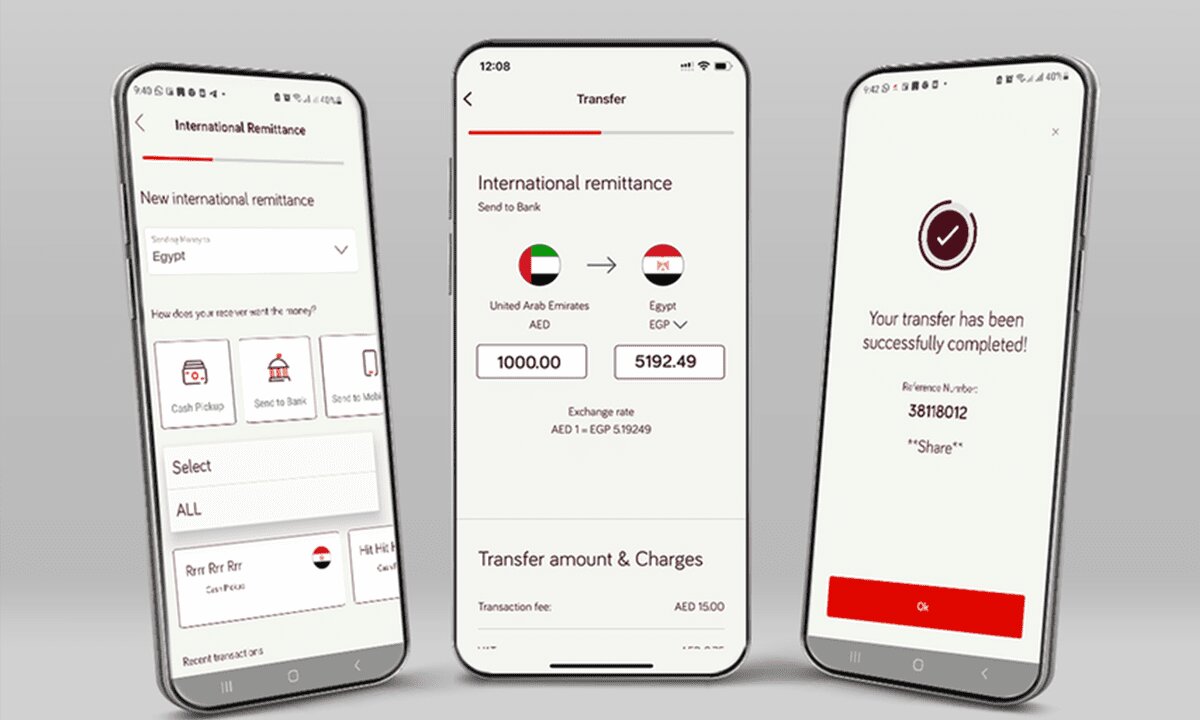
Step 4: Transfer Funds from E-wallet to Bank Account
With your bank account now linked and verified, you are ready to transfer funds from your e-wallet to your bank account. This step is the core of the process, allowing you to access your e-wallet funds in your traditional banking setting. Here’s how to transfer funds:
1. Open your e-wallet app or website: Launch your e-wallet application or visit the e-wallet’s website in your browser. Make sure you are logged in to your e-wallet account.
2. Navigate to the transfer section: Look for a “Transfer” or “Send Money” option within the e-wallet interface. The location of this option may vary depending on your e-wallet provider.
3. Select bank account as the destination: Choose your linked bank account as the recipient of the transfer. This step is crucial if you have multiple linked accounts or if your e-wallet supports transfers to external accounts.
4. Enter the transfer amount: Specify the amount you wish to transfer from your e-wallet to your bank account. Ensure that you enter the correct amount to avoid any issues or discrepancies.
5. Review details and confirm: Take a moment to review the transfer details, including the transfer amount and recipient (your linked bank account). Once you have confirmed that all information is correct, proceed to confirm the transfer.
6. Wait for the transfer to be processed: The processing time for transfers from your e-wallet to your bank account can vary depending on the e-wallet provider and your bank. In most cases, the transfer will be completed within a few business days.
During this step, it’s essential to double-check all transfer details to ensure accuracy. Mistakes in the transfer amount or recipient account can lead to delays or even failed transfers. By carefully reviewing the information, you can prevent any potential issues.
It’s worth noting that some e-wallet providers may charge fees for transferring funds to your bank account. Be sure to review any applicable fees before confirming the transfer. Additionally, keep in mind any transfer limits set by your e-wallet or your bank, as this may affect the maximum amount you can transfer at once.
By following these steps, you’ll successfully transfer funds from your e-wallet to your bank account, enabling you to access your funds in a traditional banking environment.
Step 5: Wait for the Transfer to Be Completed
After initiating the transfer of funds from your e-wallet to your bank account, it’s important to be patient and allow some time for the transfer to be completed. The length of time it takes for the transfer to process may vary depending on the e-wallet provider and your bank. Here’s what you need to know during this waiting period:
1. Processing time: Transfers from your e-wallet to your bank account typically take a few business days to complete. This processing time allows for the necessary verification and authentication procedures to be carried out by both your e-wallet provider and your bank.
2. Monitor your e-wallet: Keep an eye on your e-wallet account to track the progress of the transfer. Some e-wallets provide updates or notifications regarding the status of your transfer, while others may offer a transaction history feature that allows you to view the details of past transfers.
3. Check your bank account: Along with monitoring your e-wallet, regularly check your bank account to see if the transferred funds appear. Most banks provide online banking options where you can view your account balance and recent transactions. It may take a few business days for the funds to reflect in your bank account, so be patient during this time.
4. Contact customer support if necessary: If you believe there is an issue with the transfer or if you have any concerns, don’t hesitate to reach out to customer support for assistance. Both your e-wallet provider and your bank should have customer service channels available to address any questions or problems you may encounter.
It’s important to note that the processing time for transfers can be affected by various factors, including weekends, public holidays, and possible delays related to banking procedures. If the transfer takes longer than expected, it’s advisable to contact customer support for clarification and guidance.
By waiting patiently and monitoring the progress of the transfer, you’ll ensure that the funds are successfully transferred from your e-wallet to your bank account. Once the transfer is completed, you’ll have the convenience and flexibility of accessing your funds through your traditional banking channels.
Conclusion
Transferring funds from your e-wallet to your bank account is a straightforward process that allows you to access your funds in a traditional banking environment. By following the steps outlined in this guide, you can successfully complete the transfer with ease and convenience.
Throughout this guide, we have covered the essential steps necessary to complete the transfer process. We started by checking the account requirements and settings of both your e-wallet and bank account to ensure eligibility for transfers. Then, we discussed how to link your bank account to your e-wallet and verify it for added security.
Next, we walked through the process of actually transferring funds from your e-wallet to your bank account. It’s crucial to review the transfer details carefully and confirm them before initiating the transfer. Finally, we emphasized the importance of waiting patiently for the transfer to be completed, while keeping an eye on your e-wallet and bank account for any updates.
By following these steps and guidelines, you can safely and securely transfer funds from your e-wallet to your bank account. Remember to review the specific instructions provided by your e-wallet provider, as they may have their own unique procedures and requirements.
Transferring funds from your e-wallet to your bank account offers you the flexibility and convenience of accessing your finances wherever and whenever you need them. Whether you’re looking to make larger purchases, pay bills, or simply have the peace of mind of having your funds in a traditional banking setting, this process allows you to manage your finances effectively.
Always remember to prioritize security by regularly updating your passwords, keeping your devices and accounts protected, and monitoring your transactions for any suspicious activity. If you encounter any issues during the transfer process or have any concerns, don’t hesitate to reach out to the customer support of your e-wallet provider or your bank for assistance and guidance.
We hope that this guide has been informative and helpful in understanding how to transfer funds from your e-wallet to your bank account. With this knowledge, you can confidently navigate the process and enjoy the benefits of having your funds accessible through both your e-wallet and your bank account.