Introduction
Accepting payments online is a crucial aspect of running a business in the digital age. One of the most popular and widely used payment processing platforms is PayPal. With its user-friendly interface and robust security measures, PayPal offers a seamless and reliable way to accept payments from customers around the world.
In this article, we will explore how to accept a payment on PayPal, step by step. Whether you are a small business owner, a freelancer, or an individual looking to receive payments, PayPal provides a range of options to suit your needs. From creating a PayPal business account to adding payment buttons on your website, we will cover all the essentials to help you get started.
Accepting payments on PayPal not only streamlines your financial transactions but also enhances the trust and confidence of your customers. With PayPal, you can offer multiple payment options, including credit cards, debit cards, and even mobile payments, ensuring convenience and accessibility for your customers.
Moreover, PayPal offers robust security measures to protect your financial data. With advanced encryption and fraud detection technologies, you can rest assured knowing that your transactions are safe and secure.
So, whether you are selling products or services online, accepting donations for a nonprofit organization, or simply need a hassle-free way to receive payments, PayPal is your go-to solution. Let’s dive into the details and learn how to accept a payment on PayPal.
Creating a PayPal Business Account
If you’re looking to accept payments using PayPal, the first step is to create a PayPal Business account. Here’s how:
- Visit the PayPal website and click on the “Sign Up” button. Select “Business Account” as the type of account you want to create.
- Fill in the required information, including your email address, business name, and contact details. Create a strong password that includes a combination of letters, numbers, and symbols to ensure the security of your account.
- Provide additional business details, such as your business website (if applicable) and industry classification. This information helps PayPal understand your business and tailor their services accordingly.
- Review and agree to PayPal’s terms and conditions. It’s essential to familiarize yourself with their policies regarding payment disputes and refunds to ensure a smooth payment process for your customers.
- Verify your account by linking a bank account or adding a credit/debit card. This step is necessary to confirm your identity and enable the transfer of funds to your bank account.
Once you have completed these steps, your PayPal Business account will be created. You can access your account dashboard, where you will find various options and settings to manage your payments.
Having a PayPal Business account offers several advantages. It allows you to create invoices, track sales, generate reports, and customize your payment preferences. Additionally, it provides access to PayPal’s features such as payment protection and seller tools to enhance your overall payment experience.
Keep in mind that PayPal may require additional verification steps for certain businesses or transactions to ensure compliance with anti-money laundering regulations and prevent fraudulent activities. These measures are in place to protect you and your customers.
Now that you have successfully created your PayPal Business account, let’s move on to the next step: setting up your payment preferences.
Setting Up Payment Preferences
After creating your PayPal Business account, it’s essential to set up your payment preferences to customize how you receive payments. Here’s how you can do it:
- Log in to your PayPal Business account and navigate to the “Profile” section. Under the “Profile and settings” menu, select “My selling tools.”
- Click on the “Getting paid and managing my risk” option to access the payment preferences page.
- Choose your preferred payment receiving options. PayPal offers various options, including “Buy Now” buttons for instant purchases, “Donations” buttons for accepting contributions, and “Subscription” buttons for recurring payments.
- Select the currency in which you want to receive payments. PayPal supports multiple currencies, allowing you to cater to customers from different regions.
- Enable the “Instant Payment Notifications” feature. This feature sends notifications to your website or application whenever a payment is made, allowing you to take immediate action.
- Set up payment receiving preferences, such as whether you want to manually review and accept each payment or streamline the process by enabling automatic payment acceptance.
Additionally, you can customize your communication preferences to ensure you receive important updates and notifications regarding your payments. By providing your preferred email address and contact details, you can stay informed about any changes or issues related to your payments.
It’s also recommended to configure your security settings, such as enabling two-factor authentication and updating your password regularly. These measures help safeguard your PayPal account and protect your funds from unauthorized access.
By setting up your payment preferences, you can tailor your PayPal account to align with your specific business needs. Whether you’re selling products, accepting donations, or offering subscription-based services, PayPal provides a range of options to streamline your payment process and enhance the user experience for your customers.
Now that you’ve set up your payment preferences, the next step is to add a payment button to your website. This will allow your customers to make payments directly from your site, making the checkout process seamless and convenient.
Adding a Payment Button to Your Website
Adding a payment button to your website is a great way to provide a seamless checkout experience for your customers. PayPal offers easy-to-use tools that allow you to generate and embed payment buttons on your website. Here’s how you can do it:
- Log in to your PayPal Business account and go to the “Tools” section. Under the “All Tools” menu, select “PayPal Buttons.”
- Click on the “Create New Button” option to start creating your payment button.
- Select the button type that suits your needs. PayPal offers various button types, such as “Buy Now,” “Donate,” “Subscribe,” and more.
- Enter the details for your payment button, including the item name, price, shipping options, and any other relevant information.
- Customize the appearance of your button by selecting the button style, font, and color scheme that aligns with your website’s design.
- Once you’re satisfied with the button’s appearance and configuration, click on the “Create Button” option.
- Copy the generated HTML code provided by PayPal.
- Paste the HTML code into the appropriate section of your website’s source code, where you want the payment button to appear.
- Save and publish your website to make the payment button live.
By adding a payment button to your website, you eliminate the need for customers to navigate away from your site to complete their purchase. This streamlined checkout process enhances user experience and can increase conversion rates.
Furthermore, PayPal provides features like inventory tracking and order management to help you keep track of your sales and streamline your operations. This allows you to manage your inventory effectively, ensure prompt order fulfillment, and maintain satisfied customers.
Remember to regularly test your payment button to ensure it functions correctly. Conducting test transactions can help identify any potential issues and ensure that customers can make payments seamlessly.
If you don’t have a website or prefer not to use a payment button, PayPal also offers alternative methods for accepting payments, such as creating payment request links or accepting payments via email. We’ll explore these options in the following sections.
Now that you’ve added a payment button to your website, let’s move on to the next method: creating a payment request link.
Creating a Payment Request Link
In addition to adding payment buttons to your website, PayPal offers the option to create payment request links. These links allow you to send customized payment requests to your customers through various channels, such as email, social media, or messaging apps. Here’s how you can create a payment request link:
- Login to your PayPal Business account and navigate to the “Tools” section. Under the “All Tools” menu, select “Invoicing.”
- Click on the “Create Invoice” option to start creating a payment request.
- Enter the relevant details for the payment request, such as the recipient’s name and email address, invoice number, payment due date, and a brief description of the products or services being provided.
- Specify the amount to be paid and select the currency in which the payment should be made.
- Customize the appearance of the payment request by selecting a template, adding your logo, and including any additional information or terms and conditions.
- Review the payment request details to ensure accuracy and click on the “Send” or “Create” button to generate the payment request link.
- Copy the generated payment request link provided by PayPal.
- Paste the link into the desired channel, such as an email, social media post, or messaging app, to send it to your customer.
- Your customer can click on the payment request link to be directed to a secure PayPal payment page where they can complete the transaction.
Creating a payment request link offers flexibility in how you request payments from your customers. It allows you to send personalized payment requests, set due dates, and include specific details related to the transaction.
This method is particularly useful when you need to send payment requests for one-time or customized transactions. It saves you the time and effort of creating individual payment buttons or invoices while providing your customers with a convenient way to make payments.
Remember to keep track of your payment request links and follow up with your customers if necessary. PayPal provides tools to help you track payment status, send reminders, and manage your invoicing needs.
If you prefer a more straightforward approach, PayPal also offers the option to accept payments via email, which we will explore in the next section.
Now that you’re familiar with creating payment request links, let’s move on to accepting payments via email.
Accepting Payments via Email
PayPal provides a convenient method for accepting payments through email. With this option, you can send payment requests directly to your customers’ email addresses, allowing them to make payments with just a few clicks. Here’s how you can accept payments via email:
- Login to your PayPal Business account and navigate to the “Tools” section. Under the “All Tools” menu, select “Invoicing.”
- Click on the “Create Invoice” option to start creating a payment request.
- Enter the necessary details for the payment request, including the recipient’s name and email address, invoice number, payment due date, and a description of the products or services being provided.
- Specify the amount to be paid and select the currency in which the payment should be made.
- Customize the appearance of the payment request by selecting a template, adding your logo, and including any additional information or terms and conditions.
- Review the payment request details to ensure accuracy and click on the “Send” or “Create” button.
- PayPal will send an email containing the payment request to your customer. The email will include a “Pay Now” button that, when clicked, will direct the customer to a secure PayPal payment page.
- Your customer can then review the payment details, choose their preferred payment method (such as credit card or PayPal balance), and complete the transaction.
- You will receive a notification once the payment has been made, and the funds will be deposited into your PayPal account.
Accepting payments via email offers a simple and efficient way to receive payments, especially for businesses that communicate with their customers primarily through email. It eliminates the need for physical invoices and allows for quick payment processing.
Moreover, with PayPal’s invoicing features, you can keep track of your payment history, generate reports, and send reminders to customers who may have outstanding payments. This helps you maintain organized financial records and ensure timely payments.
Be sure to communicate clearly with your customers when sending payment requests via email. Include all relevant information, such as the payment due date, accepted payment methods, and any terms or conditions associated with the transaction.
Now that you’re familiar with accepting payments via email, let’s explore another feature offered by PayPal: accepting payments with a QR code.
Accepting Payments with a QR Code
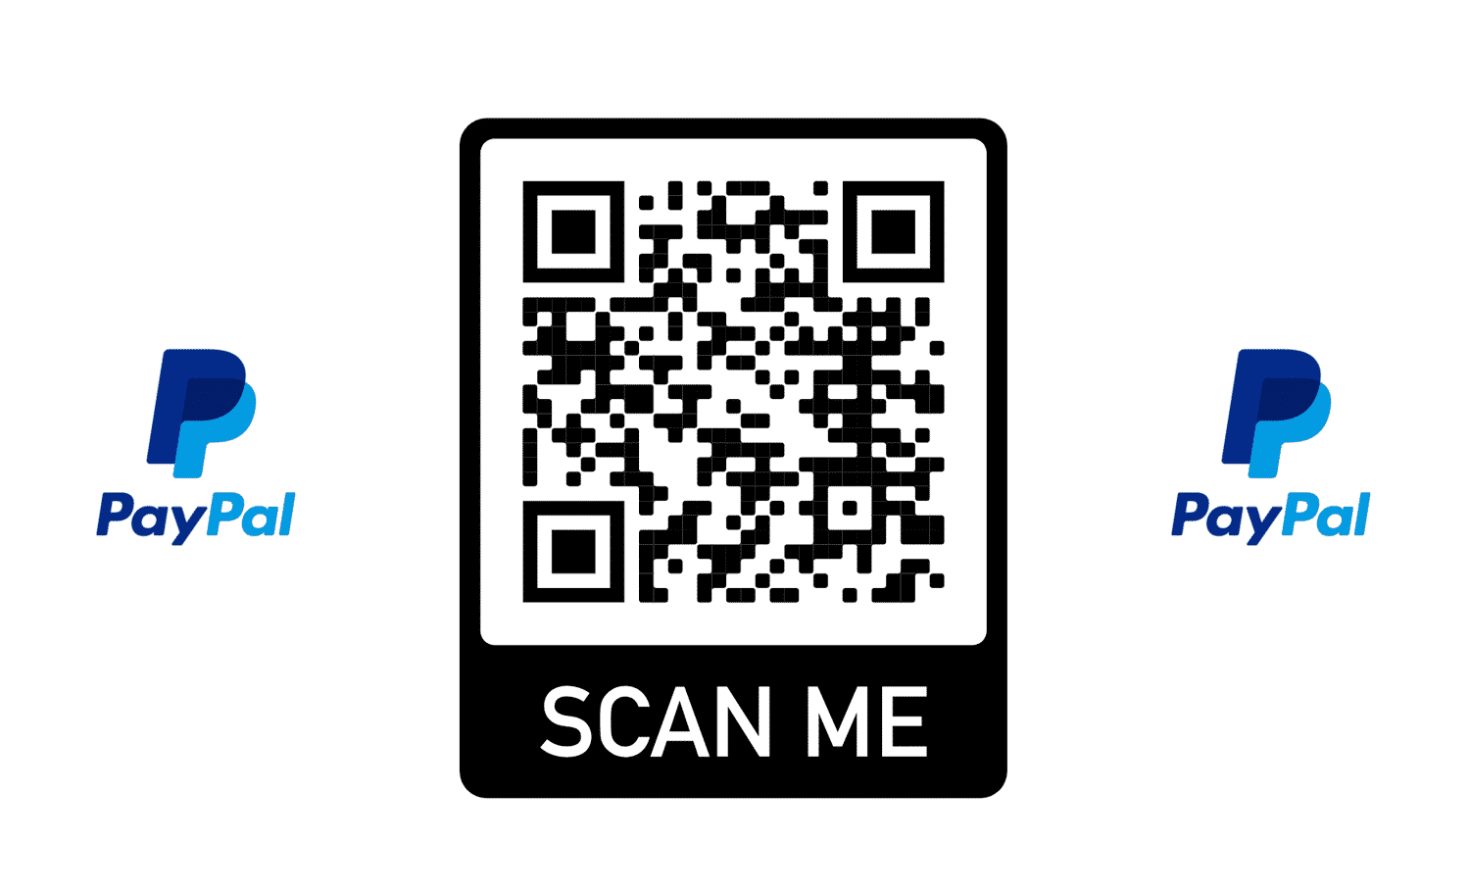
One of the convenient and contactless ways to accept payments using PayPal is through a QR code. A QR code is a matrix barcode that can be scanned by a smartphone camera, allowing customers to make payments easily. Here’s how you can accept payments with a QR code:
- Login to your PayPal Business account and go to the “Tools” section. Under the “All Tools” menu, select “QR Codes.”
- Click on the “Create QR Code” option to start creating your payment QR code.
- Enter the necessary details, such as the payment amount, currency, and a brief description of the transaction.
- Customize the appearance of the QR code by selecting a design and adding your logo, if desired.
- Review the details and click on the “Create QR Code” button.
- Your unique QR code will be generated by PayPal.
- Save the QR code image or print it out to display it at your physical store or on your website.
- When customers want to make a payment, they can simply open their PayPal app or any QR code scanner, scan the QR code, and enter the payment amount.
- Once the payment is made, you will receive a notification, and the funds will be deposited into your PayPal account.
Accepting payments with a QR code offers a fast and secure payment option for businesses, especially those with a physical presence. It reduces the need for cash transactions and provides a contactless payment method, which is particularly important for maintaining hygiene and safety in today’s environment.
Remember to display the QR code prominently at your store, checkout counter, or website to make it easily accessible for customers. It’s a good idea to include clear instructions on how to scan the QR code and submit the payment.
With PayPal’s QR code payment feature, you can track your payment history, view transaction details, and generate reports to help you analyze and manage your sales effectively.
Now that you know how to accept payments using a QR code, let’s dive into understanding PayPal fees and pricing.
Understanding PayPal Fees and Pricing
When using PayPal to accept payments, it’s important to understand the fees and pricing structure associated with the platform. Here’s an overview of PayPal fees and how they are calculated:
PayPal offers various pricing plans depending on your business needs. The standard transaction fee for receiving payments is typically a percentage of the transaction amount plus a fixed fee, which varies by country and currency. PayPal provides detailed information on the applicable fees for your specific region on their website.
In addition to the transaction fees, PayPal may charge additional fees for certain services, such as currency conversions or international payments. Be sure to familiarize yourself with these fees to avoid any surprises.
It’s worth noting that PayPal offers discounted transaction fees for eligible businesses that meet certain criteria. The specifics of these discounts can be found on the PayPal website or by reaching out to their customer support.
When selling products or services internationally, it’s essential to account for potential currency conversion fees. PayPal provides competitive foreign exchange rates, but it’s advisable to compare these rates with others in the market to ensure you are getting the best value for your conversions.
It’s also worth mentioning that PayPal’s pricing and fee structure may evolve over time. Stay up-to-date with any changes or updates by reviewing the latest information on PayPal’s website or subscribing to their notifications.
Remember that taking PayPal fees into account when setting your prices can help you maintain profitability and ensure you’re adequately covering your expenses.
Now that you have a better understanding of PayPal fees and pricing, let’s move on to discussing how to manage and withdraw funds from your PayPal account.
Managing and Withdrawing Funds from your PayPal Account
Managing and withdrawing funds from your PayPal account is an important part of utilizing the platform for accepting payments. Here are some key aspects to consider when managing and withdrawing funds:
Fund Management: PayPal provides a user-friendly dashboard where you can monitor your account balance, view transaction histories, and access financial reports. You can easily track incoming and outgoing payments, allowing you to keep accurate records of your business finances. Additionally, PayPal offers tools to reconcile your PayPal transactions with your accounting software, making it easier to manage your bookkeeping.
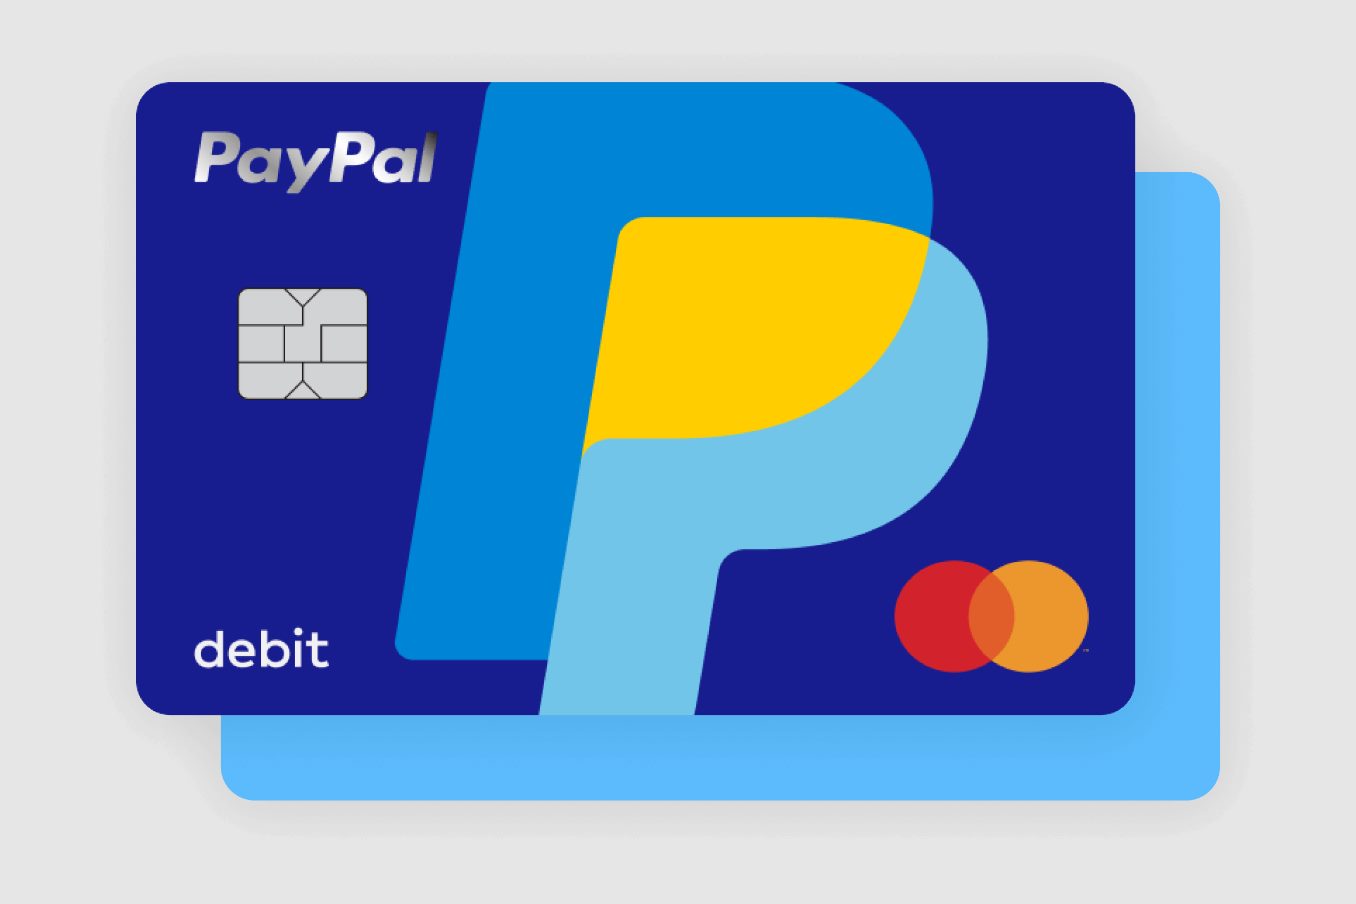
Fund Withdrawal: When it comes to withdrawing funds from your PayPal account, you have several options. You can link a bank account to your PayPal account and transfer funds directly to your bank account, which typically takes 1-3 business days. Alternatively, you can request a PayPal card that allows you to withdraw funds from ATMs or make purchases wherever Mastercard is accepted. Additionally, you can use your PayPal balance to make online purchases or transfer funds to other PayPal users.
Withdrawal Fees: PayPal may charge fees for certain withdrawal methods. For example, there may be a fee for instant transfers to your linked bank account or for withdrawals using the PayPal card. It’s important to review PayPal’s fee schedule to understand the costs associated with different withdrawal options.
Withdrawal Timing: It’s important to note that withdrawal times may vary depending on the withdrawal method you choose. Bank transfers typically take a few business days, while PayPal card withdrawals and instant transfers may be available immediately or within a shorter timeframe.
Funds Availability: PayPal follows a policy of holding funds for a certain duration to ensure transaction security and mitigate risks. This practice is based on factors such as your transaction history, business type, and other risk indicators. It’s essential to familiarize yourself with PayPal’s funds availability policy to understand when your funds will become available for withdrawal.
Taking the time to understand how to manage and withdraw funds from your PayPal account ensures that you have full control over your finances and can access your funds when needed. Regularly reviewing your account balance, monitoring transactions, and keeping track of your withdrawals can help you maintain a healthy financial management system.
Now that you know how to manage and withdraw funds from your PayPal account, let’s move on to the next section: tips for securely accepting payments on PayPal.
Tips for Securely Accepting Payments on PayPal
When accepting payments on PayPal, it’s crucial to prioritize the security of your transactions. By following these tips, you can ensure a secure payment process for you and your customers:
1. Keep your account information confidential: Safeguard your PayPal account by regularly updating your password and ensuring it is unique and strong. Avoid sharing your account login information or any sensitive data with unauthorized individuals or suspicious sources.
2. Enable two-factor authentication (2FA): Take advantage of PayPal’s two-factor authentication feature to add an extra layer of security to your account. By enabling 2FA, you will receive an additional verification code or prompt when logging in, making it more difficult for unauthorized users to access your account.
3. Regularly review and reconcile transactions: Monitor your PayPal account activity frequently to identify any unauthorized transactions or suspicious activities. Review your transaction history and reconcile it with your records to ensure accuracy and detect any discrepancies.
4. Use secure and up-to-date software: Keep your computer and mobile devices protected by using reliable antivirus and antimalware software. Regularly update your operating system, web browsers, and other software applications to utilize the latest security patches and features.
5. Be cautious of phishing attempts: Be vigilant about phishing attempts where scammers try to obtain your account information through fake emails or websites that resemble PayPal. Always verify the authenticity of emails and links before providing any personal or financial information.
6. Secure your website: If you have an eCommerce website, ensure that it is secured with an SSL certificate (HTTPS) to encrypt data during transactions. This adds an extra layer of protection to your customers’ sensitive information, such as credit card details.
7. Communicate clearly with customers: Provide clear instructions to your customers regarding the payment process, any refund or return policies, and expected delivery times. Clear communication helps build trust and reduces the likelihood of payment disputes or misunderstandings.
8. Utilize PayPal’s seller protection: Familiarize yourself with PayPal’s seller protection policy, which offers coverage against unauthorized payments, certain fraudulent transactions, and items not received. Understanding the terms and conditions of the seller protection program can help you navigate any potential issues that may arise.
9. Keep customer data secure: If you collect and store customer data, ensure that you follow applicable data protection regulations and utilize best practices for data security. Implement measures such as encryption, regular data backups, and access controls to protect customer information.
10. Stay informed: Keep up-to-date with the latest security practices, PayPal updates, and industry trends. Regularly review PayPal’s security resources and guidelines to ensure you are aware of any new features or security measures you can implement.
By following these tips, you can enhance the security of your PayPal transactions and protect both your business and your customers from potential risks. Prioritizing security not only builds trust but also ensures a smooth payment process for all parties involved.
Now that you are equipped with the knowledge to securely accept payments on PayPal, let’s move on to addressing some frequently asked questions.
Frequently Asked Questions (FAQs)
Q1: Can I use PayPal to accept payments internationally?
A1: Yes, PayPal supports transactions in multiple currencies and allows you to accept payments from customers worldwide, making it an ideal solution for international businesses.
Q2: Are there any fees for creating a PayPal Business account?
A2: No, creating a PayPal Business account is free. However, PayPal charges transaction fees for receiving payments, currency conversions, and certain additional services or features. Be sure to review PayPal’s fee schedule for more details.
Q3: Can I use PayPal to accept credit card payments?
A3: Yes, PayPal enables you to accept credit card payments from customers even if they do not have a PayPal account. Your customers have the option to choose PayPal as a payment method or pay with their credit card directly.
Q4: How long does it take for funds to become available in my PayPal account?
A4: In most cases, funds received through PayPal are available immediately. However, there may be exceptions based on factors such as the type of transactions, your account history, or PayPal’s funds availability policy.
Q5: Can I integrate PayPal with my existing website or eCommerce platform?
A5: Yes, PayPal offers various integration options and plugins for popular eCommerce platforms and website builders. Integrating PayPal allows you to seamlessly incorporate payment functionality into your existing website or online store.
Q6: Is PayPal secure?
A6: PayPal implements advanced security measures, including encryption technologies and fraud detection systems, to protect your financial information and provide secure payment processing. However, it’s important to follow best practices, such as securing your account and being cautious of potential phishing attempts.
Q7: Can I refund payments made through PayPal?
A7: Yes, PayPal provides the option to issue refunds for transactions. You can refund the entire amount or a partial amount, depending on your refund policy and the nature of the transaction. Be sure to review PayPal’s refund policy and guidelines on issuing refunds to ensure compliance.
Q8: What customer support options are available for PayPal users?
A8: PayPal offers customer support through various channels, including online help center resources, community forums, and a customer support helpline. You can reach out to PayPal for assistance with account-related inquiries or technical issues.
Q9: Can I accept payments on PayPal through a mobile device?
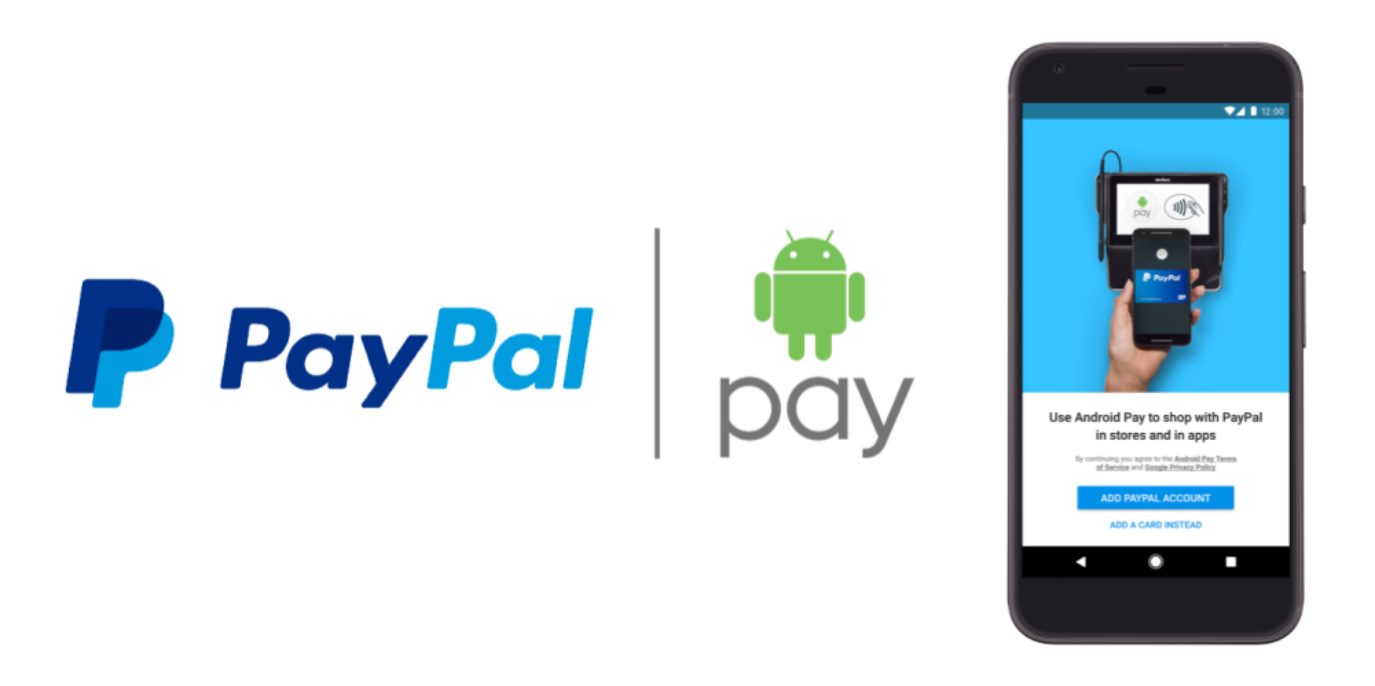
A9: Yes, PayPal provides mobile applications for both iOS and Android devices, allowing you to accept payments and manage your account on the go. You can use the PayPal app to send payment requests, generate invoices, and monitor your transaction activity.
Q10: Can I integrate PayPal with other payment processors or gateways?
A10: PayPal can be used as a standalone payment solution or integrated with other payment processors or gateways, depending on the capabilities of your chosen platform. Integration options may vary, so it’s advisable to explore the specific requirements and compatibility with your preferred payment solutions.
These are just some of the frequently asked questions about accepting payments on PayPal. If you have specific concerns or inquiries, it’s recommended to visit the PayPal website or consult their customer support for more detailed information.
Now that we’ve addressed some common questions, let’s wrap up this guide to accepting payments on PayPal.
Conclusion
Accepting payments on PayPal is a simple and secure way to streamline your business transactions. By following the step-by-step process outlined in this guide, you can create a PayPal Business account, set up payment preferences, add payment buttons to your website, and utilize various methods to accept payments. Whether you’re selling products online, accepting donations, or offering services, PayPal provides flexible solutions to cater to your specific needs.
As you navigate the world of PayPal, it’s important to keep security at the forefront. Remember to protect your account information, enable two-factor authentication, and stay vigilant against phishing attempts. By adhering to best security practices and following PayPal’s guidelines, you can ensure the safety of your transactions and the trust of your customers.
Additionally, understanding PayPal’s fees and pricing structure helps you manage your finances effectively and make informed decisions about your pricing strategy. Regularly reviewing your account balance, reconciling transactions, and utilizing PayPal’s reporting features contribute to efficient fund management.
With PayPal’s user-friendly tools and features, you can create a seamless payment experience for your customers, whether through payment buttons on your website, payment request links, email payments, or QR codes. By providing convenience and multiple payment options, you enhance customer satisfaction and increase the chances of successful transactions.
By responsibly managing and withdrawing funds from your PayPal account, you have full control over your finances. Monitoring your account activity, understanding funds availability, and utilizing withdrawal methods that suit your needs contribute to effective financial management.
Lastly, staying informed about updates, maintaining clear communication with customers, and regularly reassessing your payment process help you adapt and optimize your PayPal strategy for long-term success.
Now that you have a comprehensive understanding of how to accept payments on PayPal, you’re ready to embark on your journey of seamless and secure financial transactions. Embrace the power of PayPal and unlock new opportunities for your business.


