Introduction
So, you've just returned from an exhilarating adventure with your Akaso action camera, capturing breathtaking moments and adrenaline-pumping activities. Now, you're eager to relive those epic moments and share them with friends and family. However, you're unsure about how to view your Akaso action camera photos on your computer. Fret not, as I'm here to guide you through the seamless process of transferring and organizing your treasured photos on your computer.
Whether you've embarked on a thrilling hiking expedition, embarked on a heart-racing mountain biking escapade, or plunged into the depths of the ocean for an underwater exploration, your Akaso action camera has faithfully documented every heart-pounding second. Now, let's delve into the steps to effortlessly transfer and view these captivating moments on your computer.
In this comprehensive guide, I'll walk you through the simple process of connecting your Akaso action camera to your computer, transferring your photos, and organizing them for easy viewing. By the end of this tutorial, you'll be equipped with the knowledge and skills to seamlessly access and relive your action-packed memories on your computer.
So, grab your Akaso action camera and let's embark on this journey to unlock the treasure trove of captivating moments captured during your adventures. Let's dive into the first step: connecting your Akaso action camera to your computer.
Step 1: Connect the Akaso Action Camera to Your Computer
Before diving into the exhilarating process of reliving your adventures through your Akaso action camera photos on your computer, you need to establish a seamless connection between your camera and computer. Follow these simple steps to initiate the connection:
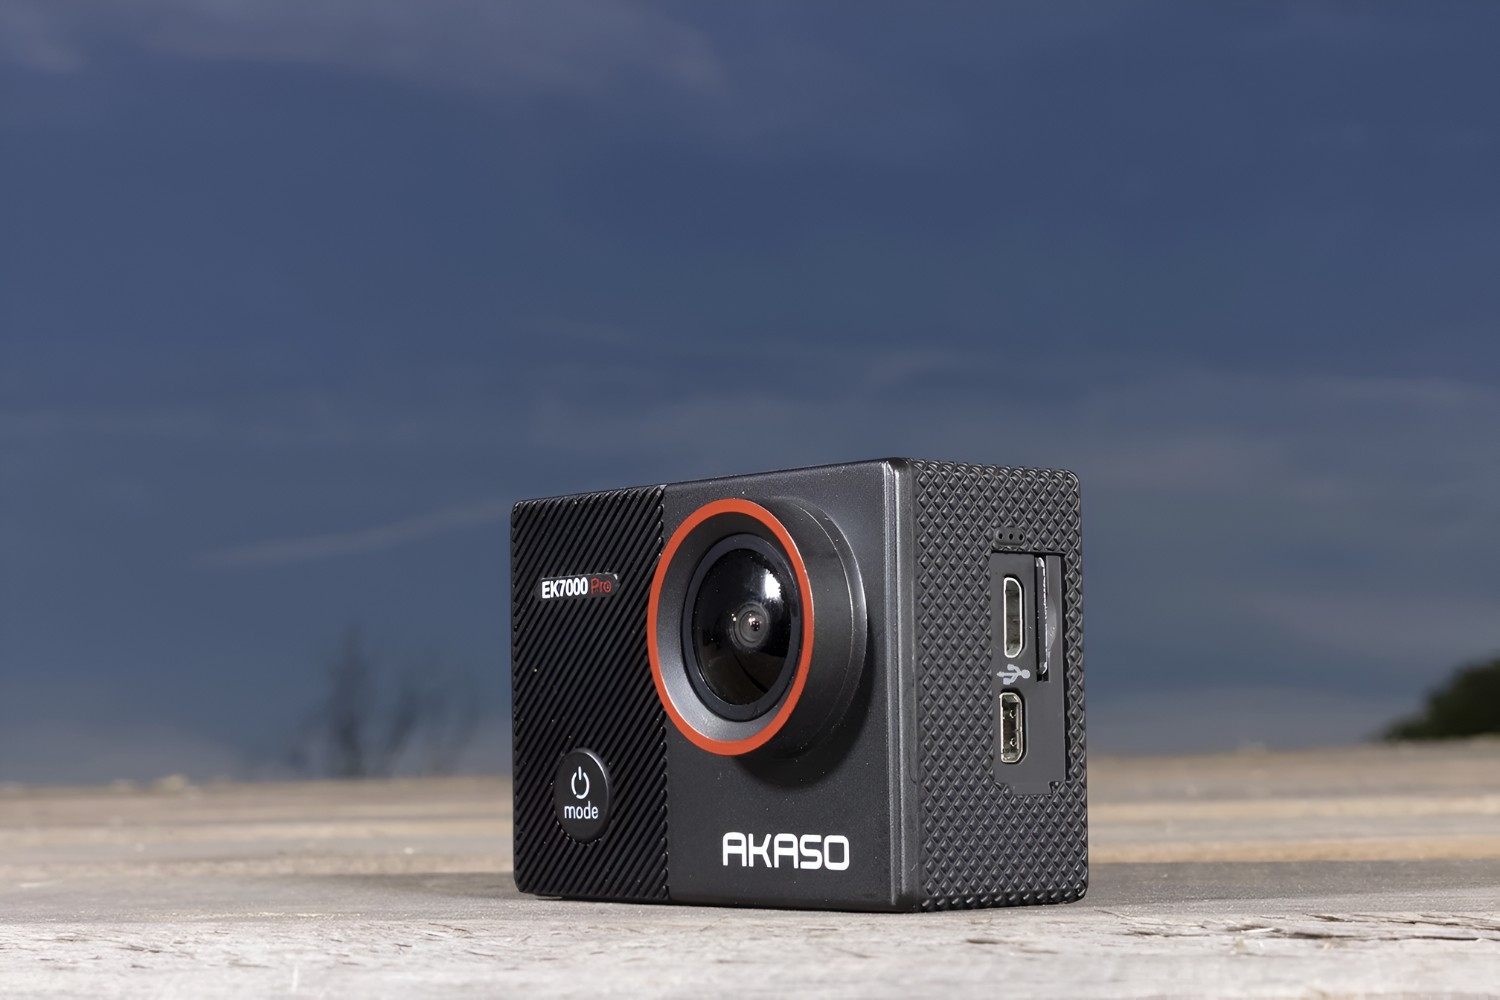
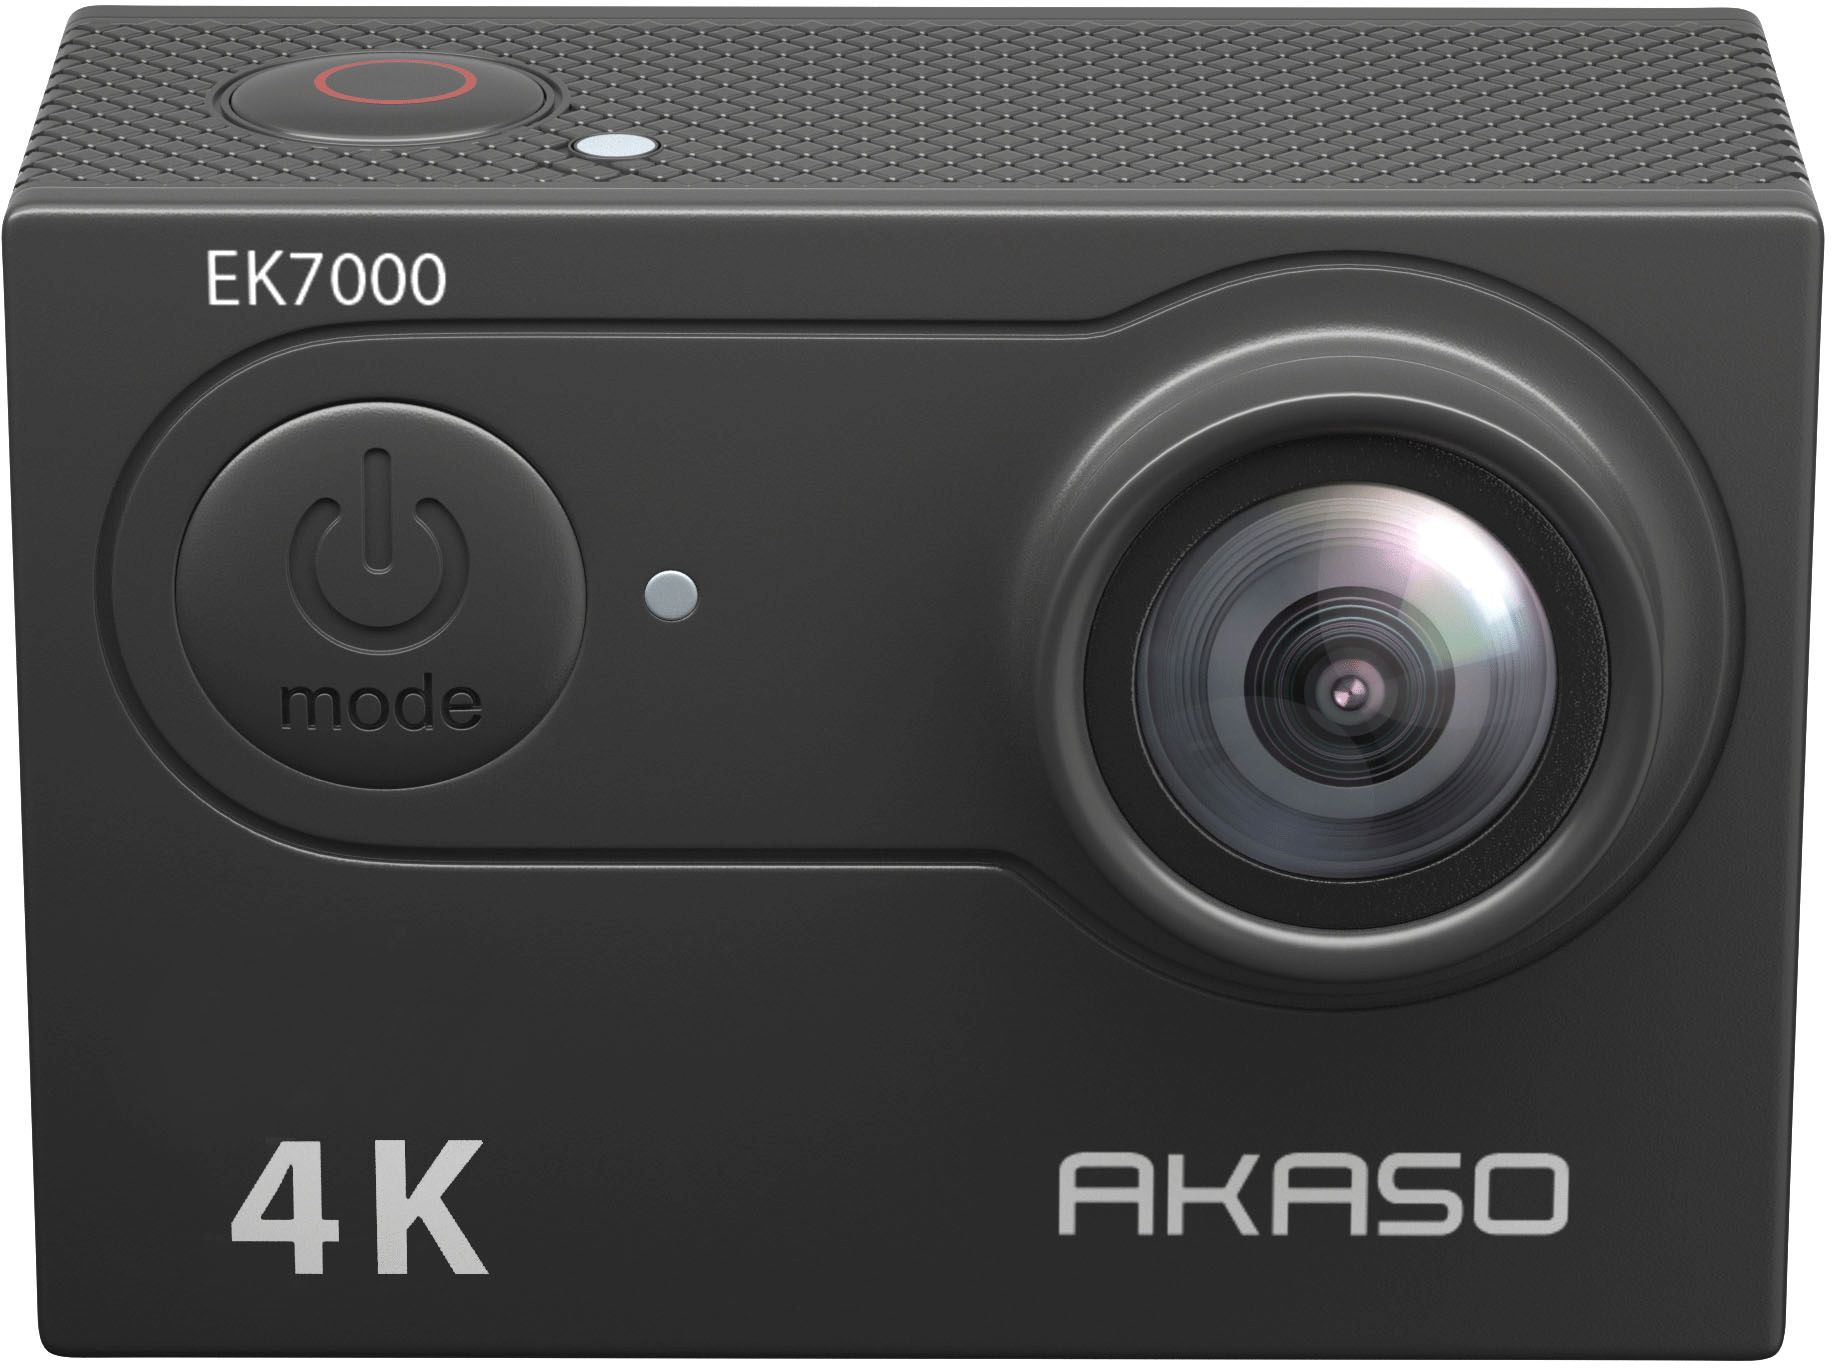
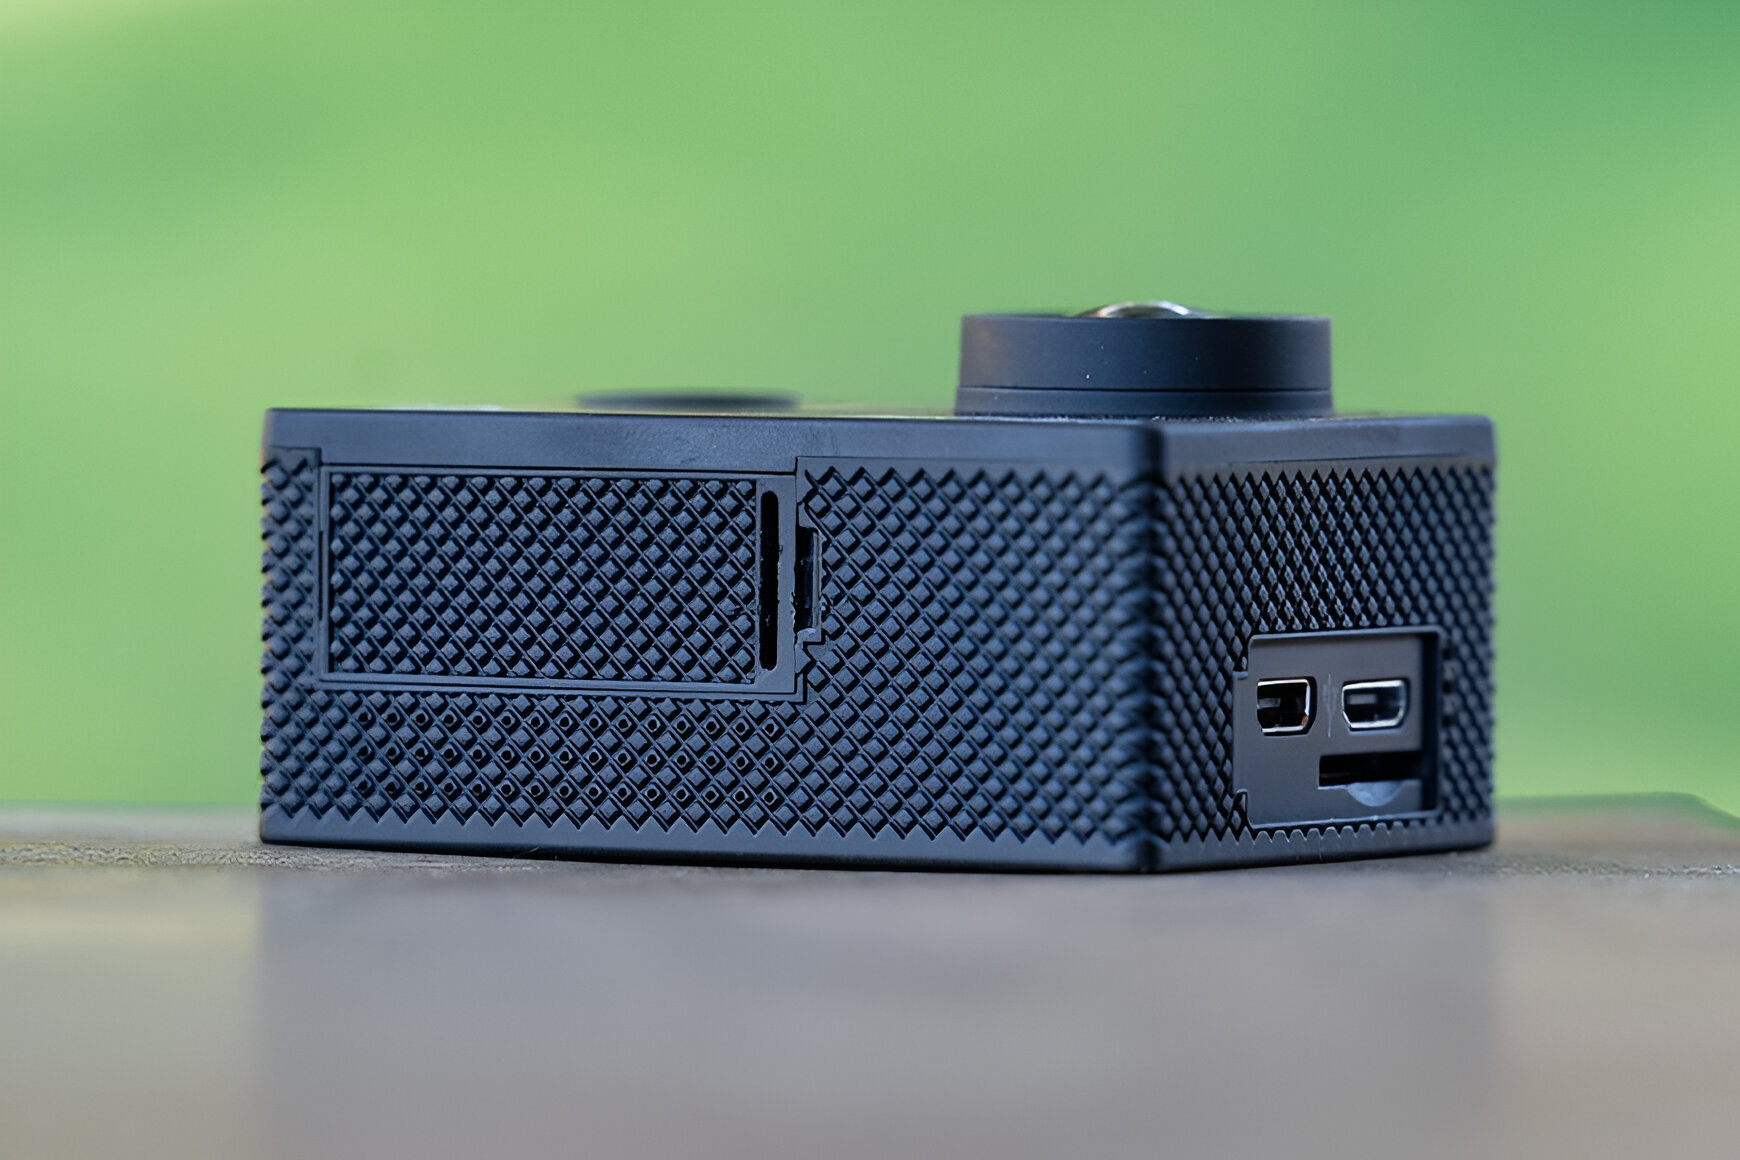
- Locate the USB Cable: Retrieve the USB cable that came with your Akaso action camera. It typically features a standard USB connector on one end and a micro-USB or USB-C connector on the other end, depending on the model of your camera.
- Power Off Your Akaso Action Camera: Before connecting it to your computer, ensure that your Akaso action camera is powered off. This precautionary step prevents any potential data transfer issues and ensures a stable connection.
- Connect the USB Cable: With your Akaso action camera powered off, carefully connect the micro-USB or USB-C end of the cable to the corresponding port on your camera. Next, insert the standard USB connector into an available USB port on your computer.
- Power On Your Akaso Action Camera: Once the USB cable is securely connected, power on your Akaso action camera. It should now be recognized by your computer, establishing a connection for data transfer.
Upon successful connection, your computer should detect your Akaso action camera as an external device, enabling you to access its storage and transfer photos. With this vital connection established, you’re now ready to proceed to the next step: transferring your captivating photos from your Akaso action camera to your computer.
Step 2: Transfer Photos from Akaso Action Camera to Computer
Now that your Akaso action camera is seamlessly connected to your computer, it’s time to initiate the transfer of your awe-inspiring photos. Follow these straightforward steps to effortlessly transfer your photos from your Akaso action camera to your computer:
- Access the Camera’s Storage: On your computer, navigate to the file explorer or finder to locate the connected Akaso action camera. It should appear as an external device. Open the device to access its storage.
- Select the Photos: Within the camera’s storage, navigate to the folder or directory containing your photos. Typically, these are stored in a folder labeled “DCIM” or “Pictures.” Select the photos you wish to transfer to your computer.
- Transfer the Photos: Once you’ve selected the desired photos, initiate the transfer process by copying them from the camera’s storage and pasting them into a dedicated folder on your computer. You can create a new folder to organize these photos based on the date, location, or the specific adventure they capture.
- Monitor the Transfer: Depending on the number and size of the photos, the transfer process may take some time. Monitor the progress to ensure that all selected photos are successfully transferred to your computer’s storage.
With these simple steps, you’ve effectively transferred your cherished photos from your Akaso action camera to your computer, preserving them for easy access and future enjoyment. Now, let’s proceed to the final step: viewing and organizing your captivating photos on your computer.
Step 3: View and Organize Photos on Your Computer
With your stunning photos safely transferred to your computer, it’s time to embark on the exciting journey of viewing and organizing them for easy access and enjoyment. Follow these steps to seamlessly view and organize your Akaso action camera photos on your computer:
- Open the Photo Folder: Navigate to the folder on your computer where you transferred the photos from your Akaso action camera. Double-click to open the folder and access your treasured photos.
- View the Photos: Once the photo folder is open, you can effortlessly view your captivating photos by simply clicking on each image. Take a moment to relive the thrilling moments captured by your Akaso action camera as you browse through the photos.
- Organize the Photos: To ensure easy access and efficient organization, consider creating subfolders within the main photo folder. You can categorize the photos based on the adventure, date, or location, allowing for seamless navigation and retrieval in the future.
- Edit and Enhance: If desired, you can utilize photo editing software on your computer to enhance and refine your photos. Adjust the lighting, colors, and composition to further elevate the visual impact of your captured moments.
By following these steps, you’ve not only successfully viewed and organized your Akaso action camera photos on your computer but also ensured that they are readily accessible for sharing with friends and family or for creating captivating photo albums to commemorate your adventures.
With your photos now seamlessly integrated into your computer’s storage and thoughtfully organized, you’re equipped to relive and share your action-packed memories with ease. Congratulations on successfully navigating the process of viewing and organizing your Akaso action camera photos on your computer!
Conclusion
Congratulations! You’ve successfully embarked on a seamless journey to view and organize your exhilarating Akaso action camera photos on your computer. By following the simple steps outlined in this guide, you’ve unlocked the treasure trove of captivating moments captured during your adventures, preserving them for easy access and future enjoyment.
From establishing a secure connection between your Akaso action camera and computer to effortlessly transferring and organizing your photos, you’ve demonstrated the skills and knowledge required to navigate this process with confidence and ease.
Now, armed with your organized collection of breathtaking photos, you’re poised to relive those adrenaline-pumping moments, share your adventures with friends and family, and even create stunning photo albums to commemorate your escapades.
As you continue to explore new horizons and capture awe-inspiring moments with your Akaso action camera, remember that the process of viewing and organizing your photos on your computer is a gateway to preserving and sharing the magic of your adventures.
So, grab your computer, immerse yourself in the captivating visuals of your Akaso action camera photos, and cherish the memories that continue to inspire and exhilarate you. Your journey to relive and share these unforgettable moments has just begun.


