Introduction
If you're the proud owner of an Akaso action camera, you're likely eager to explore the world of adventure and capture stunning footage of your escapades. To maximize the potential of your action camera, you'll want to equip it with accessories that can enhance its functionality and versatility. Whether you're an adrenaline junkie seeking to document extreme sports or a nature enthusiast aiming to capture breathtaking landscapes, the right accessories can elevate your filming experience.
In this guide, we'll delve into the world of Akaso action camera accessories, exploring the various ways you can mount and attach them to your device. From tripods to chest harnesses, head straps to selfie sticks, and floating handle grips to suction cup mounts, we'll cover the essential techniques for securing these accessories to your camera. By the end of this guide, you'll be well-versed in the art of accessorizing your Akaso action camera, ready to embark on your next adventure with confidence and creativity. So, let's dive in and discover the myriad possibilities for enhancing your filming capabilities with these exciting accessories.
Mounting Accessories
Mounting accessories to your Akaso action camera is a fundamental aspect of maximizing its potential. Whether you're aiming to capture stable footage, hands-free shots, or unique vantage points, the right mounting techniques can make all the difference. Understanding the various methods for attaching accessories will empower you to unleash your creativity and capture stunning visuals.
When it comes to mounting accessories, it’s essential to consider the specific requirements of your filming environment and the type of shots you want to achieve. From securing your camera to your body for immersive POV shots to mounting it on stable surfaces for static captures, the possibilities are vast. By mastering the art of mounting accessories, you’ll be well-prepared to adapt to diverse filming scenarios and capture compelling footage.
Throughout this guide, we’ll explore the step-by-step processes for attaching an array of accessories to your Akaso action camera, equipping you with the knowledge and skills to elevate your filming capabilities. Whether you’re a seasoned filmmaker or a novice enthusiast, mastering the art of mounting accessories is a crucial step toward unlocking the full potential of your Akaso action camera.
Attaching a Tripod
Attaching a tripod to your Akaso action camera is a game-changer when it comes to capturing stable and professional-looking footage. Whether you’re filming a scenic time-lapse, conducting an interview, or simply aiming to achieve steady shots, a tripod provides the necessary stability to elevate your videos to the next level.
To attach your Akaso action camera to a tripod, you’ll typically use a tripod mount adapter. This small yet essential piece of equipment allows you to securely connect your camera to the standard tripod screw, ensuring a stable and reliable setup. The tripod mount adapter is designed to be compatible with most tripods, offering versatility and convenience for a wide range of filming scenarios.
Once you’ve secured the tripod mount adapter to your camera, simply align it with the tripod’s screw and twist it into place. Ensure that the connection is snug and secure, minimizing any potential wobbling or instability during filming. With your camera securely mounted on the tripod, you’ll have the freedom to explore various shooting angles and perspectives, knowing that your footage will maintain a professional and steady quality.
Whether you’re capturing breathtaking landscapes, filming dynamic action sequences, or conducting product reviews, the tripod serves as a reliable companion, offering stability and precision to your filming endeavors. By mastering the art of attaching a tripod to your Akaso action camera, you’ll unlock the potential to create visually stunning and captivating videos that leave a lasting impression on your audience.
Using a Chest Harness
When it comes to capturing immersive point-of-view (POV) footage with your Akaso action camera, a chest harness emerges as a versatile and essential accessory. Whether you’re engaged in high-octane activities like mountain biking, snowboarding, or rock climbing, or simply seeking to document your everyday adventures from a unique perspective, a chest harness allows you to secure your camera firmly to your chest, offering a captivating viewpoint that puts your audience right in the heart of the action.
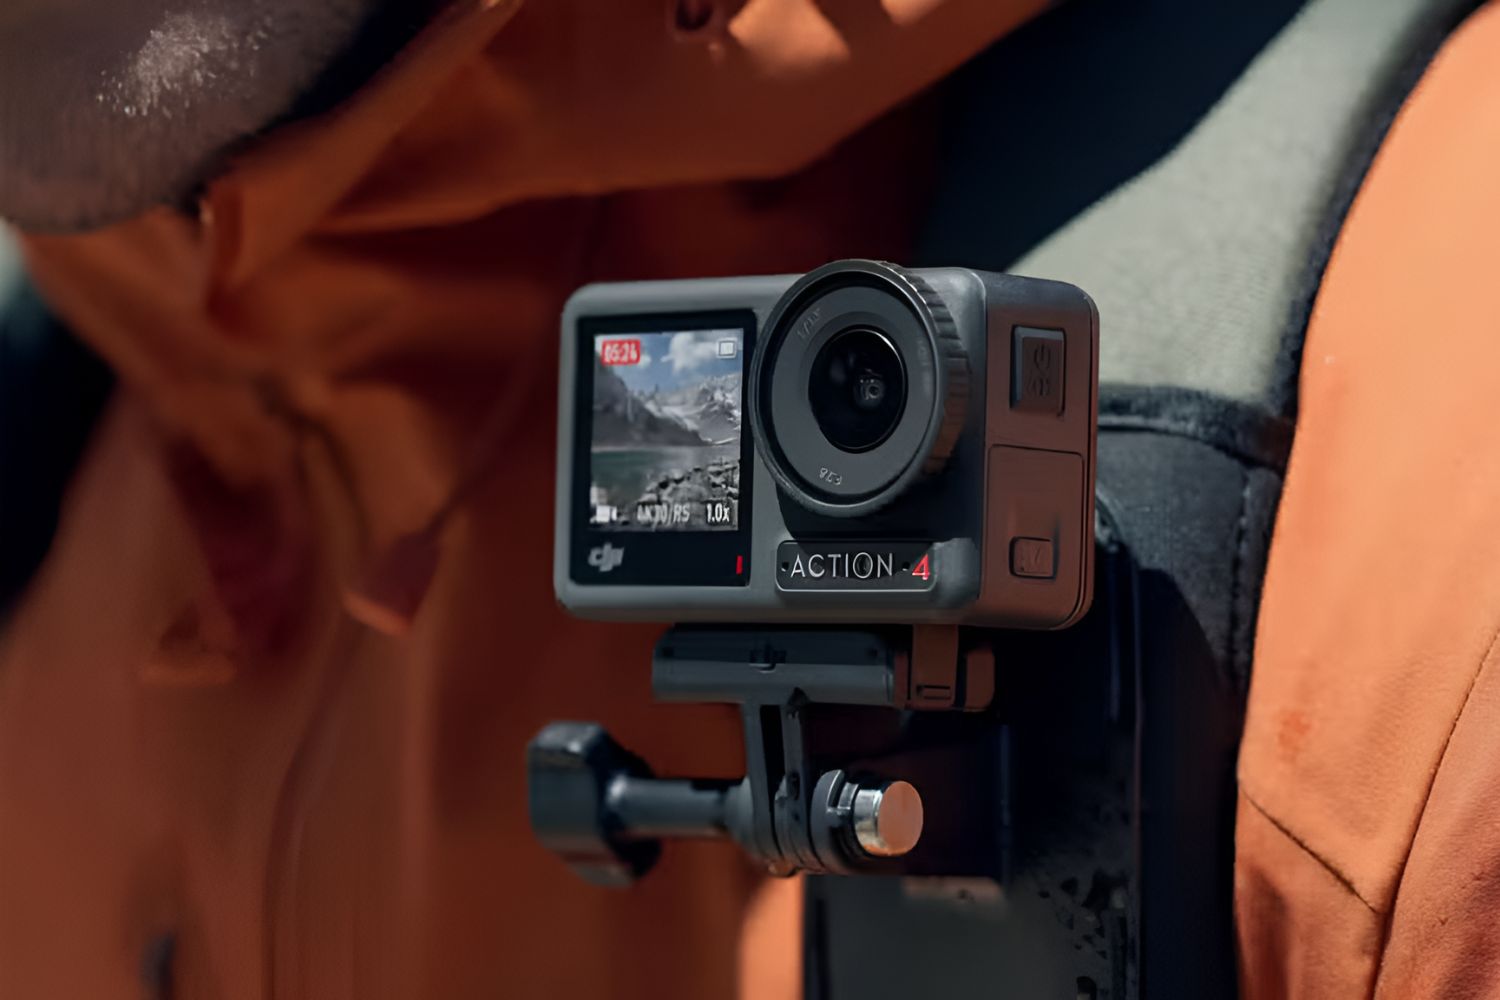
To utilize a chest harness with your Akaso action camera, begin by adjusting the straps to achieve a comfortable and secure fit. The harness should snugly embrace your chest, ensuring that the camera remains stable and minimizes excessive movement during filming. Once the harness is properly adjusted, attach your action camera to the designated mount on the chest plate, ensuring a secure connection that can withstand the rigors of your chosen activity.
With your Akaso action camera mounted on the chest harness, you’ll have the freedom to engage in hands-free filming, capturing the world from your unique perspective without being encumbered by holding the camera. This setup is particularly advantageous for activities that involve rapid movements, as the chest harness provides a stable platform for filming dynamic and engaging footage.
Whether you’re hurtling down a mountain trail, navigating challenging terrain, or simply strolling through picturesque landscapes, the chest harness offers a compelling viewpoint that immerses your audience in the heart of your adventures. By mastering the art of using a chest harness with your Akaso action camera, you’ll unlock the potential to deliver exhilarating and captivating footage that truly captures the essence of your experiences.
Attaching a Head Strap
For adventurers and thrill-seekers looking to capture compelling first-person footage, attaching a head strap to your Akaso action camera is a game-changing technique. Whether you’re conquering challenging trails, navigating turbulent waters, or engaging in high-energy activities, the head strap offers a hands-free solution for capturing immersive and dynamic perspectives.
To attach a head strap to your Akaso action camera, begin by adjusting the straps to achieve a snug and secure fit around your head or helmet. It’s crucial to ensure that the head strap is comfortably positioned, allowing for stable and unobstructed filming. Once the strap is properly adjusted, affix your action camera to the mounting platform, securing it in place to withstand the movements and vibrations associated with your chosen activity.
With your Akaso action camera securely fastened to the head strap, you’ll have the freedom to document your adventures from a compelling first-person viewpoint. Whether you’re skiing down exhilarating slopes, exploring vibrant cityscapes, or embarking on adrenaline-fueled escapades, the head strap enables you to capture the world as you experience it, delivering immersive footage that places your audience right in the heart of the action.
This versatile mounting technique empowers you to film with ease, allowing you to focus on the thrill of the moment without being encumbered by holding the camera. The head strap’s hands-free design provides a seamless and unobtrusive filming experience, ensuring that you can fully immerse yourself in your activities while effortlessly capturing stunning visuals.
By mastering the art of attaching a head strap to your Akaso action camera, you’ll unlock the potential to document your adventures from exhilarating and captivating perspectives, creating footage that resonates with the raw energy and excitement of your experiences.
Connecting to a Selfie Stick
When it comes to capturing dynamic and versatile footage with your Akaso action camera, connecting it to a selfie stick opens up a world of creative possibilities. Whether you’re seeking to expand your filming range, achieve unique vantage points, or simply capture group selfies with an extended reach, a selfie stick serves as an indispensable accessory for adventurers and content creators alike.
To connect your Akaso action camera to a selfie stick, begin by ensuring that the stick is fully extended and securely locked in place. Next, locate the mounting point on the selfie stick and attach your action camera using the appropriate mount or adapter. It’s essential to verify that the connection is firm and stable, minimizing any potential wobbling or movement during filming.
Once your action camera is securely fastened to the selfie stick, you’ll have the freedom to explore a diverse range of filming angles and perspectives. Whether you’re capturing panoramic vistas, dynamic action shots, or candid moments with friends and family, the selfie stick offers the flexibility to adapt to various filming scenarios, empowering you to unleash your creativity and capture compelling visuals.
By utilizing a selfie stick, you can effortlessly extend your camera’s reach, allowing you to capture expansive landscapes, group activities, or high-energy adventures with ease. The versatility of the selfie stick enables you to experiment with different filming techniques, from overhead shots to dynamic panning movements, adding a dynamic dimension to your footage.
Mastering the art of connecting your Akaso action camera to a selfie stick unlocks the potential to elevate your filming capabilities, providing you with the tools to capture engaging and immersive visuals that resonate with your audience. Whether you’re documenting solo explorations or lively group gatherings, the selfie stick offers a convenient and adaptable solution for achieving captivating footage.
Using a Floating Handle Grip
When venturing into aquatic environments with your Akaso action camera, using a floating handle grip is a crucial accessory that provides both stability and peace of mind. Whether you’re capturing underwater adventures, engaging in water sports, or simply enjoying a day at the beach, the floating handle grip ensures that your camera remains buoyant and easily retrievable, offering a secure grip while filming in water.
To utilize a floating handle grip with your Akaso action camera, begin by securely attaching the camera to the designated mount on the grip. It’s essential to verify that the connection is firm and stable, minimizing the risk of the camera becoming dislodged during filming. Once the camera is properly secured, the floating handle grip provides a comfortable and secure grip, allowing you to maneuver and film with confidence in aquatic environments.
One of the key advantages of a floating handle grip is its buoyancy, which prevents your camera from sinking if accidentally dropped in water. This feature not only safeguards your camera from potential loss but also enables you to focus on capturing stunning underwater footage without the worry of losing your device.
Additionally, the floating handle grip serves as a stabilizing tool, minimizing the impact of water movement and vibrations on your footage. Whether you’re snorkeling through vibrant coral reefs, surfing exhilarating waves, or enjoying a leisurely swim, the grip provides a steady platform for capturing clear and immersive underwater visuals.
By mastering the art of using a floating handle grip with your Akaso action camera, you’ll unlock the potential to document captivating underwater experiences with confidence and precision. Whether you’re exploring marine ecosystems, participating in water-based activities, or simply enjoying aquatic leisure, the floating handle grip offers a reliable and practical solution for achieving stunning footage in water environments.
Attaching a Suction Cup Mount
When it comes to capturing stable and versatile footage in a variety of settings, attaching a suction cup mount to your Akaso action camera opens up a world of creative possibilities. Whether you’re filming from a moving vehicle, capturing time-lapse sequences, or seeking unique vantage points, the suction cup mount serves as a reliable and adaptable accessory for filmmakers and adventurers.
To attach a suction cup mount to your Akaso action camera, begin by ensuring that the mounting surface is clean and free of debris, allowing the suction cup to form a secure seal. Once the surface is prepared, firmly press the suction cup against the desired location, engaging the suction mechanism to create a stable and reliable attachment. It’s crucial to verify that the mount is securely fastened before proceeding with filming.
One of the key advantages of a suction cup mount is its versatility, allowing you to secure your camera to a wide range of surfaces, including vehicles, boats, and even some types of aircraft. This flexibility enables you to capture dynamic footage from unconventional and moving platforms, adding a unique dimension to your videos.
Additionally, the suction cup mount provides stability and vibration dampening, ensuring that your footage remains steady and professional-looking, even in challenging filming environments. Whether you’re documenting scenic road trips, high-speed pursuits, or dynamic action sequences, the mount offers a reliable solution for achieving smooth and captivating visuals.
By mastering the art of attaching a suction cup mount to your Akaso action camera, you’ll unlock the potential to capture compelling footage from diverse perspectives and settings, empowering you to create immersive and visually engaging videos that resonate with your audience.
Conclusion
Congratulations! You’ve now explored the exciting realm of accessorizing and mounting your Akaso action camera, gaining valuable insights into the techniques and methods for attaching a diverse array of accessories. From tripods to chest harnesses, head straps to selfie sticks, and floating handle grips to suction cup mounts, you’ve delved into the essential strategies for maximizing the potential of your camera and capturing stunning footage in a variety of environments.
By mastering the art of mounting accessories, you’ve equipped yourself with the knowledge and skills to elevate your filming capabilities, whether you’re embarking on adrenaline-fueled adventures, documenting scenic landscapes, or capturing dynamic action sequences. Understanding the nuances of each mounting technique empowers you to adapt to diverse filming scenarios, ensuring that you can capture compelling visuals with confidence and creativity.
As you continue to explore the world of action camera filming, remember that the right accessories and mounting techniques can significantly enhance your filming experience, offering stability, versatility, and unique perspectives. Whether you’re a seasoned filmmaker or an enthusiastic novice, the art of accessorizing your Akaso action camera opens up a world of creative possibilities, allowing you to capture the essence of your adventures with immersive and captivating footage.
So, armed with your newfound knowledge, venture forth with your Akaso action camera and an array of accessories, ready to embark on exciting filming endeavors that showcase the beauty, energy, and thrill of your experiences. With each mounting technique at your disposal, you’re well-prepared to capture the world from captivating and engaging perspectives, inspiring and enthralling your audience with stunning visuals that reflect the essence of your adventures.


