Introduction
Are you looking to elevate your video conferencing experience or enhance your live streaming setup? Using a Samsung camcorder as a webcam can significantly improve the video quality, offering a professional touch to your online interactions. With the increasing demand for high-quality video content, repurposing your Samsung camcorder as a webcam presents an excellent opportunity to leverage existing equipment for a superior video communication experience.
In this guide, we will walk you through the process of transforming your Samsung camcorder into a webcam, allowing you to harness its advanced optics and superior image stabilization for your video calls, live streams, and content creation. By following these step-by-step instructions, you can seamlessly integrate your Samsung camcorder into your computer setup, unlocking its full potential as a high-definition webcam.
Whether you're a content creator, business professional, or enthusiast looking to enhance your virtual presence, utilizing your Samsung camcorder as a webcam can elevate the visual impact of your online interactions. Let's delve into the process of harnessing the power of your Samsung camcorder to achieve professional-grade video quality in your virtual communications.
Step 1: Check Compatibility and Requirements
Before embarking on the journey of using your Samsung camcorder as a webcam, it’s crucial to ensure that your device is compatible with this functionality. Start by checking the specifications of your Samsung camcorder to verify if it supports the feature of being used as a webcam. Some newer models may have this capability built-in, while others might require additional software or hardware to enable this functionality.
Additionally, assess the compatibility of your computer system. Ensure that your operating system supports the use of external cameras as webcams. Most modern Windows and macOS systems are compatible with a wide range of external devices, including camcorders, but it’s essential to verify this compatibility to avoid any potential issues during the setup process.
Once you’ve confirmed the compatibility of your Samsung camcorder and computer system, take note of the necessary requirements for establishing the connection. This may include specific cables or adapters to link your camcorder to your computer, as well as any essential software or drivers that need to be installed to facilitate the integration of the camcorder as a webcam.
By thoroughly checking the compatibility and requirements, you can lay a solid foundation for the successful transformation of your Samsung camcorder into a fully functional webcam, ensuring a seamless and efficient setup process.
Step 2: Install Necessary Software and Drivers
Once you’ve confirmed the compatibility of your Samsung camcorder and computer system, the next crucial step is to install the essential software and drivers required to enable the camcorder to function as a webcam. Start by visiting the official Samsung website or the support section of the camcorder’s product page to identify the specific software and drivers needed for this purpose.
Download and install the recommended software onto your computer, ensuring that it is compatible with your operating system. This software may include proprietary applications provided by Samsung that enable the camcorder to interface with your computer as a webcam. Additionally, check for any firmware updates for your camcorder that might enhance its compatibility with webcam functionality.
For some models, third-party software or drivers may be necessary to facilitate the integration of the camcorder as a webcam. Investigate reputable sources for webcam software that supports external camera inputs, and install the appropriate drivers as per the manufacturer’s instructions.
During the installation process, carefully follow the on-screen prompts and ensure that the software and drivers are successfully installed. Once the installation is complete, restart your computer to allow the changes to take effect, and prepare for the subsequent steps in the setup process.
By diligently installing the necessary software and drivers, you are laying the groundwork for harnessing the full potential of your Samsung camcorder as a high-quality webcam, setting the stage for seamless integration with your computer system.
Step 3: Connect the Camcorder to Your Computer
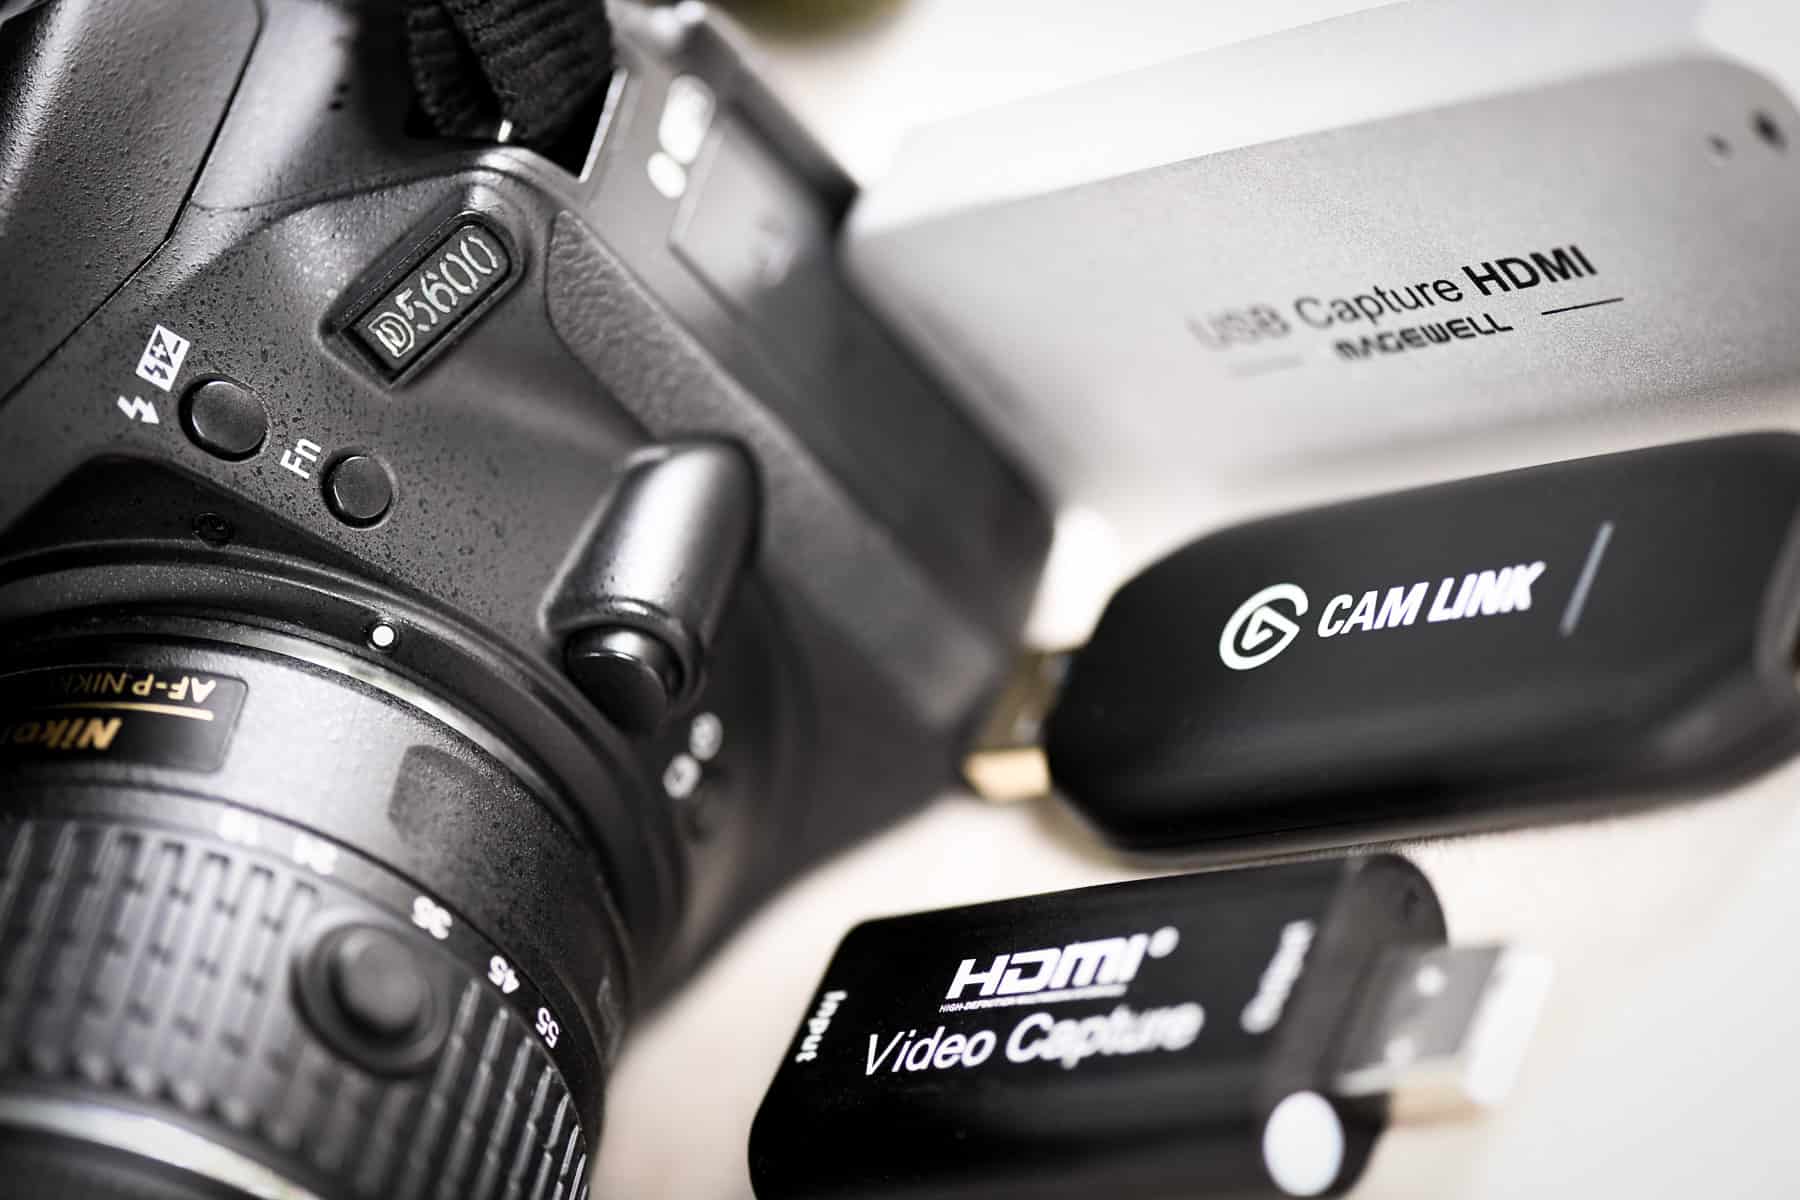
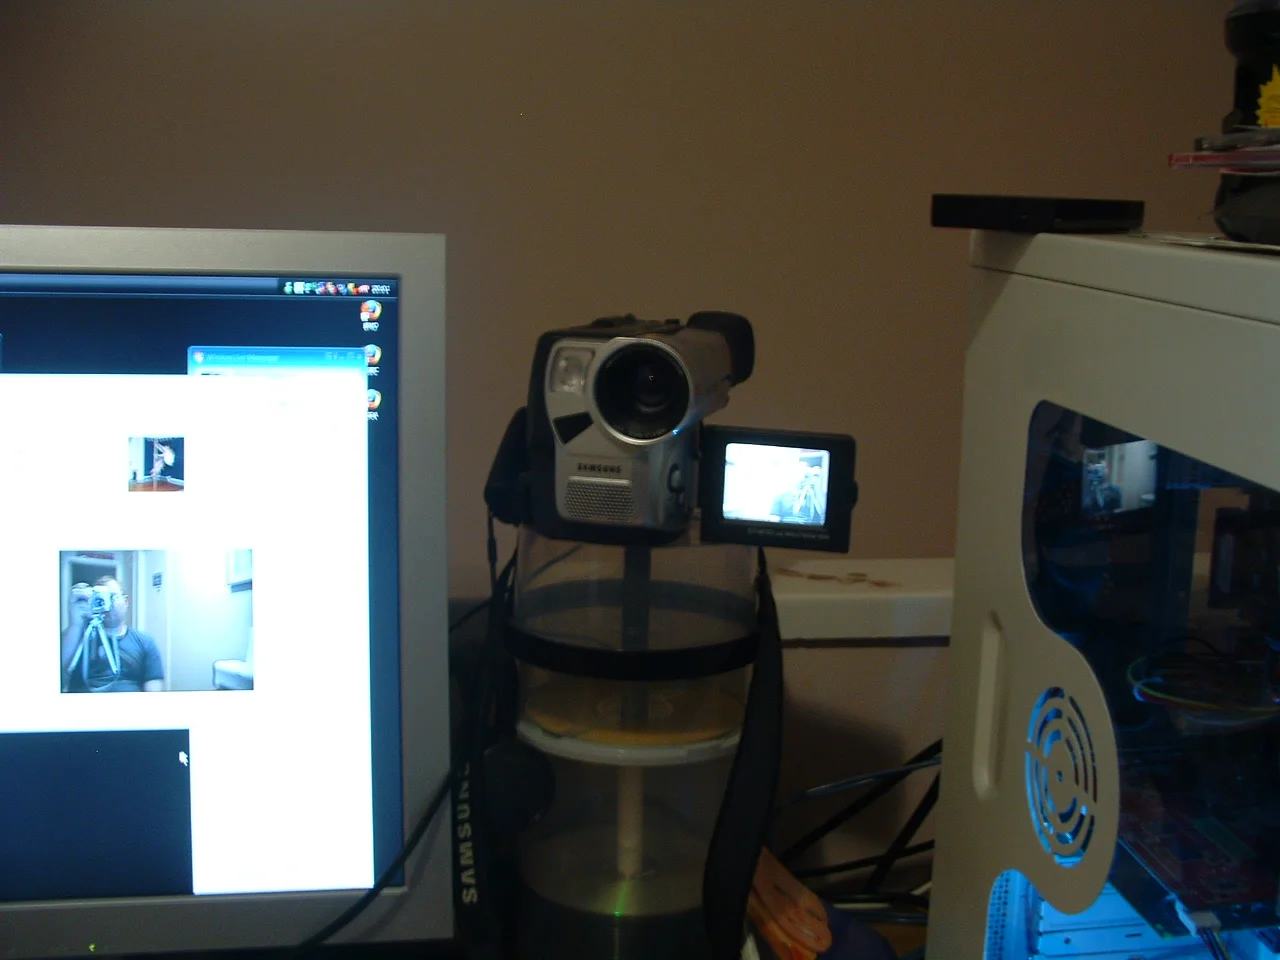
With the essential software and drivers installed, it’s time to establish the physical connection between your Samsung camcorder and your computer. Depending on the model of your camcorder and your computer’s available ports, you may need specific cables or adapters to facilitate the connection.
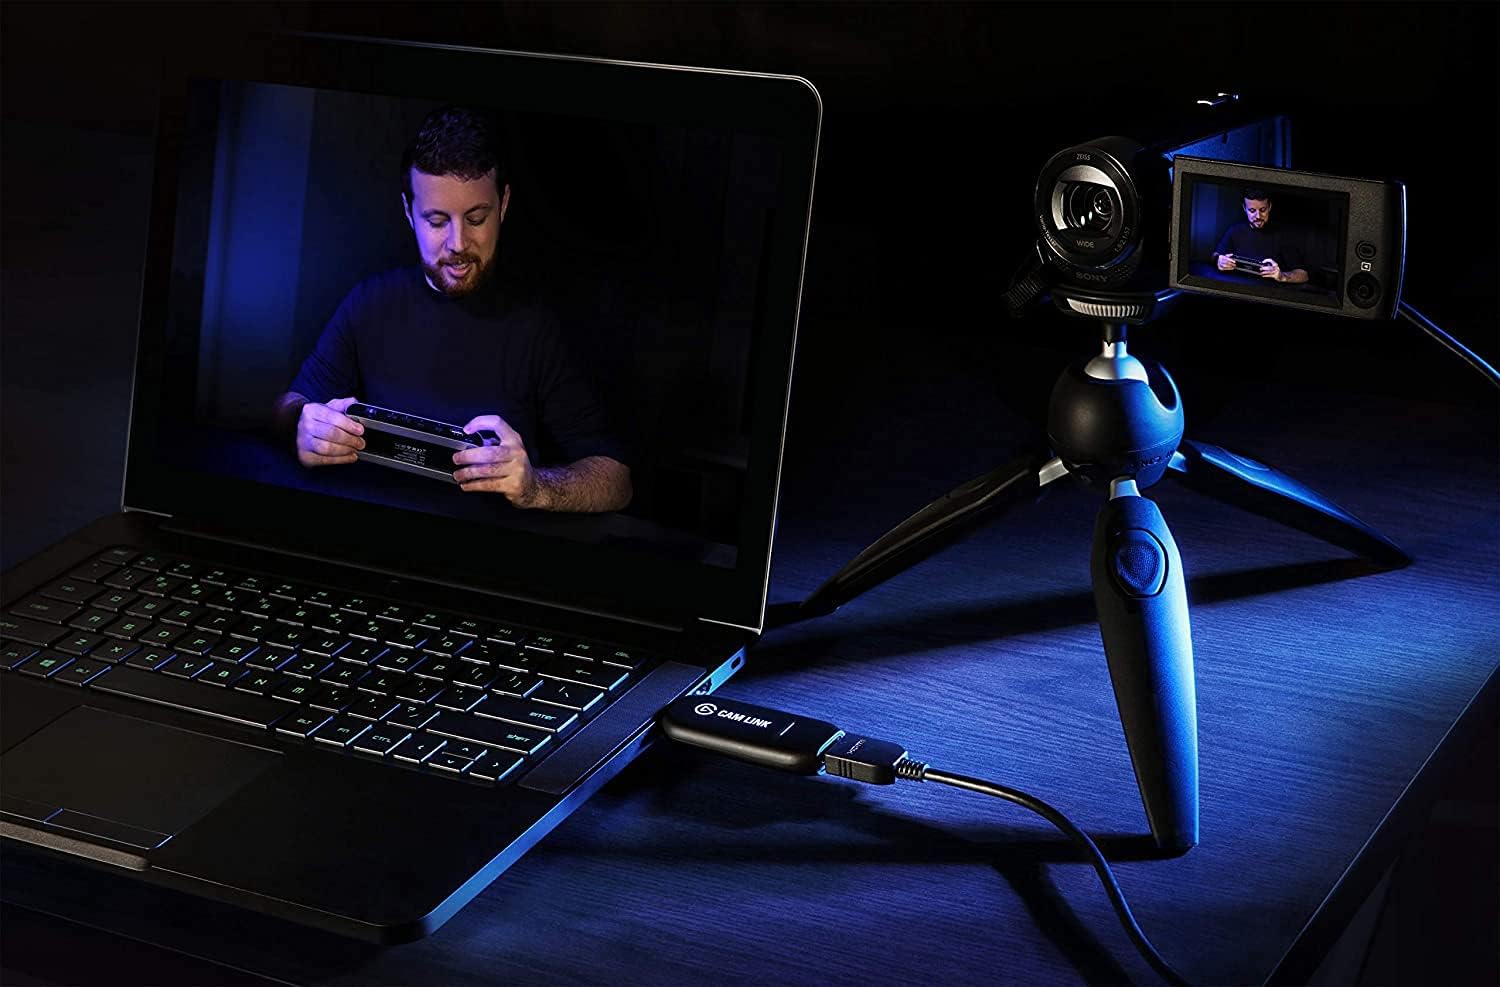
Begin by identifying the appropriate ports on your Samsung camcorder for video output. Many camcorders feature HDMI or USB ports that can be utilized for connecting to a computer. If your camcorder supports HDMI output, ensure that you have an HDMI cable compatible with your computer’s input ports. Alternatively, if your camcorder utilizes USB for video output, use a USB cable to establish the connection.
Once you have the necessary cables or adapters, power on your Samsung camcorder and connect it to your computer using the selected interface. If your computer recognizes the camcorder as a new device, follow any on-screen prompts to ensure that the connection is established correctly. In some cases, you may need to configure the camcorder to output video in a format suitable for use as a webcam.
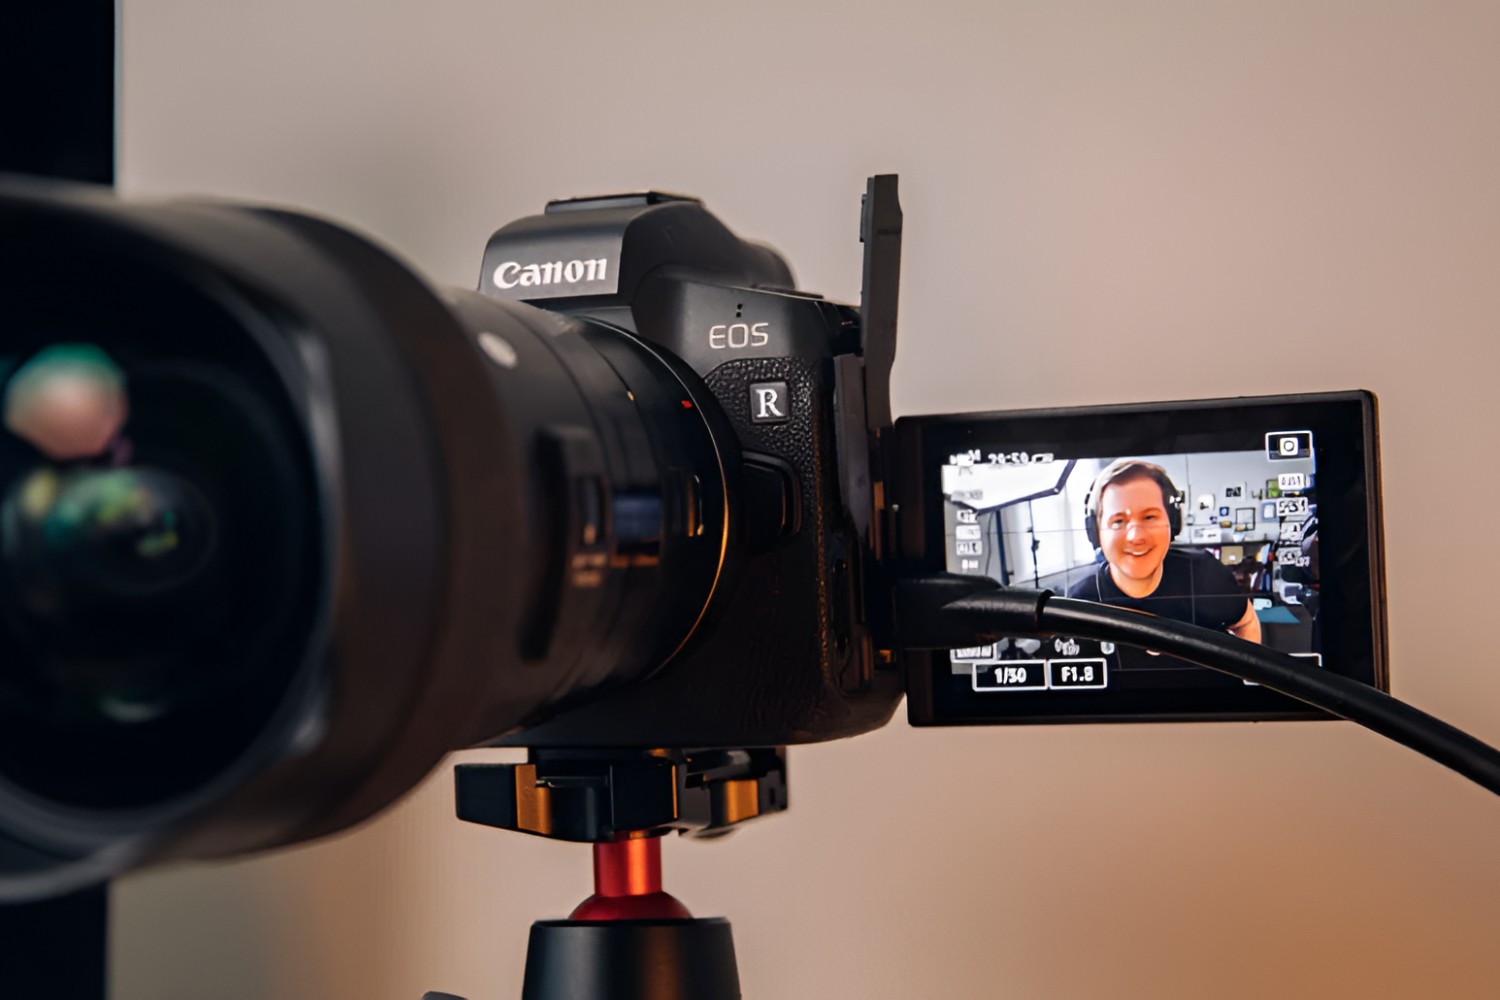
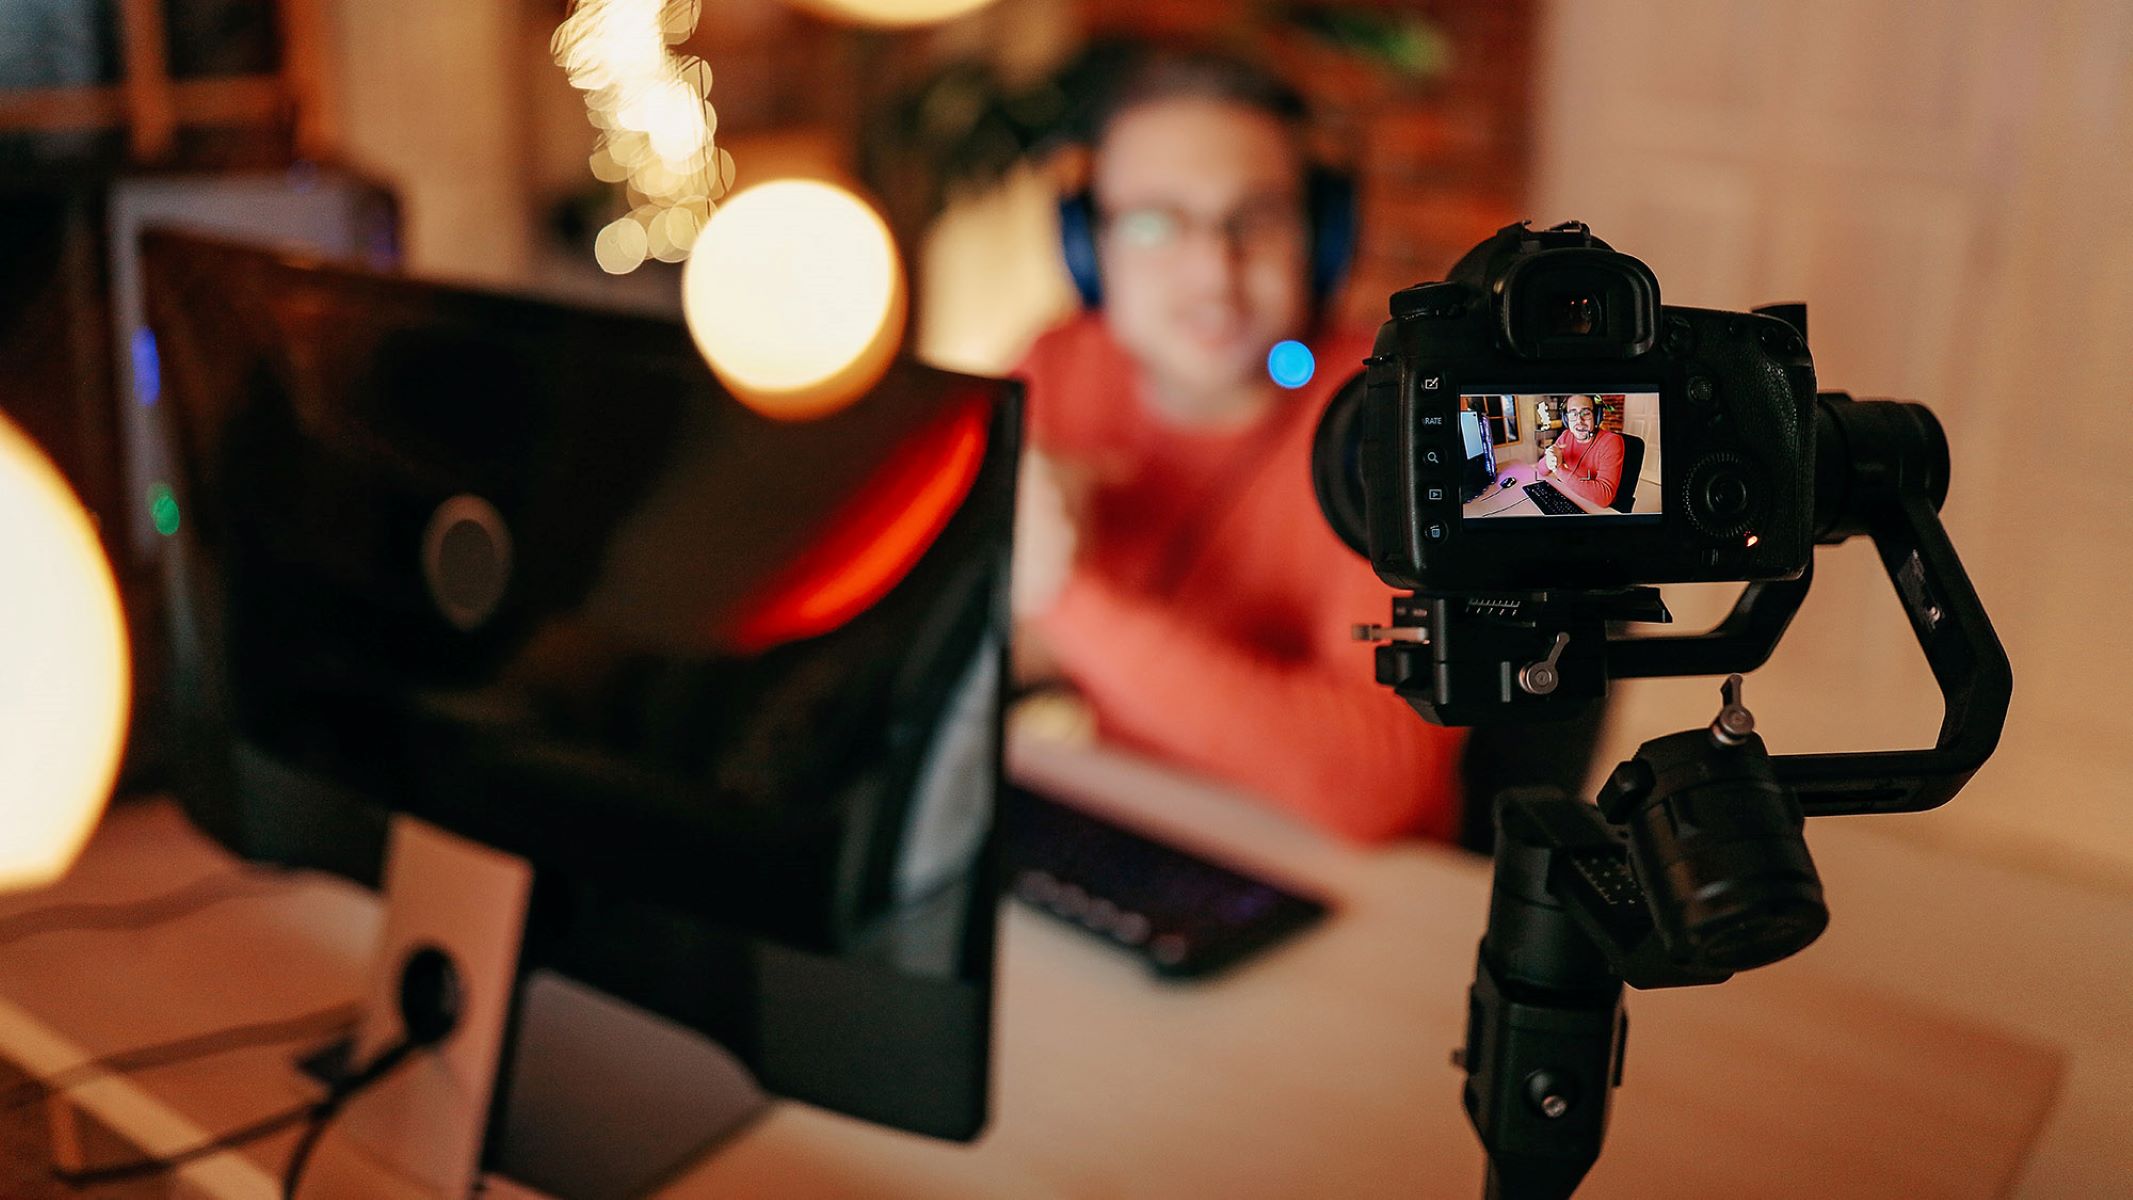
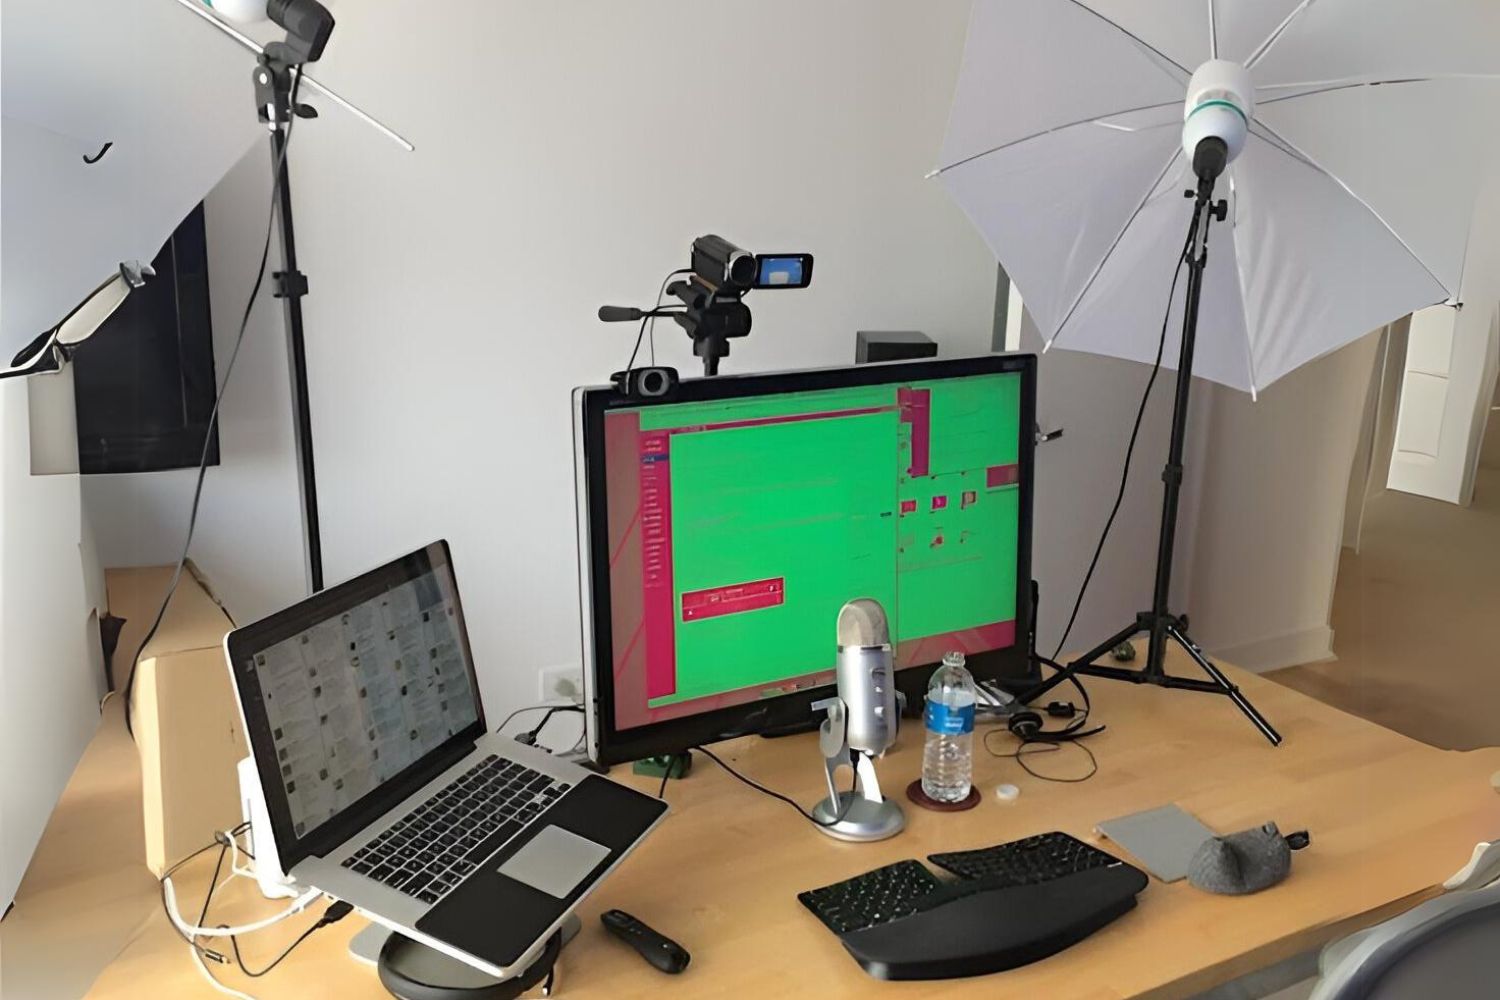
After the physical connection is established, position the camcorder appropriately for your intended use, whether it’s for video conferencing, live streaming, or content creation. Adjust the focus, framing, and any additional settings on the camcorder to optimize the visual output for your computer applications.
By successfully connecting your Samsung camcorder to your computer, you are one step closer to unlocking its potential as a high-quality webcam, paving the way for professional-grade video communication and content creation.
Step 4: Set Up the Camcorder as a Webcam
Once the physical connection between your Samsung camcorder and computer is established, it’s time to configure the camcorder to function as a webcam. Depending on the model of your camcorder and the software installed, the setup process may vary. Here are the general steps to guide you through this crucial phase:
- Access the Camcorder Settings: Navigate through the menu or settings interface on your Samsung camcorder to locate the option for enabling webcam functionality. This setting may be labeled as “USB Streaming,” “PC Connect,” or a similar term, depending on the model. Activate this feature to allow the camcorder to transmit video as a webcam feed to your computer.
- Configure Software Settings: If you are using proprietary software provided by Samsung to interface with the camcorder, launch the application on your computer and access the settings or preferences menu. Ensure that the software recognizes the camcorder as the designated webcam device and adjust any necessary video and audio settings to optimize the webcam feed for your intended use.
- Third-Party Software Setup: If you are utilizing third-party webcam software, such as OBS Studio or ManyCam, follow the software’s instructions for configuring external camera inputs. Select your Samsung camcorder as the preferred video source and customize the settings to align with your desired video output quality.
Throughout the setup process, ensure that the camcorder is securely connected to your computer and that the video feed is being transmitted successfully. Test the webcam functionality by launching your preferred video conferencing application or streaming software to verify that the camcorder is recognized as the primary video input device.
By meticulously setting up your Samsung camcorder as a webcam, you are harnessing its advanced imaging capabilities to elevate the visual quality of your video communications and content creation, empowering you to deliver professional-grade video content with ease.
Step 5: Adjust Settings and Test the Connection
With your Samsung camcorder now configured as a webcam, it’s essential to fine-tune the settings and thoroughly test the connection to ensure optimal performance. Follow these steps to adjust the settings and verify the functionality of your camcorder as a webcam:
- Video and Audio Settings: Access the settings menu on your camcorder and adjust the video resolution, frame rate, and audio input settings to align with your specific requirements. Optimize the visual and audio output to deliver the desired quality for your video calls, live streams, or content creation.
- Computer Settings: Check your computer’s sound and video settings to ensure that the camcorder is recognized as the default webcam and microphone. Verify that the computer applications you intend to use for video conferencing or live streaming are configured to utilize the camcorder as the primary input device for video and audio.
- Test the Connection: Launch your preferred video conferencing application or streaming software and initiate a test call or stream. Verify that the camcorder’s video feed is displayed correctly and that the audio input is functioning as expected. Pay attention to the overall visual and audio quality to identify any potential adjustments that may be necessary.
During the testing phase, assess the stability of the video feed, the clarity of the audio input, and the overall performance of the camcorder as a webcam. Make any required adjustments to the settings based on the results of your testing, ensuring that the camcorder delivers a professional-grade video communication experience.
By meticulously adjusting the settings and rigorously testing the connection, you can leverage the full potential of your Samsung camcorder as a webcam, empowering you to engage in high-quality video interactions and create compelling visual content with confidence.
Conclusion
Congratulations! By following the comprehensive steps outlined in this guide, you have successfully transformed your Samsung camcorder into a powerful webcam, unlocking its advanced imaging capabilities for seamless integration with your computer system. Through careful consideration of compatibility, meticulous installation of software and drivers, and precise configuration of settings, you have harnessed the full potential of your camcorder to elevate the quality of your video communications and content creation endeavors.
Utilizing your Samsung camcorder as a webcam offers a myriad of benefits, including superior video quality, enhanced image stabilization, and the ability to leverage advanced optics for a professional visual impact. Whether you are engaging in video conferencing, live streaming, or creating captivating content, the integration of your camcorder as a webcam empowers you to deliver compelling visual experiences with confidence and clarity.
As you continue to explore the possibilities of using your Samsung camcorder as a webcam, remember to regularly update the software and firmware to ensure optimal performance, and stay informed about any new features or enhancements that may further enhance the functionality of your camcorder in webcam mode.
Embrace the versatility and innovation that comes with repurposing your Samsung camcorder as a webcam, and unleash your creativity in virtual communications and content creation. The seamless integration of advanced imaging technology into your online interactions sets the stage for impactful visual storytelling and engaging video experiences, positioning you at the forefront of professional-grade video communication.
With your Samsung camcorder now seamlessly integrated as a webcam, you are poised to captivate your audience, elevate your virtual presence, and make a lasting impression through the power of high-quality video content.