Introduction
Are you eager to preserve your cherished memories captured on your camcorder? Perhaps you're planning to edit and share your videos, or you simply want to free up space on your camcorder's storage device. Whatever your reason, transferring video from your camcorder to an SD card is a convenient and straightforward process. By following the steps outlined in this guide, you can effortlessly transfer your video files to an SD card, allowing for easy storage, sharing, and editing.
Transferring videos from a camcorder to an SD card is an essential skill for anyone who values their recorded memories. Whether you are a seasoned videographer or a novice enthusiast, this guide will equip you with the knowledge and confidence to complete the transfer successfully. With the right equipment and a clear understanding of the process, you can seamlessly transfer your videos, ensuring that they are safely stored and readily accessible for future enjoyment.
In the following sections, we will walk you through the step-by-step process of preparing your equipment, inserting the SD card, connecting the camcorder to your computer, transferring the video files, and safely ejecting the SD card. By the end of this guide, you will have the expertise to transfer your camcorder videos to an SD card with ease, allowing you to manage and preserve your precious memories effectively.
Now, let's delve into the detailed steps that will enable you to transfer your video files from your camcorder to an SD card seamlessly. With the right approach and a clear understanding of the process, you can ensure that your valuable video recordings are securely stored and easily accessible whenever you need them. Let's get started!
Step 1: Prepare Your Equipment
Before embarking on the video transfer process, it’s crucial to ensure that you have all the necessary equipment at your disposal. Here’s what you’ll need:
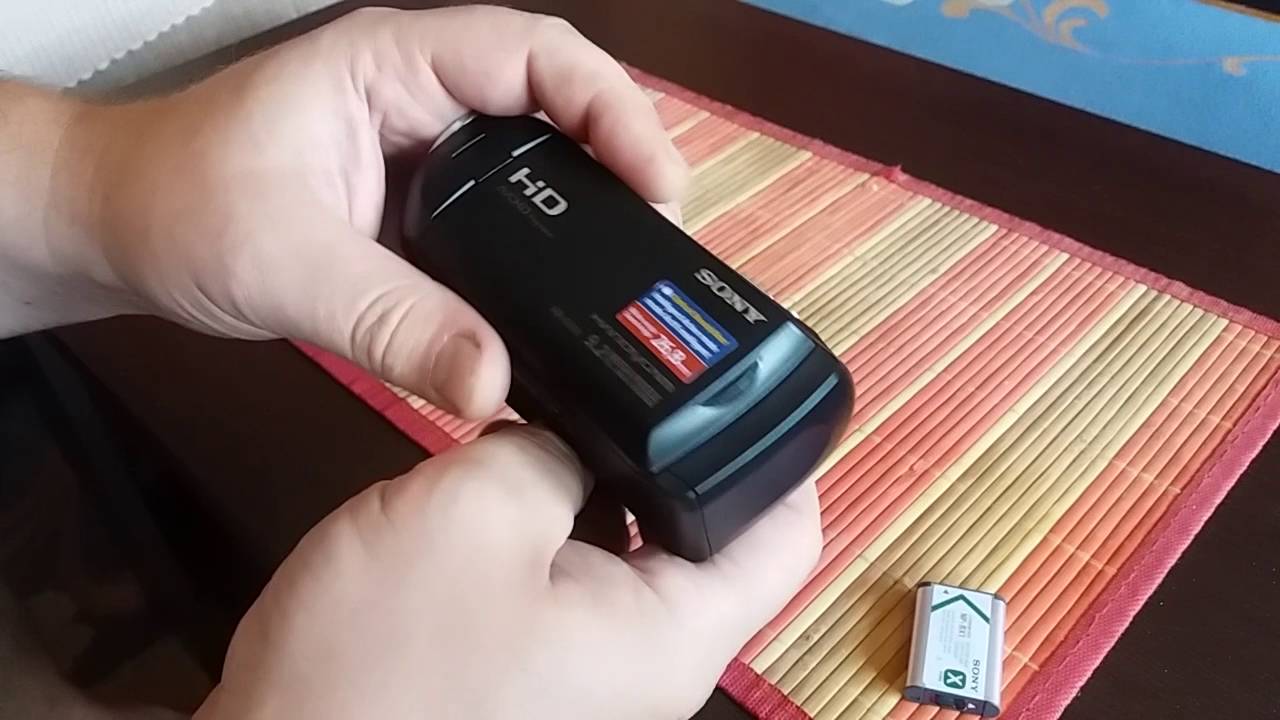
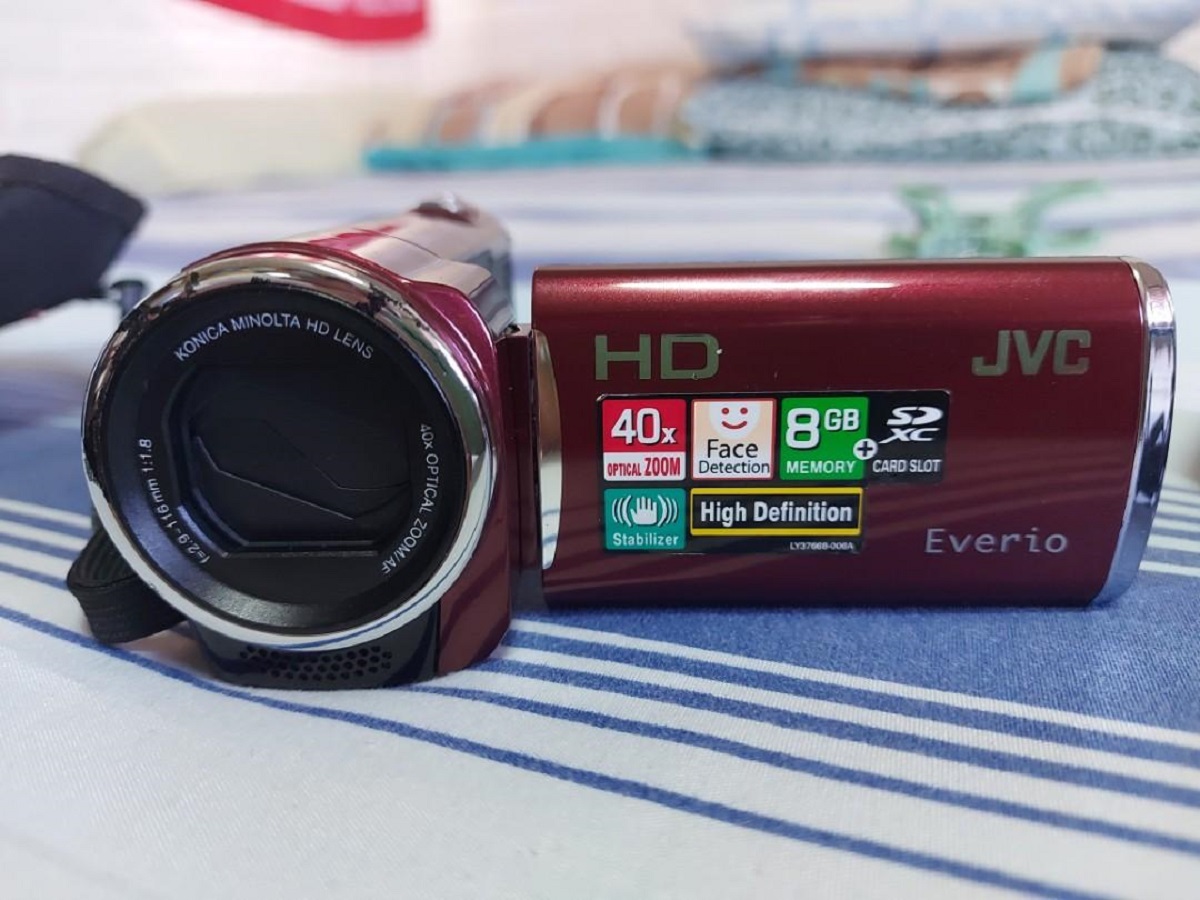
- Camcorder: Ensure that your camcorder is powered and ready to be connected to your computer. If it has an existing memory card, you may want to review its contents to determine which videos you intend to transfer.
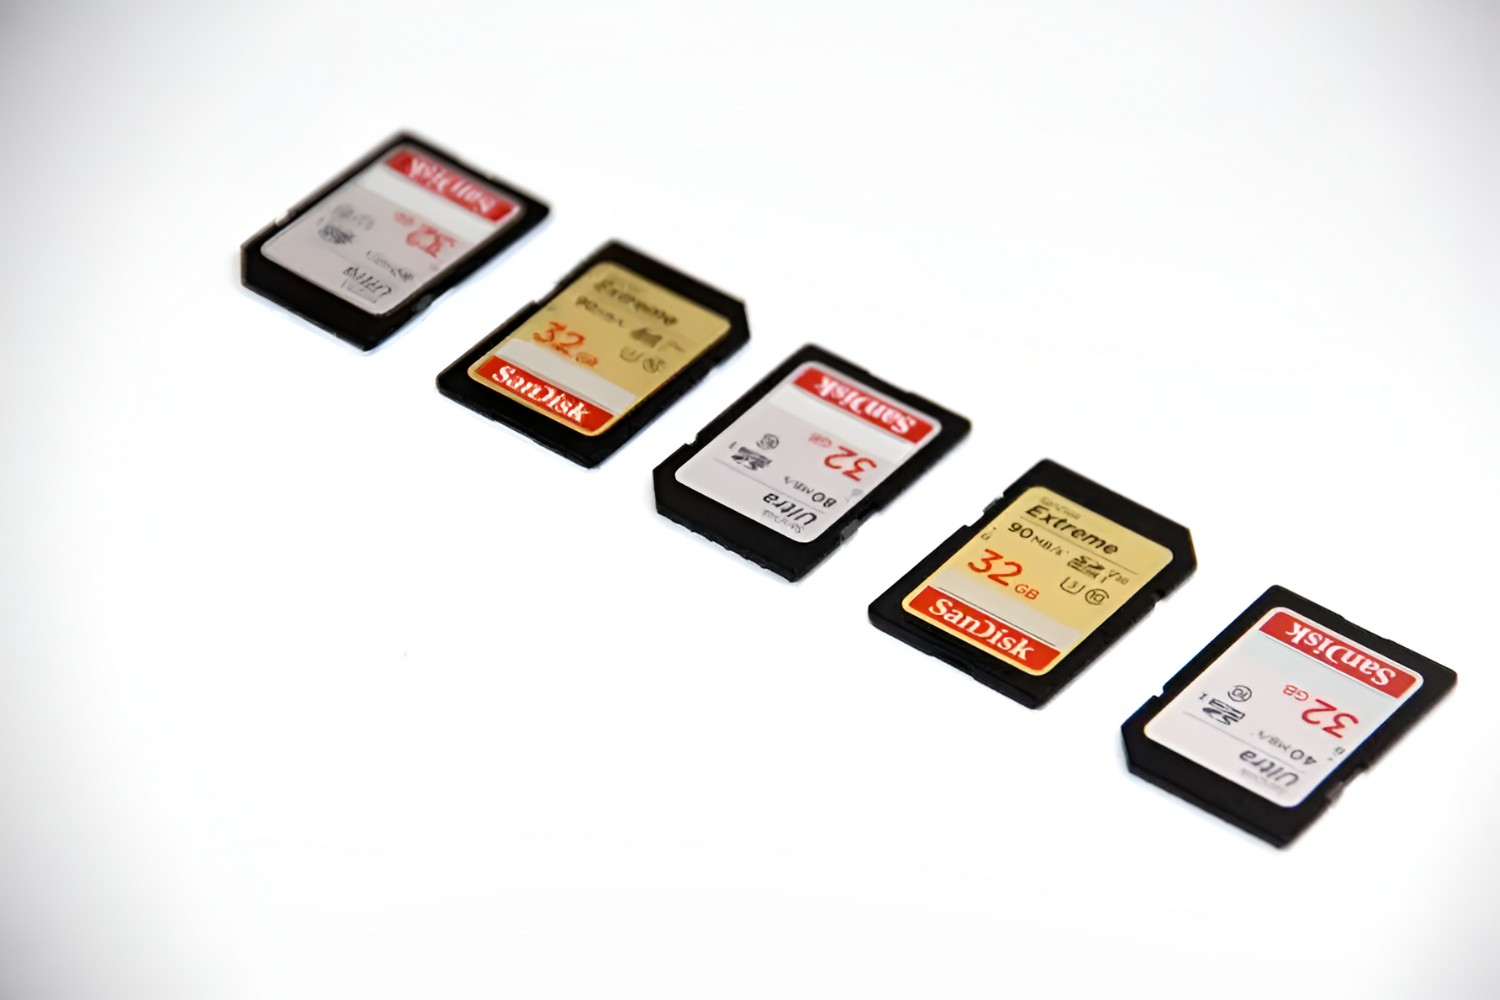
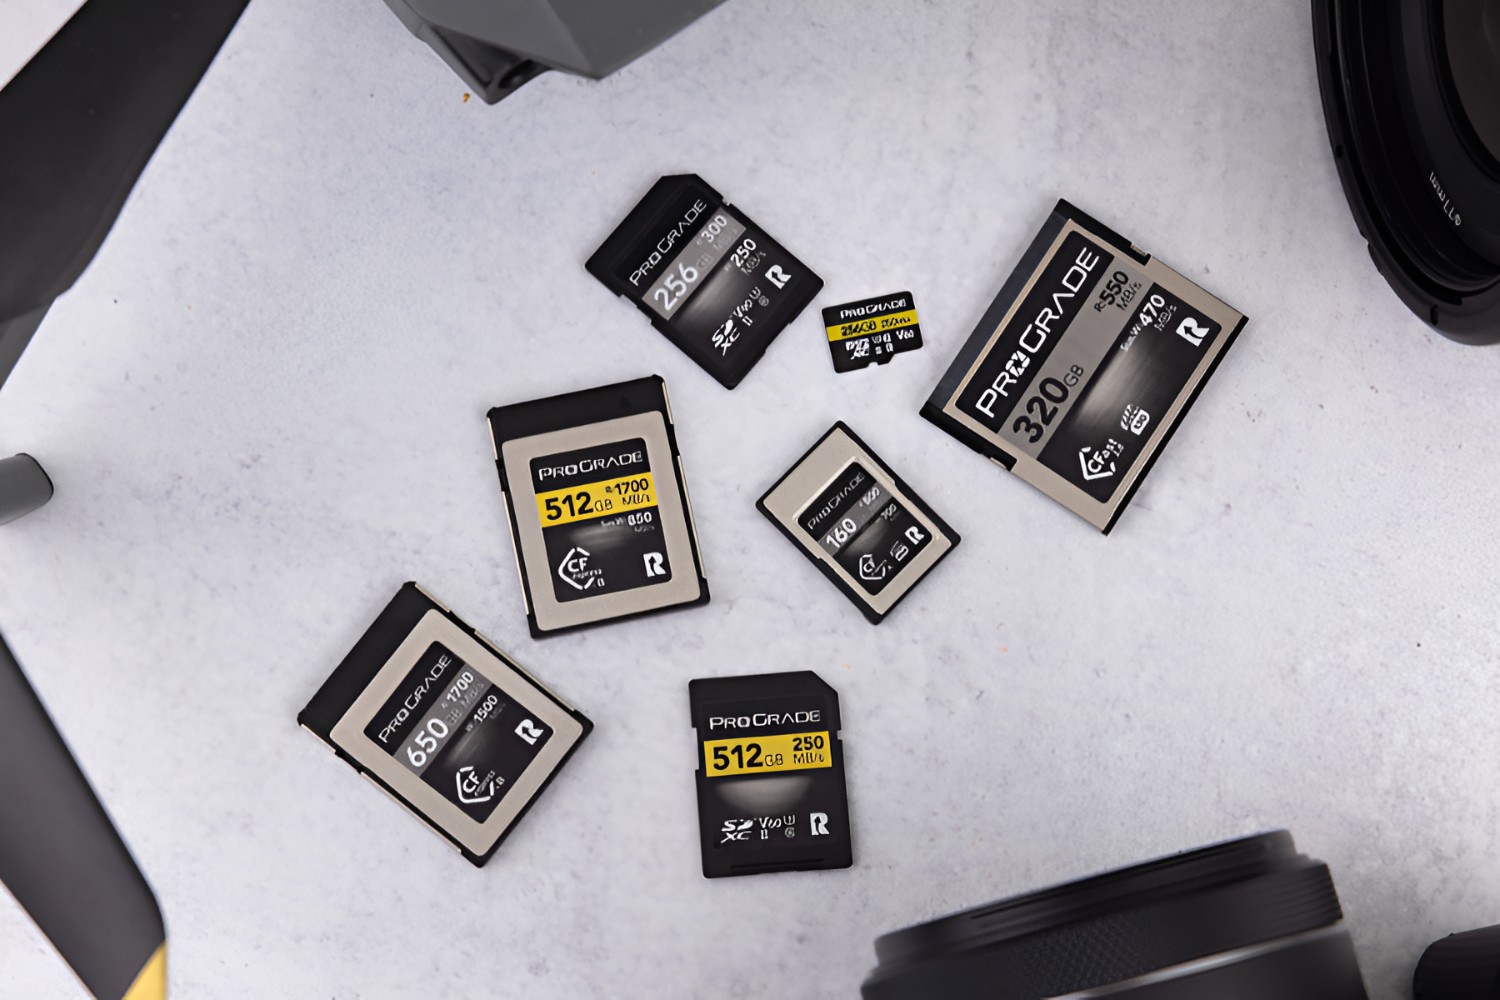
- SD Card: Select an SD card with sufficient storage capacity to accommodate the videos you plan to transfer. It’s advisable to use a high-quality, reliable SD card to safeguard your video files.
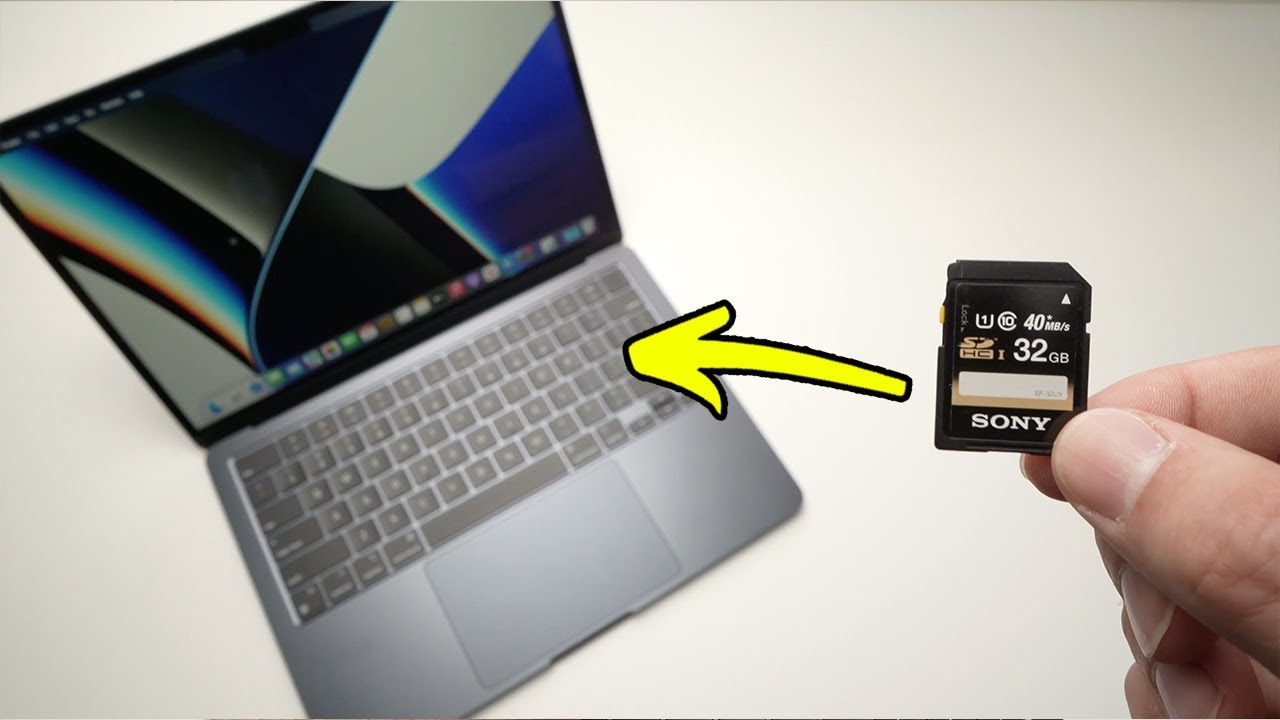
- Computer: Prepare a computer with an available SD card slot or a compatible card reader. This will facilitate the transfer of videos from the camcorder to the SD card.
- USB Cable: Ensure that you have a compatible USB cable to establish a connection between your camcorder and the computer. Check that the USB cable is in good condition and capable of transmitting data effectively.
- Battery or Power Source: If your camcorder requires a power source, ensure that the battery is fully charged or that the camcorder is connected to a power outlet to prevent any interruptions during the transfer process.
By preparing your equipment in advance, you can streamline the video transfer process and minimize the likelihood of encountering technical hitches. With your camcorder, SD card, computer, USB cable, and power source at the ready, you’ll be well-equipped to proceed with confidence to the next step of the transfer process.
Step 2: Insert the SD Card
Once you have gathered your equipment, the next step is to insert the SD card into your computer or a compatible card reader. Follow these simple steps to ensure a smooth and successful insertion:
- Locate the SD Card Slot: Identify the SD card slot on your computer or the external card reader. The slot is typically located on the side or front of the computer or on the card reader device.
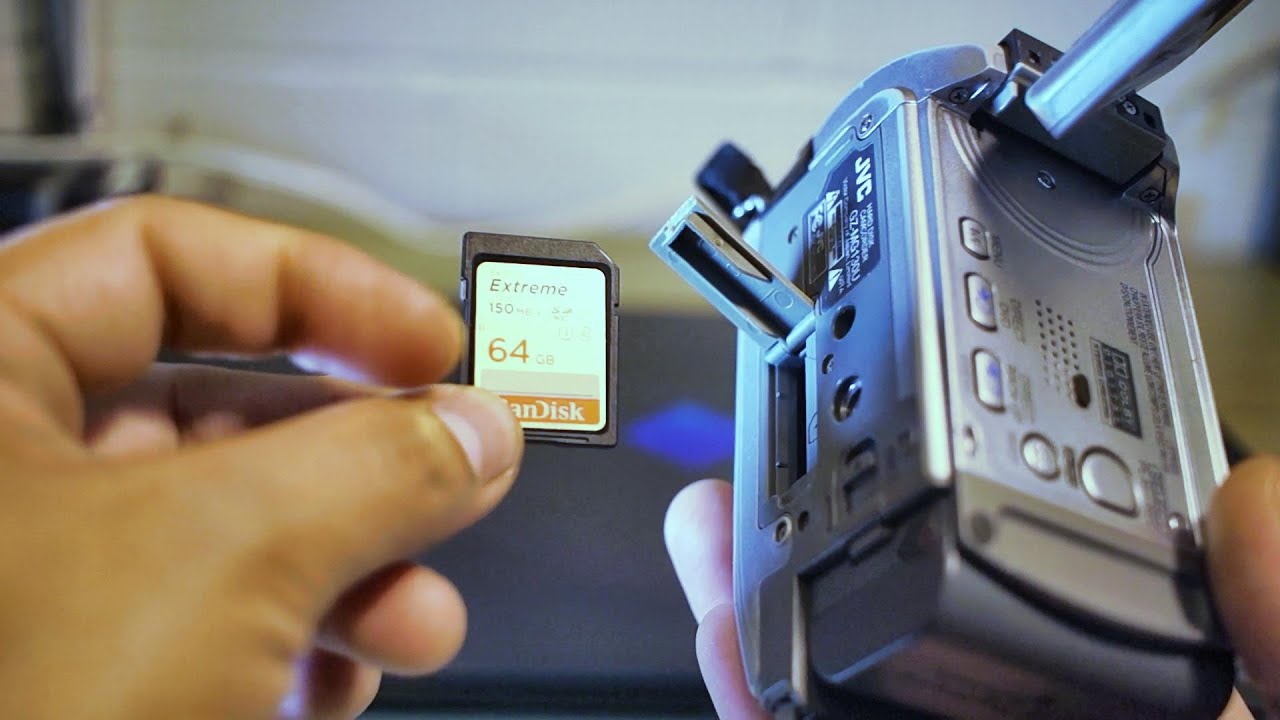
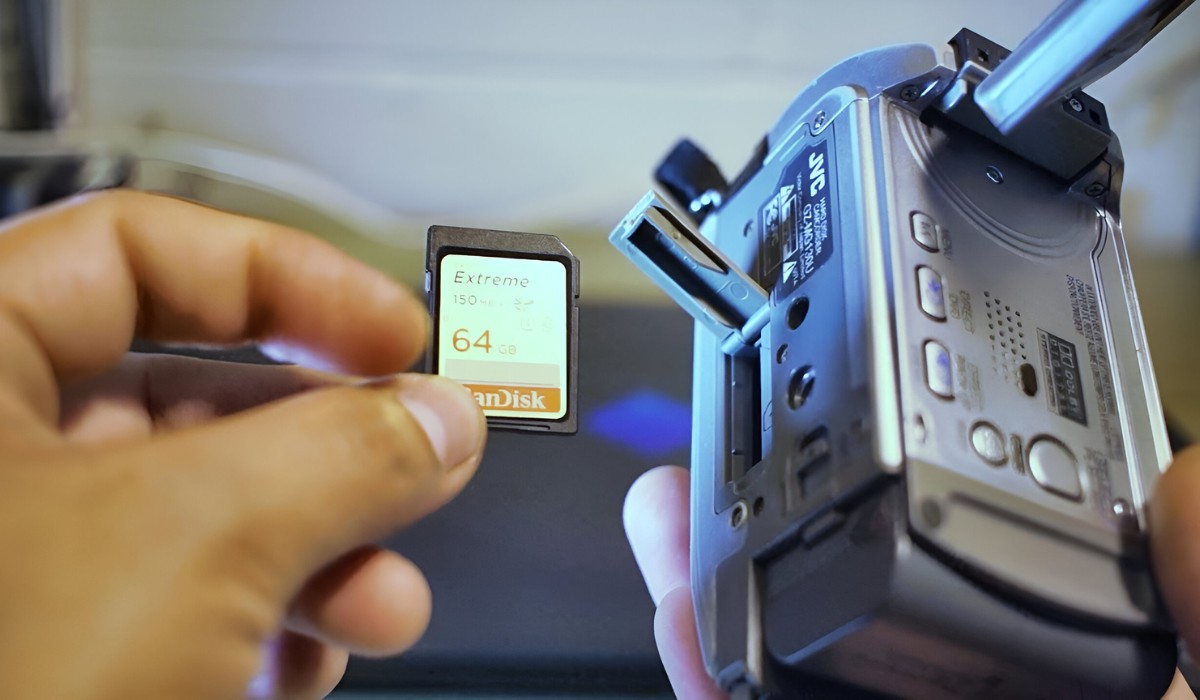
- Prepare the SD Card: If the SD card is not already inserted into the camcorder, remove it from the camcorder’s slot and handle it carefully to avoid damaging the card or losing any data stored on it.
- Insert the SD Card: With the metal contacts facing down and the label side facing up, carefully insert the SD card into the designated slot. Apply gentle pressure until the card is fully seated in the slot, ensuring that it is aligned correctly.
- Verify the Connection: Once the SD card is inserted, ensure that it is securely in place. If using an external card reader, connect the card reader to your computer using the provided cable and verify that the connection is established.
- Access the SD Card: Upon successful insertion, your computer should recognize the SD card and assign it a drive letter. You can verify this by accessing the “File Explorer” or “My Computer” on your computer to view the available drives.
By carefully following these steps, you can effectively insert the SD card, preparing it for the subsequent stage of transferring the video files from your camcorder. With the SD card securely in place and accessible on your computer, you are now ready to proceed with connecting your camcorder and initiating the transfer process.
Step 3: Connect the Camcorder to Your Computer
With the SD card inserted and ready, the next crucial step is to establish a connection between your camcorder and your computer. Follow these steps to ensure a secure and reliable connection:
- Locate the USB Port: Identify the USB port on your camcorder, usually located on the side or back of the device. Ensure that the port is free from any obstructions and is accessible for connecting the USB cable.
- Prepare the USB Cable: Retrieve the compatible USB cable and untangle it to ensure a smooth connection. Inspect the cable for any signs of damage and ensure that the connectors are clean and free from debris.
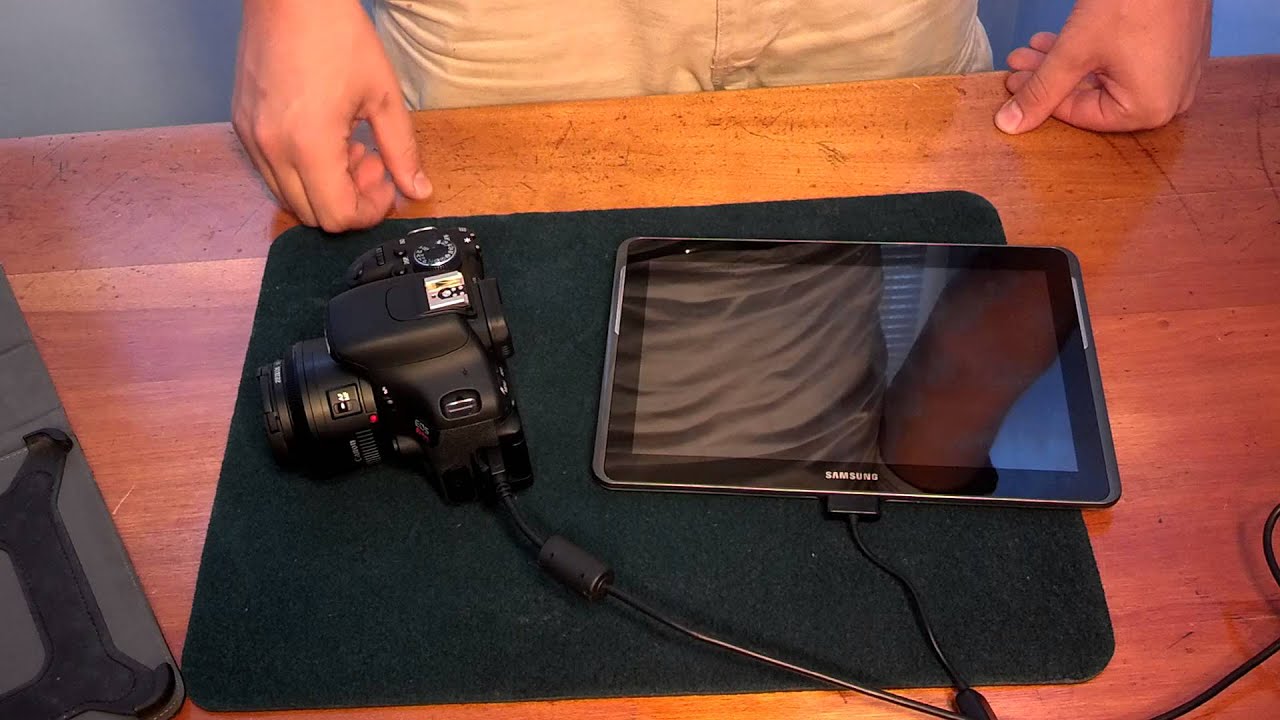
- Connect the USB Cable: Carefully insert one end of the USB cable into the USB port on your camcorder. Apply gentle pressure to ensure that the connection is secure without forcing the cable into the port.
- Connect to the Computer: Once the USB cable is securely connected to the camcorder, insert the other end of the cable into an available USB port on your computer. Ensure that the connection is snug and that the cable is not under strain.
- Power on the Camcorder: If your camcorder has a power switch, turn it on to activate the device. Some camcorders may require you to select a specific mode for data transfer, so consult the user manual if necessary.
- Verify the Connection: Once the camcorder is powered on and connected to the computer, you should receive a notification or prompt indicating that a new device has been detected. Your computer may install the necessary drivers for the camcorder automatically.
By carefully following these steps, you can establish a secure connection between your camcorder and computer, laying the groundwork for the seamless transfer of video files. With the connection established, you are now ready to proceed with the next step of transferring your cherished video recordings to the SD card.
Step 4: Transfer the Video Files
With the camcorder successfully connected to your computer, you are now poised to transfer your valuable video files to the inserted SD card. Follow these steps to initiate the transfer process:
- Access the Camcorder’s Files: Open the file explorer or file management software on your computer to access the contents of your camcorder. Navigate to the folder or directory where your video files are stored.
- Select the Video Files: Once you have located your video files, select the specific videos you wish to transfer to the SD card. You can typically select multiple files simultaneously by holding down the “Ctrl” key while clicking on each desired file.
- Copy the Video Files: After selecting the desired video files, right-click on one of the selected files and choose the “Copy” option from the context menu. Alternatively, you can use the keyboard shortcut “Ctrl + C” to copy the files.
- Navigate to the SD Card: Return to the file explorer and navigate to the drive corresponding to the inserted SD card. This drive is typically labeled with the SD card’s capacity and may display as a removable storage device.
- Paste the Video Files: Once you have accessed the SD card, right-click in the folder or directory where you wish to store the video files and select the “Paste” option from the context menu. Alternatively, you can use the keyboard shortcut “Ctrl + V” to paste the files onto the SD card.
- Monitor the Transfer Progress: Depending on the size of the video files and the transfer speed, the copying process may take some time. Monitor the progress of the file transfer and ensure that it completes without any errors or interruptions.
By following these steps, you can effectively transfer your video files from the camcorder to the inserted SD card, ensuring that your cherished recordings are securely stored and readily accessible for future viewing, editing, and sharing. With the transfer process underway, you are one step closer to successfully preserving your valuable video memories.
Step 5: Eject the SD Card
After successfully transferring your video files to the SD card, it is essential to follow the proper procedure for ejecting the SD card from your computer. This ensures that the data transfer is completed, and the SD card is safely removed without the risk of data corruption or damage. Follow these steps to eject the SD card:
- Complete the File Transfer: Before ejecting the SD card, ensure that the file transfer process from your computer to the SD card is fully completed. Verify that all selected video files have been successfully copied to the SD card without any errors.
- Close File Explorer Windows: If you have any open file explorer windows displaying the contents of the SD card, close them to ensure that no files or folders on the SD card are in use by any applications or processes.
- Locate the Eject Option: In the system tray or taskbar of your computer, locate the icon representing the SD card or the “Safely Remove Hardware and Eject Media” feature. This icon typically resembles a USB device or an SD card.
- Initiate the Ejection Process: Right-click on the SD card icon or the “Safely Remove Hardware and Eject Media” icon and select the option to safely eject the SD card. This action ensures that any pending read or write operations to the SD card are completed before removal.
- Wait for Confirmation: After initiating the ejection process, wait for the confirmation message indicating that it is safe to remove the SD card. This message ensures that the SD card is no longer in use and can be safely removed from the computer.
- Physically Remove the SD Card: Once you receive the confirmation message, gently push the eject button on the SD card slot or carefully remove the SD card from the card reader, ensuring that it is done so smoothly and without applying excessive force.
By following these steps, you can safely eject the SD card from your computer, completing the video transfer process and ensuring that your valuable video files are securely stored on the SD card. With the SD card safely removed, you can now access and enjoy your transferred videos on various devices, share them with others, or proceed with editing and organizing your video library.
Conclusion
Congratulations! By following the step-by-step guide outlined above, you have successfully transferred your cherished video files from your camcorder to an SD card. This process not only allows for efficient storage and organization of your video recordings but also provides the flexibility to share, edit, and enjoy your videos across various devices. As you conclude this transfer process, it’s important to reflect on the significance of preserving your memories and the value of having them readily accessible for future enjoyment.
Transferring videos from a camcorder to an SD card empowers you to safeguard your precious moments and ensures that they remain intact and accessible for years to come. Whether you are archiving family events, capturing special occasions, or documenting your creative endeavors, the ability to transfer these videos to an SD card offers peace of mind and convenience.
Furthermore, the skills and knowledge gained from this process equip you to manage your video files effectively, enabling you to maintain an organized and easily accessible video library. By leveraging the capabilities of an SD card, you can free up space on your camcorder’s storage device, allowing you to continue capturing new memories without limitations.
As you proceed with your video transfer journey, consider the various possibilities that arise from having your videos stored on an SD card. Whether you plan to edit your videos, create compilations, or share them with friends and family, the transfer process sets the stage for these endeavors, providing you with the freedom to explore your creativity and relive your most cherished moments.
With your video files now securely stored on an SD card, you have the flexibility to access them on a range of devices, including computers, smart TVs, and digital photo frames. This accessibility ensures that your videos can be enjoyed and shared with others, enriching the lives of those who experience the moments you’ve captured.
By mastering the art of transferring video files from your camcorder to an SD card, you have unlocked a world of possibilities for preserving, sharing, and enjoying your video recordings. Embrace the convenience and security that this process offers, and continue to capture and curate your memories with confidence and creativity.