Introduction
Introduction
So, you've got a camcorder and you're ready to start recording some amazing videos. Whether you're a budding filmmaker, a vlogger, or just someone who wants to capture precious moments, setting up your camcorder correctly is crucial for getting the best results. In this guide, we'll walk you through the essential steps to set up your camcorder for video recording. From choosing the right camcorder to understanding its settings and optimizing the audio and video quality, we've got you covered.
Recording videos with a camcorder can be an exciting and rewarding experience, but it can also be daunting if you're not familiar with the technical aspects of the device. However, with the right guidance, you can unlock the full potential of your camcorder and produce high-quality videos that you can be proud of. Whether you're using a camcorder for personal or professional purposes, mastering the setup process is the first step towards creating captivating and visually stunning video content.
In the following sections, we'll delve into the intricacies of choosing the right camcorder for your needs, understanding its settings, setting it up for optimal performance, and implementing various techniques to enhance the quality of your video recordings. By the end of this guide, you'll have the knowledge and confidence to unleash your creativity and capture unforgettable moments with your camcorder. So, let's dive in and learn how to set up your camcorder like a pro!
Choosing the Right Camcorder
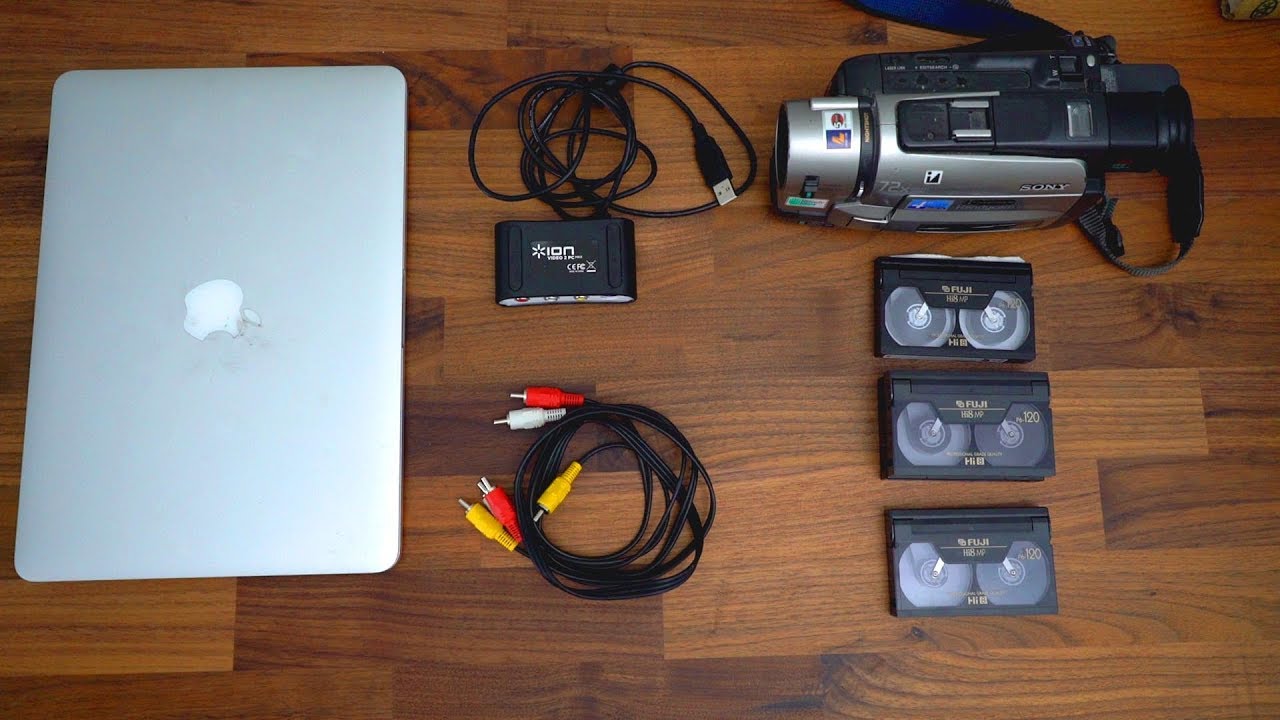
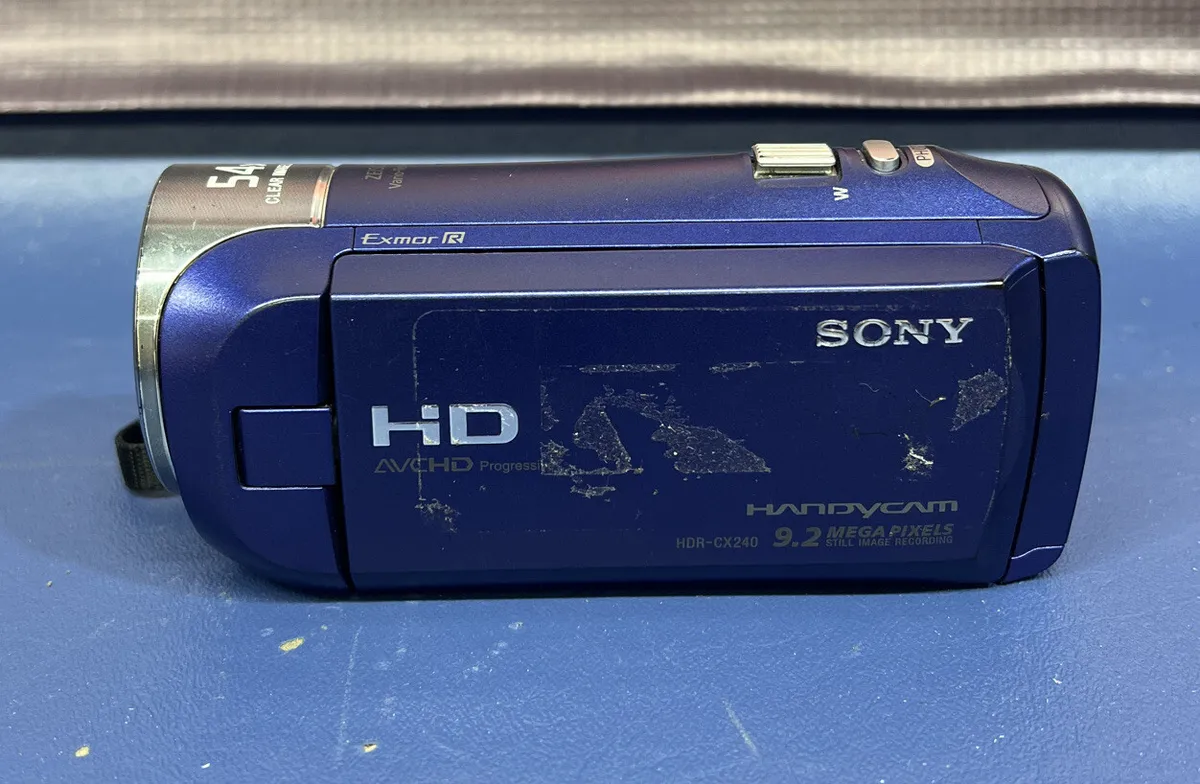
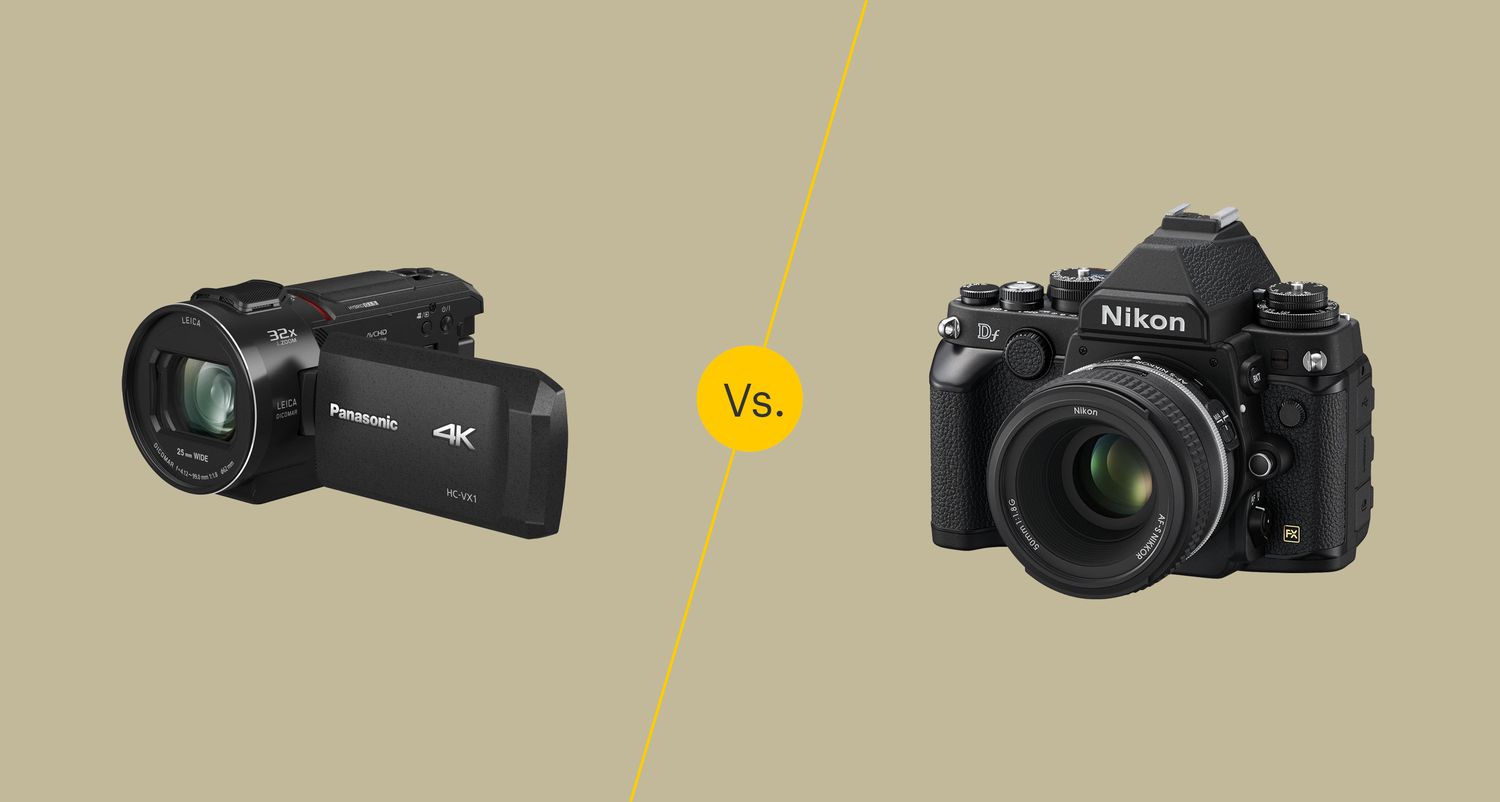
When it comes to choosing a camcorder, there are several factors to consider to ensure that it meets your specific recording needs. The first decision to make is whether you want a traditional camcorder or a digital single-lens reflex (DSLR) camera with video recording capabilities. While camcorders are designed primarily for shooting videos, DSLRs offer the flexibility of capturing high-quality still images in addition to videos.
Next, consider the recording format that best suits your workflow. Camcorders typically support various formats such as AVCHD, MP4, and MOV. If you plan to edit your videos extensively, a camcorder that offers a format compatible with your editing software is essential. Additionally, assess the camcorder’s sensor size, as larger sensors generally deliver better low-light performance and depth of field control.
Another crucial aspect is the optical zoom range. A camcorder with a versatile optical zoom range provides flexibility in framing your shots without compromising image quality. Additionally, features like image stabilization, autofocus capabilities, and manual controls for exposure and focus contribute to the overall usability and video quality of the camcorder.
For vloggers and content creators, a camcorder with a flip-out or articulating screen is beneficial for framing shots and monitoring recordings. Consider the audio input options as well, as built-in microphones may not always deliver the desired audio quality, especially in noisy environments. External microphone compatibility can significantly enhance the sound quality of your recordings.
Finally, assess the battery life and the availability of additional accessories such as extra batteries, external chargers, and compatible mounts or rigs. These considerations are vital for prolonged recording sessions and ensuring that the camcorder integrates seamlessly with your existing or planned equipment setup.
Understanding the Settings
Before diving into the setup process, it’s crucial to familiarize yourself with the various settings and features of your camcorder. Most modern camcorders offer a range of manual and automatic settings that allow you to customize your recording parameters based on the shooting conditions and desired creative effects.
Start by exploring the different recording modes available on your camcorder. Common modes include automatic, manual, and scene-specific presets such as portrait, landscape, sports, and low-light. Understanding when to use each mode can significantly improve the quality and visual appeal of your videos.
Next, delve into the exposure settings, which include aperture, shutter speed, and ISO. Adjusting these settings can profoundly impact the overall look and feel of your videos, allowing you to control the depth of field, motion blur, and low-light performance. Additionally, familiarize yourself with the white balance settings to ensure accurate color reproduction under varying lighting conditions.
Audio settings are equally important, especially if you’re capturing live sound or dialogue. Explore the microphone sensitivity, wind noise reduction, and audio level controls to achieve clear and balanced sound recordings. Some camcorders offer manual audio level adjustments, which can be invaluable for fine-tuning the audio quality during recording.
Furthermore, familiarize yourself with the video resolution and frame rate options. Higher resolutions such as 4K and frame rates such as 24fps and 60fps provide greater flexibility in post-production and deliver a more cinematic look to your videos. Understanding these settings enables you to tailor your recordings to specific delivery platforms and creative preferences.
Lastly, explore any additional features your camcorder may offer, such as slow-motion recording, time-lapse capabilities, built-in effects, and custom picture profiles. These features can add depth and creativity to your videos, allowing you to experiment with unique visual styles and storytelling techniques.
Setting Up the Camcorder
Once you’ve chosen the right camcorder and familiarized yourself with its settings, it’s time to set it up for optimal performance. Start by ensuring that the camcorder is fully charged or equipped with a fresh battery. This is crucial for uninterrupted recording sessions, especially when capturing events or interviews where recharging may not be feasible.
Next, insert a compatible memory card with sufficient storage capacity to accommodate your recording needs. High-definition video recordings can consume a significant amount of storage space, so having spare memory cards on hand is advisable, particularly for extended shooting sessions.
Mount the camcorder on a stable tripod or a suitable rig to minimize camera shake and ensure steady footage. If you’re shooting handheld, practice proper handholding techniques to maintain stability and reduce jitter in your recordings.
Check the lens for any smudges or dust particles that could affect the image quality. Use a microfiber cloth to gently clean the lens and ensure that it’s free from any obstructions. Additionally, if the camcorder has a lens cap, remember to remove it before recording to prevent vignetting or blockage of the lens’s field of view.
Power on the camcorder and navigate to the settings menu to configure the recording parameters based on your shooting requirements. If you’re shooting in a controlled environment, consider using manual exposure and focus settings to have precise control over the visual aesthetics of your videos. In dynamic or unpredictable settings, utilizing automatic settings or scene-specific presets can streamline the recording process while maintaining decent quality.
Frame your shots using the camcorder’s viewfinder or LCD screen, ensuring that the composition and framing align with your creative vision. Take test shots and review the footage to confirm that the exposure, focus, and framing are satisfactory before proceeding with your main recording.
Finally, if your camcorder supports custom user profiles or presets, consider creating and saving configurations tailored to specific shooting scenarios. This can streamline the setup process for recurring recording conditions and ensure consistency in your video productions.
Adjusting the Focus and Exposure
Accurate focus and proper exposure are fundamental to achieving high-quality video recordings. Before you start recording, it’s essential to ensure that your camcorder’s focus and exposure settings are optimized for the scene you’re capturing.
Begin by selecting the appropriate focus mode on your camcorder. Most camcorders offer options such as auto-focus, manual focus, and continuous focus. In situations where your subject is stationary, manual focus provides precise control over the focal point, allowing you to achieve tack-sharp imagery. For dynamic scenes or when the subject is in motion, auto-focus or continuous focus can help maintain sharpness as the subject moves within the frame.
When using manual focus, utilize the camcorder’s focus assist tools, such as focus peaking or magnification, to ensure accurate focus. These features highlight in-focus areas or zoom in on the image, aiding in the precise adjustment of the focus ring or control dial. Additionally, if your camcorder supports face detection or subject tracking, consider utilizing these features to maintain focus on moving subjects.
Exposure settings play a crucial role in determining the overall brightness and contrast of your videos. Adjust the aperture, shutter speed, and ISO sensitivity to achieve the desired exposure levels. In well-lit environments, prioritize a lower ISO and faster shutter speed to maintain optimal image quality and reduce motion blur. Conversely, in low-light conditions, a higher ISO and slower shutter speed may be necessary to capture properly exposed footage without introducing excessive noise.
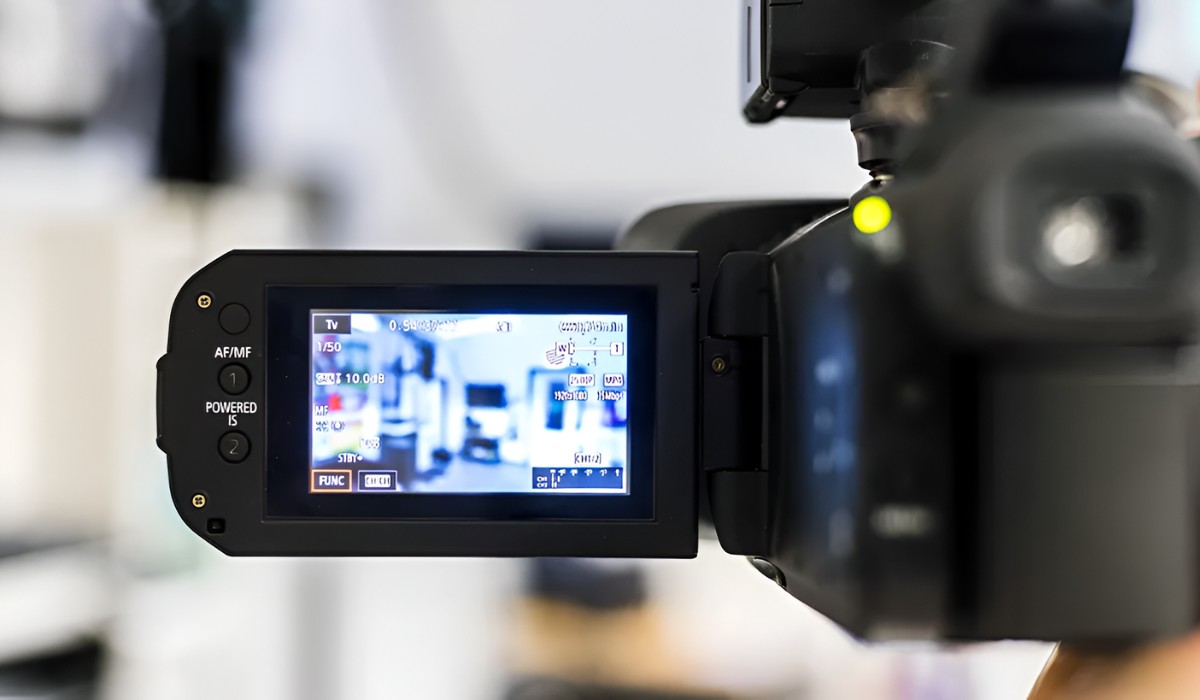
Utilize the camcorder’s exposure meter or histogram display to gauge the exposure levels in real-time. The exposure meter provides a visual indicator of the brightness levels, helping you avoid underexposed or overexposed footage. Similarly, the histogram display offers a graphical representation of the tonal distribution in the scene, allowing you to make informed exposure adjustments for balanced and well-exposed recordings.
Experiment with different exposure settings to understand their impact on the visual aesthetics of your videos. By mastering the focus and exposure adjustments, you can elevate the overall quality of your video recordings, ensuring that your subjects are crisply in focus and properly exposed, resulting in visually compelling and professional-looking footage.
Setting the White Balance
White balance is a critical aspect of video recording that directly influences the accuracy of color reproduction in your footage. Proper white balance ensures that the colors in your videos appear natural and true to life, regardless of the lighting conditions in the environment. Most camcorders offer a range of white balance presets and manual white balance adjustments to accommodate various lighting scenarios.
When setting the white balance, begin by assessing the prevailing lighting conditions in your shooting environment. Different light sources, such as natural daylight, fluorescent bulbs, and incandescent lighting, emit varying color temperatures, which can impart a color cast to your videos if not properly accounted for.
Many camcorders provide white balance presets for common lighting conditions, including daylight, cloudy, shade, fluorescent, and tungsten. Selecting the appropriate preset that closely matches the prevailing lighting can instantly improve the color accuracy of your recordings. However, for precise white balance control, manual white balance adjustments are indispensable, especially in mixed or unconventional lighting setups.
To perform a manual white balance adjustment, aim the camcorder at a neutral white or gray surface in the same lighting that your subject is in. This could be a white card, a piece of white fabric, or a neutral gray card. Activate the manual white balance function on the camcorder and capture an image of the neutral surface, allowing the camcorder to analyze and calibrate the white balance based on the sampled light.
Review the white balance adjustment on the camcorder’s display to ensure that the colors appear natural and free from any prominent color casts. Fine-tune the white balance if necessary, as achieving accurate color reproduction is crucial for maintaining the visual integrity of your footage.
For scenarios where the lighting conditions change frequently, such as outdoor shoots with shifting cloud cover, consider periodically reassessing and readjusting the white balance to account for the evolving light temperatures. Additionally, some advanced camcorders offer custom white balance presets, allowing you to save and recall specific white balance settings tailored to recurring shooting locations or lighting setups.
By mastering the white balance settings on your camcorder, you can ensure that the colors in your videos are rendered accurately, enhancing the overall visual appeal and realism of your recordings.
Selecting the Right Audio Input
While much emphasis is often placed on achieving high-quality video recordings, the importance of clear and pristine audio should not be overlooked. Selecting the right audio input for your camcorder is crucial for capturing high-fidelity sound that complements the visual elements of your videos.
Many camcorders are equipped with built-in microphones that provide a convenient and portable audio capture solution. These internal microphones are suitable for capturing ambient sounds and general audio recordings, making them ideal for casual or spontaneous video shoots. However, for professional or content creation purposes, external microphones offer superior audio quality and versatility.
External microphones come in various types, each catering to specific recording scenarios. Shotgun microphones, for instance, are well-suited for capturing focused sound from a distance, making them ideal for interviews, outdoor shoots, and narrative-driven content. Lavalier microphones, on the other hand, are compact and discreet, making them perfect for capturing clear dialogue and vocals in close-up or mobile recording situations.
When selecting an external microphone for your camcorder, consider the microphone’s compatibility with your camcorder’s input ports. Many camcorders feature 3.5mm microphone jacks, allowing seamless integration with a wide range of external microphones. Some professional-grade camcorders may offer XLR inputs, which are preferred for connecting high-end microphones and audio recording equipment.
Assess the recording environment and the type of sound you intend to capture to determine the most suitable microphone for your needs. For example, if you’re recording in a noisy or windy setting, a shotgun microphone with a built-in windscreen can help minimize unwanted noise and ensure clear audio capture. Similarly, if you’re conducting interviews or dialogue-driven scenes, lavalier microphones provide unobtrusive and high-quality voice capture.
Additionally, some camcorders offer manual audio level controls, allowing you to adjust the microphone sensitivity and recording levels to suit the audio dynamics of your scene. Monitoring the audio levels through the camcorder’s headphone output or audio meters enables you to ensure that the sound is well-balanced and free from distortion.
By selecting the right audio input for your camcorder and leveraging external microphones tailored to your recording needs, you can elevate the audio quality of your videos, creating a more immersive and engaging viewing experience for your audience.
Checking the Frame Rate and Resolution
The frame rate and resolution settings of your camcorder play a pivotal role in determining the visual characteristics and overall quality of your video recordings. Understanding these settings and their impact on your footage is essential for achieving the desired cinematic look and ensuring compatibility with various display platforms.
Frame rate refers to the number of individual frames or images that the camcorder captures per second. Common frame rates for video recording include 24 frames per second (fps), 30fps, and 60fps, among others. The choice of frame rate influences the perceived motion smoothness, with higher frame rates delivering a more fluid and lifelike motion portrayal. For cinematic aesthetics, 24fps is often favored for its traditional association with film and its ability to impart a cinematic quality to the footage.
Higher frame rates, such as 60fps, are well-suited for capturing fast-paced action, sports, and slow-motion sequences, as they offer enhanced detail and motion clarity. When selecting the frame rate for your recordings, consider the creative intent of your video and the visual impact you aim to achieve, as different frame rates impart distinct visual characteristics to the footage.
Video resolution determines the level of detail and clarity in your recordings, with higher resolutions offering increased sharpness and visual fidelity. Common resolutions include high definition (HD) formats such as 1080p (1920×1080 pixels) and ultra high definition (UHD) or 4K formats such as 2160p (3840×2160 pixels). Higher resolutions provide greater flexibility in post-production editing, allowing for cropping, scaling, and maintaining image quality when downsampling for lower-resolution outputs.
When setting the resolution on your camcorder, consider the intended delivery platform for your videos. For online streaming and social media, resolutions such as 1080p and 4K cater to viewers with high-definition displays and offer enhanced visual impact. However, for projects aimed at standard-definition displays or platforms with bandwidth limitations, lower resolutions such as 720p may be more suitable.
Additionally, some camcorders offer variable frame rate and resolution settings, enabling creative flexibility and adaptability to diverse shooting conditions. For example, the ability to switch between standard and high-speed frame rates or to record in both HD and 4K resolutions within the same project can add depth and visual interest to your video productions.
By checking and adjusting the frame rate and resolution settings on your camcorder, you can tailor the visual characteristics of your videos to suit your creative vision and audience preferences, ensuring that your recordings are visually captivating and technically optimized for various viewing experiences.
Tips for Better Video Recording
Enhancing your video recording skills goes beyond just understanding the technical aspects of your camcorder. Implementing certain techniques and practices can significantly elevate the quality and visual appeal of your video content. Here are some valuable tips to enhance your video recording capabilities:
- Stabilize Your Shots: Use a tripod, gimbal, or stabilizer to minimize camera shake and ensure smooth, steady footage. Stable shots contribute to a professional and polished look in your videos.
- Prioritize Lighting: Pay attention to the lighting in your scene. Whenever possible, utilize natural light or artificial lighting sources to illuminate your subjects effectively, enhancing visual clarity and depth.
- Compose Thoughtfully: Apply the rule of thirds and consider the visual balance and framing of your shots. Thoughtful composition can draw attention to key elements in your videos and create a visually engaging experience for your audience.
- Utilize Manual Controls: Experiment with manual exposure, focus, and audio level controls to achieve precise adjustments tailored to your specific shooting conditions, resulting in more controlled and professional-looking footage.
- Capture Varied Angles: Explore different camera angles and perspectives to add visual interest to your videos. Wide, medium, and close-up shots can convey depth and immersion in your storytelling.
- Record Clean Audio: Invest in high-quality external microphones and utilize windshields or pop filters to minimize unwanted noise. Clear and balanced audio enhances the overall impact of your videos.
- Plan Your Shots: Consider the sequence and flow of your shots to convey a cohesive narrative or visual story. Planning your shots in advance can lead to more purposeful and impactful video content.
- Experiment with Movement: Incorporate controlled camera movements such as pans, tilts, and tracking shots to add dynamism and visual flair to your videos. Movement can enhance storytelling and create immersive viewing experiences.
- Edit with Intention: Thoughtfully edit your footage to refine the pacing, transitions, and visual continuity of your videos. Effective editing can elevate the impact and cohesiveness of your storytelling.
- Seek Feedback: Share your videos with peers or mentors to receive constructive feedback. External perspectives can provide valuable insights for refining your recording techniques and storytelling approaches.
By incorporating these tips into your video recording process, you can refine your skills, expand your creative repertoire, and produce compelling and visually captivating video content that resonates with your audience.
Conclusion
Congratulations! You’ve now gained valuable insights into setting up and optimizing your camcorder for exceptional video recording. By understanding the technical aspects of your camcorder, selecting the right settings, and implementing best practices, you’re well-equipped to elevate the quality and visual impact of your video content.
Remember, the art of video recording extends beyond technical proficiency; it encompasses creativity, storytelling, and a keen eye for visual composition. Whether you’re capturing personal moments, creating vlogs, or producing professional video content, the skills and techniques you’ve acquired will empower you to craft engaging and visually stunning videos.
Continuously explore new recording techniques, experiment with different styles, and seek inspiration from diverse sources to further enhance your video recording abilities. Embrace the creative process, learn from each recording experience, and adapt your approach to suit the unique demands of each project.
Furthermore, stay attuned to advancements in camcorder technology and video production trends, as they can offer new opportunities for enhancing your recordings and expanding your creative horizons. Embrace innovation while staying true to your artistic vision, and remember that every video recording presents an opportunity for growth and refinement.
Lastly, share your video recordings with confidence, knowing that you’ve applied the best practices and techniques to deliver compelling and visually captivating content. Your dedication to mastering the art of video recording will undoubtedly resonate with your audience and leave a lasting impression.
Now, armed with the knowledge and skills acquired in this guide, venture forth and unleash your creativity, capturing extraordinary moments and stories with your camcorder like a true professional.