Introduction
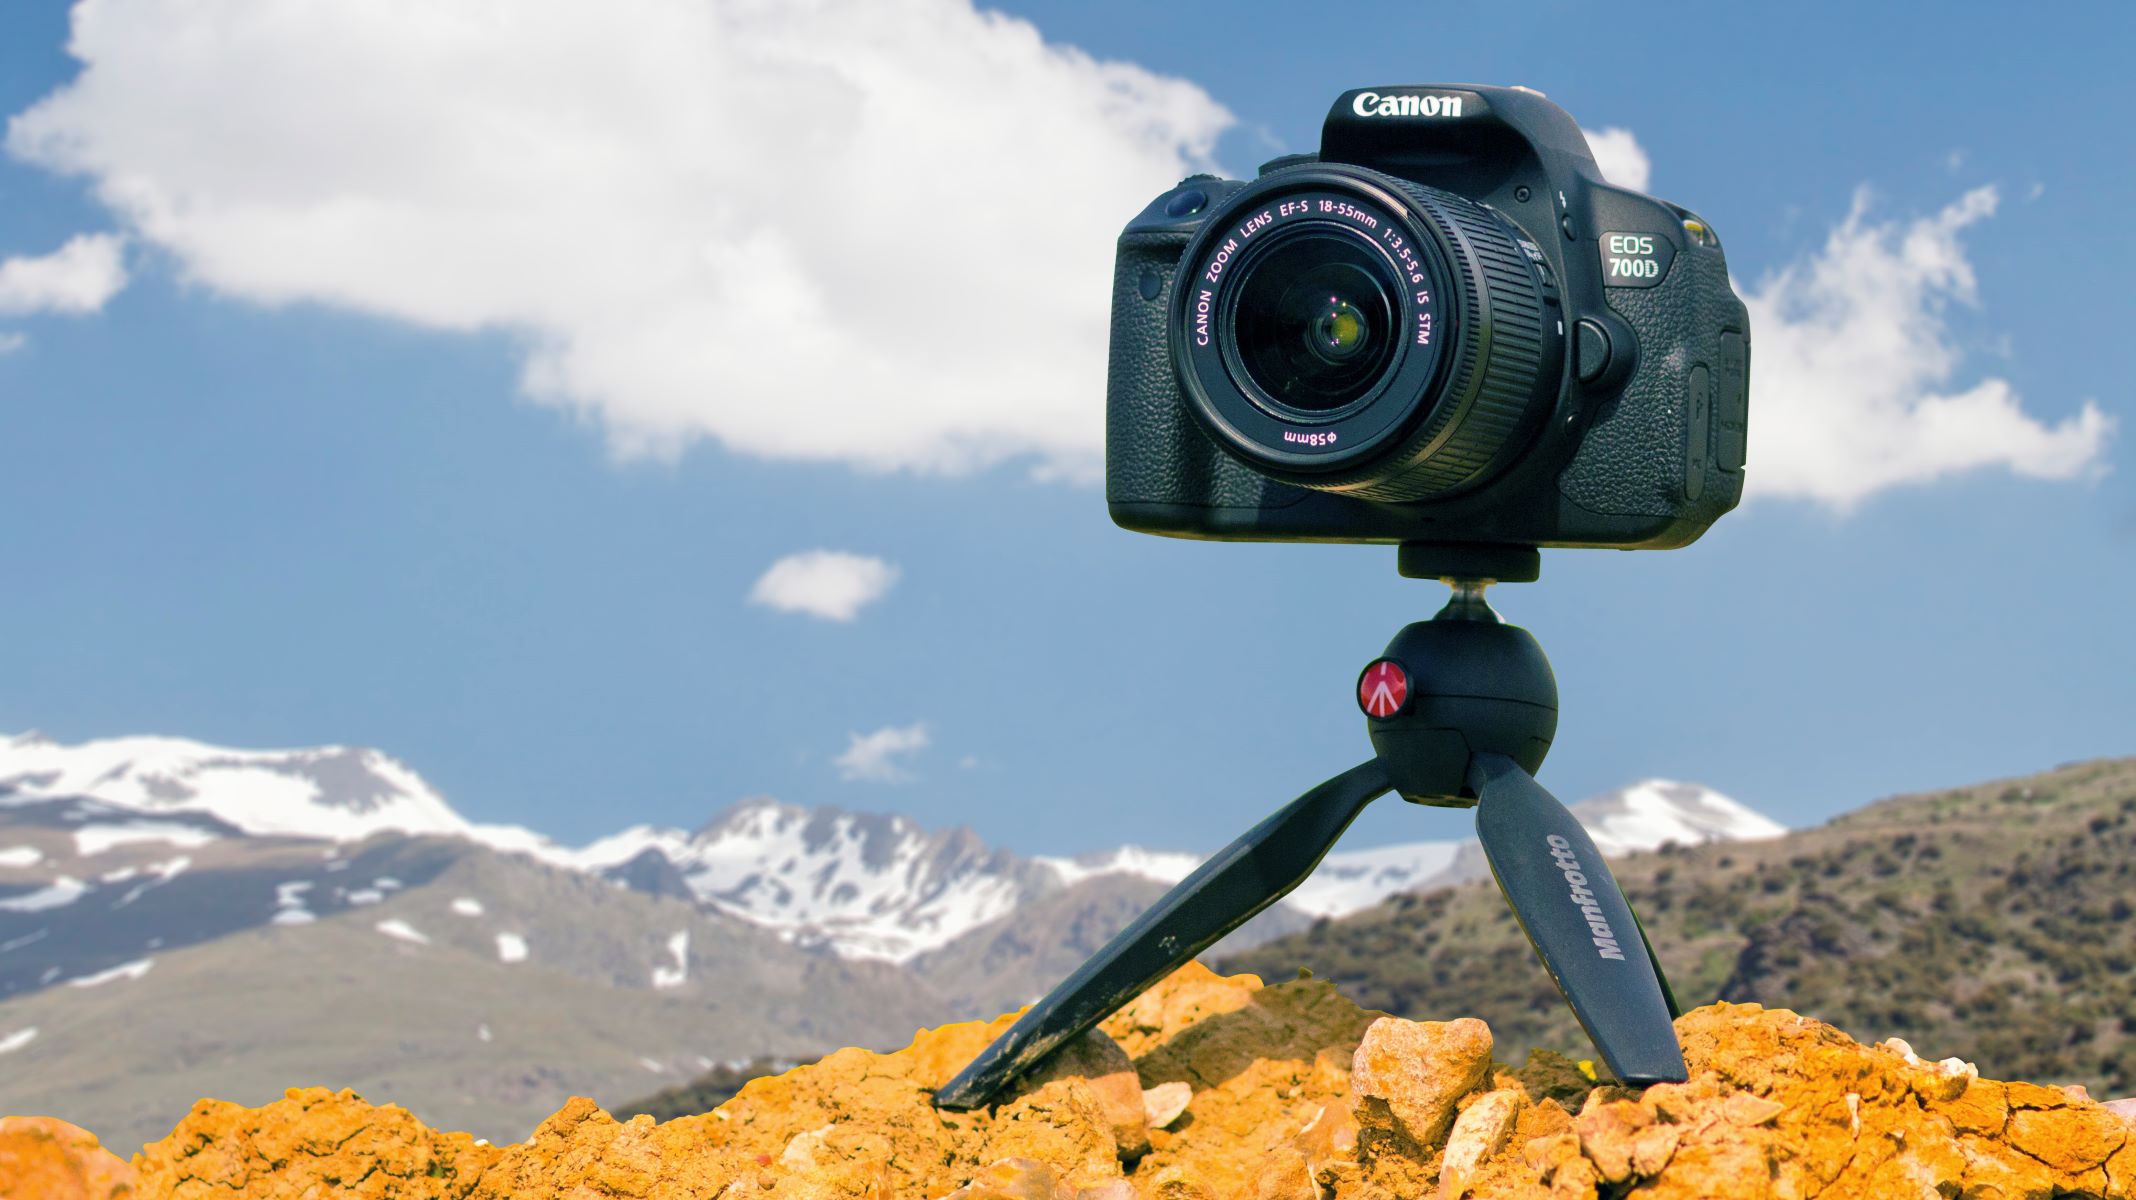
So, you've got your hands on a top-notch DSLR camera, and you're eager to capture stunning, crystal-clear images. Whether you're an avid photographer or just starting out, one essential accessory that can significantly enhance the quality of your shots is a tripod. A tripod provides stability, reduces camera shake, and allows for long exposure shots, making it an indispensable tool for photographers of all levels. In this guide, we'll walk you through the process of setting up your DSLR camera on a tripod, ensuring that you achieve the best possible results in your photography endeavors.
A tripod serves as a reliable platform to support your camera, keeping it steady and secure while you focus on composing the perfect shot. By utilizing a tripod, you can capture sharp, blur-free images, especially in low light conditions or when using slow shutter speeds. Additionally, a tripod enables you to experiment with different angles and perspectives, opening up a world of creative possibilities for your photography.
The beauty of using a tripod lies in its ability to provide consistent framing and composition, allowing you to fine-tune your shots with precision. Whether you're shooting landscapes, portraits, or macro photography, a tripod empowers you to maintain a steady hand and achieve professional-looking results. With the flexibility and stability that a tripod offers, you can elevate your photography skills and unleash your creativity without being constrained by the limitations of handheld shooting.
In the following sections, we'll delve into the key considerations for selecting the right tripod, the process of securely attaching your DSLR camera to the tripod, adjusting the tripod's height for optimal positioning, and harnessing the stability of the tripod to capture breathtaking images. By mastering the art of using a tripod, you'll be well-equipped to take your photography to new heights and capture moments with unparalleled clarity and precision. Let's embark on this journey to unlock the full potential of your DSLR camera with the invaluable assistance of a tripod.
Choosing the Right Tripod
When it comes to selecting a tripod for your DSLR camera, it’s essential to consider several factors to ensure that you invest in a reliable and versatile piece of equipment. The tripod you choose should cater to your specific photography needs and provide stability and support for your camera in various shooting conditions.
1. Weight Capacity: One of the primary considerations when choosing a tripod is its weight capacity. Your DSLR camera, along with any additional accessories such as lenses and external flashes, contributes to the overall load that the tripod must support. It’s crucial to select a tripod that can comfortably accommodate the weight of your camera setup to prevent instability and potential damage.
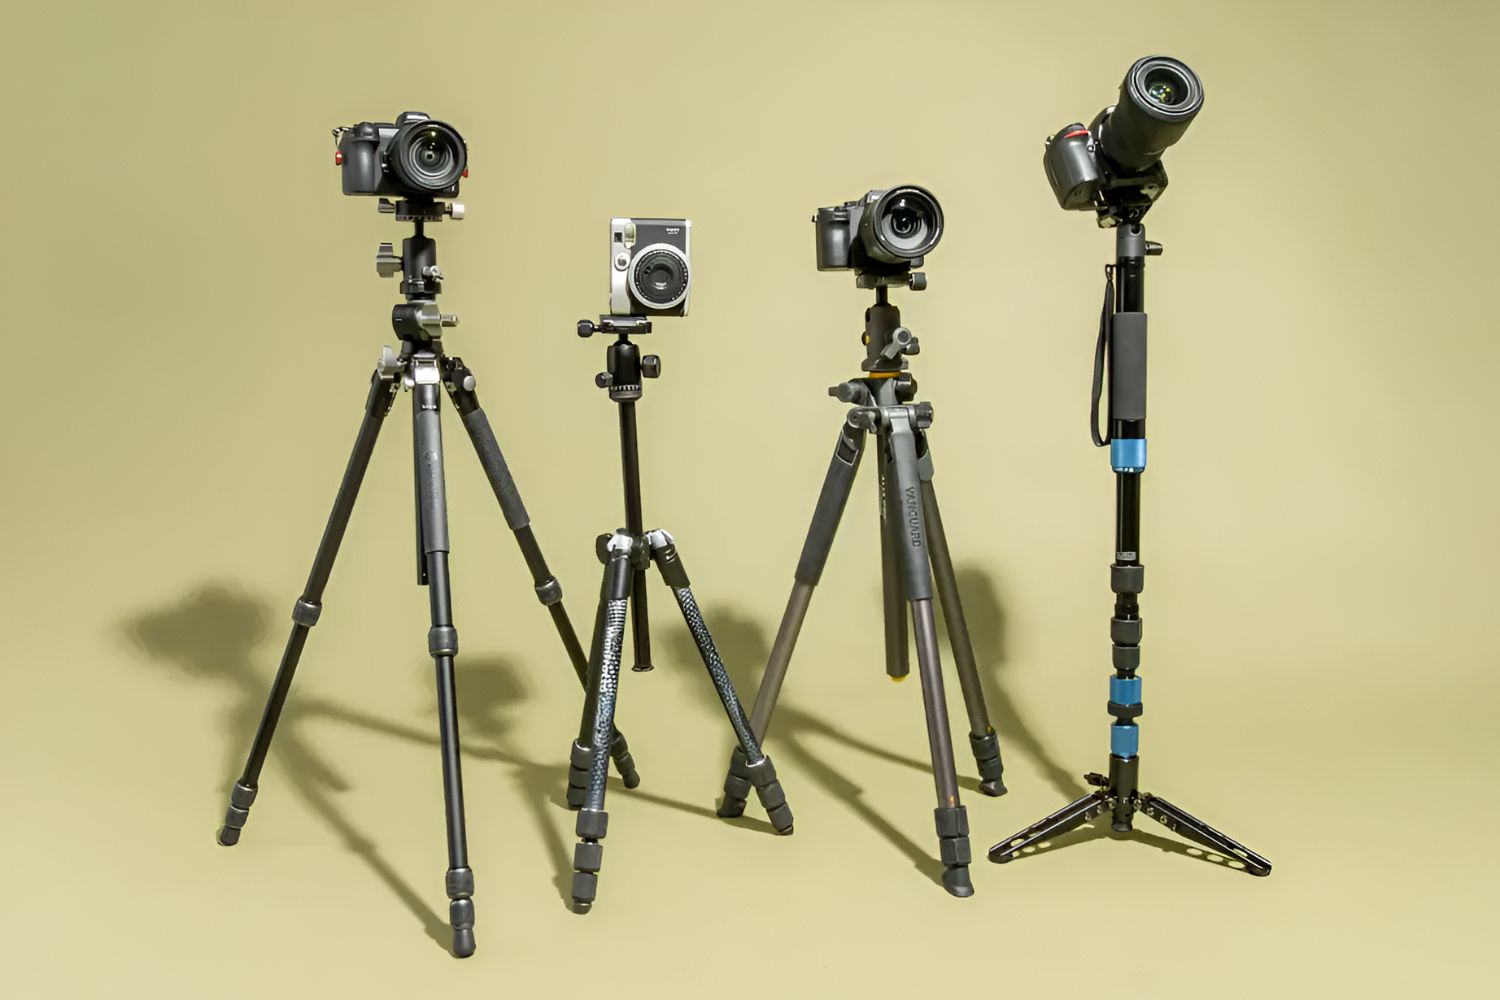
2. Material: Tripods are commonly constructed from aluminum or carbon fiber. Aluminum tripods offer durability and stability at a more affordable price point, making them suitable for general-purpose use. On the other hand, carbon fiber tripods are lightweight, making them ideal for travel and outdoor photography, where portability is a key consideration. Consider the trade-offs between weight, stability, and cost when choosing the material for your tripod.
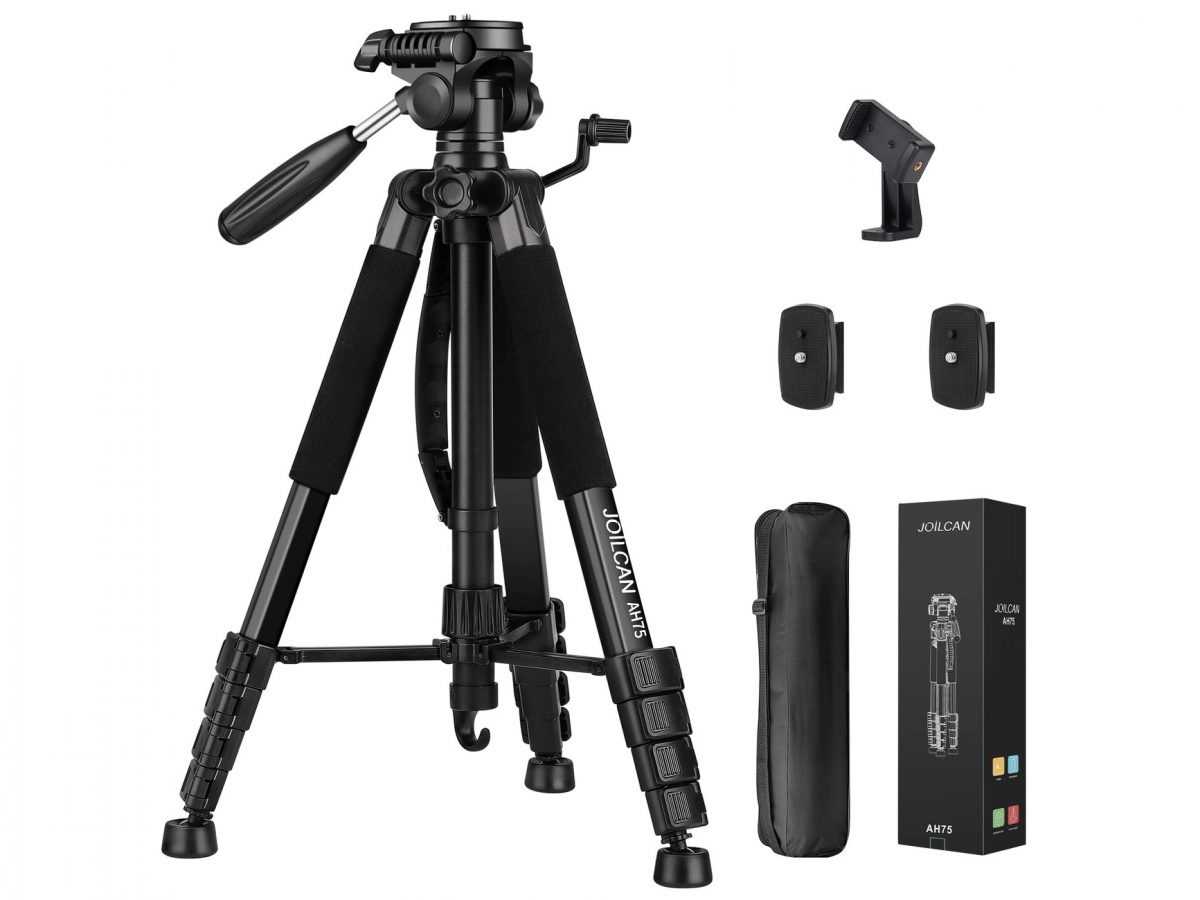
3. Height and Portability: The height and portability of the tripod are crucial factors, especially if you frequently shoot in varying environments. Look for a tripod that offers adjustable leg sections and a suitable maximum height to accommodate your shooting preferences. Additionally, consider the collapsed length of the tripod for ease of transportation and storage.
4. Leg Lock Mechanism: Tripods feature different leg lock mechanisms, including twist locks and lever locks. Twist locks offer simplicity and reliability, while lever locks allow for quick and convenient adjustments. Evaluate the ease of use and stability of the leg lock mechanism to determine which type best suits your shooting style.
5. Stability and Vibration Damping: A stable tripod is essential for capturing sharp images, particularly in long exposure photography. Look for features such as a hook at the base of the center column to hang additional weight, enhancing the tripod’s stability. Some tripods also incorporate vibration damping technology to minimize any potential camera shake.
By carefully considering these factors and assessing your specific photography requirements, you can make an informed decision when choosing the right tripod for your DSLR camera. A well-suited tripod will serve as a reliable companion, providing the necessary support and stability to elevate your photography endeavors to new heights.
Attaching Your Camera to the Tripod
Once you’ve selected the appropriate tripod for your DSLR camera, the next step is to securely attach your camera to the tripod, ensuring stability and peace of mind during your photography sessions. Properly mounting your camera is crucial for maintaining balance and preventing any accidental slips or falls while shooting.
1. Quick-Release Plate: Many tripods come equipped with a quick-release plate system, which offers a convenient way to attach and detach your camera swiftly. The quick-release plate attaches to the bottom of your camera, allowing for seamless mounting onto the tripod’s head. Ensure that the plate is securely fastened to your camera to prevent any wobbling or movement.
2. Aligning the Camera: Position your DSLR camera on the quick-release plate in line with the tripod’s mounting platform. Align the camera so that it sits evenly and level on the plate, ensuring that the weight distribution is balanced to minimize any potential tilting or instability.
3. Securing the Locking Mechanism: Once the camera is aligned on the quick-release plate, engage the locking mechanism to firmly secure the camera in place. Depending on the tripod’s design, this may involve tightening a screw or lever to ensure that the camera is held securely and does not shift during use.
4. Testing Stability: After attaching your camera to the tripod, gently nudge the setup to check for any unexpected movement or instability. It’s important to verify that the camera is firmly held in place and that the tripod provides the necessary support without any wobbling or shifting.
5. Leveling the Camera: Use the tripod’s built-in leveling features or a separate leveling base to ensure that your camera is perfectly horizontal. This is especially important for landscape and architectural photography, as it helps maintain straight horizons and precise compositions.
By following these steps and paying attention to the details of securely attaching your camera to the tripod, you can ensure a stable and reliable setup for capturing exceptional images. Taking the time to properly mount your camera on the tripod sets the stage for seamless and worry-free photography, allowing you to focus on framing your shots with confidence and precision.
Adjusting the Tripod Height
Setting the appropriate height for your tripod is crucial for achieving optimal shooting conditions and maximizing your creative potential. Whether you’re capturing sweeping landscapes or intimate close-ups, the ability to adjust the tripod’s height ensures that you can compose your shots with precision and adapt to diverse shooting environments.
1. Extending the Legs: Start by loosening the leg locks and extending the tripod legs to your desired height. Most tripods feature multiple leg sections that can be individually adjusted, providing flexibility to accommodate uneven terrain or achieve different shooting perspectives.
2. Maintaining Stability: As you extend the tripod legs, ensure that each leg is securely locked in place to maintain stability. Avoid overextending the legs beyond their recommended maximum height, as this can compromise the tripod’s stability and increase the risk of tipping over, especially in windy conditions.
3. Center Column Adjustment: Some tripods include a center column that can be raised or lowered to further adjust the height of the camera. This feature allows for additional fine-tuning of the shooting position, particularly when shooting at elevated or low angles. Exercise caution when extending the center column to avoid overreaching its safe operating height.
4. Eye-Level Positioning: When shooting in standard conditions, aim to position the tripod at a height that aligns the camera’s viewfinder or LCD screen with your eye level. This ergonomic setup minimizes strain and facilitates comfortable and accurate framing of your shots, especially during prolonged shooting sessions.
5. Low-Level Photography: For low-angle shots or macro photography, consider lowering the tripod to ground level by adjusting the leg angles and center column. This allows you to explore unique perspectives and capture captivating images from a different vantage point, adding depth and visual interest to your photography.
6. Stability and Balance: Throughout the height adjustment process, periodically check the tripod’s stability and ensure that the weight distribution remains balanced. A stable and well-supported tripod setup is essential for achieving sharp and clear images, particularly when using longer focal lengths or slower shutter speeds.
By mastering the art of adjusting the tripod’s height to suit your specific shooting requirements, you can unleash your creativity and capture stunning images with confidence and precision. The flexibility and adaptability offered by a well-adjusted tripod empower you to explore diverse photographic opportunities and elevate the visual impact of your work.
Using the Tripod for Stability
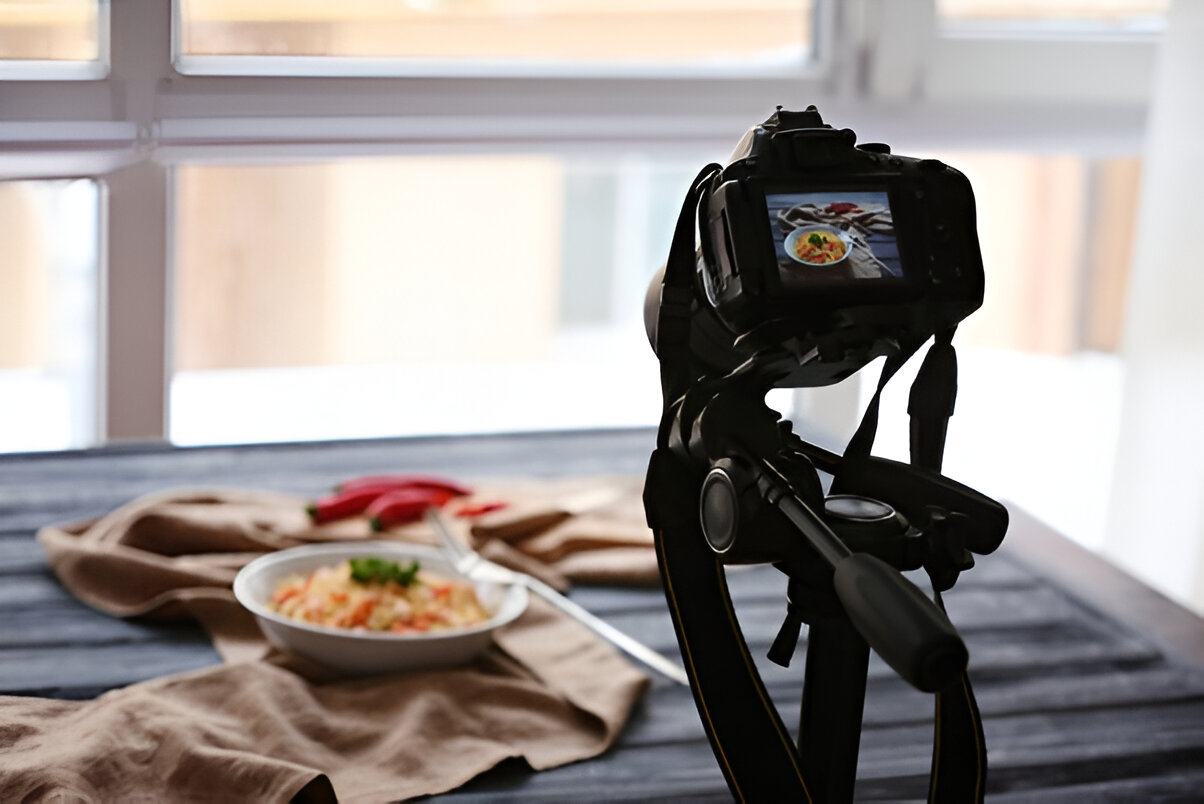
Once your DSLR camera is securely mounted on the tripod and the height is adjusted to your preference, you can harness the stability provided by the tripod to capture sharp, well-composed images in various shooting scenarios. The tripod serves as a reliable foundation, minimizing camera shake and allowing you to explore long exposure photography, precise compositions, and creative techniques with confidence.
1. Long Exposure Photography: When capturing long exposure shots, such as silky waterfalls or starry nightscapes, the stability of a tripod is indispensable. By keeping your camera steady during extended exposure times, the tripod enables you to create mesmerizing images with smooth, blur-free motion and enhanced clarity.
2. Precise Composition: Utilizing a tripod encourages deliberate and precise composition of your shots. With the assurance of a stable platform, you can take the time to fine-tune your framing, adjust the composition, and explore different angles without the constraints of handheld shooting. This meticulous approach often results in visually compelling and well-balanced photographs.
3. Low Light Conditions: In dimly lit environments or during twilight hours, a tripod becomes invaluable for capturing sharp and detailed images without the need for high ISO settings or wide apertures. The stability provided by the tripod allows you to extend the exposure time, resulting in well-exposed images with minimal noise and exceptional clarity.
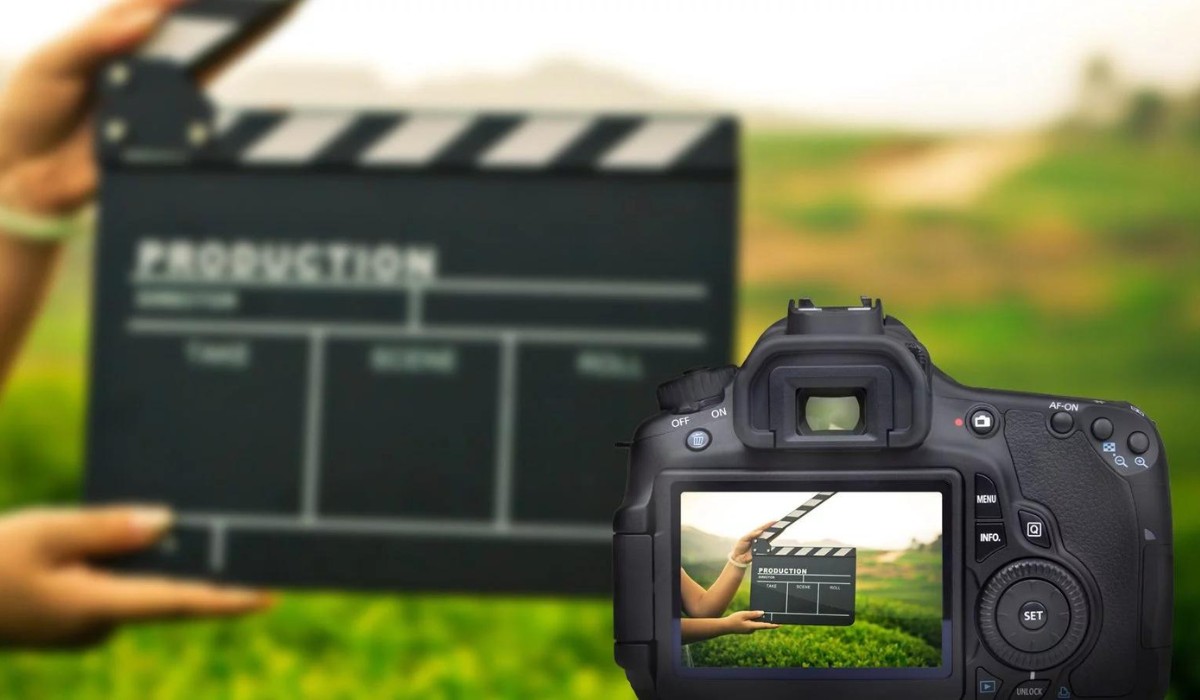
4. Video Recording: Beyond photography, tripods are essential for stabilizing video recordings. Whether you’re capturing cinematic sequences, interviews, or vlogs, a tripod provides a steady platform for smooth panning, tilting, and tracking shots, enhancing the professional quality of your video content.
5. Telephoto and Macro Photography: When using telephoto lenses or engaging in macro photography, even the slightest camera movement can compromise the image’s sharpness. A tripod offers the necessary stability to achieve precise focus and capture intricate details, making it an indispensable tool for close-up and telephoto work.
6. Windy Conditions: When shooting outdoors in windy conditions, a tripod anchors your camera securely, preventing the effects of gusts and breezes from causing camera shake. This is particularly beneficial when photographing landscapes, seascapes, or architectural subjects where stability is paramount.
By recognizing the pivotal role of a tripod in providing stability and support for your DSLR camera, you can leverage its capabilities to expand your creative horizons and elevate the quality of your photography and videography. Embracing the use of a tripod empowers you to capture breathtaking images and footage with precision and confidence, unlocking a world of artistic possibilities.
Conclusion
Embracing the use of a tripod in your photography endeavors opens up a realm of creative possibilities and empowers you to capture stunning, professional-quality images with precision and stability. By selecting the right tripod to suit your specific needs, securely attaching your DSLR camera, adjusting the tripod’s height, and leveraging its stability, you can elevate the visual impact of your photography and videography.
Choosing a tripod that aligns with your camera’s weight, shooting style, and portability requirements is a crucial first step in enhancing your photographic capabilities. Whether you opt for an aluminum or carbon fiber model, the tripod’s stability and weight capacity play a pivotal role in ensuring consistent and reliable support for your camera in various shooting conditions.
Attaching your camera to the tripod with care and precision sets the stage for worry-free shooting, allowing you to focus on composing your shots without the distraction of camera shake or instability. The quick-release plate system and proper alignment of the camera on the tripod’s head are essential for maintaining balance and preventing any accidental slips or movement.
Adjusting the tripod’s height to suit different shooting scenarios and perspectives grants you the flexibility to explore diverse photographic opportunities. Whether you’re aiming for eye-level positioning, low-angle compositions, or elevated viewpoints, the ability to customize the tripod’s height enhances your creative control and ensures optimal shooting conditions.
Furthermore, harnessing the stability provided by the tripod allows you to delve into long exposure photography, precise composition, low light imaging, video recording, and specialized photography genres with confidence. The tripod’s role in minimizing camera shake, enhancing clarity, and providing a steady platform for your creative vision cannot be overstated.
As you embark on your photography journey, integrating a tripod into your toolkit equips you with the essential support and stability needed to capture breathtaking images and videos with precision and artistry. Embrace the versatility and reliability of a tripod, and unlock the full potential of your DSLR camera to express your unique perspective and creativity through visually captivating imagery.


