Introduction
If you're an adventure enthusiast who loves the thrill of white water rafting and wants to capture every heart-pounding moment, mounting an action camera on your raft can provide you with exhilarating footage to relive and share your experiences. However, successfully mounting an action camera on a raft requires careful consideration of various factors to ensure the safety of your device and the quality of your footage. In this guide, we'll explore the essential steps for securely mounting an action camera on a rafting trip, from choosing the right mounting location to testing the mount before hitting the rapids.
Capturing the essence of your rafting expedition through the lens of an action camera allows you to share the adrenaline rush and stunning scenery with friends and family. Whether you're navigating through turbulent rapids or leisurely floating along a scenic river, the footage from your action camera can serve as a captivating visual narrative of your adventure. However, to achieve this, it's crucial to mount your action camera in a way that ensures stability, security, and protection against water damage.
In the following sections, we'll delve into the specifics of selecting the optimal mounting location on your raft, utilizing a secure mounting system, safeguarding the camera against water damage, and conducting thorough testing to guarantee the reliability of your setup. By following these guidelines, you can embark on your rafting escapade with the confidence that your action camera will capture every thrilling moment without compromising its safety or functionality. So, let's dive into the intricacies of mounting an action camera on a raft and unleash the potential for unforgettable footage that encapsulates the essence of your rafting adventure.
Choosing the Right Mounting Location
When mounting an action camera on a raft for a thrilling white water rafting excursion, selecting the optimal location for the mount is crucial to capturing captivating footage. The chosen location should offer a clear and unobstructed view of the rafting experience while ensuring the safety and stability of the camera. Consider the following factors when determining the ideal mounting location:
- Front-Facing Mount: Placing the action camera at the front of the raft provides a dynamic perspective, capturing the adrenaline-pumping moments as the raft navigates through turbulent waters. This position offers an unobstructed view of the rafters’ reactions and the exhilarating rapids ahead, creating immersive footage that puts viewers in the heart of the action.
- 360-Degree Mount: For a comprehensive visual narrative of the rafting experience, a 360-degree mount can capture the entire surroundings, including the breathtaking scenery and the interactions among the rafters. This mounting location offers a panoramic view, allowing viewers to feel fully immersed in the adventure.
- Overhead Mount: Mounting the action camera overhead provides a unique bird’s-eye view of the rafting journey, showcasing the teamwork and coordination of the rafters as they conquer the rapids. This vantage point also captures the natural beauty of the surroundings from a distinct perspective, adding depth to the footage.
Before finalizing the mounting location, it’s essential to consider the stability and security of the mount. Ensure that the chosen spot allows for a sturdy attachment that can withstand the raft’s movements and potential splashes. Additionally, verify that the mount does not interfere with the rafters’ movements or obstruct their view, as comfort and safety should not be compromised for the sake of capturing footage.
By carefully evaluating the available mounting locations and their respective advantages, you can strategically position the action camera to encapsulate the essence of your rafting adventure and create compelling footage that immerses viewers in the exhilarating experience.
Using a Secure Mounting System
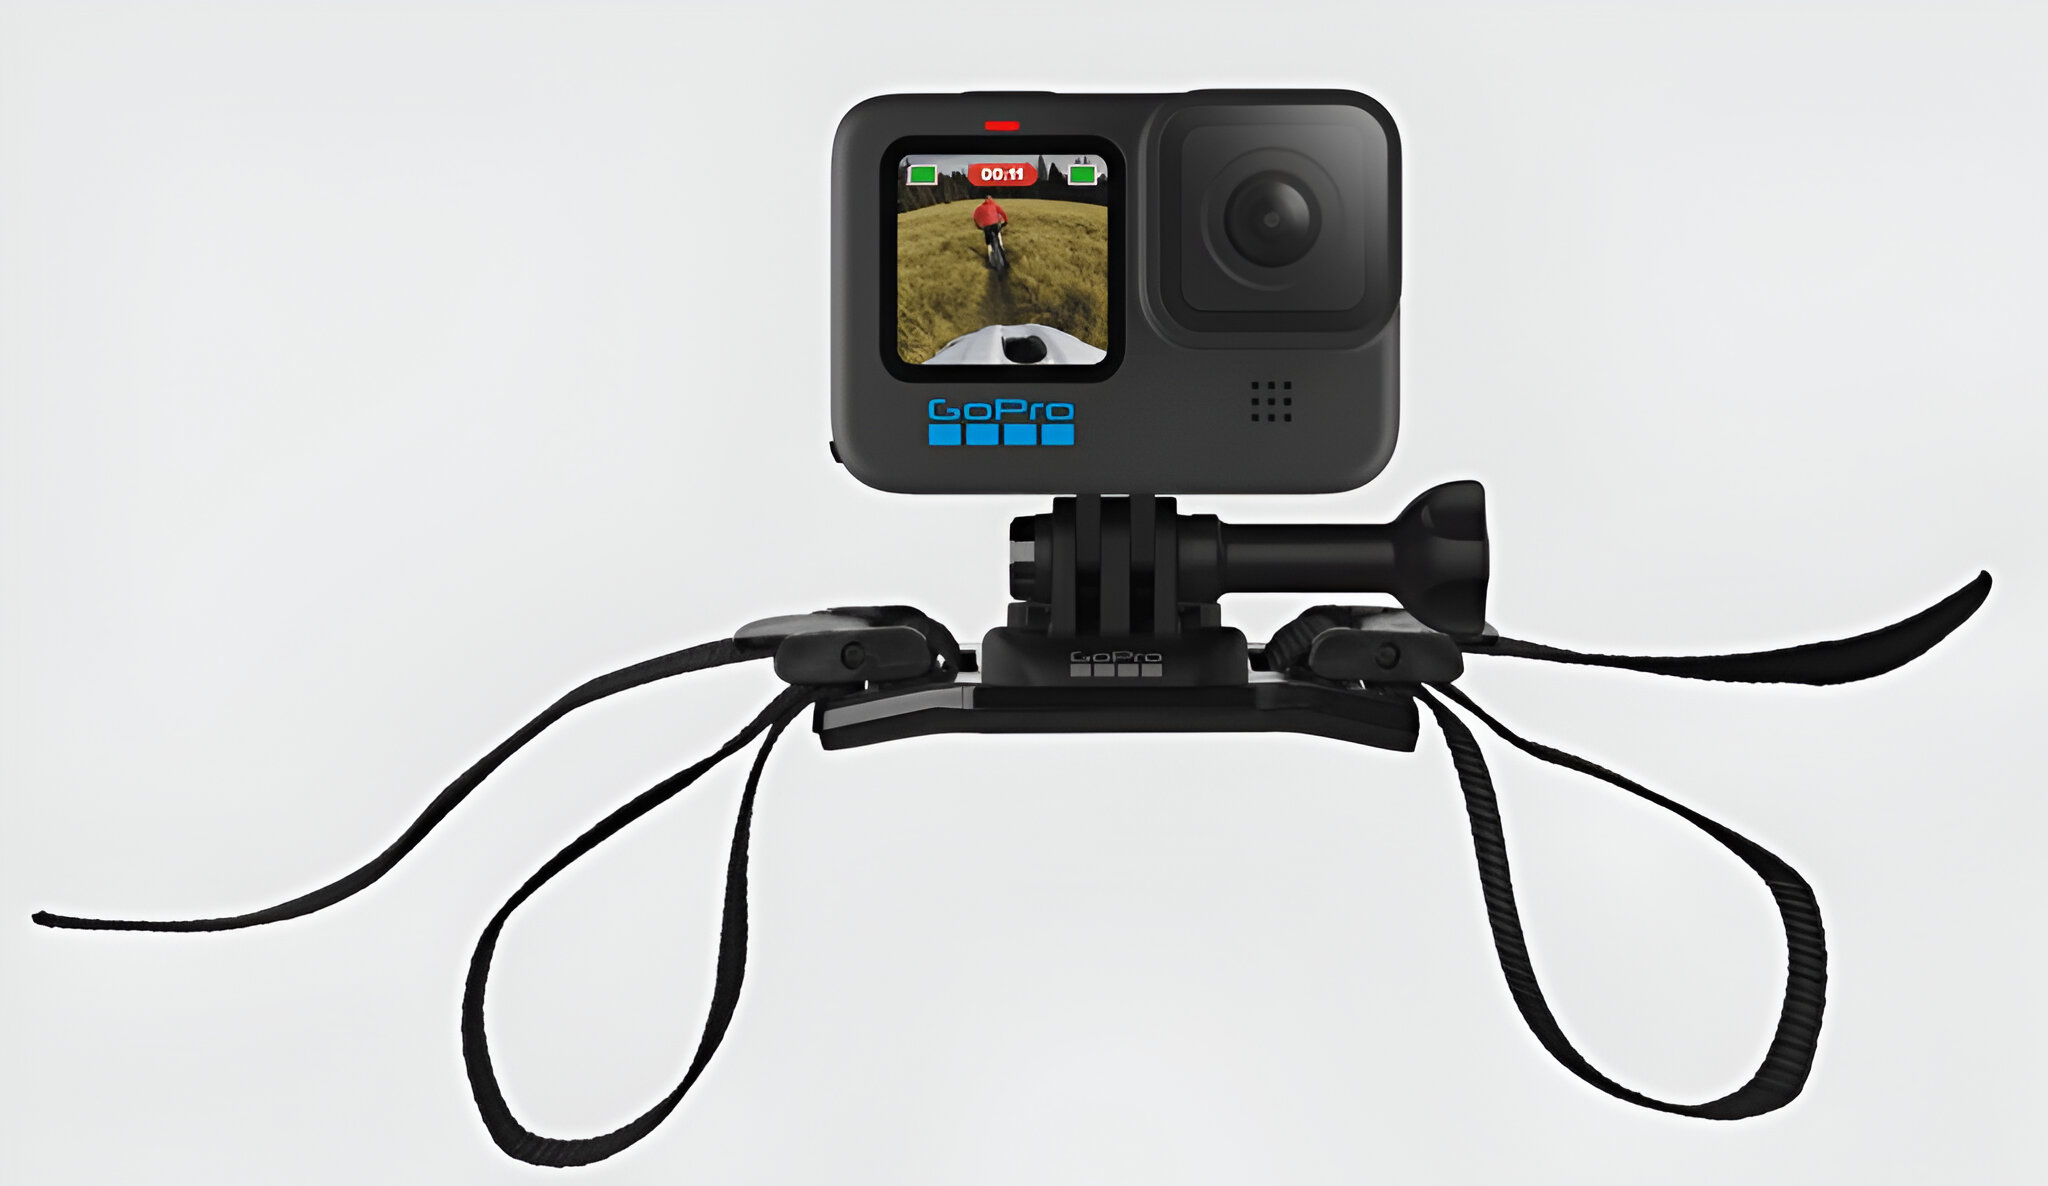
Ensuring the stability and security of your action camera on a raft is paramount to preserving the integrity of the footage and safeguarding the device from potential damage. Utilizing a reliable and robust mounting system is essential for maintaining the camera’s position throughout the rafting expedition. Here are key considerations for employing a secure mounting system:
- Waterproof Mount: Given the nature of rafting, where exposure to splashes and water is inevitable, it is imperative to use a waterproof mount to shield the action camera from moisture. Opt for a mount specifically designed to withstand water-related challenges, providing an added layer of protection for the camera.
- Durable Materials: Select a mounting system constructed from durable materials that can withstand the rigors of rafting, including sudden movements, vibrations, and potential impacts. High-quality materials such as reinforced plastics or corrosion-resistant metals enhance the longevity and reliability of the mount.
- Secure Attachment Points: Ensure that the mounting system offers secure attachment points to firmly affix the action camera to the raft. Whether utilizing suction cups, clamps, or adhesive mounts, verify that the attachment points provide a stable and dependable connection, minimizing the risk of dislodgment during the rafting expedition.
- Adjustable Angles: Opt for a mounting system that allows for adjustable angles, enabling you to capture diverse perspectives and dynamic shots throughout the rafting journey. The ability to modify the camera’s orientation enhances the versatility of the footage, offering a varied visual narrative of the adventure.
Prior to embarking on the rafting trip, thoroughly inspect the mounting system to ensure that it is securely fastened and capable of withstanding the anticipated conditions. Conducting a pre-trip assessment of the mount’s stability and functionality is essential for preempting any potential issues that may compromise the camera’s safety or the quality of the footage.
By employing a secure mounting system specifically designed to withstand the challenges of rafting, you can confidently position your action camera on the raft, knowing that it is reliably secured and poised to capture the exhilarating moments of your adventure with unwavering stability.
Securing the Camera Against Water Damage
Protecting your action camera from water damage is a paramount consideration when mounting it on a raft for a white water rafting excursion. The unpredictable nature of rafting, characterized by splashes, waves, and the potential for submersion, necessitates comprehensive measures to safeguard the camera against water-related challenges. Here are essential strategies for securing the camera against water damage:
- Waterproof Housing: Utilize a waterproof housing specifically designed for your action camera model to create a protective barrier against water infiltration. The housing should provide a snug and secure fit, ensuring that the camera remains shielded from moisture and splashes while maintaining full functionality.
- Sealed Connections: Verify that all ports, compartments, and access points on the action camera are securely sealed to prevent water from permeating the device. Additionally, ensure that the mounting system’s connections and attachment points maintain watertight integrity to prevent any ingress of moisture.
- Anti-Fog Inserts: Incorporate anti-fog inserts within the waterproof housing to mitigate the formation of condensation that can obscure the camera lens. These inserts help maintain optical clarity, ensuring that the footage remains free from fogging or distortion caused by temperature differentials during the rafting expedition.
- Floatation Devices: Attach floatation devices to the action camera or its mounting system to prevent the device from sinking in the event of an accidental detachment or submersion. These floatation accessories provide an added layer of protection, enhancing the chances of recovering the camera in case of an unforeseen water-related incident.
Prior to embarking on the rafting journey, conduct a comprehensive assessment of the camera’s waterproofing measures and verify that all protective elements are in place and functioning optimally. Additionally, familiarize yourself with the proper procedures for securing the camera within the waterproof housing, ensuring a watertight seal that can withstand the rigors of the rafting experience.
By implementing these measures to protect the action camera against water damage, you can embark on your white water rafting adventure with the confidence that your camera is equipped to withstand the aquatic challenges, allowing you to capture stunning footage without compromising the device’s integrity.
Testing the Mount Before Hitting the Rapids
Prior to embarking on your exhilarating white water rafting expedition, it is imperative to rigorously test the mounting system and the secured action camera to ensure their reliability and stability throughout the journey. Thorough testing not only mitigates the risk of equipment failure but also provides the opportunity to make any necessary adjustments before hitting the rapids. Here are essential steps for testing the mount and camera:
- Simulation of Rafting Conditions: Simulate the anticipated rafting conditions by subjecting the mounted camera to movements, vibrations, and potential splashes. This can be achieved by gently rocking the raft or utilizing a controlled water environment to assess the mount’s stability and the camera’s resilience to simulated rafting challenges.
- Functionality Check: Verify the operational functionality of the action camera by testing its recording capabilities, ensuring that the camera captures clear and uninterrupted footage without any technical issues. Additionally, assess the responsiveness of the camera’s controls and settings to confirm that it remains fully functional in the rafting environment.
- Stability Assessment: Evaluate the stability of the mounting system by subjecting it to varying degrees of movement and vibrations, mimicking the conditions encountered during rafting. Assess the attachment points and connections for any signs of loosening or instability, and make necessary adjustments to reinforce the mount’s stability.
- Waterproof Integrity Test: Conduct a comprehensive waterproof integrity test by submerging the mounted camera in a controlled water environment to verify the effectiveness of the waterproof housing and seals. Assess the camera for any signs of water ingress and confirm that all protective measures are capable of safeguarding the device against moisture.
Following the testing phase, carefully review the outcomes and address any identified issues or concerns to fortify the camera’s mounting and waterproofing. Make necessary adjustments to the mounting system, reevaluate the waterproof seals, and ensure that the camera is fully prepared to withstand the rigors of the impending rafting expedition.
By meticulously testing the mount and action camera before embarking on the rafting adventure, you can instill confidence in the reliability of your equipment and position yourself to capture breathtaking footage that encapsulates the thrill and beauty of your white water rafting experience.


