Introduction
Welcome to the fascinating world of ultraviolet (UV) photography! Have you ever wondered how to capture images in the UV spectrum using your DSLR camera? In this guide, we will delve into the intricate process of modifying a DSLR camera to perceive UV light, unlocking a realm of photography that is typically invisible to the human eye.
UV photography offers a unique perspective, revealing a hidden world of patterns, colors, and textures that are otherwise imperceptible. By modifying your DSLR camera to see UV, you can unveil the mesmerizing beauty of flowers, insects, and even everyday objects in a completely new light. This innovative approach to photography allows you to explore the natural world from an entirely different vantage point, opening doors to artistic expression and scientific discovery.
Throughout this guide, we will provide comprehensive insights into the tools and materials required for this modification, the step-by-step process of disassembling and reassembling the camera, and the crucial techniques for removing the infrared (IR) filter and installing the UV pass filter. Additionally, we will discuss the significance of understanding UV photography and the importance of testing the modified DSLR camera to ensure optimal functionality.
Embark on this enlightening journey as we demystify the art of modifying a DSLR camera to see UV, empowering you to capture captivating images that transcend the boundaries of visible light. Are you ready to immerse yourself in the captivating realm of UV photography? Let's begin our exploration into the intricate process of transforming your DSLR camera into a powerful tool for perceiving the invisible wonders of the UV spectrum.
Understanding UV Photography
UV photography involves capturing images in the ultraviolet spectrum, which is beyond the range of human vision. This specialized form of photography unveils a hidden world of ethereal beauty, where certain subjects emit and reflect UV light in unique ways. Understanding the principles of UV photography is essential for harnessing the full potential of this captivating art form.
One of the key aspects of UV photography is the ability to reveal patterns, textures, and details that are invisible to the naked eye. For instance, UV light can expose intricate patterns on flowers, highlight the fluorescent markings of certain insects, and unveil the striking contrast of UV-reflective materials. By harnessing the power of UV photography, photographers can capture mesmerizing images that transcend the limitations of visible light, offering a fresh perspective on the world around us.
Moreover, UV photography plays a crucial role in scientific research and environmental studies. It enables researchers to examine biological samples, analyze the effects of UV radiation on various materials, and study the behavior of UV-reflective substances. By leveraging the insights gained from UV photography, scientists can deepen their understanding of natural phenomena and contribute to advancements in diverse fields, including botany, entomology, and materials science.
Furthermore, UV photography presents a unique opportunity for artistic expression, allowing photographers to experiment with unconventional subject matter and unearth hidden beauty in the world around them. By embracing the challenges and rewards of UV photography, enthusiasts can expand their creative horizons and produce captivating images that evoke a sense of wonder and curiosity.
As we venture deeper into the realm of UV photography, it becomes evident that this captivating art form holds immense potential for exploration, discovery, and artistic innovation. By comprehending the underlying principles and applications of UV photography, photographers can embark on a transformative journey that transcends the boundaries of visible light, unveiling a wondrous world that is waiting to be captured through the lens of a modified DSLR camera.
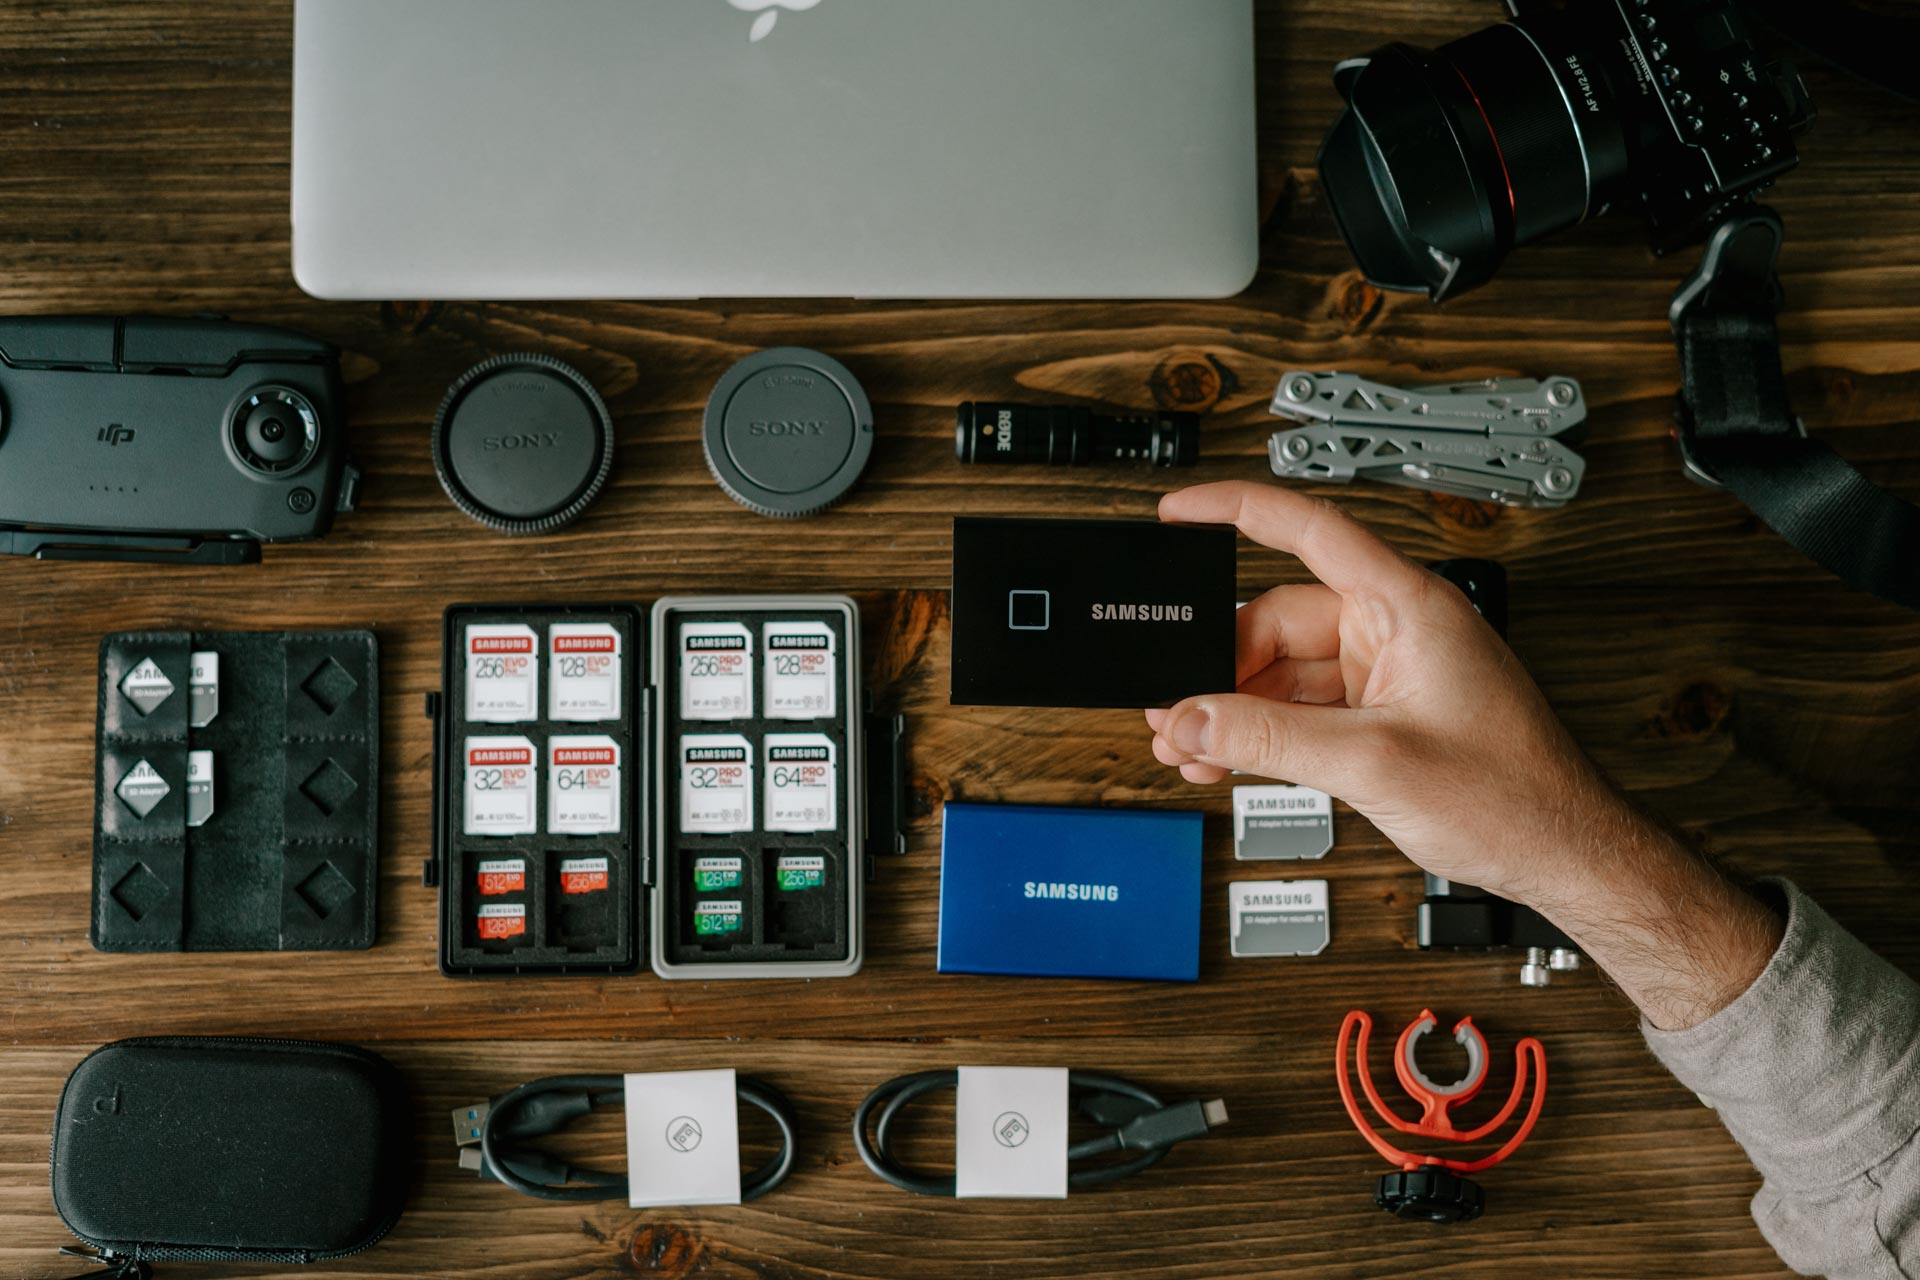
Tools and Materials Needed
Before embarking on the modification of a DSLR camera to perceive UV light, it is essential to gather the necessary tools and materials to ensure a seamless and successful process. The following list outlines the essential items required for this intricate undertaking:
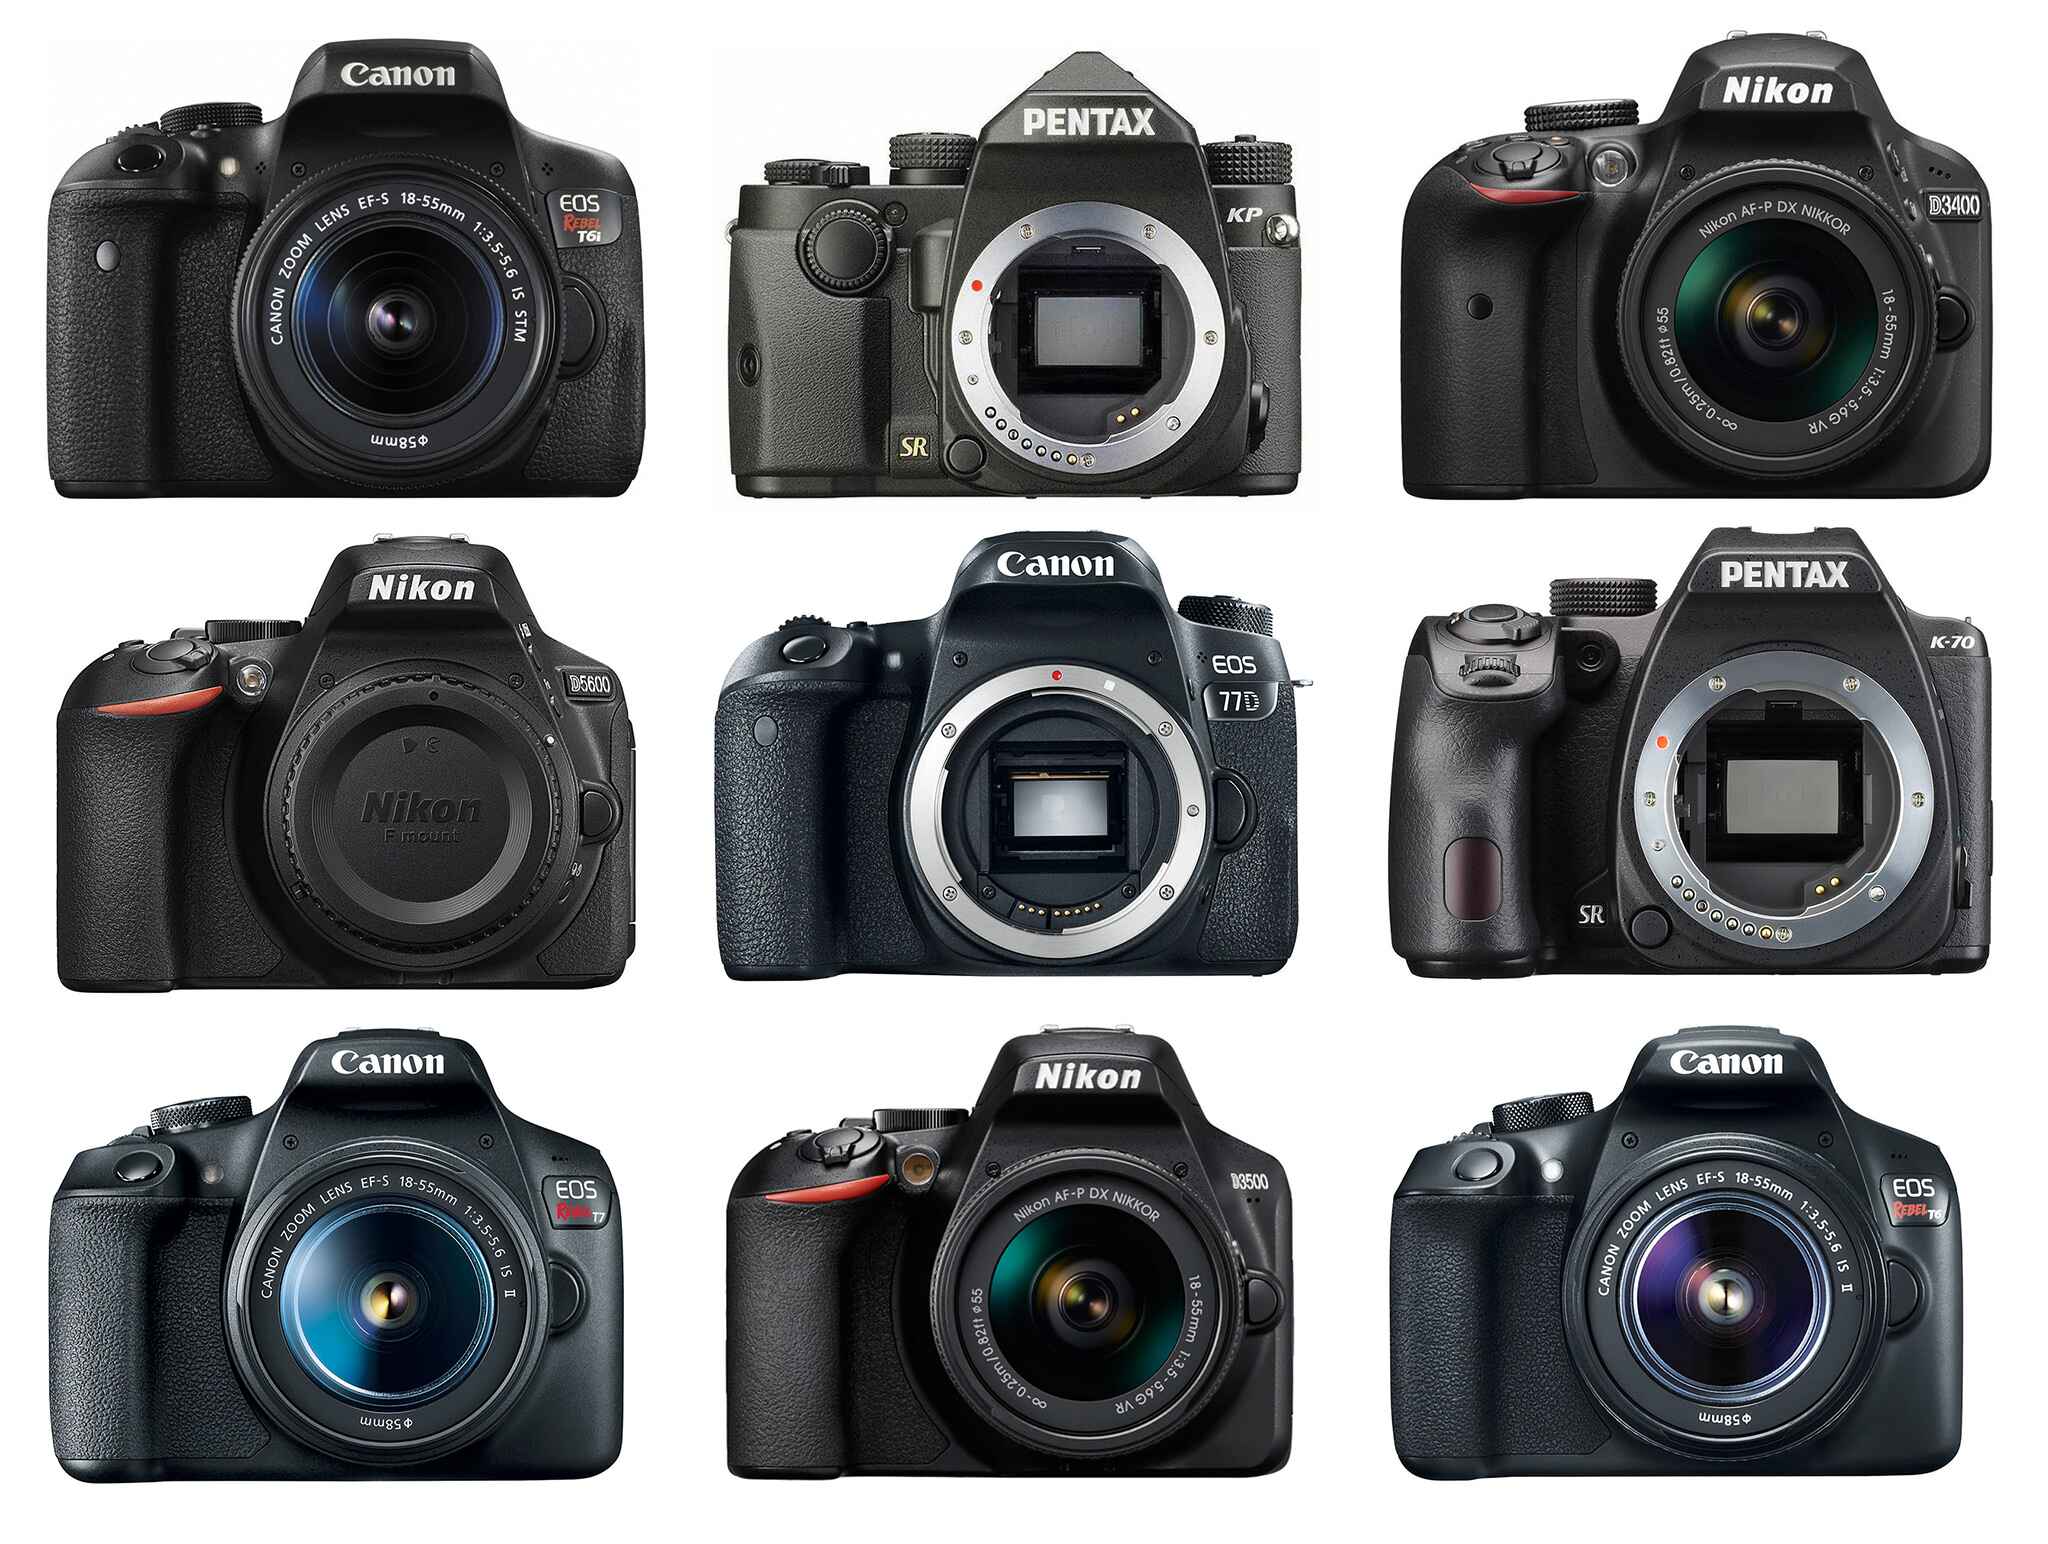
- DSLR Camera: A compatible DSLR camera, preferably one that you are comfortable disassembling and modifying.
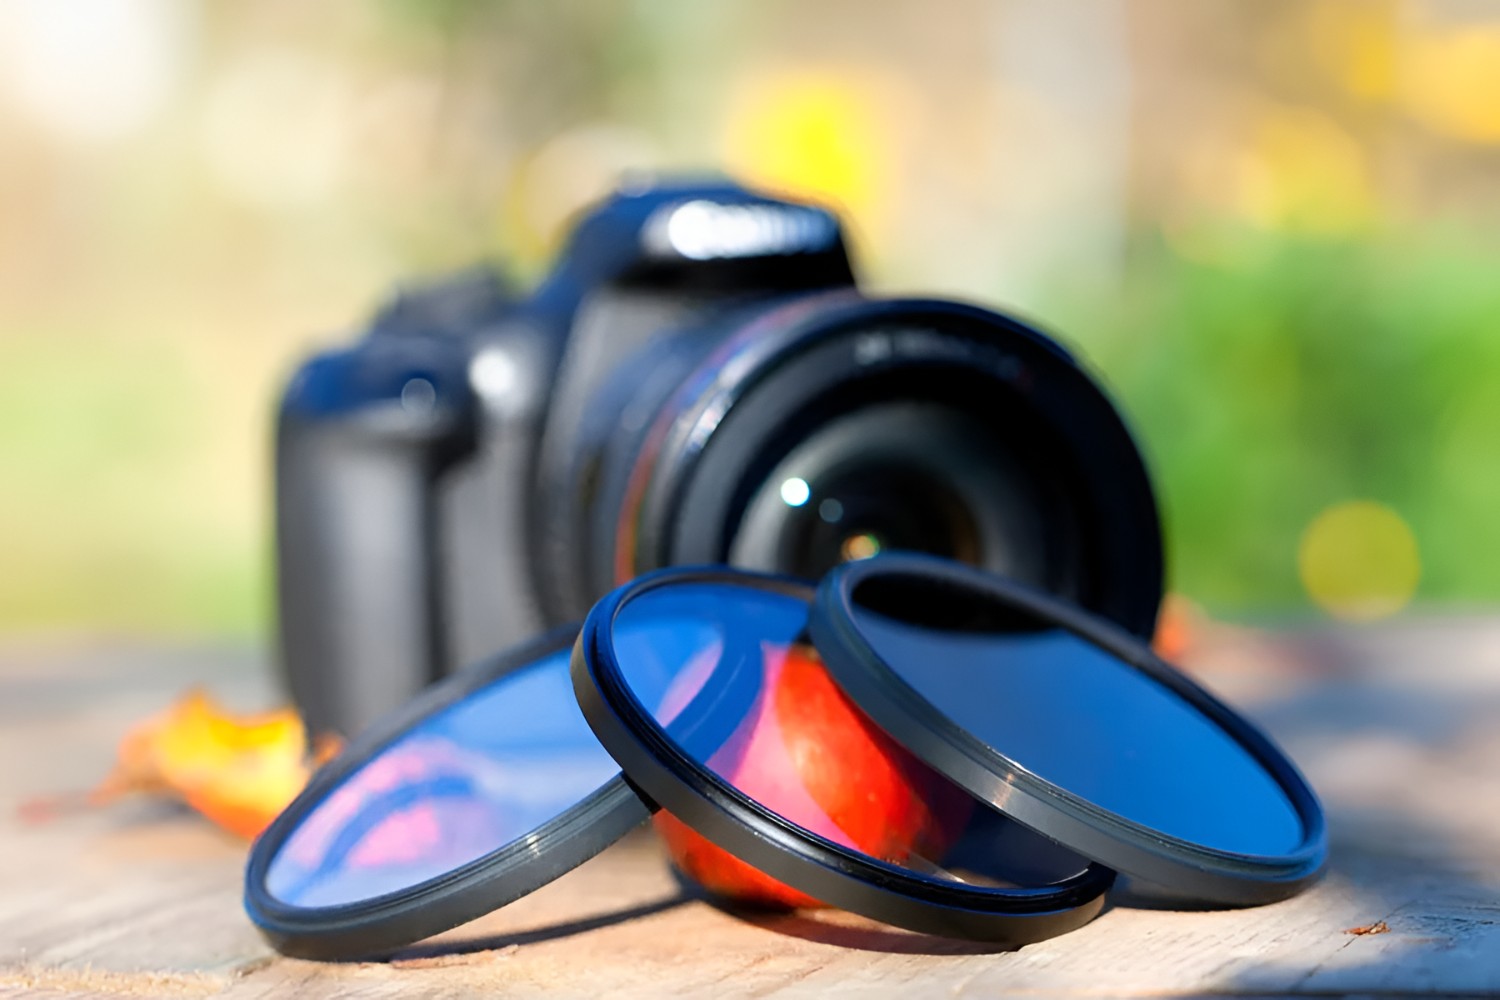
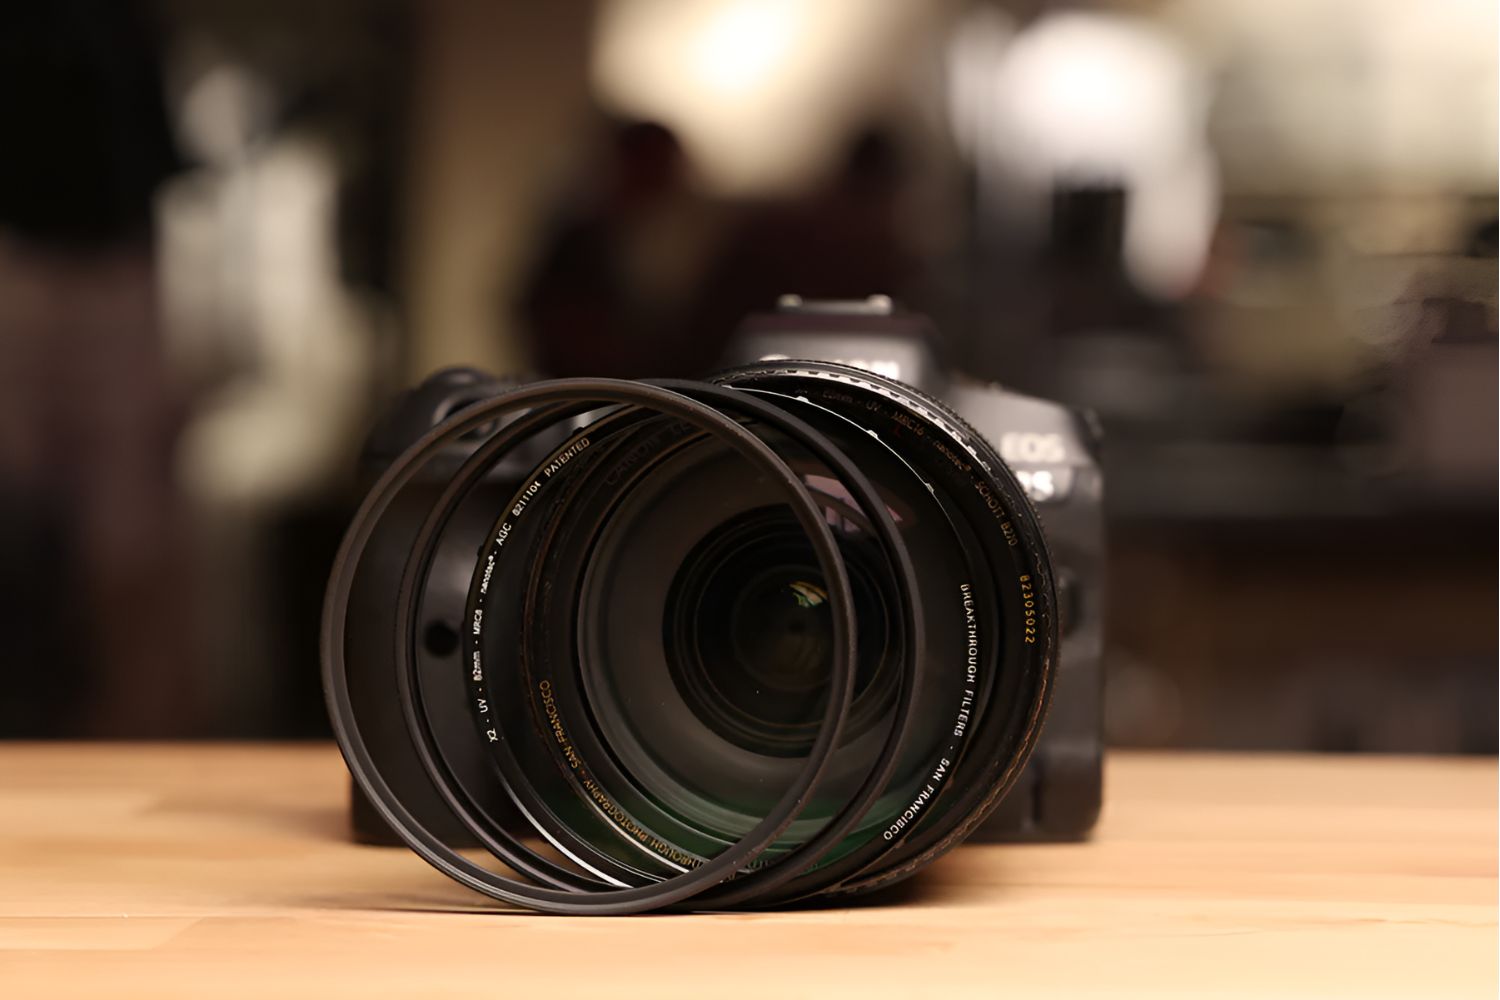
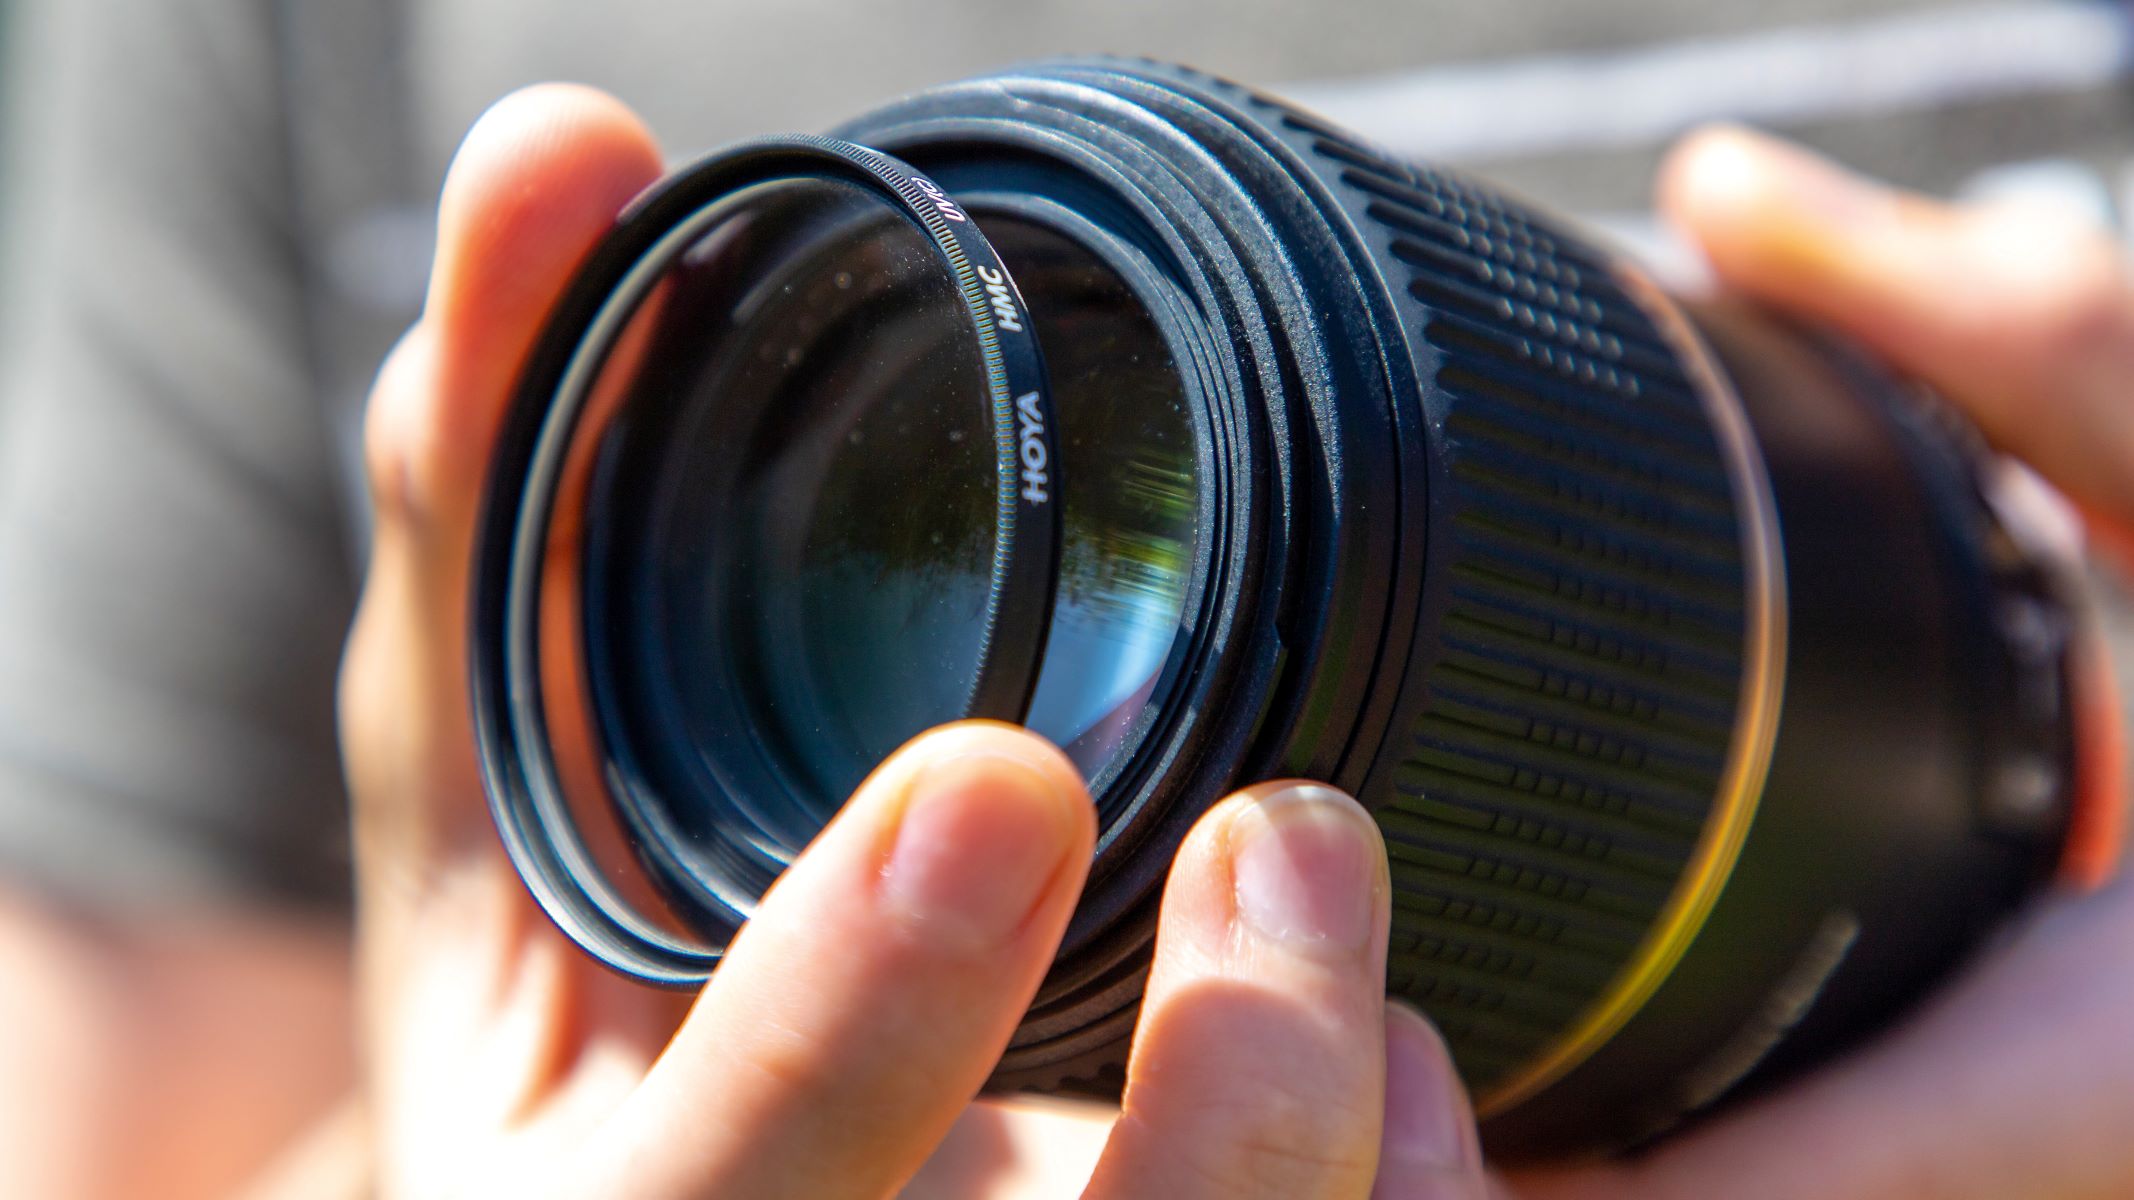
- UV Pass Filter: A high-quality UV pass filter designed to allow ultraviolet light to pass through while blocking visible and infrared light.
- IR Filter Removal Tool: Specialized tools for safely removing the infrared (IR) filter from the camera’s sensor assembly.
- Screwdriver Set: A precision screwdriver set with various head types to disassemble and reassemble the camera components.
- Clean Workspace: A well-lit and clean workspace to perform the modification without the risk of dust or debris entering the camera.
- Static-Free Work Mat: A static-free mat to place the camera components during disassembly to prevent electrostatic discharge.
- Tweezers and Pliers: Precision tweezers and pliers for handling small components and connectors within the camera.
- Cleaning Tools: Soft brushes, lens cleaning solution, and microfiber cloths for gently cleaning the camera’s internal components and sensor.
- Reference Materials: Detailed guides, online resources, and reference materials specific to your camera model for guidance during the modification process.
By ensuring that you have all the necessary tools and materials at your disposal, you can approach the DSLR camera modification with confidence and precision. These essential items are instrumental in facilitating a smooth and efficient transformation of your camera to perceive the mesmerizing world of UV light, opening up a realm of photographic possibilities that transcend the boundaries of visible light.
Disassembling the DSLR Camera
Disassembling a DSLR camera is a meticulous process that requires patience, precision, and a methodical approach. Before initiating the disassembly, it is imperative to ensure that the camera’s battery is removed, and all external components, such as lenses and memory cards, are detached. The following steps outline the fundamental process of disassembling a DSLR camera in preparation for the modification:
- Secure Workspace: Begin by setting up a clean and well-lit workspace free from any potential sources of dust or debris. This environment will provide an optimal setting for disassembling the camera without compromising its internal components.
- Consult the Camera Manual: Refer to the camera’s manual or online resources specific to your camera model to gain insights into the disassembly process. Understanding the internal layout of the camera is crucial for navigating the intricate components.
- Remove Screws and External Components: Utilizing a precision screwdriver set, carefully remove the screws securing the camera’s external casing. Take note of the location and size of each screw, as they may vary in type and length. Once the screws are removed, gently detach the external components, such as the grip and covers, to reveal the internal assembly.
- Handle Internal Components with Care: As you progress with the disassembly, exercise caution when handling delicate internal components, such as the sensor assembly, circuit boards, and wiring. Use precision tools, such as tweezers and pliers, to manipulate and remove these components without causing damage.
- Document the Disassembly Process: Consider documenting each step of the disassembly with photographs or detailed notes. This documentation can serve as a valuable reference during the reassembly phase, ensuring that each component is reinstated in its original position.
- Store Components Safely: As components are removed, place them on a static-free work mat to prevent electrostatic discharge and safeguard them from potential damage. Organize the components in a logical manner to facilitate a systematic reassembly process.
By meticulously following these steps, you can effectively disassemble your DSLR camera in preparation for the subsequent stages of modifying it to perceive UV light. The disassembly process lays the groundwork for accessing the internal components essential for removing the infrared (IR) filter and installing the UV pass filter, marking a pivotal phase in the transformation of your camera into a powerful tool for UV photography.
Removing the IR Filter
The infrared (IR) filter, also known as the hot mirror filter, is a crucial component in digital cameras designed to block infrared light from reaching the camera’s sensor. However, in the context of UV photography, the IR filter acts as a barrier, hindering the camera’s ability to perceive ultraviolet light. Removing the IR filter is a pivotal step in the modification process, enabling the camera to capture the elusive beauty of the UV spectrum. The following steps outline the intricate process of removing the IR filter from a DSLR camera:
- Accessing the Sensor Assembly: Once the camera is disassembled, carefully locate the sensor assembly, which houses the IR filter. The sensor assembly is a delicate component that requires meticulous handling to prevent damage.
- Identifying the IR Filter: The IR filter is typically positioned in front of the camera’s sensor and may appear as a thin, translucent layer. Take note of its location and orientation to ensure accurate reinstallation of the UV pass filter in the subsequent phase.
- Utilizing IR Filter Removal Tools: Specialized IR filter removal tools, such as spanner wrenches or filter removal pliers, are instrumental in safely extracting the IR filter from the sensor assembly. These tools provide the necessary grip and precision to handle the delicate filter without causing damage to the sensor.
- Exercising Caution: When engaging the IR filter removal tools, apply gentle and consistent pressure to gradually loosen the filter from its housing. It is essential to exercise patience and precision throughout this process to avoid inadvertently damaging the sensor or adjacent components.
- Inspecting the Sensor: Upon successfully removing the IR filter, carefully inspect the sensor assembly to ensure that no debris or residue from the filter remains. Any foreign particles or contaminants should be meticulously removed to maintain the sensor’s integrity.
By meticulously executing these steps, you can effectively remove the IR filter from your DSLR camera, paving the way for the subsequent installation of the UV pass filter. This transformative process empowers the camera to perceive the ethereal beauty of UV light, marking a significant milestone in the modification journey. With the IR filter removed, the camera is poised to undergo the next phase of its evolution, embracing the captivating realm of UV photography with newfound clarity and vision.
Installing the UV Pass Filter
As a pivotal component in the modification of a DSLR camera for UV photography, the UV pass filter plays a transformative role in enabling the camera to perceive and capture images in the ultraviolet spectrum. This essential filter selectively allows UV light to pass through while blocking visible and infrared light, facilitating the camera’s ability to unveil the hidden beauty of the UV world. The following steps outline the intricate process of installing the UV pass filter into a modified DSLR camera:
- Selecting the Appropriate UV Pass Filter: Prior to installation, ensure that the UV pass filter is compatible with your camera model and possesses the necessary optical properties to effectively transmit UV light. Quality UV pass filters are designed to exhibit high UV transmission characteristics while effectively blocking unwanted light wavelengths.
- Positioning the UV Pass Filter: Carefully align the UV pass filter in front of the camera’s sensor assembly, ensuring that it is oriented correctly to permit the transmission of UV light. The precise positioning of the filter is crucial for optimizing the camera’s sensitivity to the UV spectrum.
- Securing the Filter in Place: Once the UV pass filter is positioned correctly, secure it in place within the sensor assembly using the appropriate mounting or retention mechanism. This ensures that the filter remains stable and aligned, minimizing the risk of displacement during camera operation.
- Ensuring Dust-Free Environment: Prior to finalizing the installation, verify that the sensor assembly and the interior of the camera are free from dust, debris, or any foreign particles that may compromise the integrity of the UV pass filter. A clean environment is essential for preserving the filter’s optical clarity and performance.
- Verifying Optical Alignment: Conduct a meticulous inspection to verify the optical alignment of the UV pass filter, ensuring that it is positioned precisely and free from any obstructions or misalignments that could impede the transmission of UV light. Optimal optical alignment is essential for capturing the full spectrum of UV imagery with clarity and precision.
By meticulously following these steps, you can successfully install the UV pass filter into your modified DSLR camera, marking a transformative phase in its evolution into a powerful tool for UV photography. With the UV pass filter seamlessly integrated, the camera is poised to embark on a captivating journey, capturing the mesmerizing beauty of the UV spectrum with unparalleled clarity and sensitivity. This pivotal installation sets the stage for the reassembly of the camera and the subsequent testing of its newfound capability to perceive the invisible wonders of UV light.
Reassembling the Camera
The reassembly of a DSLR camera following the modification process is a critical phase that requires precision, attention to detail, and a methodical approach. As the camera undergoes its transformation to perceive UV light, the reassembly process marks the culmination of the modification journey, ensuring that all components are reinstated in their original positions with meticulous care. The following steps outline the essential process of reassembling the camera after the installation of the UV pass filter:
- Reference Documentation: Refer to the photographs, notes, or online resources documenting the disassembly process to guide the reassembly of the camera. This reference material serves as a valuable aid in identifying the correct positioning and orientation of each component.
- Cleaning and Inspection: Prior to reassembly, meticulously clean and inspect each component to ensure that it is free from dust, debris, or any contaminants that may have accumulated during the modification process. A pristine environment and components are essential for the optimal performance of the reassembled camera.
- Systematic Component Placement: Methodically place each component back into its designated position within the camera, following the sequence and orientation observed during the disassembly. Exercise caution to avoid forcing or misaligning any components, ensuring that they fit snugly and securely.
- Securing Fasteners and Connectors: Utilize the appropriate screws, fasteners, and connectors to secure the reassembled components in place. Pay careful attention to the torque and alignment of the fasteners to prevent over-tightening or damaging the components.
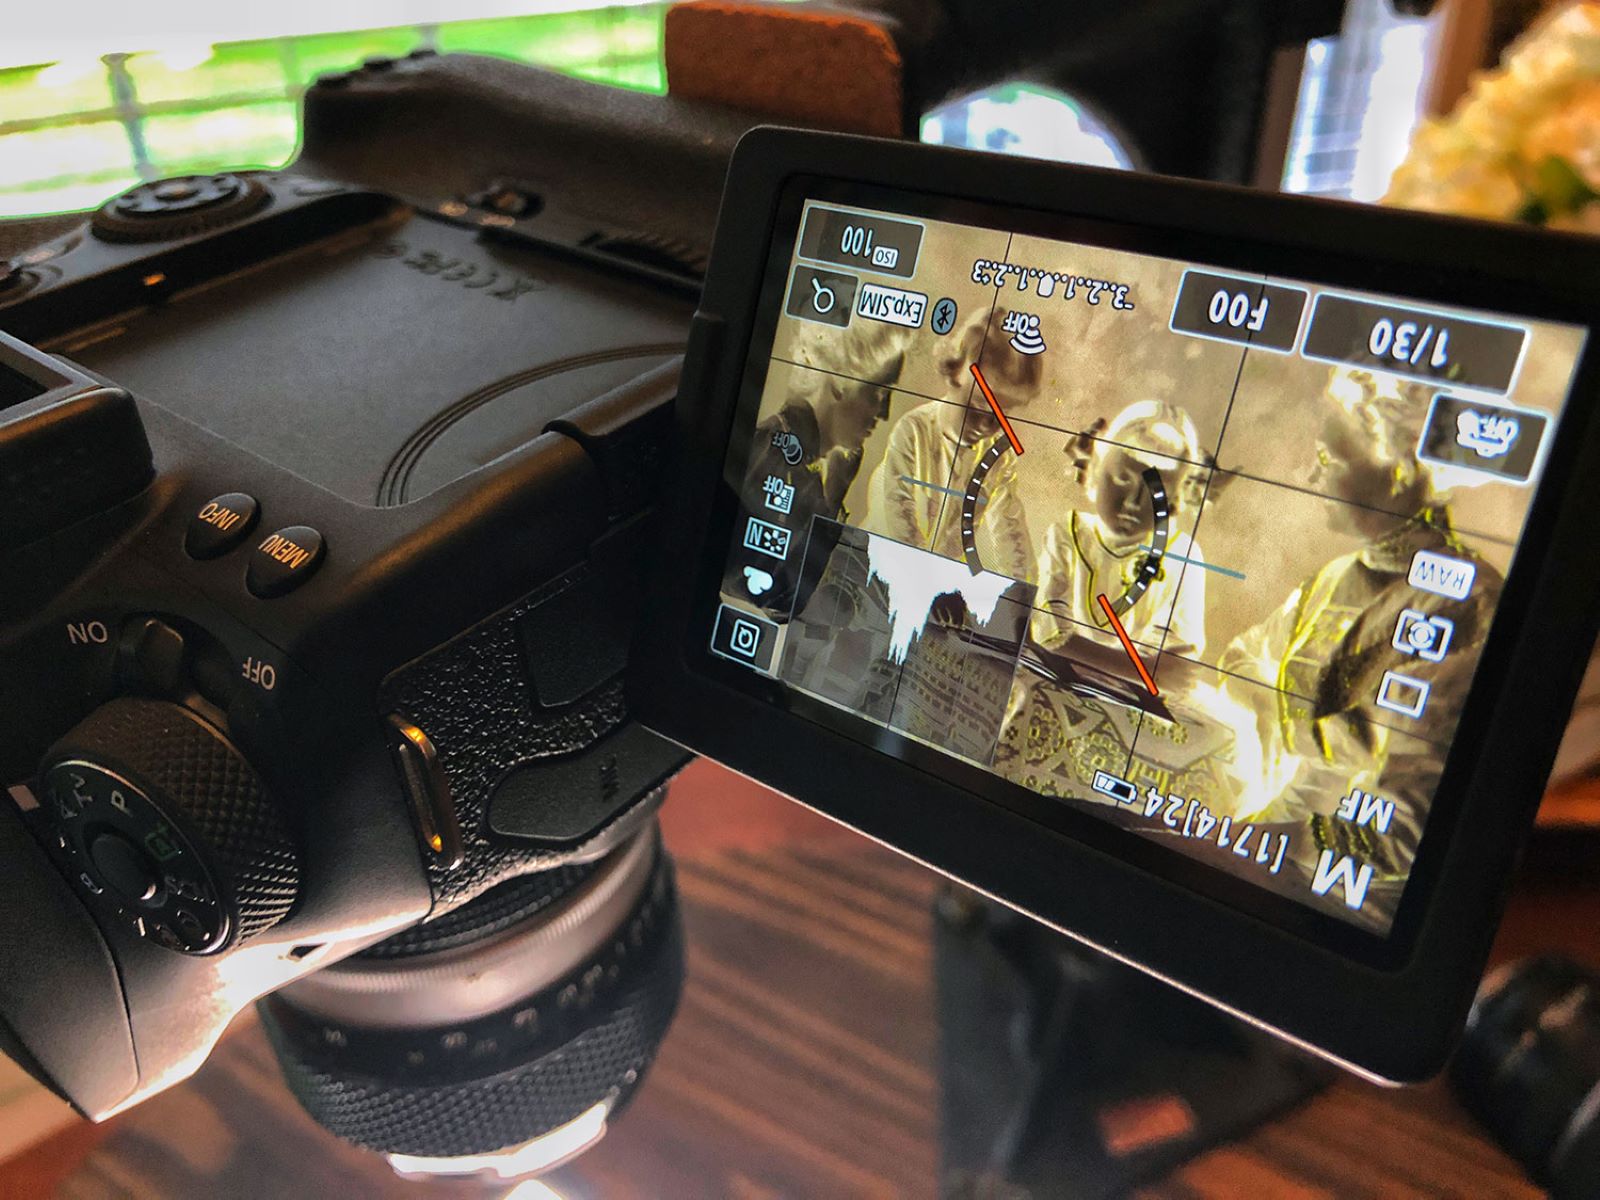
- Functional Testing: Conduct preliminary functional tests to verify that the reassembled camera operates as expected. This may include checking the responsiveness of buttons, verifying the functionality of the viewfinder and LCD display, and ensuring that the lens mounts securely onto the camera body.
By meticulously following these steps, you can effectively reassemble your DSLR camera following the installation of the UV pass filter, marking the successful completion of its transformation for UV photography. The reassembly process represents a culmination of precision and care, ensuring that the modified camera is poised to embark on a transformative journey, capturing the captivating world of UV imagery with newfound clarity and sensitivity.
Testing the Modified DSLR Camera
Following the meticulous modification and reassembly of the DSLR camera to perceive UV light, thorough testing is essential to verify its functionality and performance in capturing images within the ultraviolet spectrum. The testing phase serves as a crucial validation of the successful transformation of the camera, ensuring that it can effectively capture the invisible wonders of UV light with clarity and precision. The following steps outline the comprehensive process of testing the modified DSLR camera for UV photography:
- UV Light Source Identification: Identify suitable sources of UV light, such as UV-reflective materials, fluorescent substances, or dedicated UV light sources, to test the camera’s sensitivity and responsiveness to the UV spectrum. These sources will enable you to evaluate the camera’s ability to perceive and capture UV imagery.
- Exposure and White Balance Calibration: Configure the camera’s exposure settings and white balance adjustments to optimize its performance in capturing UV imagery. Fine-tuning these parameters is essential for achieving accurate and balanced UV exposures, ensuring that the captured images faithfully represent the unique characteristics of the UV spectrum.
- Subject Composition and Framing: Select diverse subjects with UV-reflective properties, such as flowers, foliage, or materials known to fluoresce under UV light. Compose and frame the subjects within the camera’s viewfinder or LCD display, ensuring that the UV-reflective attributes are prominently showcased within the imagery.
- Image Capture and Review: Capture test images under varying lighting conditions and exposure settings to assess the camera’s performance in perceiving and rendering UV light. Review the captured images on the camera’s display or transfer them to a computer for detailed analysis of the UV-reflective characteristics and overall image quality.
- Validation and Adjustment: Evaluate the test images to validate the camera’s ability to capture UV imagery with clarity and fidelity. If necessary, make adjustments to the exposure settings, white balance, or composition to refine the camera’s performance in capturing the captivating nuances of the UV spectrum.
By meticulously executing these steps, you can comprehensively test the modified DSLR camera’s capability to perceive and capture images within the UV spectrum, affirming the successful culmination of its transformation for UV photography. The testing phase serves as a pivotal validation of the camera’s newfound sensitivity to UV light, unlocking a realm of photographic possibilities that transcend the boundaries of visible light. With its enhanced capability, the modified DSLR camera is poised to embark on an enlightening journey, capturing the mesmerizing beauty of the UV world with unparalleled clarity and vision.