Introduction
Converting a Canon HF series camcorder to a PTZ (Pan-Tilt-Zoom) camera can significantly expand its functionality, allowing for remote control and automated movement. This transformation enables the camcorder to pan, tilt, and zoom, enhancing its versatility for various applications such as live streaming, video conferencing, and surveillance. By following the steps outlined in this guide, you can successfully convert your Canon HF series camcorder into a PTZ camera, unlocking a new level of control and flexibility.
Converting a camcorder to a PTZ camera offers numerous benefits, including the ability to remotely adjust the camera's position and focal length. This functionality is particularly valuable in scenarios where real-time adjustments are necessary, such as live event coverage, video production, or monitoring large areas. Additionally, the PTZ conversion enhances the camcorder's adaptability, making it suitable for a wider range of environments and applications.
In the following sections, we will explore the step-by-step process of converting a Canon HF series camcorder to a PTZ camera. From gathering the necessary equipment to configuring the PTZ settings, each stage of the conversion will be thoroughly explained, providing you with the knowledge and confidence to undertake this transformation. By the end of this guide, you will be equipped with the expertise to harness the full potential of your Canon HF series camcorder as a PTZ camera.
The transition from a standard camcorder to a PTZ camera represents a significant advancement in camera control and functionality. Whether you are a content creator, a business owner seeking enhanced surveillance capabilities, or a tech enthusiast looking to repurpose existing equipment, this conversion opens up a world of possibilities. With the right tools and guidance, you can elevate your camcorder to new heights of performance and versatility, unlocking the power of PTZ technology in your video capture and monitoring endeavors.
Step 1: Gather the Necessary Equipment
Before embarking on the conversion process, it is essential to gather the required equipment to facilitate the transformation of your Canon HF series camcorder into a PTZ camera. The following items are crucial for this endeavor:
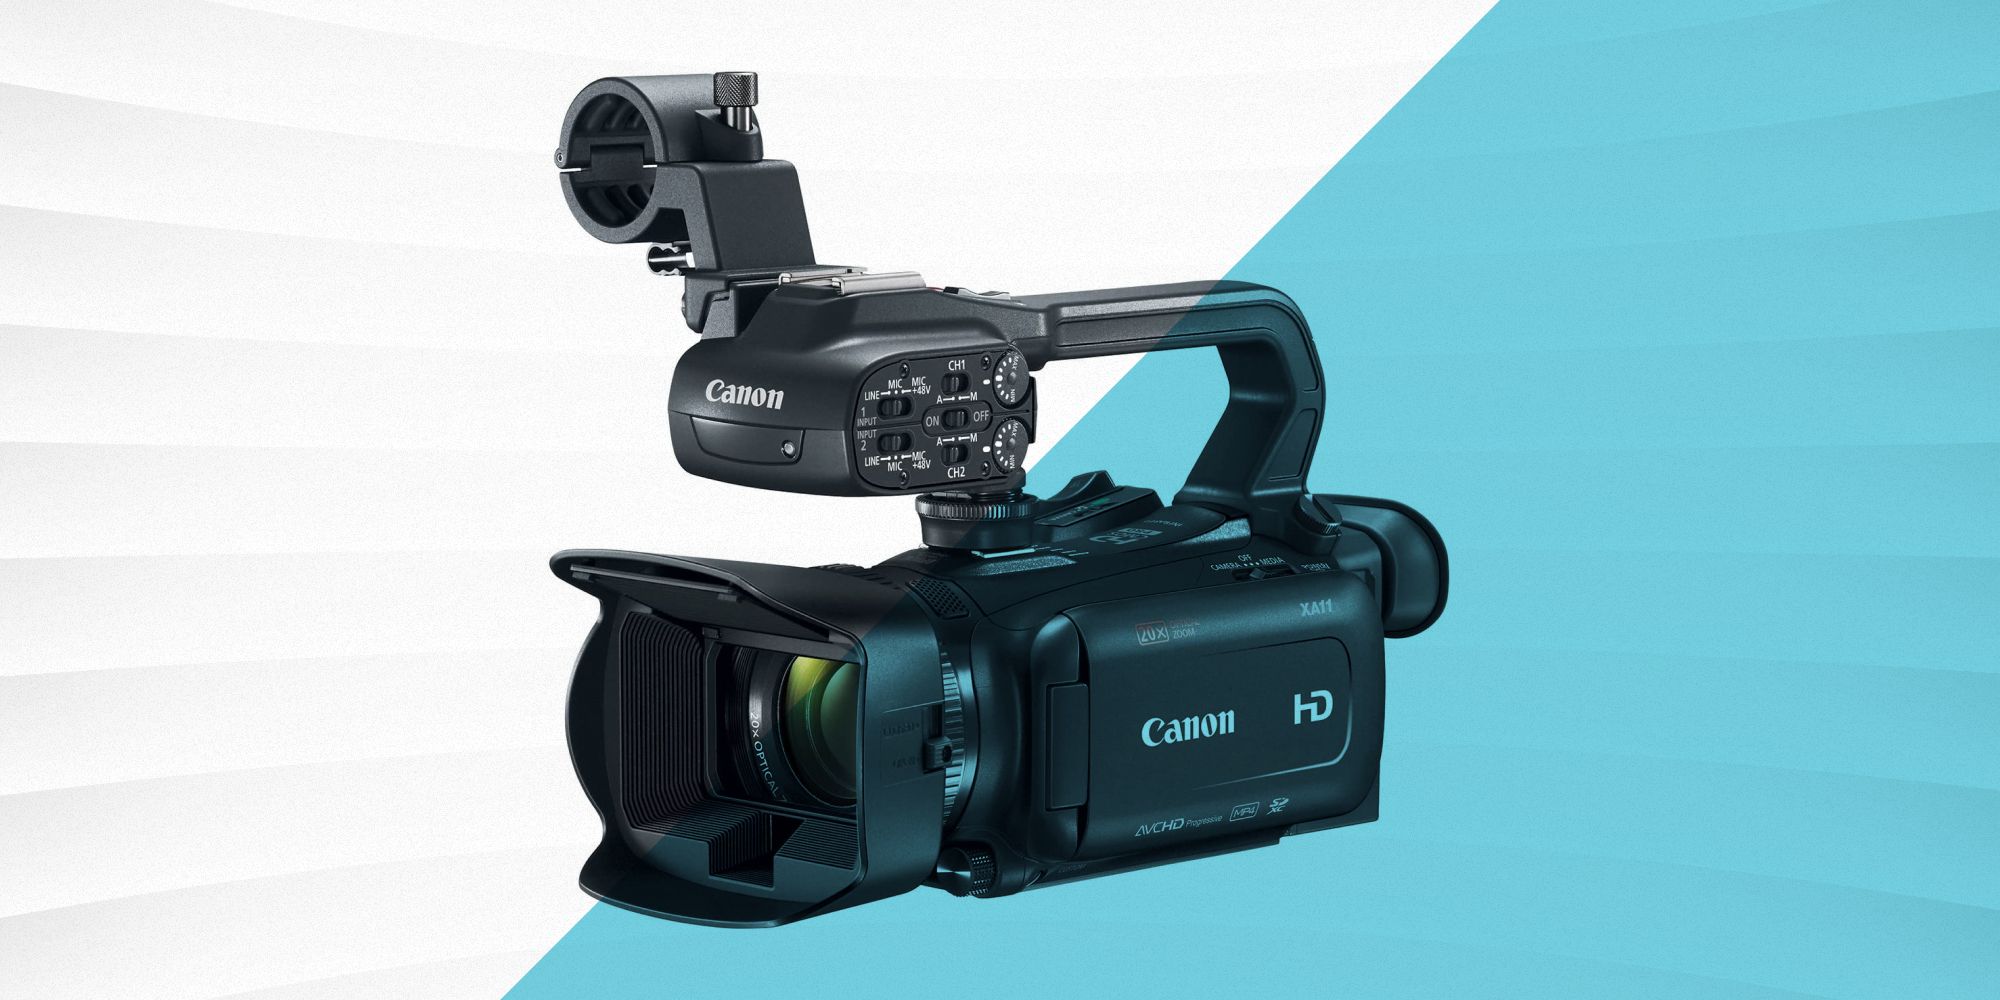
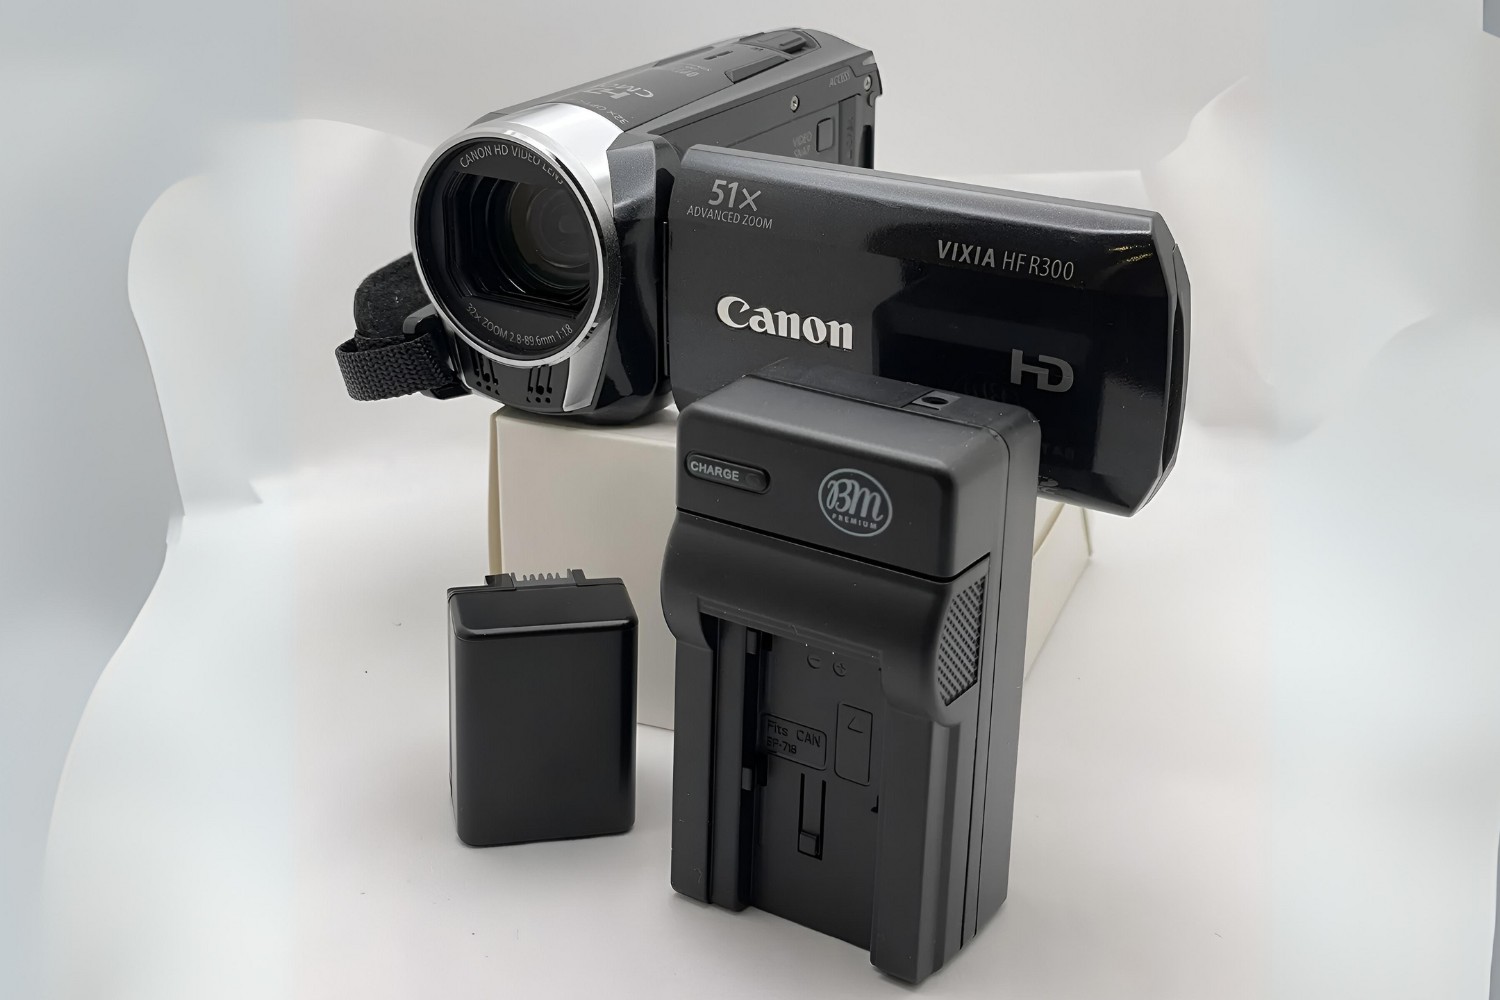
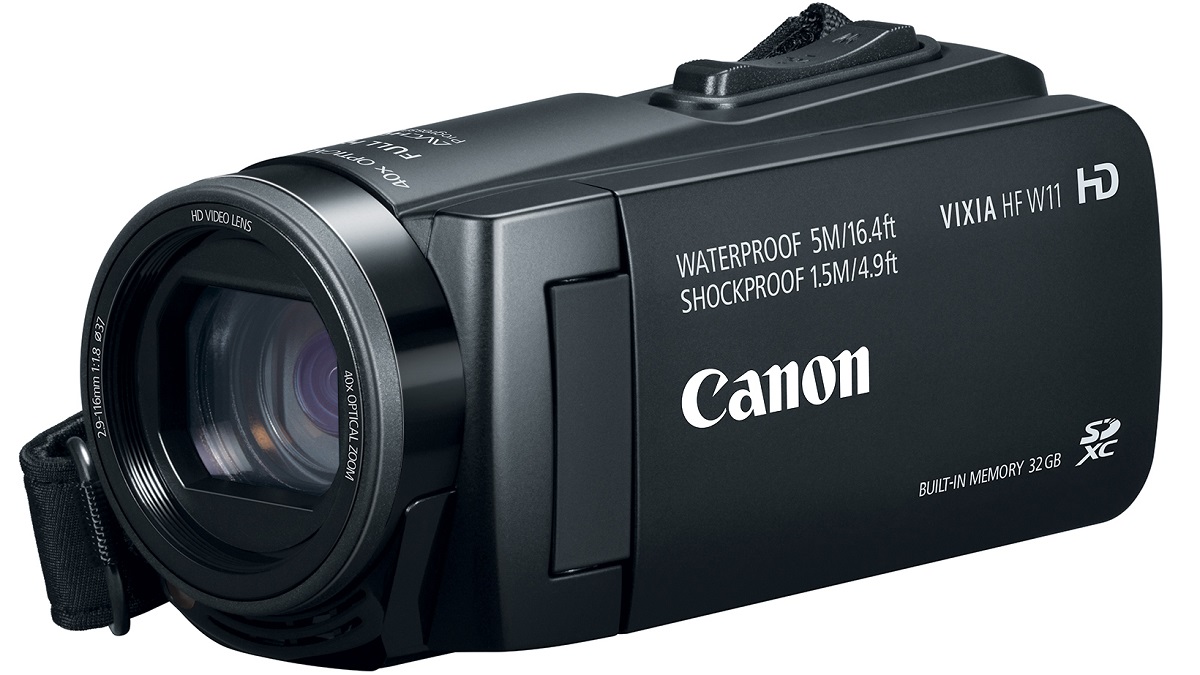
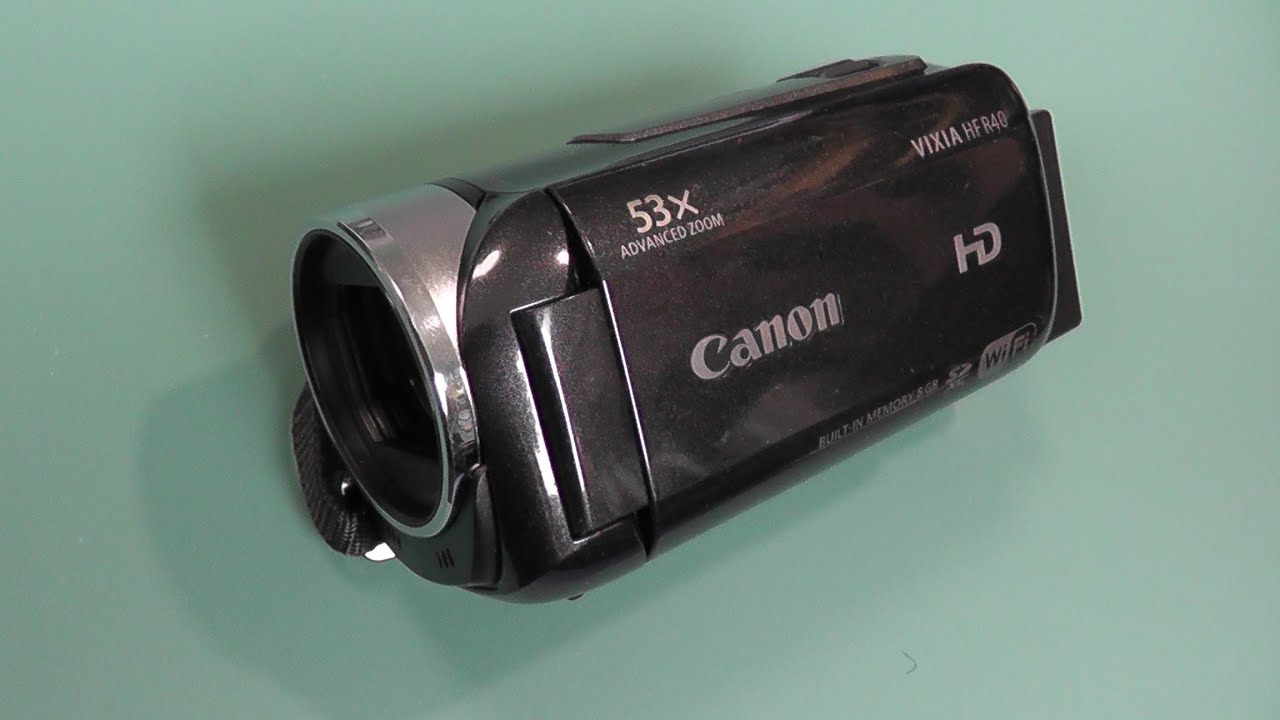
- Canon HF Series Camcorder: Ensure that you have the specific model from the Canon HF series that you intend to convert. The compatibility of the camcorder with the PTZ conversion kit is paramount for a successful transition.
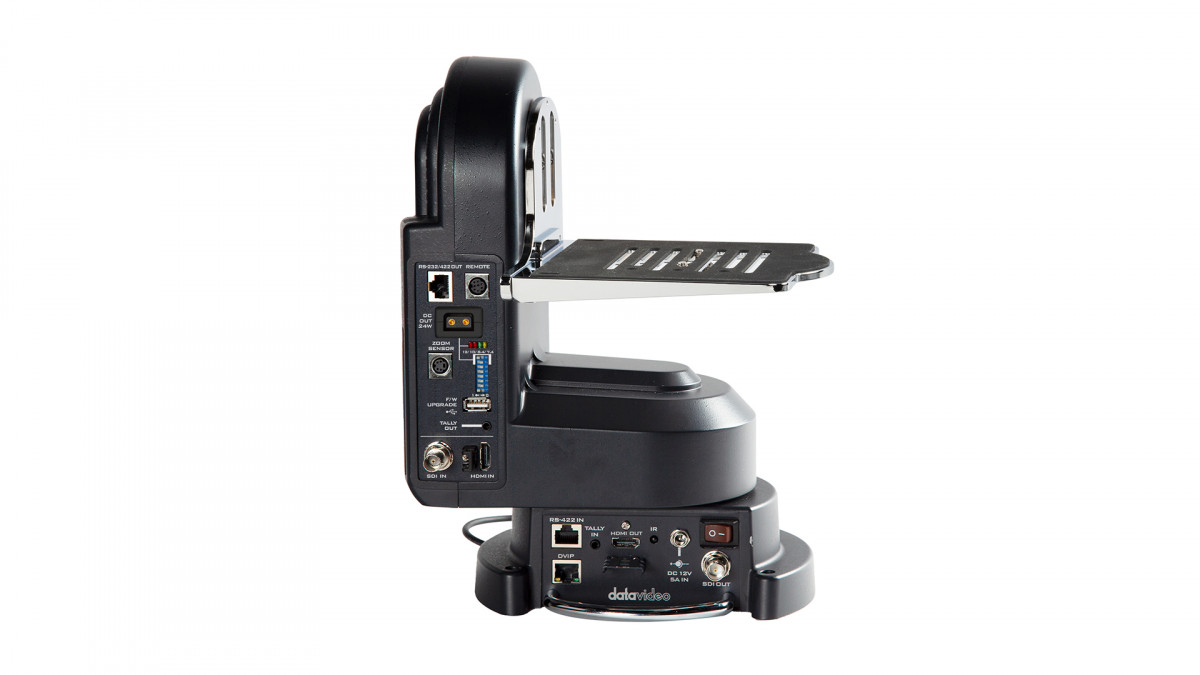
- PTZ Conversion Kit: Acquire a reliable PTZ conversion kit designed to integrate with your Canon HF series camcorder. The kit typically includes the necessary hardware and components for the conversion process, such as motorized mounts, control interfaces, and wiring harnesses.
- PTZ Controller: A PTZ controller is essential for remotely operating the converted camera. This device allows you to manipulate the pan, tilt, and zoom functions of the PTZ camera, providing seamless control over its movements and focal length adjustments.
- Mounting Hardware: Depending on the installation requirements, you may need additional mounting hardware to securely affix the PTZ conversion components to your camcorder. Ensure that the mounting hardware is compatible with your specific camcorder model and the PTZ conversion kit.
- Power Supply: To power the PTZ conversion components and ensure uninterrupted functionality, a suitable power supply is necessary. Verify the power requirements of the PTZ conversion kit and acquire a compatible power source to support the converted PTZ camera.
- Documentation and Tools: Gather any instructional materials or documentation provided with the PTZ conversion kit. Additionally, have the necessary tools on hand for the installation process, such as screwdrivers, cable management tools, and any specific implements recommended by the conversion kit manufacturer.
By assembling the aforementioned equipment, you will be well-prepared to initiate the conversion of your Canon HF series camcorder into a fully functional PTZ camera. The successful integration of these components is fundamental to the seamless operation and performance of the converted PTZ camera, enabling you to harness its enhanced capabilities for various applications.
Step 2: Install the PTZ Conversion Kit
Installing the PTZ conversion kit is a critical phase in the process of transforming your Canon HF series camcorder into a PTZ camera. This step requires precision and attention to detail to ensure the seamless integration of the PTZ components with the camcorder. The following steps outline the installation process:
- Prepare the Camcorder: Begin by carefully preparing the Canon HF series camcorder for the installation of the PTZ conversion kit. This may involve removing any existing mounts or accessories that could interfere with the integration of the PTZ components. Follow the manufacturer’s guidelines for preparing the camcorder for the conversion process.
- Mount the PTZ Components: Assemble and mount the PTZ conversion components onto the camcorder according to the instructions provided with the conversion kit. Ensure that the motorized mounts, control interfaces, and wiring harnesses are securely and accurately affixed to the camcorder, taking care to align them properly for optimal functionality.
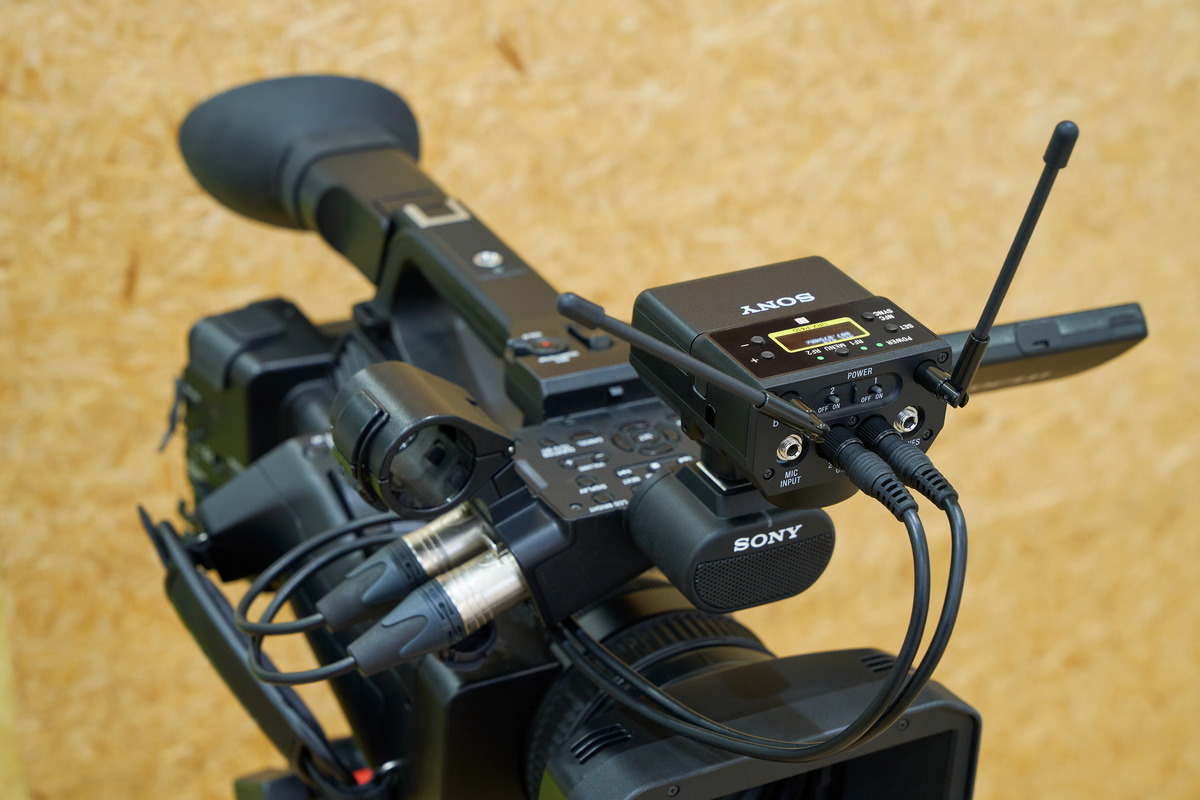
- Connect the Wiring: Establish the necessary connections between the PTZ conversion components and the camcorder, following the wiring diagrams and guidelines provided by the conversion kit manufacturer. Proper cable management and secure connections are essential to maintain the integrity of the PTZ system and ensure reliable performance.
- Verify Compatibility: Confirm that the PTZ conversion kit is compatible with your specific Canon HF series camcorder model, and that the installation aligns with the prescribed specifications. Address any compatibility issues or discrepancies before proceeding further with the installation process.
- Test the Integration: Once the PTZ conversion components are installed, conduct preliminary tests to verify the integration and functionality of the PTZ system with the camcorder. Test the motorized mounts, control interfaces, and wiring connections to ensure that the PTZ components operate as intended and respond to commands from the PTZ controller.
By meticulously following these installation steps, you can effectively integrate the PTZ conversion kit with your Canon HF series camcorder, paving the way for the transformation of the camcorder into a fully functional PTZ camera. This phase sets the stage for the subsequent configuration and calibration of the PTZ system, bringing you closer to harnessing the enhanced capabilities of your converted PTZ camera.
Step 3: Connect the Camcorder to the PTZ Controller
Connecting the camcorder to the PTZ controller is a pivotal step in the conversion process, as it establishes the communication and control link between the PTZ camera and the operator. The seamless connection between the camcorder, now transformed into a PTZ camera, and the PTZ controller enables remote manipulation of the camera’s pan, tilt, and zoom functions. The following steps outline the process of connecting the PTZ camera to the controller:
- Identify Control Interface Ports: Locate the control interface ports on the PTZ conversion components installed on the camcorder. These ports facilitate the connection between the PTZ camera and the PTZ controller, enabling bidirectional communication for controlling the camera’s movements and settings.
- Connect the Control Cables: Using the appropriate control cables provided with the PTZ conversion kit, establish the connections between the camcorder’s PTZ components and the designated ports on the PTZ controller. Ensure that the connections are secure and that the cables are routed and managed effectively to prevent interference with the camera’s operation.
- Configure Control Settings: Access the control settings on the PTZ controller and configure the communication parameters to align with the specifications of the PTZ camera. This may involve setting the communication protocol, baud rate, and other relevant parameters to establish a reliable and synchronized link between the controller and the PTZ camera.
- Verify Communication: Once the connections are established and the control settings are configured, verify the communication between the PTZ camera and the PTZ controller. Test the functionality of the controller by sending commands to the PTZ camera and observing the camera’s response to pan, tilt, and zoom directives.
- Calibrate Control Inputs: Fine-tune the control inputs on the PTZ controller to ensure smooth and precise operation of the PTZ camera. Calibrate the joystick or directional controls to achieve the desired responsiveness and accuracy in manipulating the camera’s movements, allowing for seamless control during operation.
By meticulously following these steps to connect the PTZ camera to the PTZ controller, you establish the vital link that empowers you to remotely operate and control the converted PTZ camera. This connection sets the stage for configuring the PTZ settings and testing the functionality of the PTZ camera, bringing you closer to harnessing the full capabilities of your transformed Canon HF series camcorder.
Step 4: Configure the PTZ Settings
Configuring the PTZ settings is a crucial phase in the conversion process, as it enables you to tailor the operational parameters and behavior of the PTZ camera to suit your specific requirements. By customizing the settings, you can optimize the camera’s pan, tilt, and zoom functionality, as well as define presets and operational modes. The following steps outline the process of configuring the PTZ settings for your converted Canon HF series camcorder:
- Access the PTZ Configuration Interface: Utilize the interface provided by the PTZ controller to access the configuration settings for the PTZ camera. This may involve navigating through menus or using a dedicated configuration utility to access and modify the camera’s settings.
- Define Preset Positions: Establish preset positions for the PTZ camera, allowing you to store and recall specific camera orientations and focal lengths. Define preset positions for key viewpoints or areas of interest, enabling quick and accurate repositioning of the camera during operation.
- Adjust Pan, Tilt, and Zoom Parameters: Fine-tune the pan, tilt, and zoom parameters to achieve the desired speed, acceleration, and sensitivity of the camera’s movements. Customize these parameters to align with the operational requirements and environmental conditions in which the PTZ camera will be deployed.
- Configure Operational Modes: Define operational modes for the PTZ camera, such as automatic tracking, tour mode, or manual control. Tailor the operational modes to suit the intended use cases and scenarios, ensuring that the PTZ camera’s behavior aligns with the desired operational workflow.
- Set Motion Detection and Tracking Parameters: If applicable, configure motion detection and tracking parameters to enable the PTZ camera to autonomously respond to detected motion or specified tracking criteria. Fine-tune the sensitivity and tracking behavior to optimize the camera’s performance in surveillance or monitoring applications.
By methodically configuring the PTZ settings, you can optimize the operational behavior and performance of the converted PTZ camera, aligning it with your specific use cases and operational preferences. These tailored settings enhance the versatility and responsiveness of the PTZ camera, enabling it to adapt to diverse scenarios and deliver optimal performance in various applications.
Step 5: Test the PTZ Camera Functionality
Testing the functionality of the PTZ camera is a pivotal phase in the conversion process, allowing you to validate the integration, configuration, and performance of the converted Canon HF series camcorder as a PTZ camera. Through comprehensive testing, you can ensure that the PTZ camera operates as intended, responds accurately to commands, and delivers the desired functionality. The following steps outline the process of testing the PTZ camera’s functionality:
- Verify Pan, Tilt, and Zoom Operations: Initiate tests to verify the pan, tilt, and zoom movements of the PTZ camera. Utilize the PTZ controller to command the camera to pan and tilt across its range of motion, as well as to zoom in and out, ensuring smooth and accurate movements in response to the controller inputs.
- Test Preset Position Recall: Validate the functionality of preset positions by commanding the PTZ camera to move to predefined viewpoints or areas of interest. Verify that the camera accurately and swiftly repositions itself to the stored preset locations, allowing for efficient and precise camera control during operation.
- Assess Operational Modes: Evaluate the performance of different operational modes, such as automatic tracking, tour mode, and manual control. Test each operational mode to ensure that the PTZ camera behaves as expected, adhering to the configured settings and delivering the intended functionality for each mode.
- Validate Motion Detection and Tracking: If motion detection and tracking features are configured, conduct tests to validate the camera’s response to detected motion and its ability to autonomously track moving objects or subjects. Verify the accuracy and responsiveness of the motion detection and tracking functionality in various scenarios.
- Ensure Communication Stability: Throughout the testing process, monitor the stability and reliability of the communication link between the PTZ camera and the PTZ controller. Verify that the commands from the controller are consistently and promptly executed by the PTZ camera, ensuring a robust and dependable communication link.
By rigorously testing the PTZ camera’s functionality, you can confirm the successful conversion of the Canon HF series camcorder into a fully operational PTZ camera. Through comprehensive testing, you can identify and address any potential issues or performance discrepancies, ensuring that the PTZ camera meets the operational requirements and delivers the expected functionality for your specific applications.
Conclusion
Converting a Canon HF series camcorder to a PTZ camera represents a transformative journey that culminates in the enhancement of camera control and functionality. By following the comprehensive process outlined in this guide, you have gained the knowledge and expertise to successfully undertake this conversion, unlocking the full potential of your camcorder as a PTZ camera. From gathering the necessary equipment to testing the PTZ camera’s functionality, each step has contributed to the seamless integration and optimization of the PTZ system.
Through the meticulous installation of the PTZ conversion kit, the precise connection of the camcorder to the PTZ controller, and the methodical configuration of the PTZ settings, you have established a robust and versatile PTZ camera that can adapt to diverse applications and operational scenarios. The thorough testing of the PTZ camera’s functionality has validated its performance and responsiveness, ensuring that it meets the operational requirements and delivers the intended functionality.
As a result of this conversion, your Canon HF series camcorder has evolved into a dynamic and agile PTZ camera, capable of remote pan, tilt, and zoom operations, preset positioning, and autonomous tracking, if configured. This transformation empowers you to leverage the enhanced capabilities of the PTZ camera for applications such as live streaming, video production, surveillance, and more, expanding the scope of its utility and performance.
By embracing the conversion of your camcorder to a PTZ camera, you have unlocked a new realm of control and adaptability, positioning yourself to harness the power of PTZ technology in your video capture and monitoring endeavors. The seamless integration of the PTZ components with your camcorder has elevated its functionality, enabling you to explore and capitalize on the myriad possibilities offered by a fully operational PTZ camera.
With the successful completion of the conversion process, you are now equipped with a versatile and responsive PTZ camera that embodies the convergence of innovation and functionality. This achievement opens doors to a multitude of applications and creative pursuits, empowering you to capture, monitor, and engage with your surroundings in new and dynamic ways, courtesy of your transformed Canon HF series camcorder turned PTZ camera.