Introduction
So, you've got an action camera and a drone, and you're itching to capture some stunning aerial footage. The good news is that attaching an action camera to a drone is a fantastic way to take your videography to new heights, quite literally. Whether you're a seasoned drone pilot or a newbie looking to explore the world of aerial photography, mounting an action camera to your drone can open up a world of creative possibilities.
In this guide, we'll walk you through the process of attaching an action camera to a drone, covering everything from choosing the right mounting option to testing the setup. By the end of this tutorial, you'll be well-equipped to capture breathtaking aerial shots and videos with your action camera-equipped drone.
Before we dive into the nitty-gritty of mounting the action camera, it's essential to understand the importance of selecting the right mounting option. This decision can significantly impact the stability of your camera during flight and the quality of the footage you capture. Additionally, we'll explore the various methods of attaching the action camera to the drone, ensuring a secure and stable setup.
So, grab your action camera, dust off your drone, and let's get ready to elevate your aerial photography game!
Choosing the Right Mounting Option
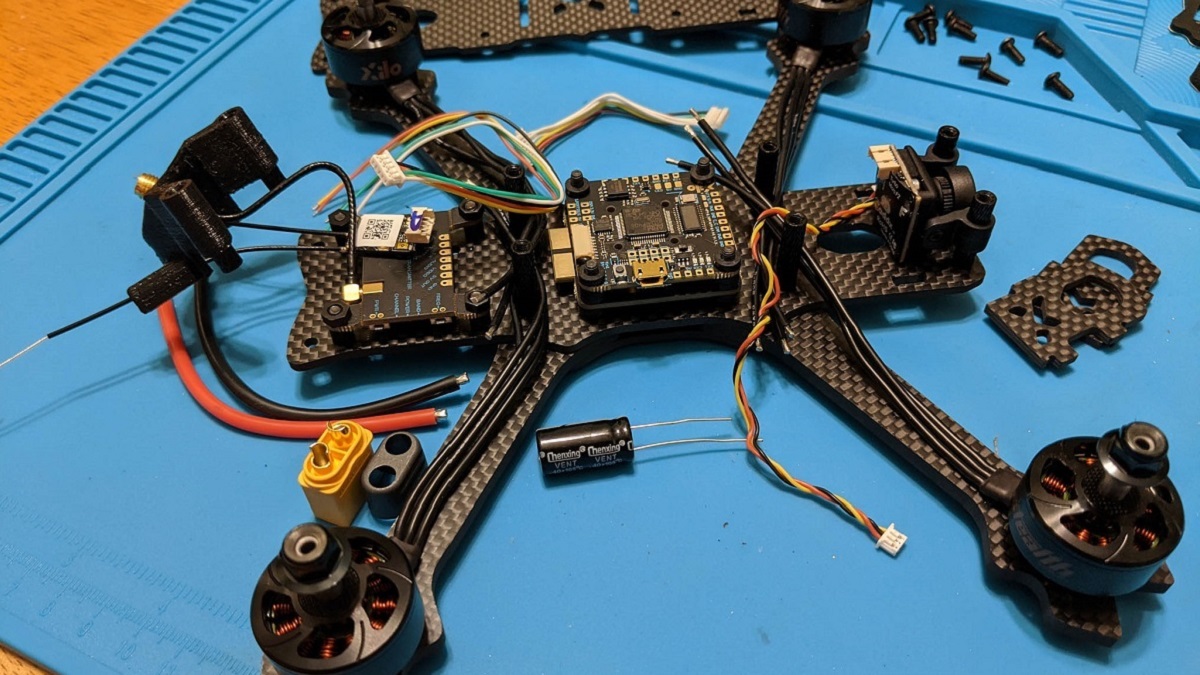
Before you begin attaching your action camera to your drone, it’s crucial to choose the right mounting option. The mounting method you select will determine how stable your camera remains during flight and the angles at which you can capture footage. Here are some popular mounting options to consider:
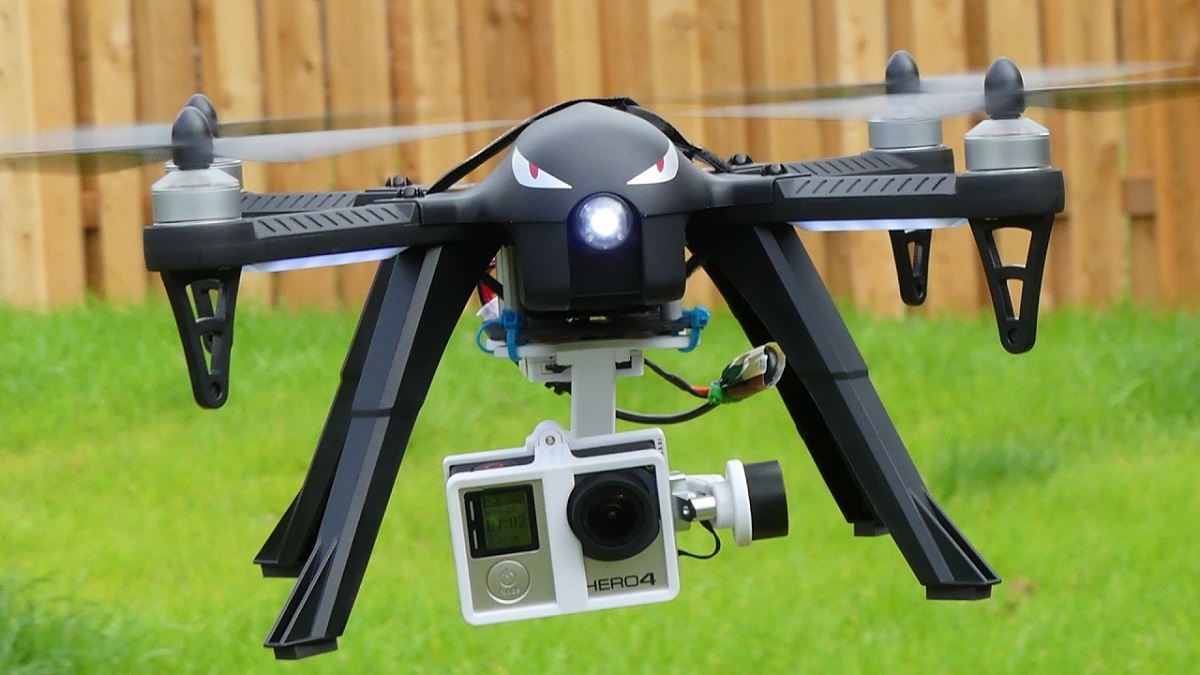
- Gimbal Mount: A gimbal mount provides the highest level of stability and control over the camera’s orientation. It ensures that the camera remains steady and level, even when the drone is in motion. This is ideal for capturing smooth, professional-quality footage.
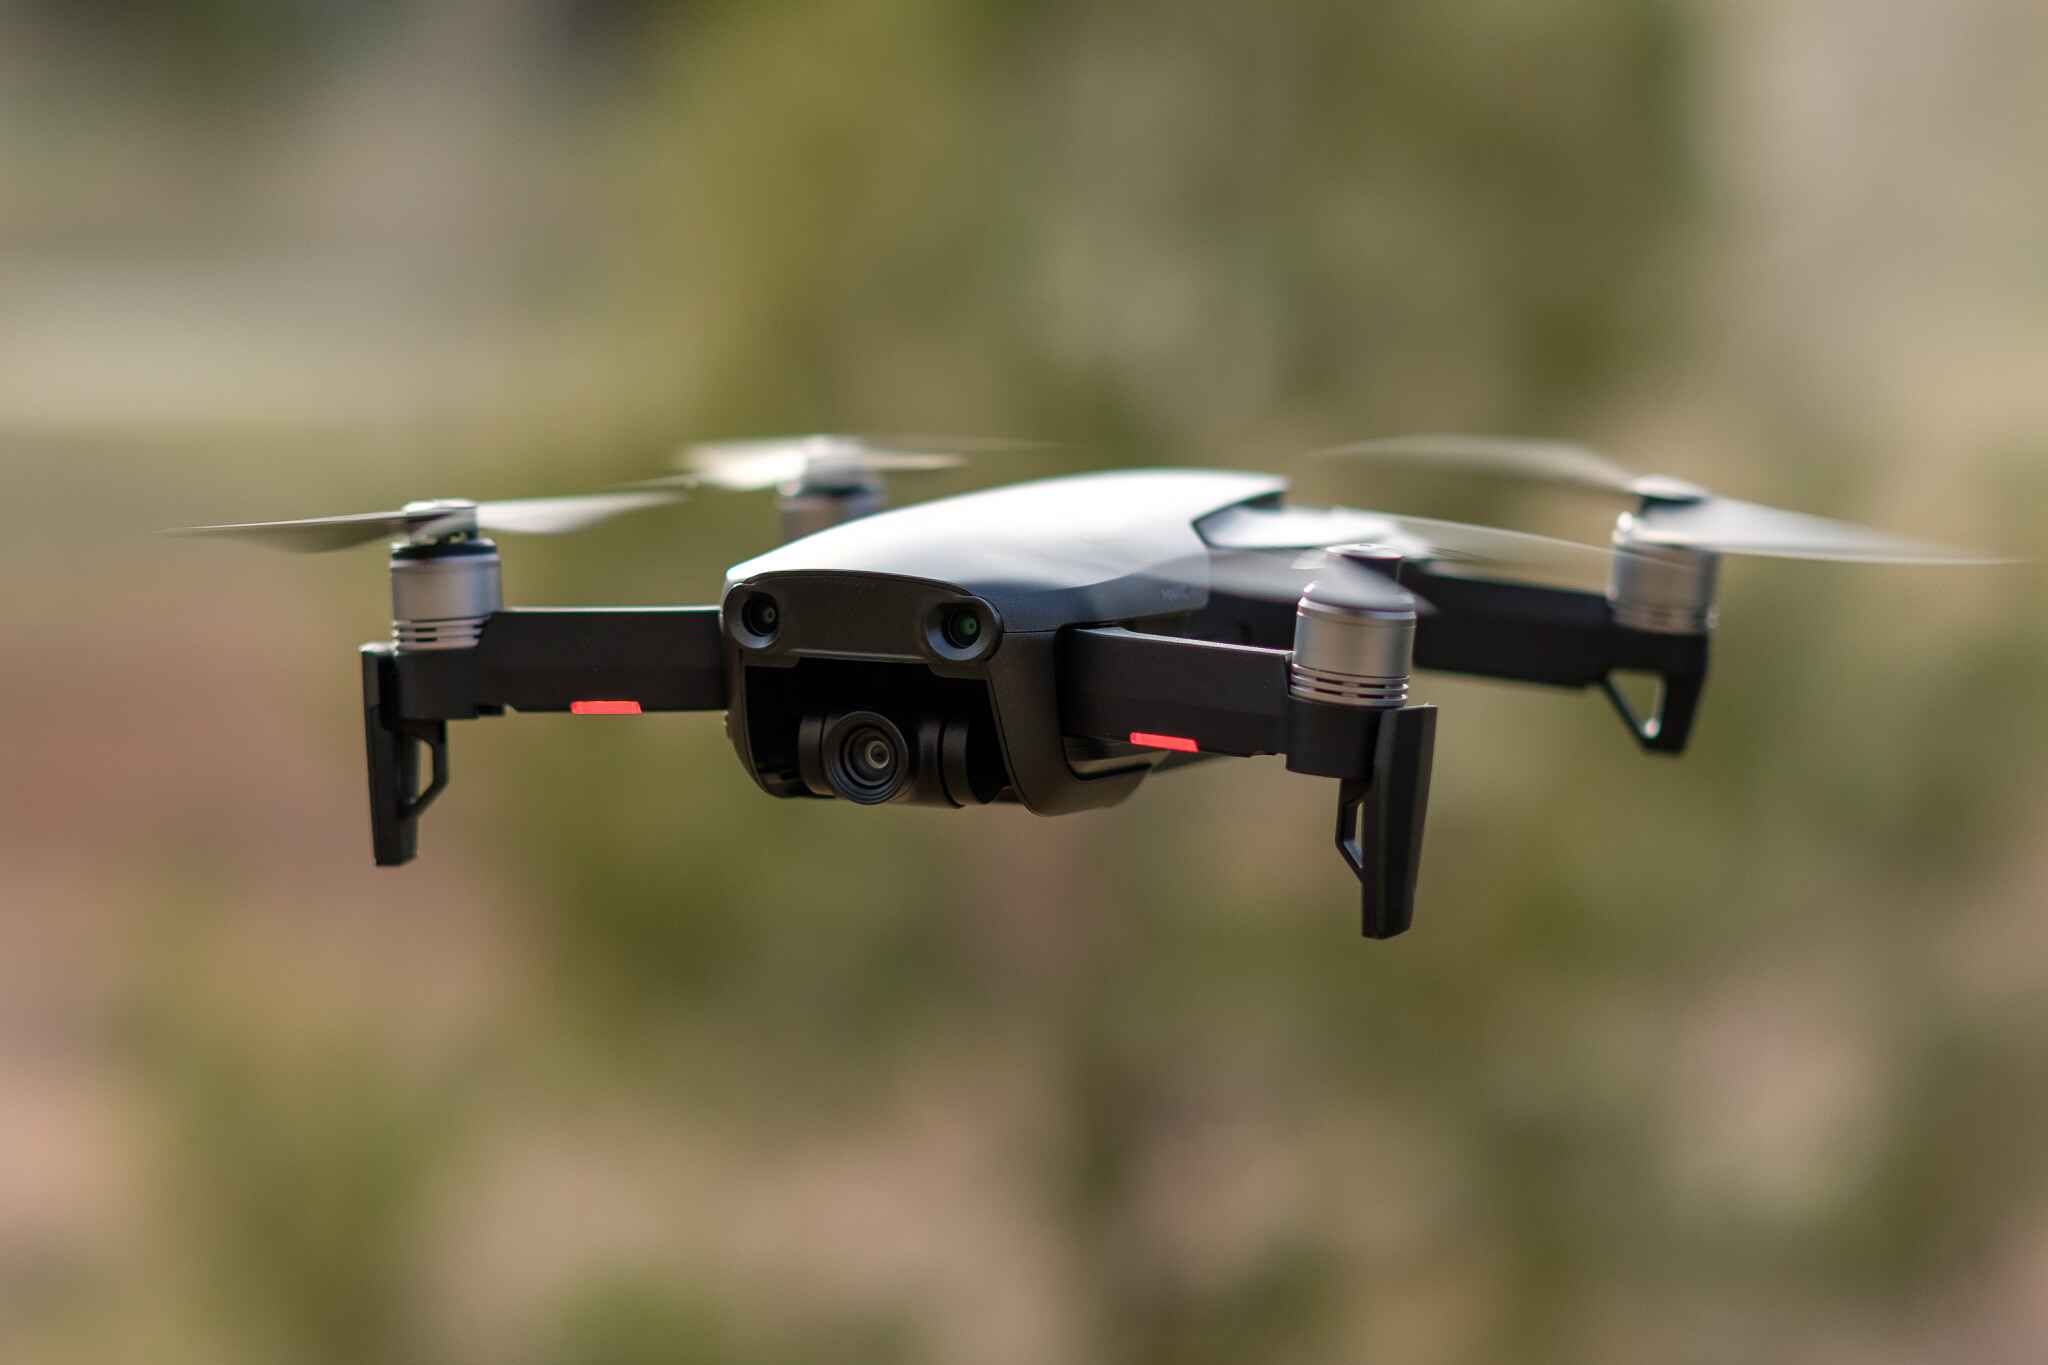
- Fixed Mount: A fixed mount is a simple and cost-effective option. The camera is attached directly to the drone without the ability to adjust its angle during flight. While this option may lack the flexibility of a gimbal mount, it can still produce satisfactory results for certain types of shots.
- Chest Mount: Some drones allow you to attach the action camera to the drone’s body using a chest mount. This can provide a unique perspective and is often used for capturing the drone’s point of view during flight.
When selecting a mounting option, consider the type of footage you intend to capture and the level of stability and control you require. For professional videography, a gimbal mount is highly recommended, as it offers the best stability and smoothness. However, for casual or recreational use, a fixed mount or chest mount may suffice, depending on your specific needs and preferences.
Once you’ve chosen the most suitable mounting option for your intended use, you can proceed to the next step: attaching the action camera to the drone.
Attaching the Action Camera to the Drone
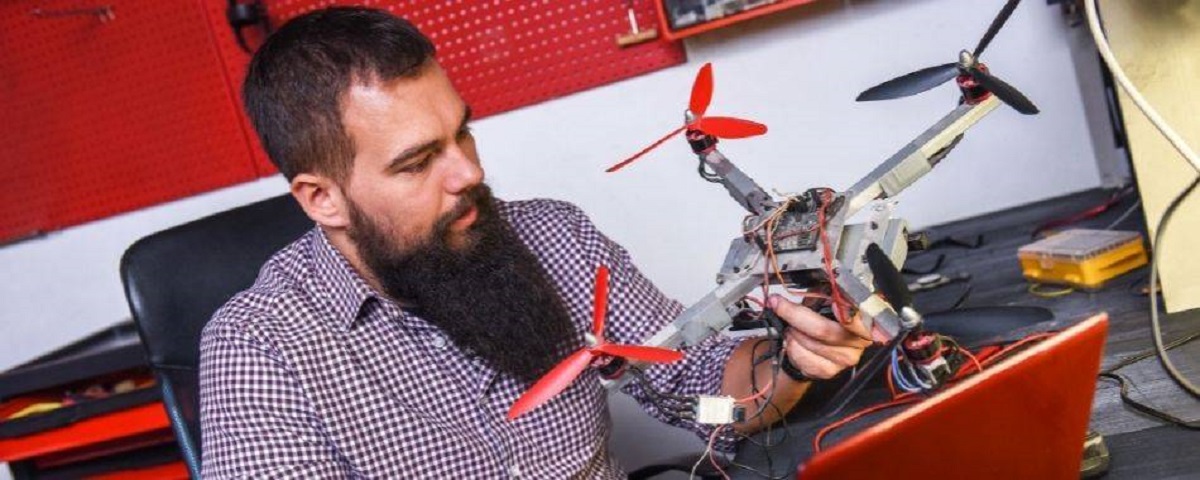
Now that you’ve selected the appropriate mounting option for your action camera, it’s time to securely attach the camera to your drone. The specific method will depend on the mounting option you’ve chosen. Here’s a general guide for attaching the action camera using different mounting options:
- Gimbal Mount: If you’re using a gimbal mount, follow the manufacturer’s instructions to attach the camera to the gimbal. This typically involves securing the camera to the gimbal mount using the provided mounting hardware. Once attached, ensure that the gimbal is properly calibrated to maintain the camera’s stability during flight.
- Fixed Mount: When using a fixed mount, carefully position the action camera on the designated mounting area of the drone. Use the provided straps or mounting brackets to secure the camera in place. Ensure that the camera is tightly fastened to prevent any movement or vibrations during flight.
- Chest Mount: If your drone supports a chest mount for the action camera, follow the drone’s user manual to attach the camera securely. This may involve using specialized mounting accessories provided by the drone manufacturer.
Regardless of the mounting option, it’s crucial to double-check the security of the attachment before taking off. Ensure that the camera is firmly fastened and that there are no loose components that could potentially detach during flight. Additionally, consider the weight distribution of the camera to maintain the drone’s balance and stability.
Before finalizing the attachment, it’s advisable to conduct a pre-flight inspection to verify that the camera is securely and correctly mounted. This will help prevent any mid-flight mishaps and ensure the safety of both the camera and the drone.
With the action camera securely attached to the drone, you’re one step closer to capturing stunning aerial footage. The next phase involves testing the setup to ensure that everything is functioning as intended.
Testing the Setup
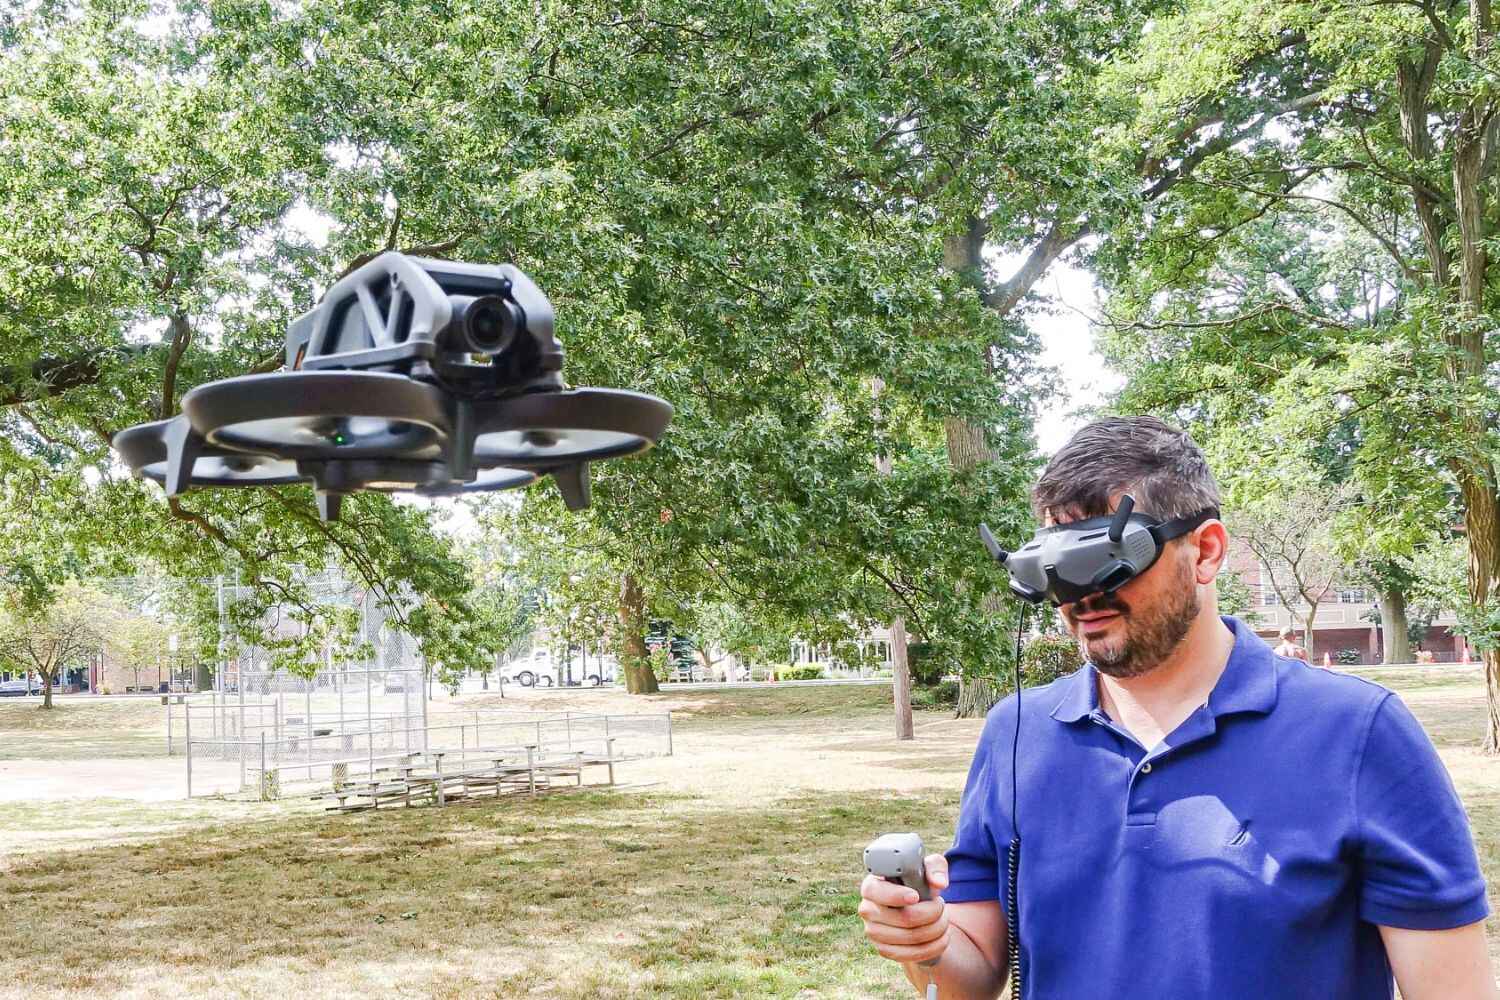
With the action camera successfully attached to your drone, it’s essential to test the setup before embarking on your aerial videography adventure. Testing the setup allows you to identify any potential issues, ensure the stability of the camera during flight, and familiarize yourself with the controls and features of the camera-drone combination. Here’s a step-by-step guide to testing the setup:
- Pre-Flight Inspection: Before taking off, conduct a thorough pre-flight inspection of the drone and the attached action camera. Check the secureness of the camera attachment, inspect the drone’s propellers, and verify that the camera’s settings are optimized for aerial videography.
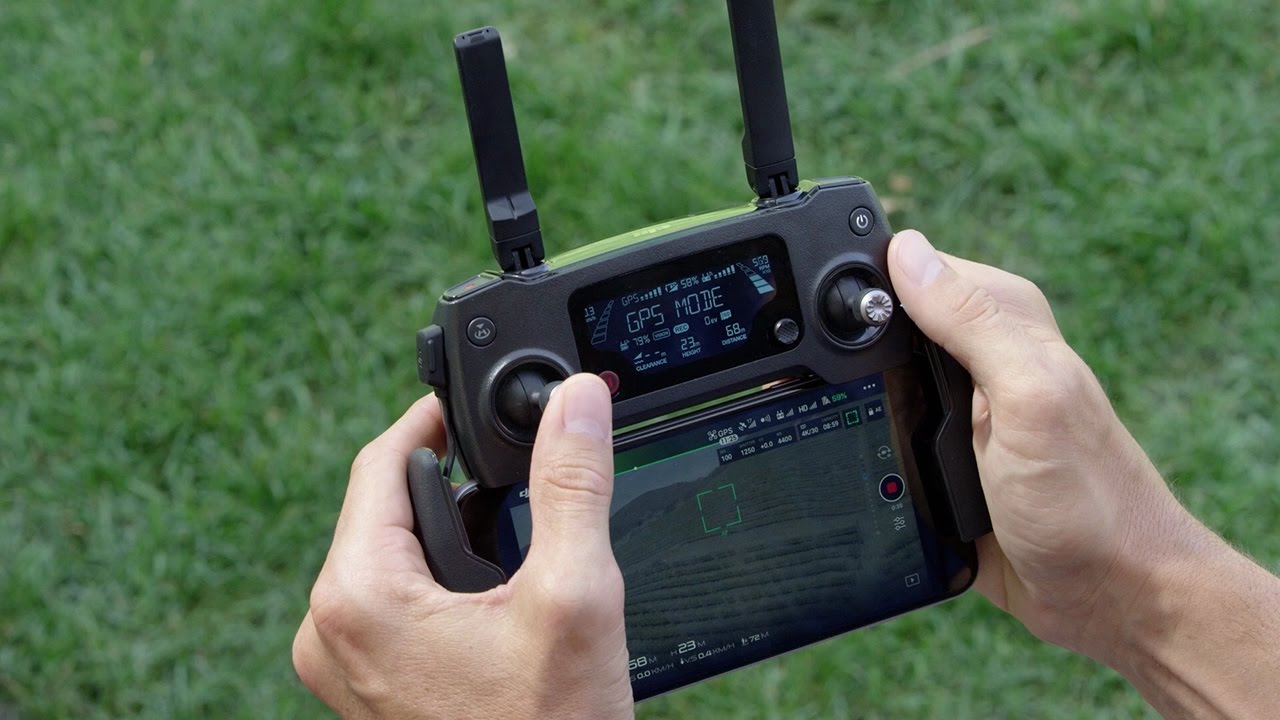
- Ground Testing: Start by powering on the drone and the action camera while on the ground. Verify that the camera’s stabilization (if applicable) is functioning correctly and that the camera is capturing footage without any issues. Check the live feed on your controller or mobile device to ensure the camera’s angle and field of view meet your requirements.
- Hover Test: Once the drone is airborne, perform a hover test at a low altitude to observe the camera’s stability and the quality of the footage it captures. Use the drone’s controls to adjust the camera’s angle and direction, ensuring that the movements are smooth and free from vibrations or jolts.
- Flight Maneuvers: Gradually introduce the drone to different flight maneuvers, such as ascending, descending, and making turns. Observe how the action camera performs during these maneuvers and assess the overall stability of the footage it captures.
- Review the Footage: After landing the drone, review the captured footage to evaluate the quality, stability, and framing of the aerial shots. This review will provide insights into any adjustments that may be necessary before embarking on your videography mission.
By thoroughly testing the setup, you can address any potential issues and fine-tune the camera’s positioning and settings for optimal performance. This proactive approach ensures that you’re well-prepared to capture stunning aerial footage with confidence and precision.
Conclusion
Congratulations! You’ve successfully learned how to attach an action camera to a drone, opening up endless possibilities for capturing breathtaking aerial footage. By carefully selecting the right mounting option, securely attaching the camera to the drone, and thoroughly testing the setup, you’ve equipped yourself to embark on an exhilarating aerial videography journey.
As you venture into the skies with your action camera-equipped drone, keep in mind the creative potential that this setup offers. Whether you’re capturing sweeping landscape vistas, dynamic action shots, or immersive aerial perspectives, the combination of a drone and an action camera empowers you to unleash your creativity and capture moments from a unique vantage point.
Remember to prioritize safety and compliance with local regulations when operating your drone, and always respect the privacy and safety of others. Additionally, continue to refine your aerial videography skills through practice and experimentation, discovering new techniques and styles along the way.
With your newfound knowledge and hands-on experience, you’re well-prepared to elevate your videography endeavors and create stunning visual content that captivates and inspires. So, take to the skies, unleash your creativity, and let your action camera-equipped drone become a tool for capturing awe-inspiring moments from a whole new perspective.