Introduction
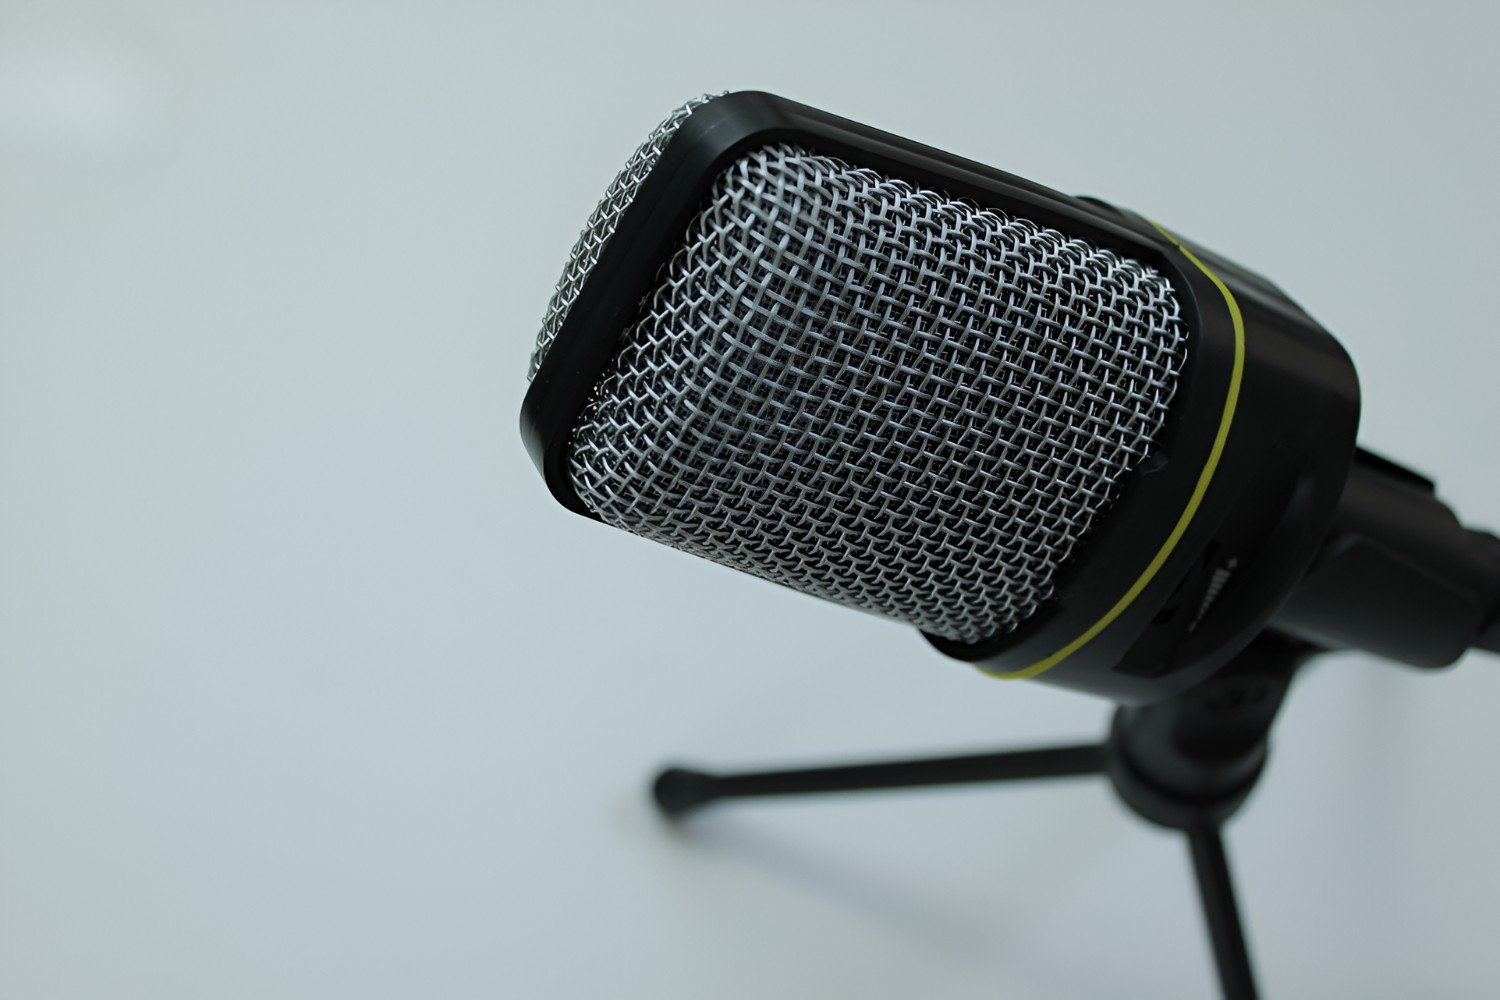
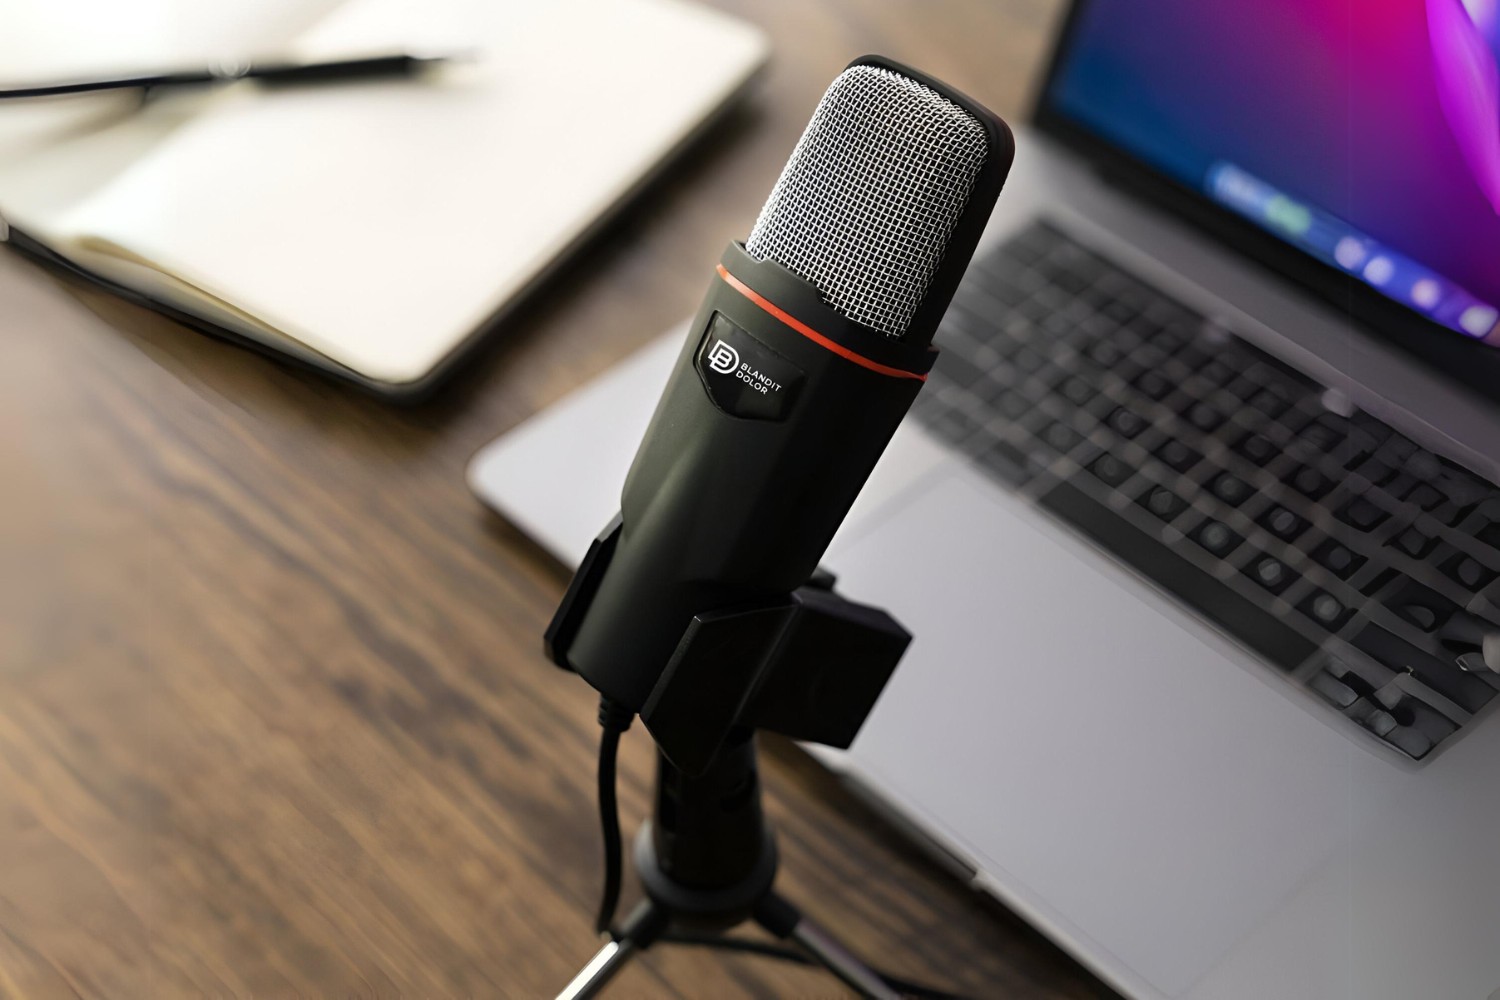
So, you've just purchased the SF-920 condenser microphone and you're eager to start using it for your recording projects. Whether you're a podcaster, musician, YouTuber, or simply someone looking to enhance the audio quality of your content, the SF-920 is a fantastic choice. This high-quality microphone is designed to capture clear and crisp sound, making it a valuable tool for various audio recording needs.
The SF-920 condenser microphone is known for its exceptional sensitivity and wide frequency response, which allows it to capture a broad range of sounds with remarkable clarity. Its cardioid pickup pattern is perfect for isolating the primary sound source while minimizing background noise, resulting in professional-grade recordings.
In this guide, we'll walk you through the unboxing and setup process, demonstrate how to connect the SF-920 condenser microphone to your device, and provide tips for adjusting the settings to achieve optimal performance. Additionally, we'll offer valuable insights on how to maximize sound quality and troubleshoot common issues that may arise during use.
By the end of this comprehensive guide, you'll be well-equipped to harness the full potential of your SF-920 condenser microphone, ensuring that your recordings are of the highest possible quality. Let's dive in and explore the exciting world of audio recording with the SF-920 condenser microphone.
Unboxing and Setting Up the SF-920 Condenser Microphone
Upon receiving your SF-920 condenser microphone, you’ll find that it comes neatly packaged in a sturdy box, ensuring that the delicate components are well-protected during transit. As you open the box, you’ll be greeted by the sleek and professional design of the microphone, exuding a sense of quality and craftsmanship.
Begin by carefully removing the SF-920 condenser microphone from its packaging, taking note of the accompanying accessories such as the shock mount, pop filter, and adjustable scissor arm stand. These accessories are essential for optimizing the microphone’s performance and ensuring a seamless recording experience.
Once you’ve unpacked the microphone and its accessories, it’s time to set up the SF-920 for use. Start by attaching the shock mount to the scissor arm stand, ensuring that it is securely fastened. The shock mount plays a crucial role in minimizing vibrations and handling noise, allowing the microphone to capture clean and undistorted audio.
Next, affix the SF-920 condenser microphone to the shock mount, taking care to position it at the desired angle for optimal sound capture. The adjustable scissor arm stand provides flexibility in positioning the microphone, enabling you to achieve the perfect setup for your recording environment.
With the microphone securely in place, it’s time to connect it to your recording device. The SF-920 condenser microphone utilizes a standard XLR connection, so ensure that your audio interface or mixer is equipped with an XLR input. If not, you may need to use an XLR to USB adapter to interface the microphone with your computer or recording device.
Once the physical setup is complete, take a moment to familiarize yourself with the microphone’s features and controls. The SF-920 condenser microphone may include switches for adjusting the polar pattern, pad, or high-pass filter, depending on the model. Understanding these features will empower you to customize the microphone’s performance to suit your specific recording needs.
With the SF-920 condenser microphone now set up and ready for action, you’re one step closer to unlocking its full potential. The next section will guide you through the process of connecting the SF-920 condenser microphone to your device, paving the way for captivating and professional-grade recordings.
Connecting the SF-920 Condenser Microphone to Your Device
Now that you’ve successfully set up the SF-920 condenser microphone, it’s time to establish the crucial connection between the microphone and your recording device. Whether you’re using a computer, audio interface, mixer, or other compatible equipment, the process of connecting the SF-920 is straightforward and essential for initiating your recording endeavors.
If you’re utilizing an audio interface or mixer with XLR inputs, begin by identifying the appropriate XLR cable for connecting the SF-920 condenser microphone. The XLR cable serves as the conduit for transmitting the microphone’s audio signal to your recording device, ensuring a reliable and high-quality connection.
Locate the XLR output on the SF-920 condenser microphone and securely attach one end of the XLR cable to this port. The robust and professional-grade XLR connection is designed to minimize signal interference and deliver pristine audio to your recording device, setting the stage for exceptional sound capture.
With one end of the XLR cable connected to the microphone, it’s time to route the other end to your recording device. If you’re using an audio interface or mixer, locate the XLR input designated for the microphone and connect the cable accordingly. Ensure that the connection is secure to prevent any signal loss or audio disruptions during recording.
For those utilizing a computer without XLR inputs, an XLR to USB adapter becomes an essential intermediary for interfacing the SF-920 condenser microphone with the computer. Simply connect the XLR end of the cable to the microphone and the USB end to your computer, allowing for seamless integration and audio transmission.
Once the SF-920 condenser microphone is physically connected to your recording device, it’s essential to configure the audio settings to recognize and optimize the microphone’s input. Depending on your recording software or operating system, you may need to select the SF-920 as the input device and adjust the input levels to ensure proper signal strength without distortion.
With the SF-920 condenser microphone successfully connected to your device and the audio settings configured, you’re now poised to embark on your recording journey with confidence. The subsequent section will delve into the nuances of adjusting the settings for the SF-920 condenser microphone, allowing you to tailor its performance to your specific recording requirements.
Adjusting the Settings for the SF-920 Condenser Microphone
Now that your SF-920 condenser microphone is seamlessly connected to your recording device, it’s time to delve into the process of fine-tuning the microphone’s settings to achieve optimal performance. Whether you’re aiming for crystal-clear vocals, pristine instrument recordings, or rich podcast audio, understanding and adjusting the microphone’s settings is essential for capturing high-quality sound.
One of the primary settings to consider is the microphone’s polar pattern. The SF-920 condenser microphone typically features a cardioid polar pattern, ideal for capturing sound from the front while minimizing noise from the sides and rear. This pattern is well-suited for solo recordings, vocals, and podcasting, offering focused sound capture and excellent off-axis rejection.
Depending on your recording environment and the sound sources you wish to capture, you may also have the option to adjust the microphone’s sensitivity or gain. This setting allows you to control the microphone’s input level, ensuring that it accurately captures the nuances of your audio without overloading or distorting the signal.
Furthermore, some models of the SF-920 condenser microphone may include additional features such as a pad or high-pass filter. The pad function attenuates the microphone’s sensitivity, making it suitable for recording loud sound sources without distortion. On the other hand, the high-pass filter helps reduce low-frequency rumble and handling noise, refining the clarity of your recordings.
As you adjust these settings, it’s crucial to monitor the microphone’s output using headphones or monitoring speakers, allowing you to gauge the impact of your adjustments in real time. This hands-on approach empowers you to fine-tune the SF-920 condenser microphone to suit the specific nuances of your recording environment and the characteristics of the sound you aim to capture.
Additionally, familiarize yourself with the input gain controls on your recording device or audio interface, as these settings complement the adjustments made on the microphone itself. Balancing the microphone’s settings with the input gain ensures that the audio signal remains clean, dynamic, and free from unwanted noise or distortion.
By carefully adjusting the settings for the SF-920 condenser microphone, you’re paving the way for exceptional audio recordings that resonate with clarity and fidelity. The subsequent section will provide invaluable tips for optimizing sound quality and harnessing the full potential of the SF-920 condenser microphone in diverse recording scenarios.
Tips for Getting the Best Sound Quality from the SF-920 Condenser Microphone
When aiming to capture the highest caliber of sound with your SF-920 condenser microphone, implementing the following tips can elevate the quality of your recordings and ensure that the microphone performs at its best in various recording scenarios.
- Optimize Your Recording Environment: Creating an acoustically favorable environment can significantly enhance the sound quality captured by the SF-920 condenser microphone. Consider utilizing acoustic treatments such as sound-absorbing panels and bass traps to minimize unwanted reflections and resonances, resulting in cleaner and more natural recordings.
- Position the Microphone Strategically: Experiment with the placement of the SF-920 condenser microphone to achieve the best sound capture. For vocal recordings, positioning the microphone at a slight angle and a few inches away from the sound source can yield warm and intimate vocals, while adjusting the distance and angle for instrument recordings can optimize the tonal characteristics of the sound.
- Monitor and Adjust Input Levels: Regularly monitor the input levels of the SF-920 condenser microphone to ensure that the audio signal remains within an optimal range. Avoiding signal clipping or excessively low levels is crucial for preserving the fidelity and dynamics of your recordings.
- Utilize Pop Filters and Shock Mounts: Incorporating a pop filter in front of the microphone can mitigate plosive sounds and sibilance, resulting in cleaner vocals. Additionally, the shock mount effectively isolates the microphone from vibrations and handling noise, contributing to smoother and distortion-free recordings.
- Experiment with Polar Patterns: If your SF-920 condenser microphone offers switchable polar patterns, explore the characteristics of each pattern to determine the most suitable option for your recordings. For instance, a figure-8 pattern may be ideal for capturing duet vocals or instrument ensembles, while the omnidirectional pattern excels in capturing ambient sounds and room acoustics.
- Engage the High-Pass Filter When Necessary: When recording in environments prone to low-frequency rumble or handling noise, activating the high-pass filter on the SF-920 condenser microphone can effectively attenuate these unwanted low-frequency elements, enhancing the overall clarity of your recordings.
- Regular Maintenance and Care: Keep the SF-920 condenser microphone and its accessories clean and free from dust and debris. Regularly inspect and clean the microphone diaphragm and ensure that the shock mount and scissor arm stand are properly maintained for optimal performance.
By incorporating these tips into your recording practices, you can harness the full potential of the SF-920 condenser microphone and consistently achieve exceptional sound quality across a diverse range of recording applications.
Troubleshooting Common Issues with the SF-920 Condenser Microphone
While the SF-920 condenser microphone is renowned for its exceptional performance, encountering occasional issues is not uncommon. Understanding how to troubleshoot these common issues can help you swiftly address any challenges that may arise during your recording sessions, ensuring a seamless and uninterrupted workflow.
Low Output or No Signal: If you’re experiencing low output levels or no signal from the SF-920 condenser microphone, first check the physical connections. Ensure that the XLR cable is securely connected to both the microphone and your recording device. Additionally, inspect the input gain settings on your audio interface or mixer to verify that the microphone’s signal is appropriately amplified.
Excessive Background Noise: When encountering unwanted background noise during recordings, assess the recording environment for potential sources of interference. Minimize ambient noise by isolating the microphone from air vents, electronic devices, and other noise-generating elements. Utilizing sound-absorbing materials and adjusting the microphone’s polar pattern can also aid in reducing background noise.
Plosives and Sibilance: Plosive sounds (such as “p” and “b” sounds) and sibilance (harsh “s” and “sh” sounds) can be mitigated by positioning a pop filter in front of the SF-920 condenser microphone. The pop filter serves to diffuse and attenuate these unwanted sounds, resulting in smoother and more intelligible vocal recordings.
Distorted or Overloaded Signal: If the audio signal from the SF-920 condenser microphone is distorted or overloaded, check the microphone’s input gain and adjust it to an appropriate level. Avoid setting the input gain too high, as this can lead to signal clipping and distortion. Additionally, consider engaging the microphone’s pad function if recording loud sound sources to attenuate the input level.
Inconsistent Frequency Response: In cases where the frequency response of the SF-920 condenser microphone appears inconsistent, inspect the microphone’s diaphragm and ensure that it is free from debris or damage. Cleaning the diaphragm with a gentle brush or cloth can help restore the microphone’s accurate frequency response and overall performance.
Intermittent Connectivity: If the microphone’s connection is intermittent or prone to cutting out, examine the XLR cable for any signs of wear or damage. Replace the cable if necessary to establish a reliable and uninterrupted connection between the SF-920 condenser microphone and your recording device.
By addressing these common issues with the SF-920 condenser microphone, you can uphold the integrity of your recordings and maintain a consistent standard of audio quality. The ability to troubleshoot and resolve these issues effectively contributes to a seamless and productive recording experience with the SF-920 condenser microphone.
Conclusion
Congratulations on delving into the world of audio recording with the SF-920 condenser microphone. Throughout this guide, we’ve explored the unboxing and setup process, the essential steps for connecting the microphone to your device, and the nuances of adjusting its settings to achieve optimal performance. Additionally, we’ve provided valuable tips for maximizing sound quality and troubleshooting common issues that may arise during your recording endeavors.
As you continue to harness the capabilities of the SF-920 condenser microphone, it’s essential to approach your recording sessions with creativity, precision, and a keen ear for detail. Whether you’re capturing captivating vocals, intricate instrumentals, immersive podcasts, or any other form of audio content, the SF-920 is a versatile and reliable companion that empowers you to realize your creative vision with exceptional sound quality.
By optimizing your recording environment, strategically positioning the microphone, and leveraging its features and accessories, you can unlock the full potential of the SF-920 condenser microphone and consistently produce professional-grade recordings that captivate and engage your audience.
Remember to embrace experimentation and exploration as you familiarize yourself with the SF-920 condenser microphone. Each recording session presents an opportunity to refine your techniques, discover new sonic possibilities, and push the boundaries of your creative expression.
As you embark on your audio recording journey, the knowledge and insights gained from this guide will serve as valuable assets, empowering you to navigate the intricacies of audio capture with confidence and proficiency. Whether you’re a seasoned audio professional or an enthusiastic newcomer, the SF-920 condenser microphone stands as a reliable tool that elevates the quality and impact of your recordings.
With a commitment to continuous improvement, attention to detail, and a passion for sonic excellence, you’re well-equipped to embark on a fulfilling and rewarding journey of audio creation with the SF-920 condenser microphone by your side. Embrace the art of sound capture, and let your creativity resonate with clarity, depth, and emotion through the remarkable capabilities of the SF-920 condenser microphone.


