Introduction
Welcome to our guide on how to use a USB microphone headset and HDMI audio at the same time on Windows 10. With the growing popularity of online meetings, gaming, and multimedia content, many people are in need of a setup that allows them to use both a USB microphone headset for clear audio input and HDMI audio for immersive sound output. However, achieving this combination can sometimes be a challenge due to certain limitations in the Windows 10 operating system.
In this article, we will explore the ins and outs of using a USB microphone headset and HDMI audio simultaneously. We will address common issues that arise when trying to configure this setup, and provide step-by-step instructions on how to overcome these obstacles. Whether you are an avid gamer, content creator, or someone who simply wants the best audio experience during online meetings, this guide will help you unlock the full potential of your audio devices.
Before we dive into the troubleshooting and configuration steps, it is essential to understand the basics of USB microphone headsets and HDMI audio. By grasping the underlying concepts, you will have a better understanding of how to successfully set up and utilize these devices in tandem. So, let’s start by exploring what exactly USB microphone headsets and HDMI audio are.
Understanding USB Microphone Headset and HDMI Audio
Before we delve into the intricacies of using a USB microphone headset and HDMI audio simultaneously, it’s important to have a clear understanding of these two components.
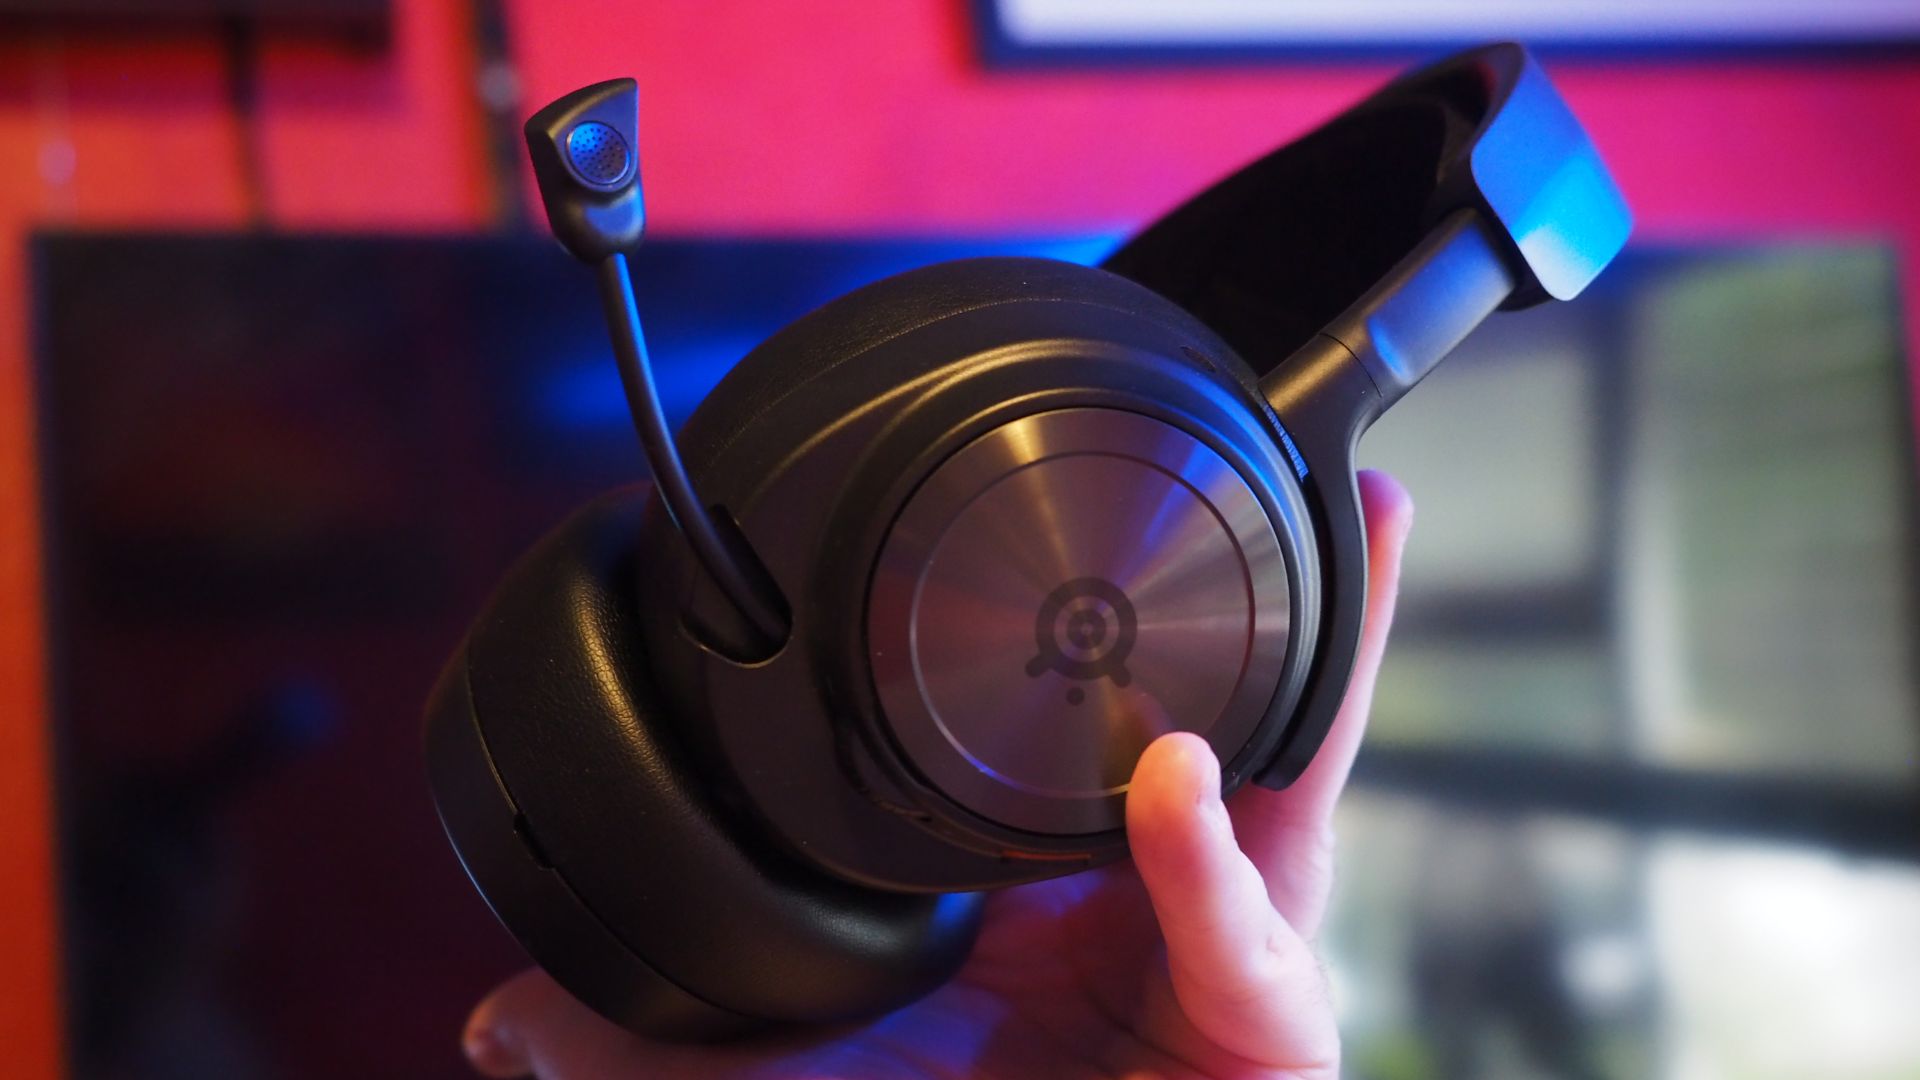
A USB microphone headset is a combination of a microphone and headphones that connect to your computer via a USB port. This type of headset is widely used by gamers, content creators, and individuals who require high-quality audio input and output for tasks such as voice recording, online meetings, and gaming communication. Unlike traditional analog headsets, USB microphone headsets offer superior sound quality, built-in noise cancellation features, and convenient plug-and-play functionality.
On the other hand, HDMI (High-Definition Multimedia Interface) audio refers to the audio signals that are transmitted through an HDMI cable. HDMI cables are commonly used to connect devices, such as computers, gaming consoles, and media players, to external displays like TVs and monitors. In addition to transmitting video signals, HDMI cables also carry digital audio signals, allowing for a seamless audio-visual experience. This means that when you connect your computer to a display using an HDMI cable, the audio will automatically be routed through the display device, providing you with high-quality sound without the need for additional audio cables.
When it comes to using both a USB microphone headset and HDMI audio at the same time, Windows 10 presents a challenge. By default, Windows 10 is designed to prioritize one audio device over another, resulting in only one device being active at a time. This can be frustrating for users who want to use their USB microphone headset for audio input and HDMI audio for output. Fortunately, there are ways to overcome this limitation and configure your system to use both devices simultaneously.
Now that we have a clear understanding of USB microphone headsets and HDMI audio, let’s move on to troubleshooting common issues that arise when attempting to use them together.
Troubleshooting Common Issues
When trying to use a USB microphone headset and HDMI audio simultaneously on Windows 10, you may encounter several common issues that can impede your desired setup. Identifying and troubleshooting these issues is crucial for achieving the desired audio configuration. Let’s take a look at some of the common issues you may encounter:
1. Device Recognition: Windows 10 may not automatically recognize both your USB microphone headset and HDMI audio device. This can result in only one device being recognized and utilized by the system, while the other remains inactive. In such cases, you need to ensure that both devices are properly connected to your computer and that the necessary drivers are installed.
2. Device Priority: By default, Windows 10 assigns priority to one audio device over others. This can lead to your USB microphone headset or HDMI audio device becoming the default audio device, with the other being dormant. To resolve this issue, you will need to adjust the audio settings and configure the system to allow simultaneous use of both devices.
3. Audio Output Routing: Another common issue is the routing of audio output. By default, Windows 10 directs audio output to the HDMI audio device when it is connected. This can cause your USB microphone headset to go silent. To overcome this, you will need to configure the audio output settings to deliver sound to both the HDMI audio device and the USB microphone headset simultaneously.
4. Application-Specific Settings: Some applications have their own audio settings that might conflict with the default system settings. This can cause one of the devices to be inactive or produce distorted audio. To tackle this issue, you will need to configure the audio settings within individual applications to ensure they recognize and utilize both your USB microphone headset and HDMI audio simultaneously.
By addressing these common issues, you’ll be able to troubleshoot and resolve any obstacles that prevent you from using a USB microphone headset and HDMI audio together effectively. In the next section, we will provide you with a step-by-step guide on how to set up and configure both devices on Windows 10.
Step-by-Step Guide: Setting Up USB Microphone Headset and HDMI Audio
Setting up and configuring a USB microphone headset and HDMI audio to work together on Windows 10 requires a series of steps. By following this step-by-step guide, you can ensure that both devices are recognized and utilized simultaneously. Let’s get started:
Step 1: Connect both your USB microphone headset and HDMI audio device to your computer. Ensure that they are properly plugged in and connected to the appropriate ports.
Step 2: Open the Sound settings on your Windows 10 computer. To do this, right-click on the volume icon in the taskbar and select “Open Sound settings.”
Step 3: In the Sound settings window, under the “Output” section, you will see the list of available audio devices. Locate your HDMI audio device and set it as the default output device.
Step 4: Next, navigate to the “Input” section in the Sound settings. Locate your USB microphone headset and set it as the default input device.
Step 5: Test the configuration by speaking into your USB microphone headset and playing a sound or video that uses audio. Verify that the sound is being input through your microphone headset and the output is coming through your HDMI audio device.
Step 6: If the audio output is not being routed through your HDMI audio device, you may need to adjust the audio output settings for specific applications. Open the application that you are using for multimedia playback (for example, a video player or game launcher) and navigate to its audio settings. Look for an option to select the audio output device and choose your HDMI audio device.
Step 7: Additionally, you may want to explore third-party software options that specialize in audio routing and device management. These software solutions can provide more advanced control and customization for managing multiple audio devices simultaneously.
By following these steps and adjusting the necessary settings, you should now have both your USB microphone headset for clear audio input and HDMI audio for immersive sound output working together seamlessly on your Windows 10 system.
In the next section, we will discuss alternative methods and software tools that can further enhance your audio configuration.
Method 1: Using Sound Settings in Windows 10
Windows 10 provides built-in sound settings that allow you to configure and manage audio devices. This method utilizes the Sound settings to set up your USB microphone headset and HDMI audio devices to work simultaneously. Here’s how you can do it:
Step 1: Connect both your USB microphone headset and HDMI audio device to your computer.
Step 2: Right-click on the volume icon in the taskbar and select “Open Sound settings.”
Step 3: In the Sound settings window, under the “Output” section, locate your HDMI audio device in the list of available devices. Set it as the default output device by clicking on it and selecting “Set as Default.”
Step 4: Navigate to the “Input” section in the Sound settings. Locate your USB microphone headset in the list of available devices and set it as the default input device by clicking on it and selecting “Set as Default.”
Step 5: Test the configuration by speaking into your USB microphone headset and playing a sound or video with audio. Ensure that the sound is being input through your microphone headset and the output is being routed through your HDMI audio device.
Step 6: If the audio output is not being routed through your HDMI audio device for specific applications, you can adjust the audio output settings within those applications. Open the desired application, navigate to its audio settings, and select your HDMI audio device as the preferred output device.
Using the Sound settings in Windows 10 provides a straightforward and user-friendly method for setting up and managing your USB microphone headset and HDMI audio devices. However, if you encounter any issues or require more advanced audio routing options, continue reading to explore alternative methods and third-party software solutions in the following sections.
Method 2: Configuring Audio Settings in Applications
While Windows 10’s built-in Sound settings provide a general configuration for audio devices, individual applications often have their own audio settings that can override the system settings. This method focuses on configuring the audio settings within applications to ensure that both your USB microphone headset and HDMI audio devices are utilized simultaneously. Here’s how:
Step 1: Connect your USB microphone headset and HDMI audio device to your computer.
Step 2: Open the application you wish to configure, such as a video player or game launcher, that supports audio settings customization.
Step 3: Locate the audio settings menu within the application. This is typically found within the settings or preferences section.
Step 4: Look for an option to select the audio output device. Choose your HDMI audio device from the available options. This ensures that the application’s audio output is routed through your HDMI audio device.
Step 5: Similarly, find the option to select the audio input device. Choose your USB microphone headset as the input device. This ensures that the application uses your USB microphone headset for audio input.
Step 6: Save the audio settings and exit the application’s settings menu.
Step 7: Test the configuration by using your USB microphone headset to input audio while playing a sound or video in the application. Verify that the audio input is being captured by your USB microphone headset and the output is being directed through your HDMI audio device.
By configuring the audio settings within individual applications, you can ensure that both your USB microphone headset and HDMI audio devices are used simultaneously. This method allows for flexibility in managing audio devices on a per-application basis, giving you more control over your audio output and input sources.
If Method 2 does not adequately meet your needs or if you require advanced audio routing options, continue reading to explore Method 3, which involves using third-party software for audio routing.
Method 3: Using Third-Party Software for Audio Routing
If you are looking for more advanced audio routing options or if the previous methods do not fully satisfy your needs, using third-party software can provide a more customizable solution. This method involves leveraging dedicated software tools specifically designed for audio management and routing. Here’s how you can use third-party software for audio routing:
Step 1: Research and identify reputable third-party software tools that offer audio routing functionality. Some popular options include VoiceMeeter, Audio Router, and CheVolume.
Step 2: Download and install the chosen third-party software onto your Windows 10 system. Follow the instructions provided by the software developer for a successful installation.
Step 3: Launch the third-party software and explore its user interface. Familiarize yourself with the various options and settings available to customize your audio routing configuration.
Step 4: Connect your USB microphone headset and HDMI audio device to your computer.
Step 5: Within the third-party software, locate the audio devices section or settings. Here, you should see a list of available audio devices connected to your system.
Step 6: Assign your USB microphone headset as the input device and your HDMI audio device as the output device within the third-party software. This will ensure that the software routes audio input and output accordingly.
Step 7: Test the audio configuration by using your USB microphone headset to input audio and playing a sound or video. Verify that the audio input is being captured by your USB microphone headset and the output is being directed through your HDMI audio device.
Step 8: Adjust any additional settings in the third-party software to further refine your audio routing configuration according to your preferences.
By utilizing third-party software for audio routing, you can have more granular control over your audio devices and achieve a customized setup that suits your specific needs. These tools offer advanced features and options that go beyond what is available in Windows 10’s built-in settings, allowing for a more tailored and streamlined audio experience.
Remember to choose a reputable third-party software tool from trusted sources and always follow the instructions provided by the software developers to ensure a successful installation and optimal performance.
With this method, you can take full advantage of the capabilities of your USB microphone headset and HDMI audio device, seamlessly integrating them into your Windows 10 system.
Conclusion
Configuring a USB microphone headset and HDMI audio to work simultaneously on Windows 10 may initially seem daunting, but with the right guidance, it is achievable. By understanding the basics of USB microphone headsets and HDMI audio, troubleshooting common issues, and following the step-by-step methods outlined in this guide, you can successfully set up and utilize both devices for a seamless audio experience.
Through the Sound settings in Windows 10, you can easily configure your system to recognize and utilize both the USB microphone headset and HDMI audio device. Additionally, configuring the audio settings within individual applications offers flexibility and control over audio input and output sources on a per-application basis.
If you desire more advanced customization and routing options, third-party software provides a viable solution. These software tools offer a range of features and settings that allow for more granular control over your audio devices, enhancing your overall audio configuration.
Remember to test your setup after each adjustment to ensure that both the USB microphone headset and HDMI audio devices are working simultaneously and as intended. Additionally, make sure you choose reputable third-party software from trusted sources and follow installation instructions carefully.
By following the methods outlined in this guide and adapting them to your specific audio devices and needs, you can achieve the optimal setup for using a USB microphone headset and HDMI audio together on Windows 10. Whether you are engaged in online meetings, gaming, content creation, or simply seeking a premium audio experience, this guide has provided you with the necessary knowledge and steps to unlock the full potential of your audio devices.
Now that you have the tools and know-how, go ahead and enjoy the benefits of using your USB microphone headset and HDMI audio simultaneously on your Windows 10 system. Embrace the immersive sound quality and clear audio input as you engage in your favorite activities or collaborate with others in a seamless audio environment.


