Introduction
Are you a music enthusiast looking to explore the world of digital music production? If so, you're in for a treat! Transforming your computer into a drum machine opens up a realm of creative possibilities, allowing you to craft captivating beats and rhythms without the need for physical drum kits. Whether you're a seasoned musician or a budding producer, delving into the realm of digital drum machines can ignite your passion for music and unleash your creativity.
In this comprehensive guide, you will learn how to seamlessly convert your computer into a powerful drum machine, enabling you to craft professional-grade drum patterns and beats from the comfort of your own home. By following the step-by-step instructions provided, you'll be well on your way to creating compelling and dynamic drum tracks that elevate your music to new heights.
Buckle up and get ready to embark on a musical journey that will revolutionize your approach to music production. Let's dive into the exciting world of digital drum machines and uncover the secrets to transforming your computer into a versatile and expressive musical instrument.
Step 1: Install Drum Machine Software
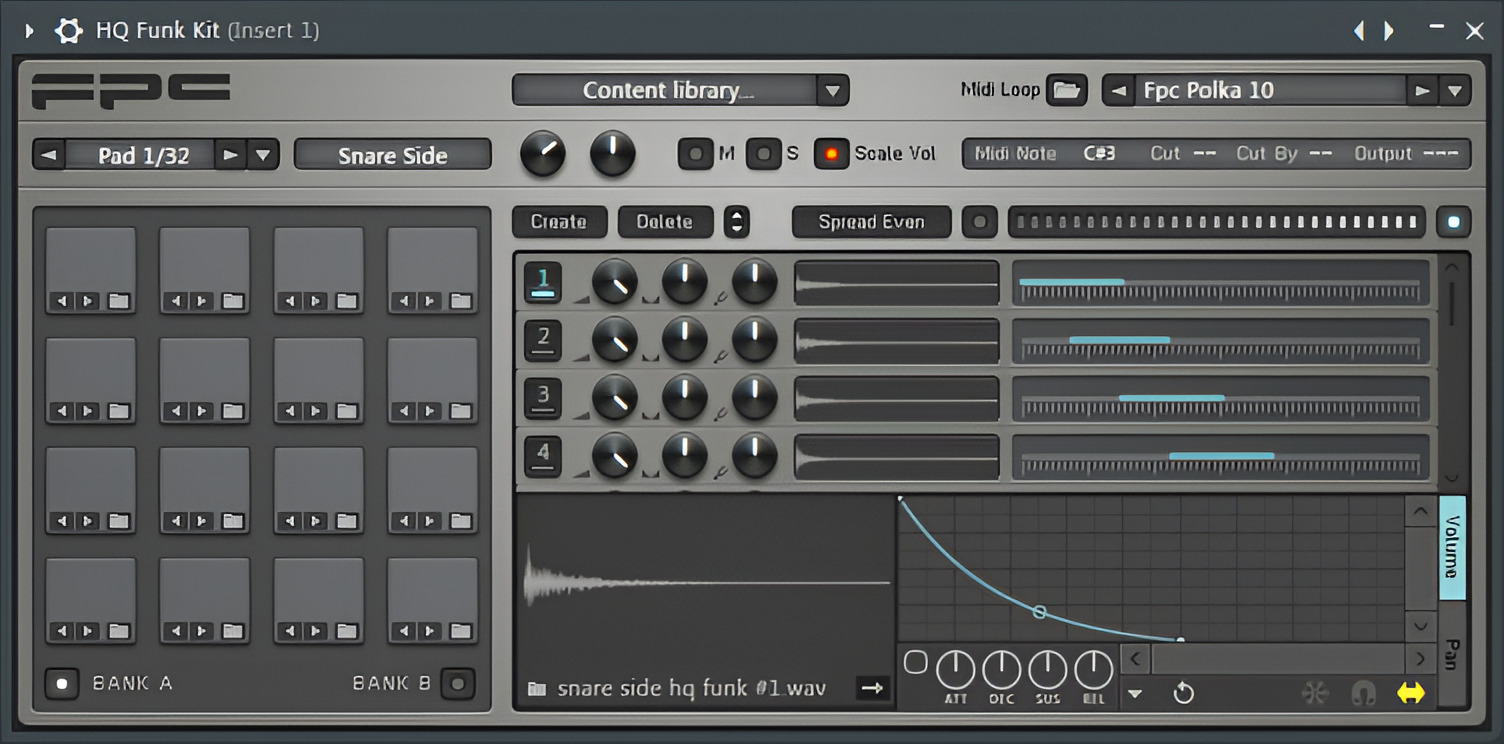
Before embarking on your drum machine transformation journey, the first crucial step is to procure and install dedicated drum machine software on your computer. This software serves as the virtual interface through which you can create, manipulate, and sequence drum sounds to craft intricate and compelling rhythms.
There is a myriad of drum machine software options available, ranging from user-friendly interfaces suitable for beginners to advanced platforms equipped with extensive sound libraries and customizable features. Some popular drum machine software includes Ableton Live, FL Studio, and Native Instruments Battery, each offering unique capabilities tailored to diverse musical preferences and production styles.
To install drum machine software, begin by researching and selecting a program that aligns with your musical objectives and technical proficiency. Once you’ve chosen the software that resonates with your creative vision, proceed to download it from the official website or authorized distributors. Follow the installation instructions provided by the software developer, ensuring that the installation process is seamless and error-free.
Upon successful installation, familiarize yourself with the software’s interface and features, as this will empower you to harness its full potential when crafting captivating drum patterns. Take the time to explore the built-in drum kits, sound libraries, and effects to gain a comprehensive understanding of the software’s capabilities.
By installing dedicated drum machine software, you lay the foundation for an immersive and dynamic music production experience, setting the stage for the creative exploration of rhythmic expression. With the software at your fingertips, you’re poised to embark on the next steps of transforming your computer into a versatile drum machine that amplifies your musical prowess.
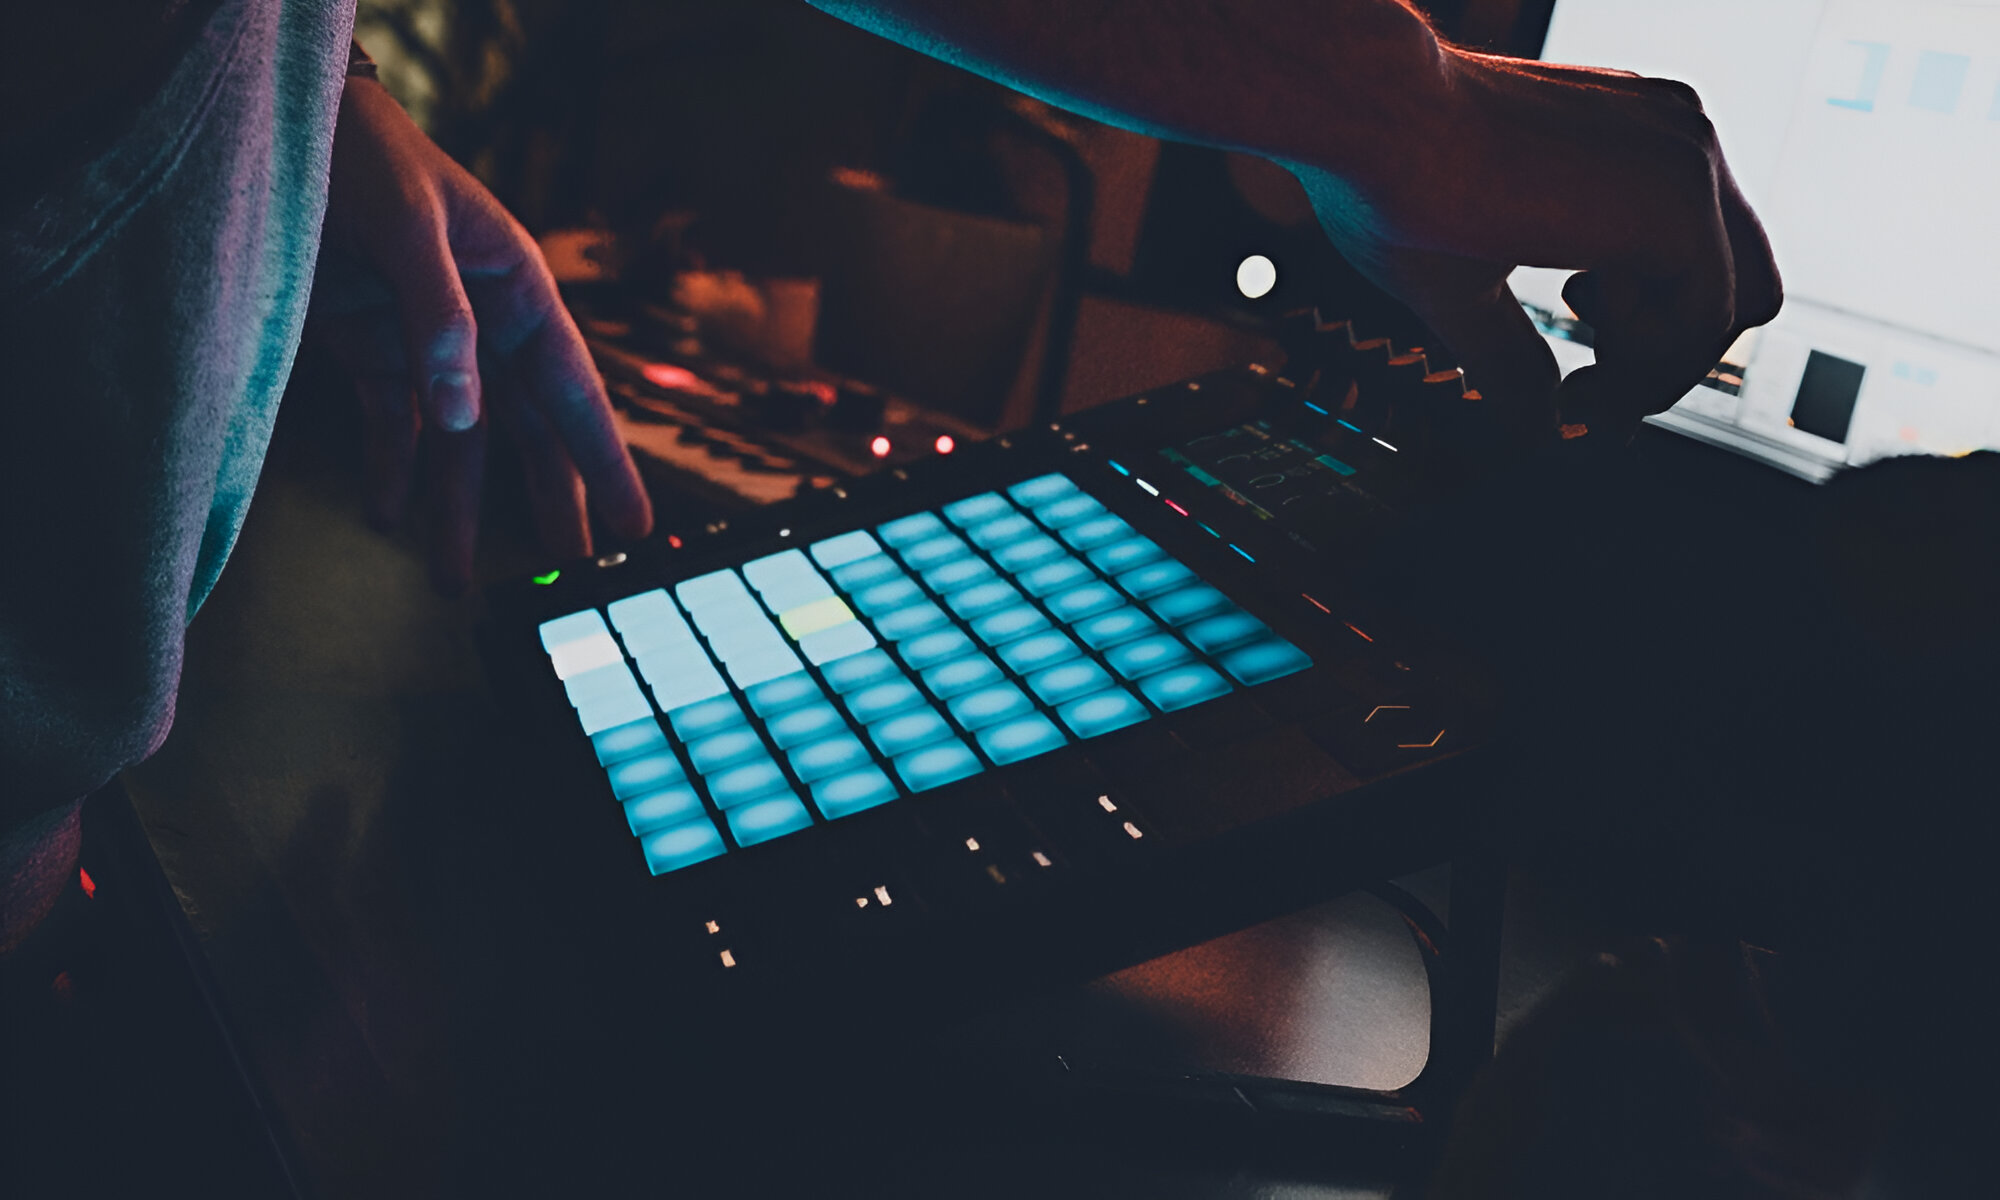
Step 2: Connect MIDI Controller
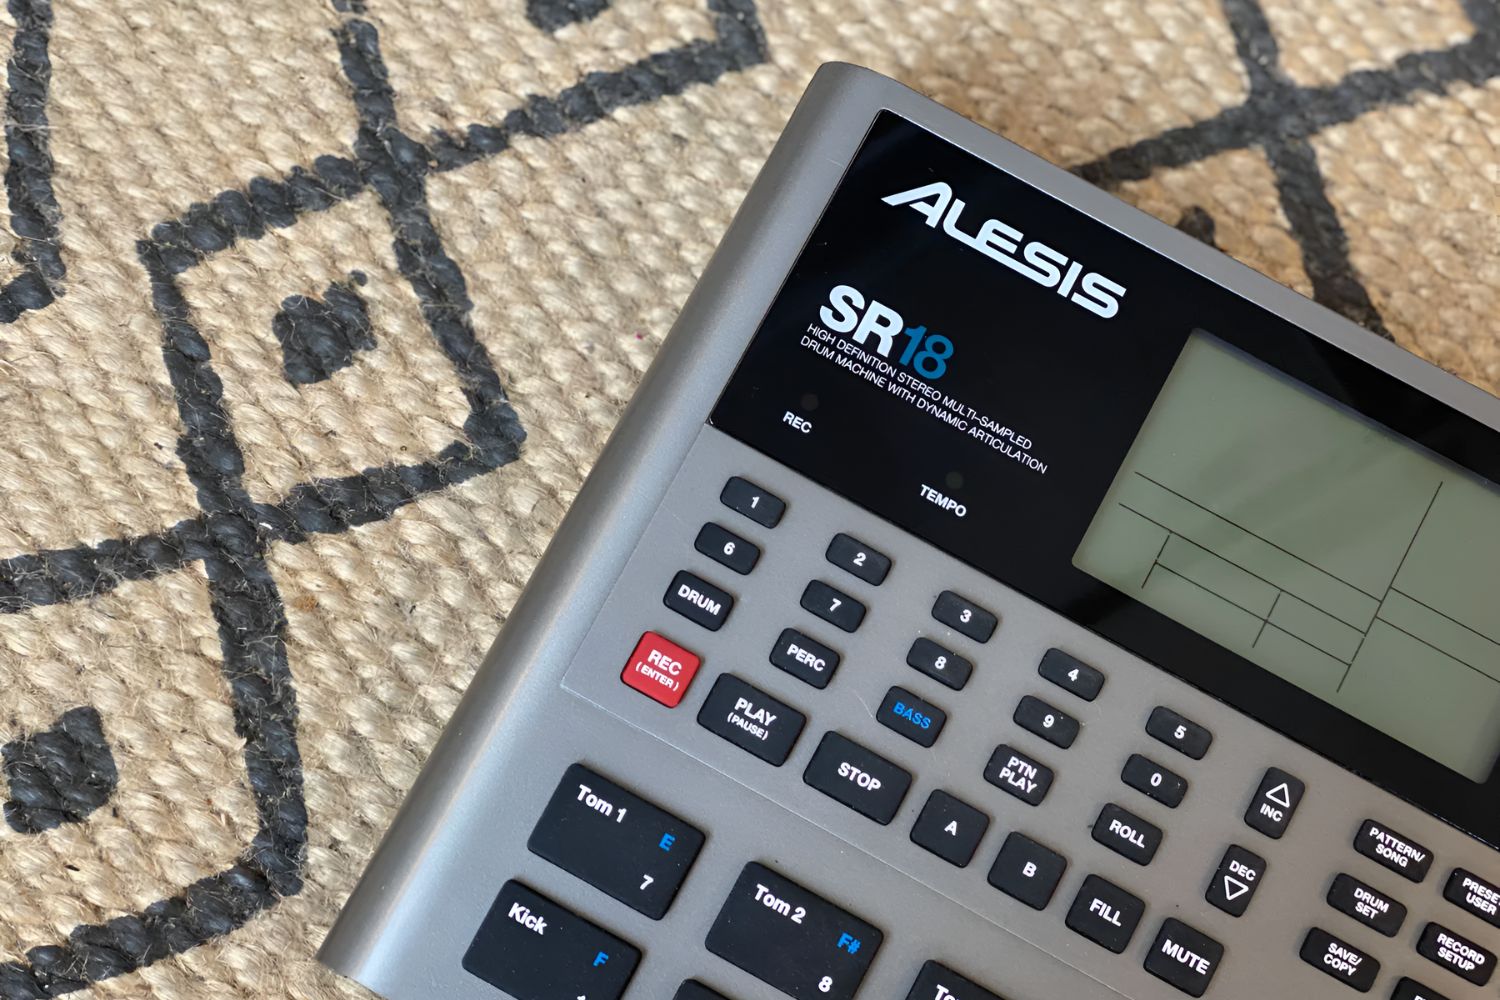
Now that you’ve installed the drum machine software, the next pivotal step in transforming your computer into a fully functional drum machine involves the seamless integration of a MIDI (Musical Instrument Digital Interface) controller. A MIDI controller serves as the bridge between your physical interactions and the digital realm, allowing you to trigger drum sounds, manipulate parameters, and craft expressive rhythms with tactile precision.
When selecting a MIDI controller, consider factors such as the number of drum pads, knobs, faders, and overall build quality to ensure that it aligns with your performance and production requirements. Popular MIDI controllers tailored for drum programming include the Akai MPD series, Novation Launchpad, and Arturia BeatStep, each offering unique features designed to enhance your creative workflow.
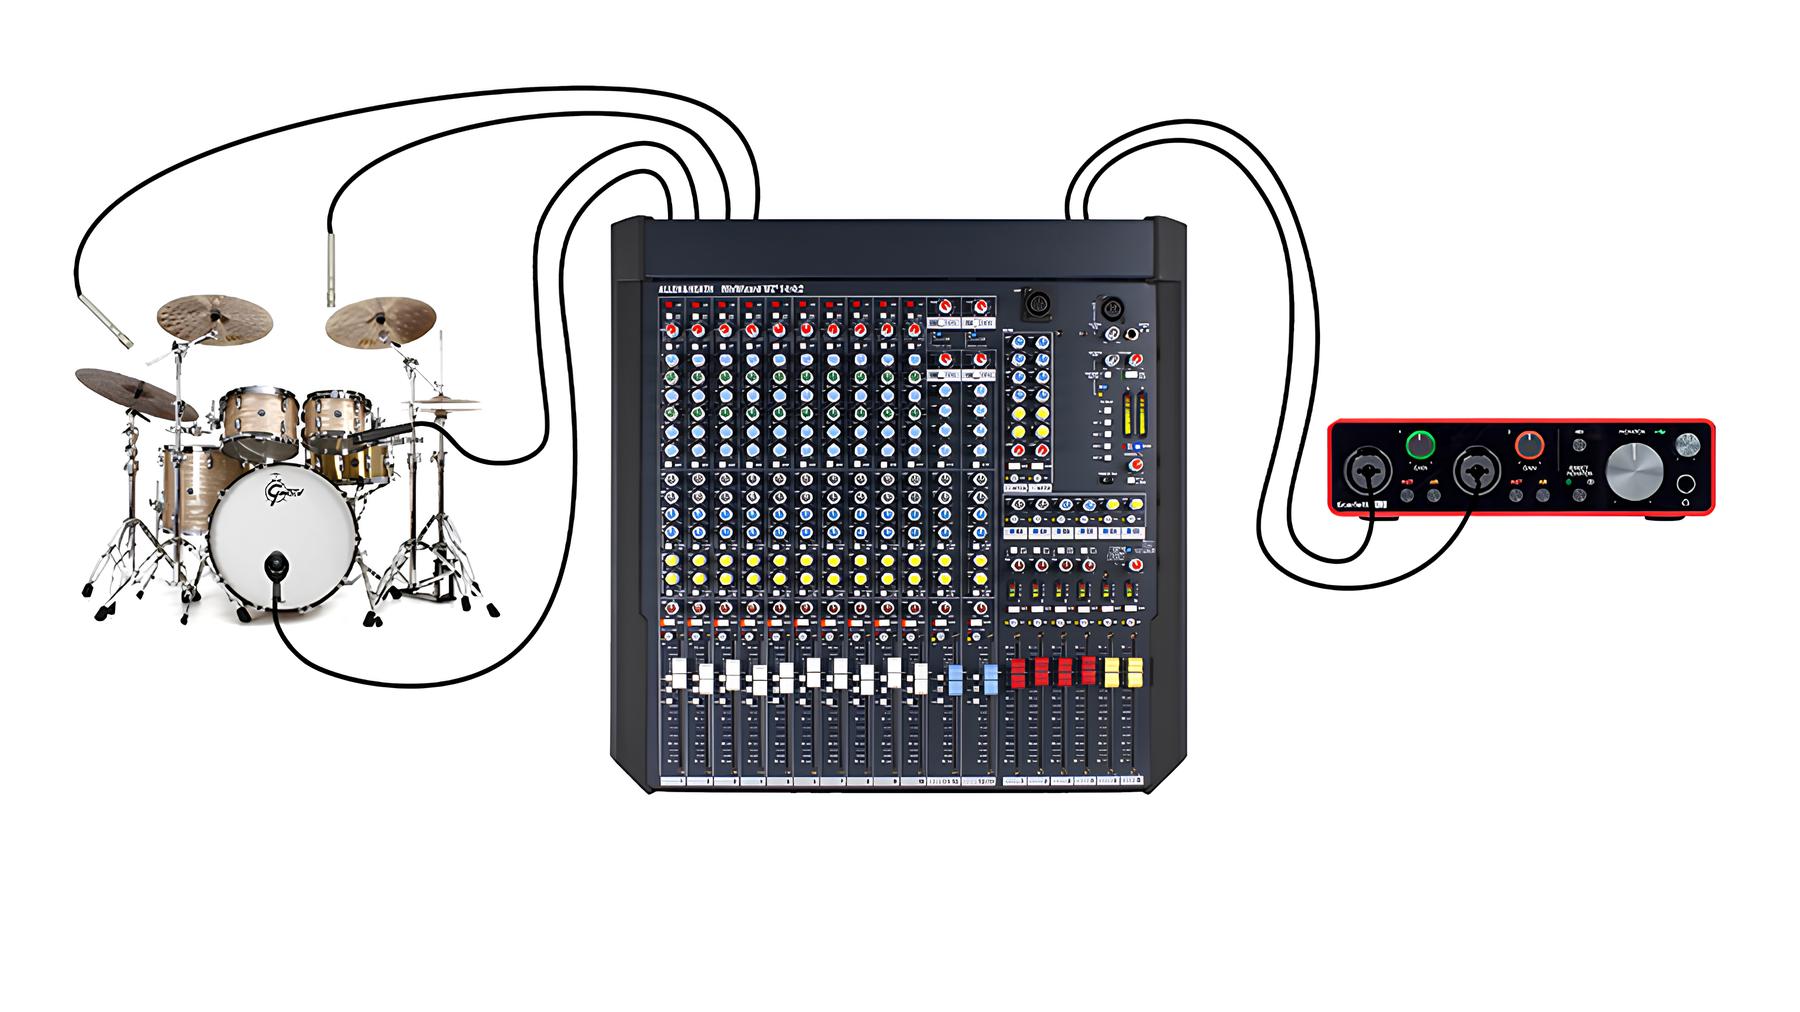
To connect your MIDI controller to your computer, begin by plugging the controller into an available USB port using a standard USB cable. Once connected, your computer should detect the MIDI controller, and the drum machine software you installed in the previous step should recognize the controller as a viable input device.
After the physical connection is established, configure the MIDI controller within your drum machine software to ensure seamless communication between the controller and the software interface. This may involve mapping the controller’s pads and knobs to specific drum sounds and parameters, allowing for intuitive and tactile manipulation during the music production process.
Upon successful integration, your MIDI controller becomes a powerful instrument for crafting dynamic drum patterns, enabling you to tap into your rhythmic instincts and infuse your music with expressive nuances. With the MIDI controller at your disposal, you’re poised to explore the art of rhythm programming and unleash your creativity in crafting captivating drum sequences.
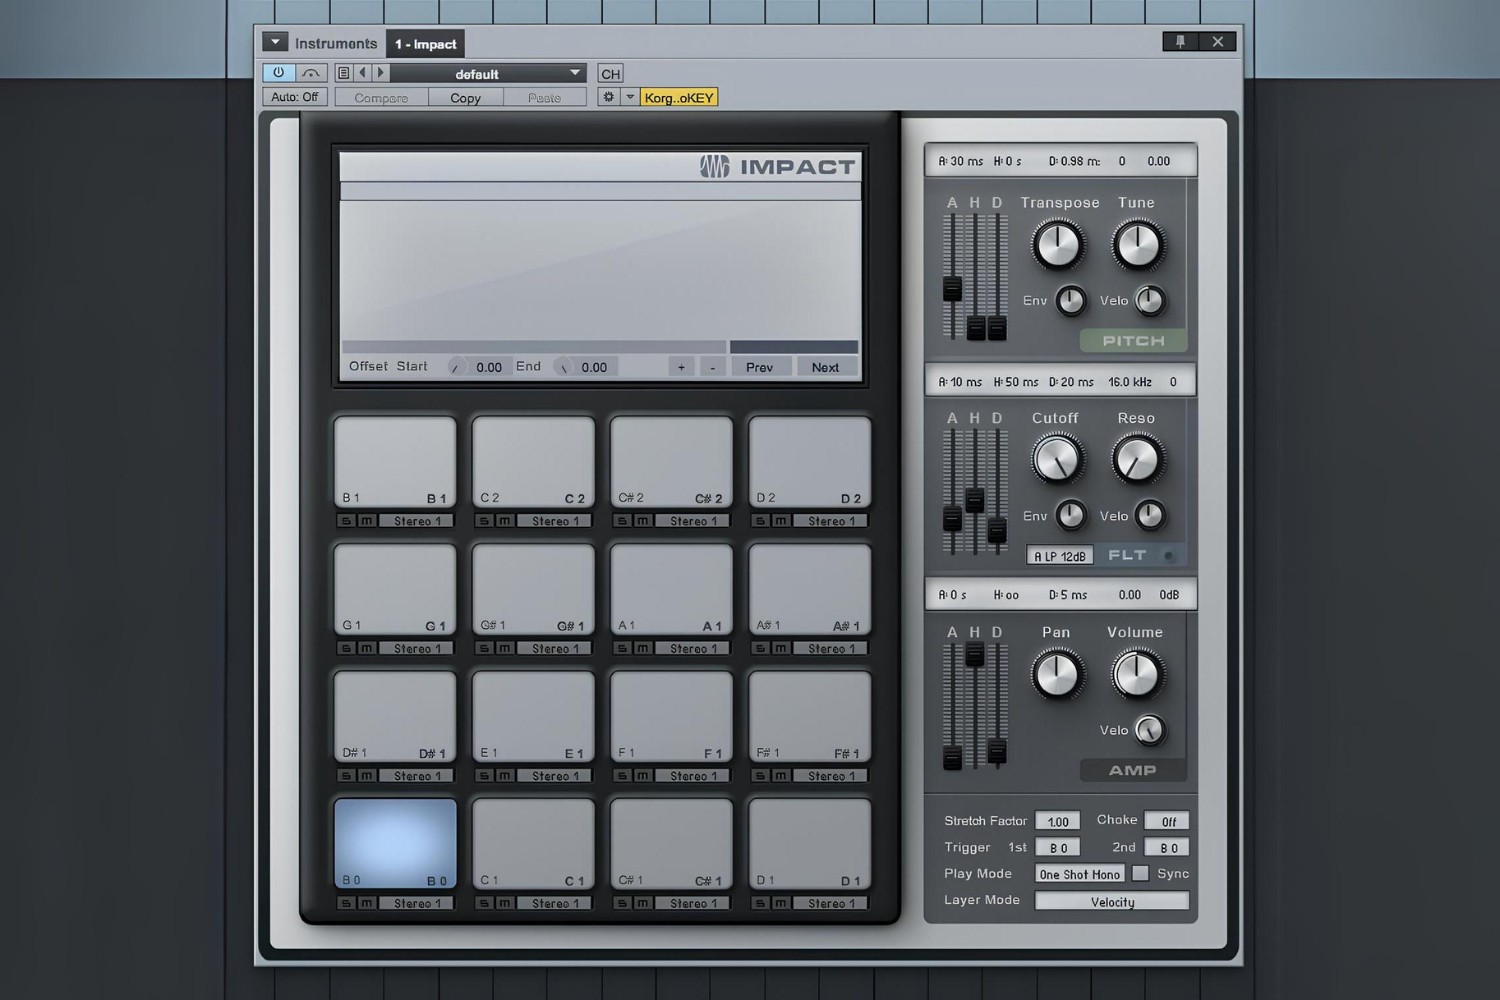
Step 3: Set Up Drum Pads
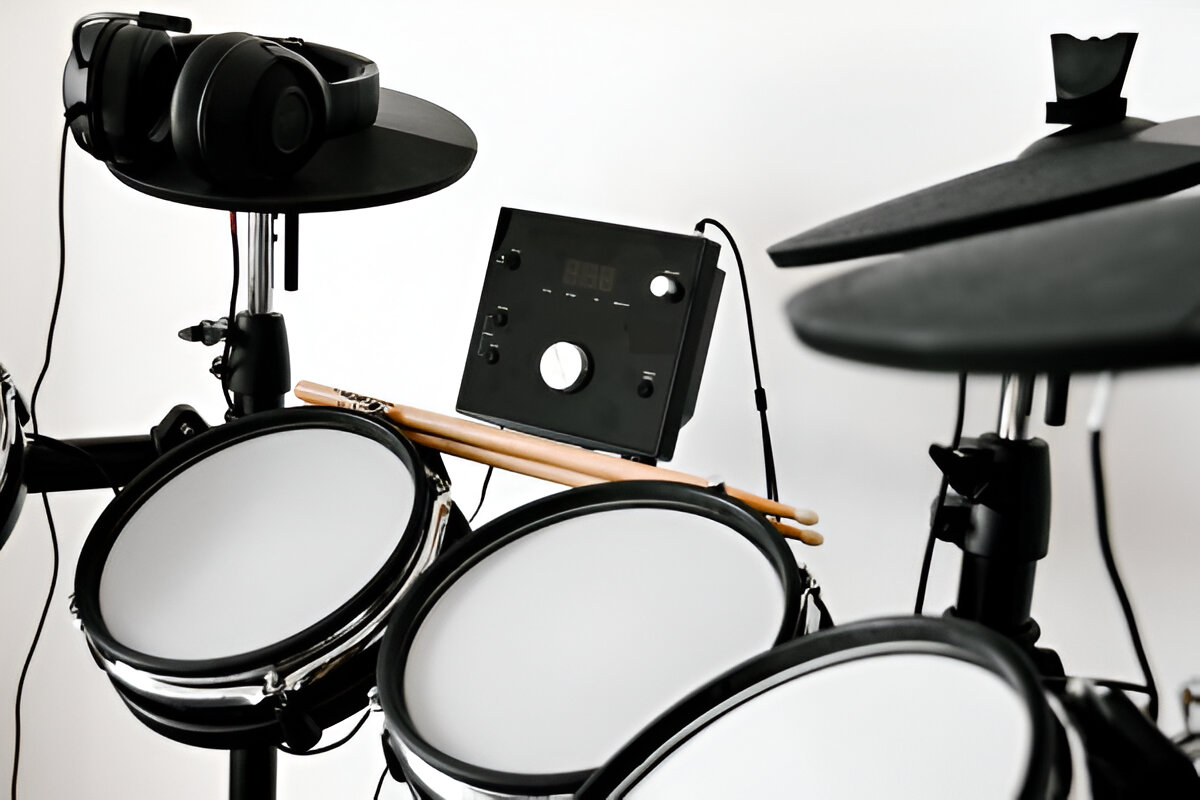
As you venture further into the realm of transforming your computer into a drum machine, the configuration and optimization of drum pads within your MIDI controller play a pivotal role in shaping your rhythmic canvas. Drum pads serve as the tactile interface through which you trigger and manipulate individual drum sounds, providing a hands-on approach to crafting dynamic and expressive drum patterns.
Begin by familiarizing yourself with the layout and functionality of the drum pads on your MIDI controller. Depending on the model, the drum pads may offer velocity sensitivity, allowing for nuanced variations in volume and timbre based on the intensity of your strikes. Understanding the capabilities of the drum pads empowers you to leverage their full potential when sculpting compelling rhythms.
Next, within your drum machine software, assign specific drum sounds or samples to each drum pad on your MIDI controller. This mapping process enables you to designate distinct sounds, such as kick drums, snares, hi-hats, and percussive elements, to individual pads, creating a cohesive and versatile drum kit at your fingertips.
Once the drum pads are configured and mapped to your desired sounds, take the time to experiment with different pad layouts and organization schemes that align with your preferred drumming style and performance techniques. Customizing the arrangement of drum pads allows for intuitive and efficient access to a diverse array of drum sounds, facilitating seamless and expressive rhythm programming.
Furthermore, explore the settings within your drum machine software to fine-tune the responsiveness and behavior of the drum pads, including options for adjusting sensitivity, pad response curves, and pad-to-sound dynamics. These optimizations ensure that the drum pads deliver a responsive and immersive playing experience, empowering you to infuse your drum patterns with nuanced articulations and rhythmic intricacies.
By meticulously setting up and optimizing the drum pads on your MIDI controller, you establish a tactile and expressive interface for sculpting captivating drum sequences, bridging the gap between physical performance and digital creativity. With the drum pads primed for action, you’re poised to delve into the next phase of crafting compelling drum patterns that elevate your musical productions to new heights.
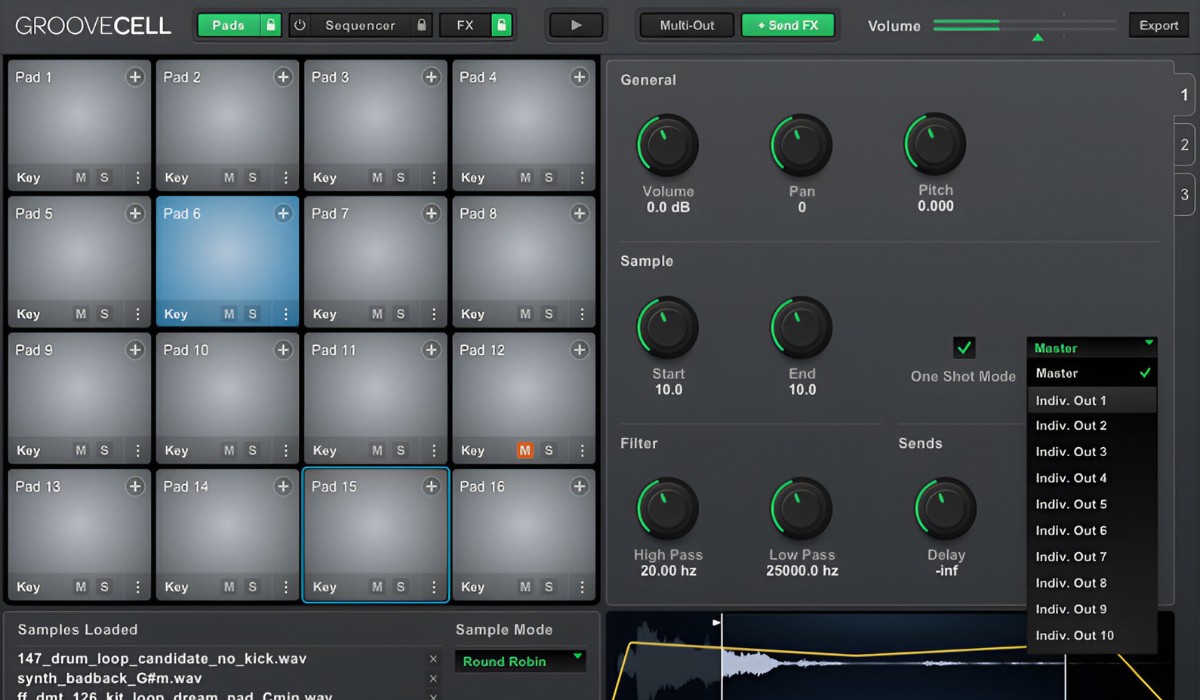
Step 4: Customize Drum Sounds
With your MIDI controller and drum pads seamlessly integrated, the next crucial step in transforming your computer into a powerful drum machine involves the meticulous customization of drum sounds. Tailoring the sonic characteristics of individual drum elements allows you to imbue your rhythms with personality, depth, and sonic flair, elevating your music production to new heights of creativity and expressiveness.
Begin by delving into your drum machine software’s sound libraries, sample packs, and synthesis engines to explore a diverse array of drum sounds and percussion elements. From classic analog drum machine emulations to cutting-edge synthesized percussion, the sonic palette at your disposal offers boundless opportunities for sonic experimentation and sonic manipulation.
Once you’ve identified drum sounds that resonate with your creative vision, delve into the parameters and controls available within your drum machine software to customize and sculpt each drum sound to perfection. This may involve adjusting parameters such as pitch, decay, envelope shaping, filtering, and effects processing to tailor the sonic characteristics to suit your musical compositions.
Furthermore, consider layering and blending multiple drum sounds to create rich and complex percussive textures. Experiment with combining kick drums, snares, hi-hats, and percussion elements to craft cohesive and impactful drum kits that resonate with the sonic identity of your musical productions.
Explore the creative potential of effects processing within your drum machine software, including reverbs, delays, distortions, and modulations, to imbue your drum sounds with spatial depth, sonic movement, and textural richness. Harnessing the power of effects processing allows you to infuse your drum patterns with immersive sonic landscapes and captivating sonic nuances.
As you meticulously customize and sculpt your drum sounds, strive to imbue each element with a distinct sonic fingerprint, ensuring that every kick, snare, and percussive accent contributes to the cohesive and expressive nature of your rhythmic compositions. Embrace the creative freedom to push the sonic boundaries and craft drum sounds that resonate with your artistic vision and musical sensibilities.
By customizing and refining your drum sounds with precision and creativity, you breathe life into your rhythmic creations, infusing them with character, depth, and sonic allure. With your personalized drum sounds at the forefront, you’re poised to embark on the next phase of crafting captivating drum patterns that define the sonic identity of your musical productions.
Step 5: Record and Edit Drum Patterns
As you immerse yourself in the realm of transforming your computer into a versatile drum machine, the ability to record and edit drum patterns serves as the cornerstone of your rhythmic explorations. This pivotal step empowers you to capture and refine your rhythmic ideas, sculpting intricate and compelling drum sequences that form the rhythmic backbone of your musical compositions.
Utilize the intuitive sequencing capabilities within your drum machine software to record drum patterns in real-time or step sequence individual drum hits with precision and control. Whether you prefer a hands-on approach to performance or meticulous programming of drum sequences, the software’s sequencing tools provide a flexible and dynamic platform for capturing your rhythmic inspirations.
Upon recording your drum patterns, delve into the editing features of your drum machine software to refine and fine-tune the rhythmic nuances of each drum element. This may involve adjusting note velocities, quantizing timing discrepancies, and refining the dynamics of individual drum hits to ensure a cohesive and polished rhythmic performance.
Explore the creative potential of drum pattern variations, fills, and rhythmic embellishments to inject movement and dynamism into your drum sequences. Experiment with evolving patterns, polyrhythmic motifs, and subtle variations to infuse your drum compositions with organic and expressive rhythmic qualities.
Delve into the world of drum pattern modulation and automation within your drum machine software, allowing you to introduce evolving rhythmic textures, parameter modulations, and dynamic shifts within your drum sequences. Harnessing the power of modulation and automation empowers you to imbue your drum patterns with evolving dynamics and captivating rhythmic developments.
Embrace the iterative nature of recording and editing drum patterns, allowing yourself the freedom to experiment, refine, and evolve your rhythmic ideas as you sculpt compelling and engaging drum sequences. The process of capturing and refining drum patterns is a dynamic and iterative journey, inviting you to explore rhythmic possibilities and refine your rhythmic expressions with precision and creativity.
With the ability to seamlessly record and edit drum patterns, you’re equipped to shape the rhythmic landscape of your musical productions, infusing them with captivating and expressive drum sequences that define the pulse and energy of your compositions.
Conclusion
Congratulations! You’ve embarked on an exhilarating journey to transform your computer into a dynamic and expressive drum machine, unlocking a world of rhythmic possibilities and creative exploration. By following the comprehensive steps outlined in this guide, you’ve gained the knowledge and insight to harness the power of digital drum machines, empowering you to craft captivating drum patterns and rhythms with confidence and finesse.
As you immerse yourself in the realm of digital music production, remember that the transformation of your computer into a drum machine is not merely a technical endeavor but a creative odyssey that invites you to infuse your rhythmic expressions with passion, ingenuity, and personal flair.
With dedicated drum machine software installed, a MIDI controller seamlessly integrated, and a meticulously configured drum pad layout, you’ve laid the foundation for an immersive and expressive drumming experience. By customizing and refining your drum sounds with precision and creativity, you’ve imbued your rhythmic canvas with character, depth, and sonic allure.
Recording and editing drum patterns has empowered you to capture and refine your rhythmic ideas, sculpting intricate and compelling drum sequences that form the rhythmic backbone of your musical compositions. Through this process, you’ve embraced the iterative nature of rhythmic exploration, allowing yourself the freedom to experiment, refine, and evolve your rhythmic expressions with precision and creativity.
As you venture forth on your musical endeavors, continue to explore the boundless creative potential of your computer-based drum machine, allowing your rhythmic visions to unfold with boundless creativity and expressive freedom. Whether you’re crafting pulsating dance grooves, driving rock rhythms, or intricate electronic beats, your transformed computer stands as a versatile and powerful instrument for shaping the rhythmic identity of your musical productions.
Embrace the art of rhythm programming with curiosity and passion, infusing your drum sequences with nuance, emotion, and rhythmic dynamism. Your journey to transform your computer into a drum machine is a testament to your dedication to musical craftsmanship and your unwavering commitment to creative expression.
Now, armed with the knowledge and skills acquired through this transformative process, you’re poised to embark on a musical odyssey filled with rhythmic innovation, sonic exploration, and boundless creative potential. Let the pulse of your transformed drum machine resonate with the heartbeat of your musical aspirations as you continue to craft compelling and evocative rhythmic compositions.