Introduction
When it comes to recording high-quality audio, having a good microphone is essential. Whether you’re a podcaster, a YouTuber, a musician, or simply someone who wants to improve the sound quality of their voice during online calls, the Blue Snowball Ice USB microphone is a fantastic choice.
The Blue Snowball Ice has become a popular option for many content creators and audio enthusiasts due to its excellent sound reproduction and user-friendly design. This compact and versatile microphone offers plug-and-play functionality, making it easy to set up and start recording in a matter of minutes.
Whether you’re a beginner looking to upgrade your audio setup or an experienced user in need of a reliable and affordable microphone, this article will guide you through the process of setting up the Blue Snowball Ice USB microphone. We’ll cover everything from unboxing the microphone to adjusting its settings for optimal sound quality.
By the end of this article, you’ll be equipped with the knowledge and confidence to unleash the full potential of the Blue Snowball Ice USB microphone and elevate your audio recordings to a professional level.
The Importance of a Good Microphone
When it comes to audio recording, the quality of your microphone plays a vital role in the overall sound production. No matter how skillful you are as a content creator or musician, a poor-quality microphone can overshadow your talents and hinder your ability to deliver your message effectively.
A good microphone, like the Blue Snowball Ice USB microphone, can significantly improve the sound clarity, capturing the nuances of your voice or instrument with precision. It eliminates unwanted background noise, distortion, and echoes, ensuring that your recordings are of professional-grade quality.
Whether you’re recording a podcast, creating YouTube videos, or engaging in online meetings, a good microphone can make a world of difference. It provides your audience with a pleasurable listening experience, allowing them to fully appreciate the content you’re producing. It adds depth, richness, and clarity to your voice, making it easier for your audience to connect with you and understand your message.
Furthermore, a good microphone allows you to express your creativity fully. It enhances the tonal qualities of your voice or instrument, bringing out the subtle details and nuances that might be lost with a lower-quality microphone. This can make your recordings sound more professional and immersive, captivating your audience and leaving a lasting impression.
Investing in a good microphone, such as the Blue Snowball Ice, is an investment in the quality of your audio recordings. It not only elevates the overall production value of your content but also helps you stand out from the competition. Whether you’re a content creator, a musician, or a professional in need of clear and reliable communication, a good microphone is an essential tool in your arsenal.
Next, we’ll delve into the process of unboxing and setting up the Blue Snowball Ice USB microphone, so you can start enjoying the benefits of this fantastic device.
Unboxing the Blue Snowball Ice USB Microphone
Now that you understand the importance of a good microphone, let’s take a closer look at the Blue Snowball Ice USB microphone and how to unbox it. The unboxing process is always exciting, as it unveils the sleek and professional design of the microphone.
When you receive your Blue Snowball Ice USB microphone, you’ll find it securely packaged in a compact box. Carefully open the box, and you’ll be greeted with the sight of the microphone nestled in a protective foam insert.
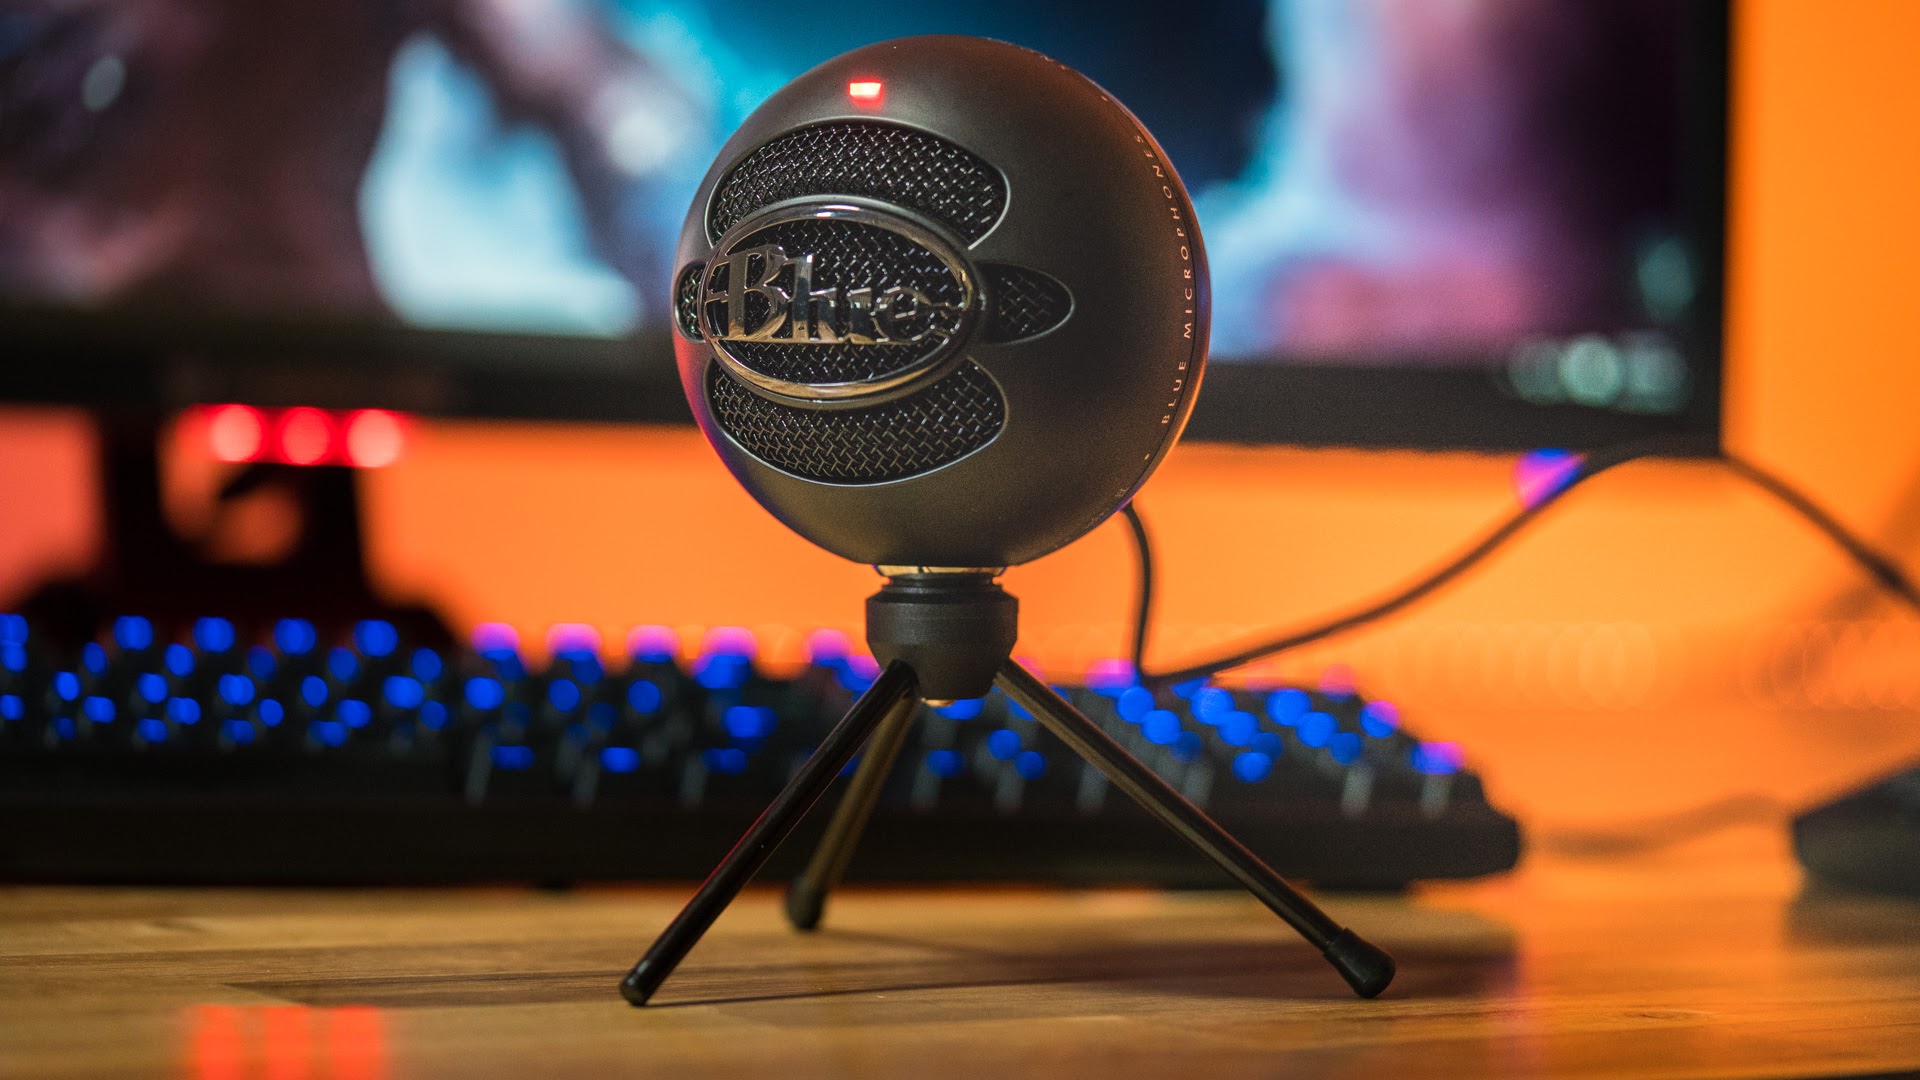
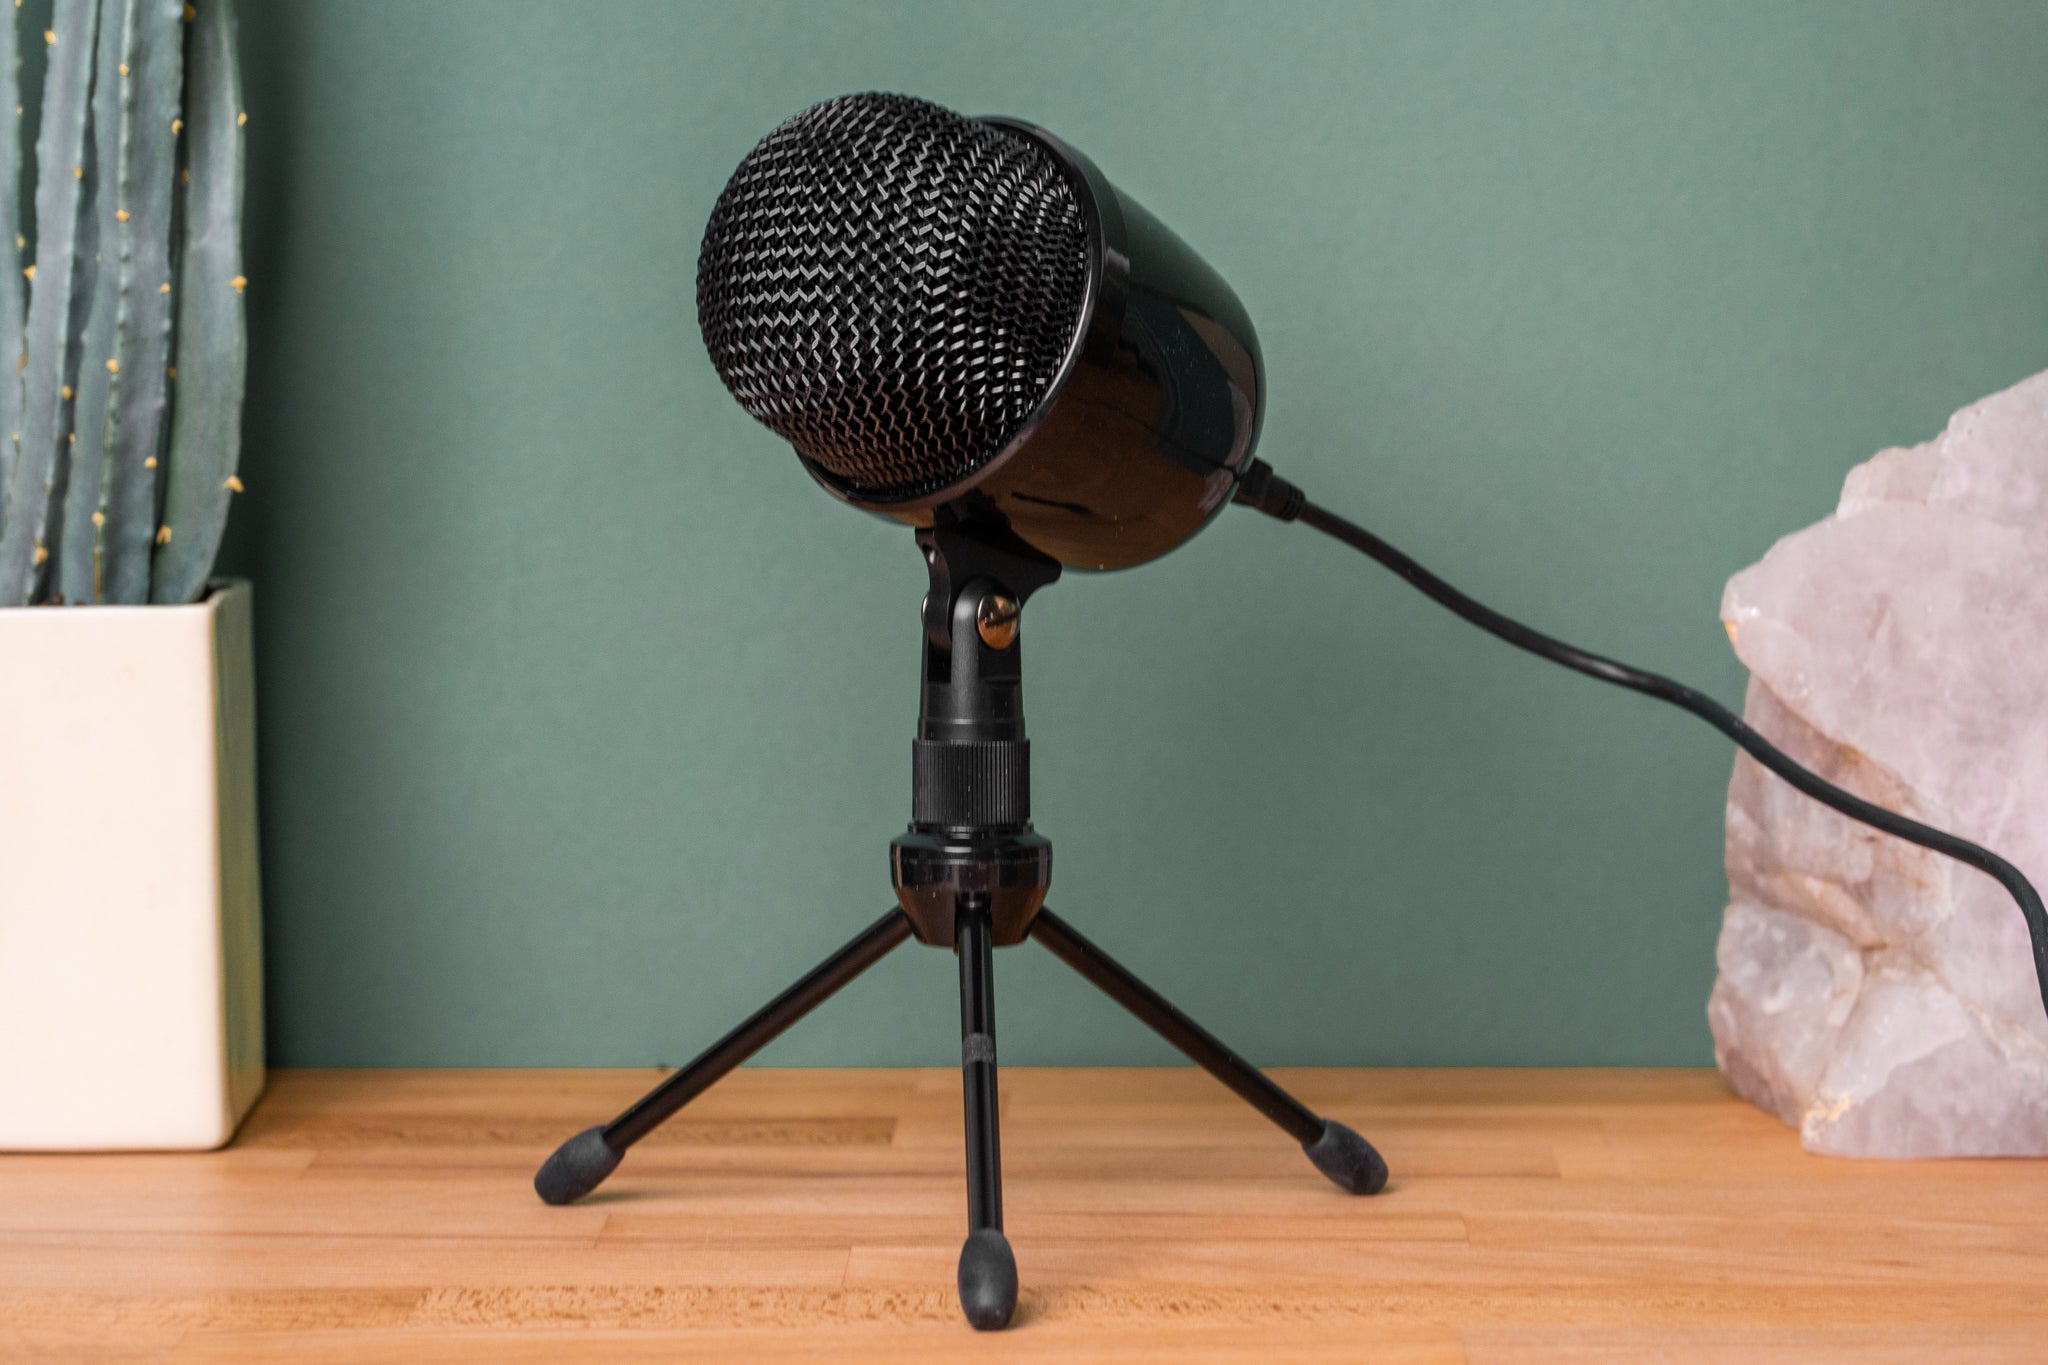
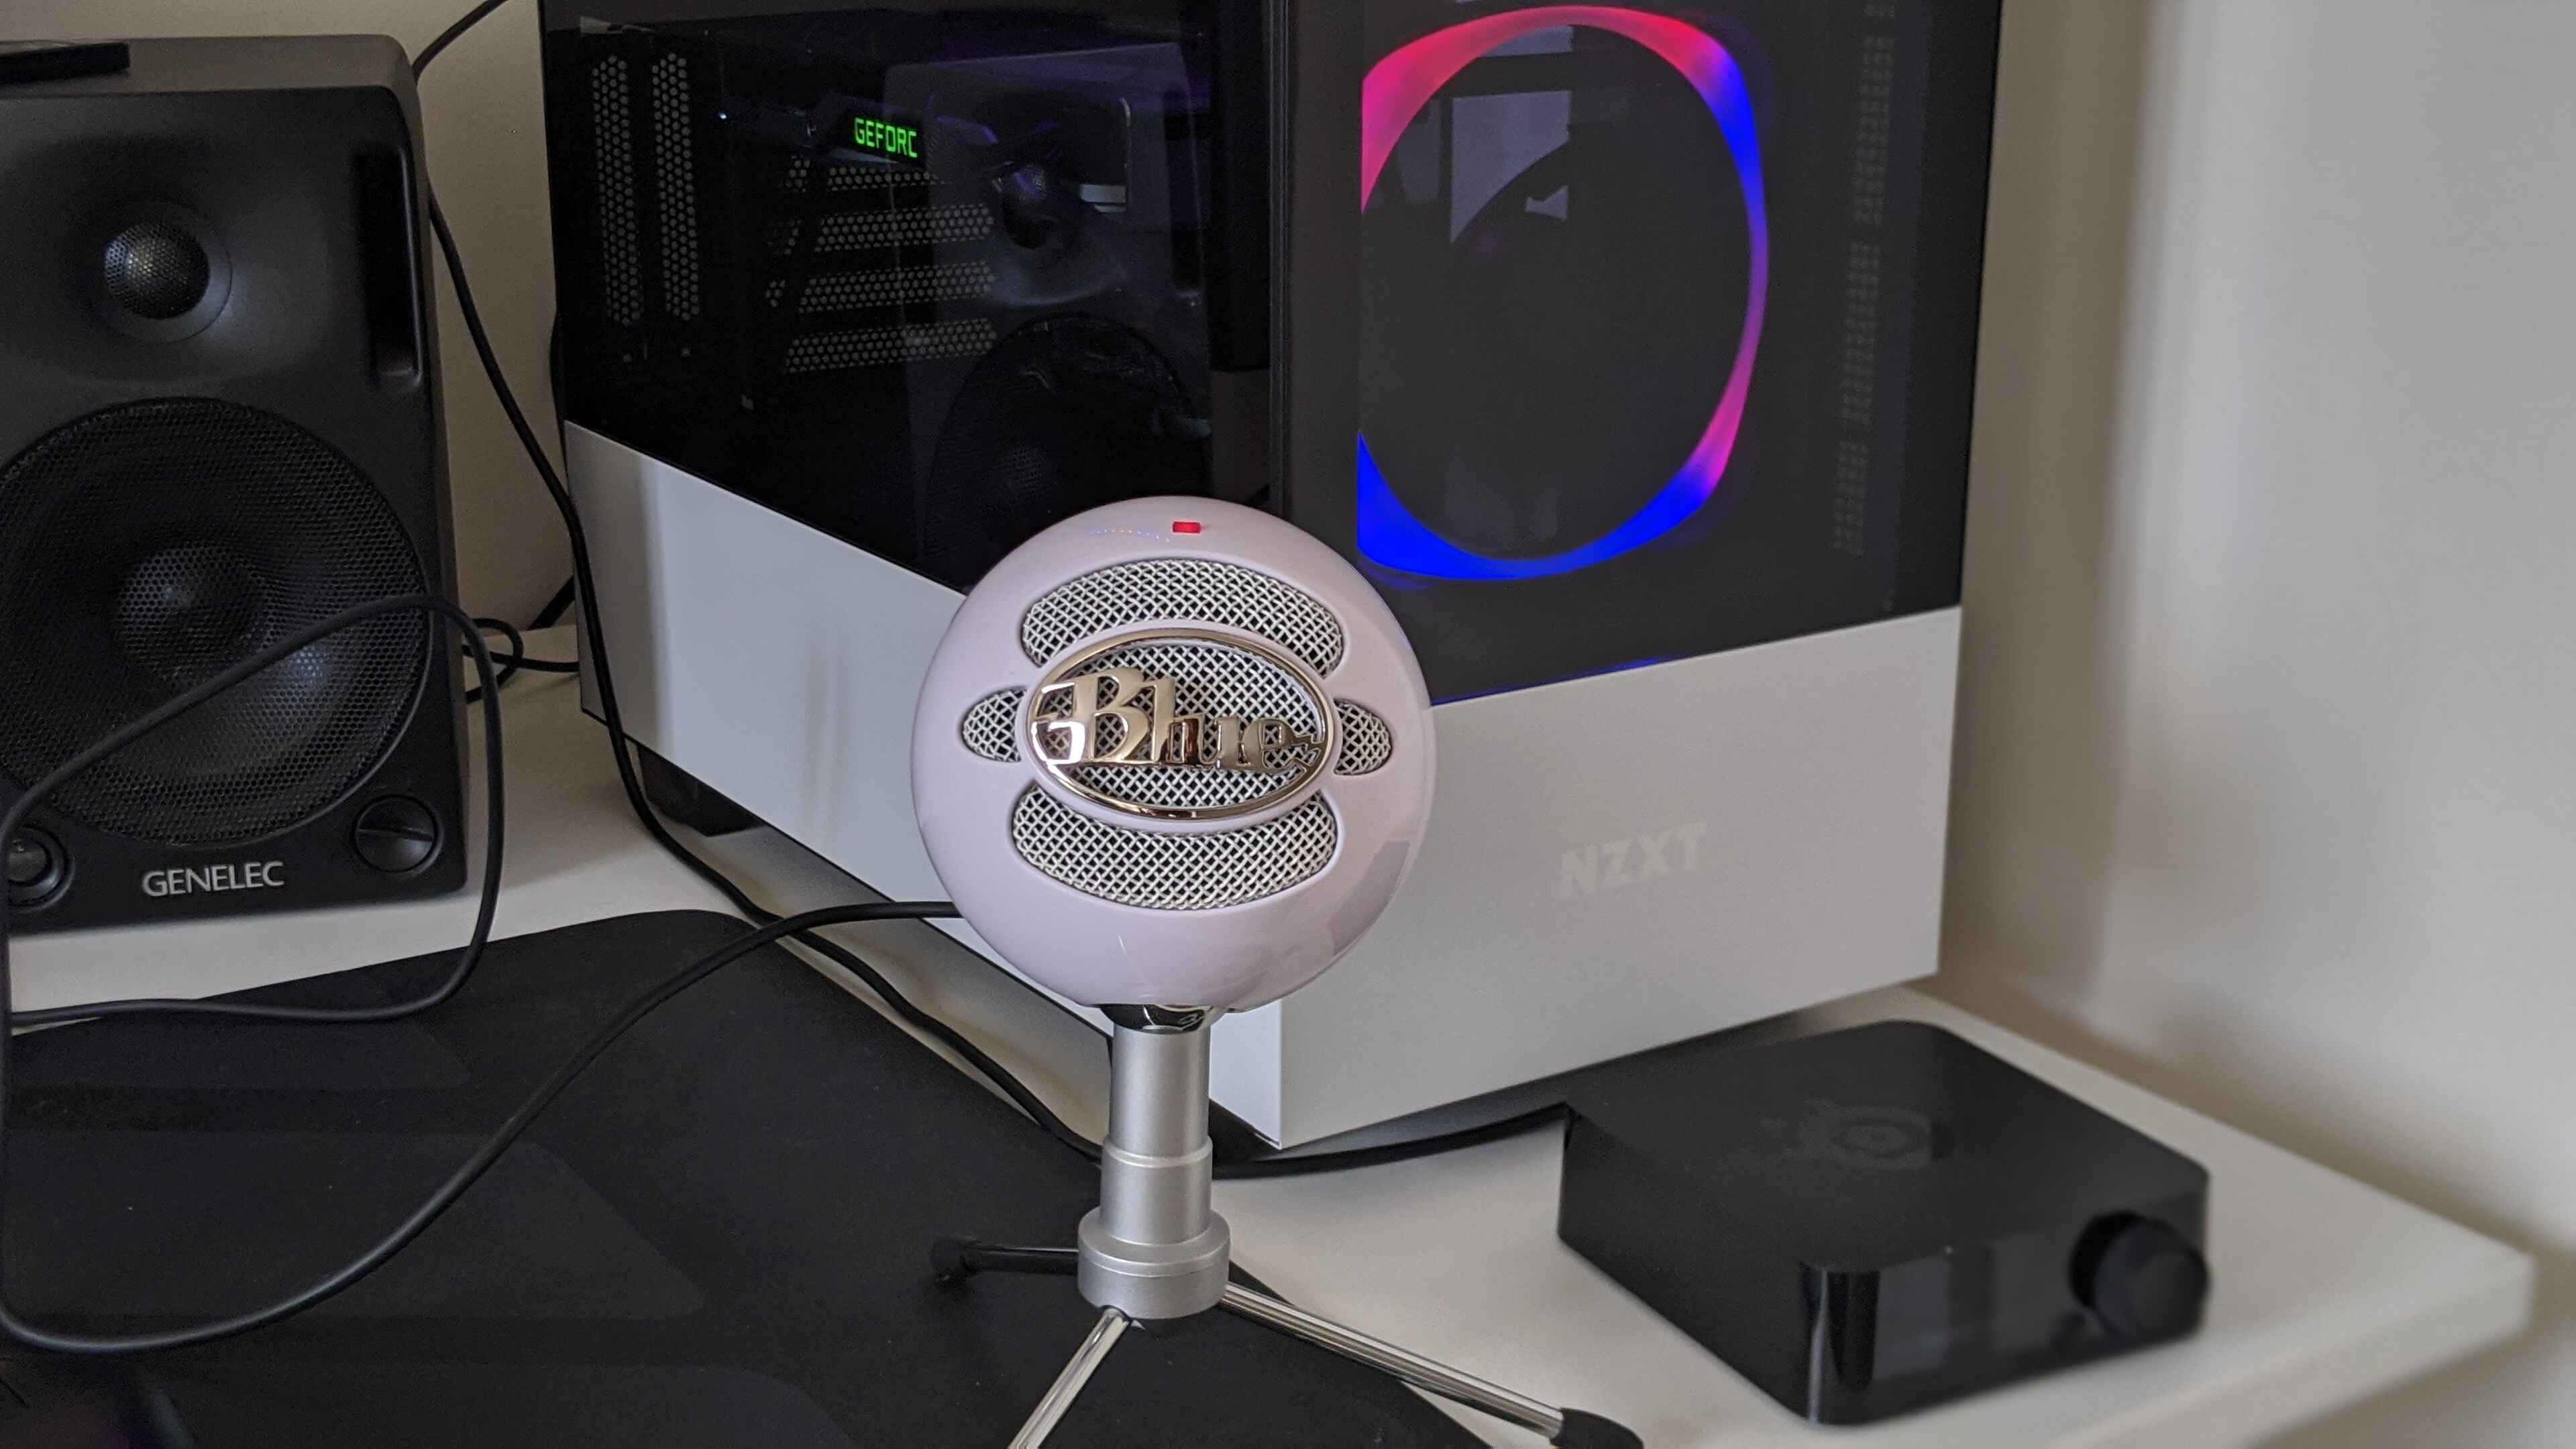
Remove the microphone from the foam insert and you’ll notice its sturdy build and attractive design. The Blue Snowball Ice features a round, compact shape with a metal grille on the front to protect the inner microphone capsule.
Upon closer inspection, you’ll notice a USB cable that comes with the microphone. This is the cable you’ll use to connect the Blue Snowball Ice to your computer. The USB cable is of high-quality and ensures a reliable and stable connection for your recordings.
Along with the USB cable, your Blue Snowball Ice USB microphone package might include a desktop stand. The desktop stand provides a stable base for the microphone, allowing you to position it conveniently on your desk or table for recording.
In addition, you might find an instruction manual or a quick start guide in the package. These documents provide detailed information on how to set up and use the Blue Snowball Ice USB microphone, making the process hassle-free for beginners.
Now that you’ve unboxed your Blue Snowball Ice USB microphone and familiarized yourself with its components, it’s time to move on to the next step: checking compatibility and system requirements.
Checking Compatibility and System Requirements
Before diving into the setup process, it’s essential to ensure that your computer is compatible with the Blue Snowball Ice USB microphone. This step will help you avoid any compatibility issues and ensure a smooth experience with the microphone.
The Blue Snowball Ice is compatible with both Windows and macOS operating systems, making it accessible to a wide range of users. Ensure that your computer meets the minimum system requirements outlined by Blue, which typically include:
- A computer running Windows 7 or higher, or macOS 10.10 or higher
- A USB port available for connecting the microphone
- At least 64MB of RAM
- A sufficient amount of available storage space for software installation
Once you’ve confirmed that your computer meets these requirements, you can proceed with confidence to the next step. If you’re unsure about any of these requirements, consult the Blue Snowball Ice documentation or the manufacturer’s website for additional information and support.
In addition to checking compatibility, it’s also important to ensure that your computer’s audio settings are properly configured for the Blue Snowball Ice USB microphone. This will ensure that you’re getting the best possible sound quality and performance from the device.
On Windows, you can access the sound settings by right-clicking on the volume icon in the system tray and selecting “Sounds.” In the sound settings, navigate to the “Recording” tab and select the Blue Snowball Ice as the default recording device. Adjust the microphone levels to your desired settings and test the microphone to make sure it’s functioning correctly.
If you’re using macOS, go to the “System Preferences” and click on the “Sound” icon. Navigate to the “Input” tab and select the Blue Snowball Ice as the input device. Adjust the input volume and verify that the microphone is picking up sound properly.
By checking compatibility and configuring your computer’s audio settings accordingly, you’ll be ready to connect the Blue Snowball Ice USB microphone to your computer and start enjoying its exceptional sound quality.
Installing the Blue Snowball Ice Software
While the Blue Snowball Ice USB microphone is a plug-and-play device, installing the accompanying software can unlock additional features and customization options. The software provided by Blue enhances the functionality of the microphone and allows you to fine-tune its settings according to your preferences.
To install the Blue Snowball Ice software, follow these steps:
- Visit the Blue website and navigate to the support or downloads section.
- Search for the software specifically designed for the Blue Snowball Ice USB microphone.
- Download the software installation file onto your computer.
- Once the download is complete, locate the file and double-click on it to start the installation process.
- Follow the on-screen instructions to complete the installation. Make sure to review and accept any license agreements or terms of use.
- Once the installation is finished, restart your computer to ensure that the software is properly installed and integrated.
After restarting your computer, the Blue Snowball Ice software should be installed and ready to use. Launch the software from your desktop or Start menu to access its features and settings.
The Blue Snowball Ice software provides various options for adjusting the microphone’s polar patterns, sensitivity, gain control, and other audio settings. It allows you to optimize the microphone to suit different recording scenarios or personal preferences.
Keep in mind that while the Blue Snowball Ice software is not necessary for basic functionality, it can greatly enhance your recording experience and provide you with more control over the microphone’s performance.
Now that you have installed the software for your Blue Snowball Ice USB microphone, it’s time to connect it to your computer, which we will cover in the next section.
Connecting the Blue Snowball Ice to Your Computer
Now that you have the Blue Snowball Ice USB microphone and the necessary software installed, it’s time to connect the microphone to your computer and start using it for your audio recordings. The process is simple and straightforward, allowing you to get up and running quickly.
To connect the Blue Snowball Ice to your computer, follow these steps:
- Locate the USB cable that came with the Blue Snowball Ice microphone.
- Connect one end of the USB cable to the USB port on the microphone itself.
- Connect the other end of the USB cable to an available USB port on your computer. Make sure to use a USB port that provides a stable and reliable connection.
- Once the cable is securely connected, your computer should recognize the Blue Snowball Ice USB microphone as a new device.
- Allow a few moments for your computer to install any necessary drivers for the microphone. This process is usually automatic and should happen in the background.
- Once the installation is complete, you’re ready to start using the Blue Snowball Ice USB microphone with your recording software or communication applications.
It’s important to note that the Blue Snowball Ice is a plug-and-play device, meaning it doesn’t require any additional power source or complex setup. Simply connecting it to your computer via the USB cable will supply both power and data for the microphone to function.
If you encounter any issues during the connection process, ensure that the USB cable is properly connected on both ends and try connecting it to a different USB port on your computer. If problems persist, consult the troubleshooting section of the Blue Snowball Ice documentation or reach out to the manufacturer’s support team for assistance.
With the Blue Snowball Ice successfully connected to your computer, you’re now ready to adjust the microphone settings in Windows. In the next section, we will explore how to optimize the microphone settings for the best sound quality.
Adjusting the Microphone Settings in Windows
Once you have connected the Blue Snowball Ice USB microphone to your Windows computer, it’s important to adjust the microphone settings to optimize its performance for your specific recording needs. These settings allow you to fine-tune the audio input, control the microphone’s sensitivity, and adjust other parameters to achieve the best sound quality.
To adjust the microphone settings in Windows, follow these steps:
- Right-click on the volume icon in the system tray, usually located in the bottom right corner of your screen.
- From the context menu that appears, select “Sounds” or “Recording devices” to access the sound settings.
- In the “Recording” tab of the sound settings window, you should see a list of available recording devices. Look for the Blue Snowball Ice USB microphone and select it as the default recording device.
- After selecting the Blue Snowball Ice, click on the “Properties” or “Configure” button to access the microphone’s advanced settings.
- In the microphone’s properties, you will find various tabs or sections where you can make adjustments. These settings may include microphone levels, enhancements, and advanced options.
- Adjust the microphone levels to your desired settings. Increasing the levels can amplify the sound, while decreasing them can lower the input volume.
- Explore the available enhancements or advanced options to fine-tune the microphone’s performance. Depending on your specific needs, you can adjust settings such as noise cancellation, echo reduction, or microphone boost.
- Click “Apply” or “OK” to save your changes.
It’s advisable to test the microphone after making adjustments to ensure that the settings are providing the desired sound quality. Open a recording application or communication tool, and check if the microphone is working correctly and capturing your voice accurately.
If you encounter any issues or are unsure about specific settings, refer to the Blue Snowball Ice documentation or the manufacturer’s support resources for further guidance.
Now that you’ve adjusted the microphone settings in Windows, let’s move on to the next section, where we will explore how to adjust the microphone settings in macOS.
Adjusting the Microphone Settings in macOS
If you’re using a macOS computer and have connected the Blue Snowball Ice USB microphone, you can adjust the microphone settings to optimize its performance for your recording needs. These settings allow you to control the microphone’s input volume, adjust its sensitivity, and configure other parameters to enhance the sound quality.
To adjust the microphone settings in macOS, follow these steps:
- Click on the Apple menu located in the top-left corner of your screen and select “System Preferences” from the dropdown menu.
- In the System Preferences window, select “Sound” to access the audio settings.
- Navigate to the “Input” tab within the sound settings. Here, you should see a list of available input devices.
- Locate the Blue Snowball Ice USB microphone in the list and select it as the preferred input device.
- Adjust the input volume slider to increase or decrease the microphone’s sensitivity. Dragging the slider to the right increases the volume, while moving it to the left decreases the volume.
- Explore any available additional settings or options to further customize the microphone’s performance. These settings may include noise reduction, ambient noise cancellation, or sample rate adjustments.
- Make any desired changes and close the System Preferences window to save the settings.
After adjusting the microphone settings, it’s recommended to test the microphone to ensure that it is functioning as desired. Open a recording application, such as GarageBand or QuickTime Player, and make a test recording to check the audio quality and volume levels.
If you encounter any issues or have questions about specific settings, refer to the Blue Snowball Ice documentation or reach out to the manufacturer’s support resources for further assistance.
Now that you’ve adjusted the microphone settings in macOS, you’re ready to position the Blue Snowball Ice for optimal sound quality, which we’ll cover in the next section.
Positioning the Blue Snowball Ice for Optimal Sound Quality
To ensure the best sound quality and capture the true essence of your voice or instrument, it’s important to position the Blue Snowball Ice USB microphone correctly. The microphone’s placement and orientation can significantly impact the clarity, depth, and overall quality of your recordings.
Here are some tips for positioning the Blue Snowball Ice for optimal sound quality:
- Place the microphone on a stable surface, such as a desk or table, using the included desktop stand. This will help minimize any vibrations or unwanted noises that can affect the recording.
- Position the microphone at a suitable distance from your mouth or instrument. Generally, a distance of 6-12 inches is recommended for vocal recordings, while instrument recordings may require slight adjustments depending on the specific instrument.
- Ensure that the front side of the Blue Snowball Ice, marked with the Blue logo, is facing towards the sound source. This side houses the microphone capsule and is designed to capture the sound most effectively.
- Experiment with the microphone’s polar patterns if your Blue Snowball Ice offers this feature. Adjusting the polar pattern allows you to focus the microphone’s sensitivity on specific sound sources and reject unwanted noise from other directions.
- Avoid positioning the microphone too close to reflective surfaces, such as walls or windows, as this can lead to echoes and unwanted reverberations in your recordings.
- Consider utilizing a pop filter or foam windscreen to minimize plosive sounds (“P” and “B” sounds) and reduce unwanted breath noises, ensuring clean and clear recordings.
It’s important to note that the acoustic characteristics of your recording environment can also impact the sound quality. Experimenting with different microphone positions and adjusting your surroundings for optimal sound absorption can lead to improved recordings.
By positioning the Blue Snowball Ice in the right way and taking into account the specific requirements of your recording situation, you can achieve professional-level sound quality and ensure that your recordings truly shine.
Next, we will discuss common troubleshooting techniques to help you overcome any challenges you might encounter while using the Blue Snowball Ice USB microphone.
Troubleshooting Common Issues
While the Blue Snowball Ice USB microphone is known for its reliability and ease of use, occasional issues may arise. Fortunately, many common problems can be resolved with a few simple troubleshooting steps. Here are some common issues and their potential solutions:
1. No sound or low volume: Ensure that the microphone is properly connected to your computer and that the volume settings are adjusted correctly. Try restarting your computer and reconnecting the microphone.
2. Excessive background noise: If you’re experiencing unwanted background noise, check if there’s any interference from other electronic devices or try recording in a quieter environment. Additionally, adjusting the microphone’s gain or sensitivity settings in the software can help reduce noise.
3. Distorted or muffled sound: If your recordings sound distorted or muffled, check the microphone’s position and distance from the sound source. Moving the microphone further away or adjusting the input levels can help alleviate this issue.
4. USB connection issues: If the microphone is not being recognized or is intermittently disconnecting, try using a different USB port on your computer. Ensure that the USB cable is securely connected and free from any damage or obstructions.
5. Compatibility issues: If you’re experiencing compatibility issues with your operating system, make sure that you have installed the latest drivers or software updates for both the microphone and your computer’s operating system.
6. Software configuration problems: If you’re having trouble configuring the microphone settings, ensure that the correct microphone is selected as the default recording device in your operating system’s sound settings. Additionally, verify that the microphone software is installed and up to date.
If you have tried these troubleshooting steps and are still experiencing issues, consult the Blue Snowball Ice documentation or reach out to the manufacturer’s support team for further assistance. They can provide specific guidance tailored to your situation.
Remember, troubleshooting is a normal part of using any device, and with patience and perseverance, you can overcome these challenges and continue to enjoy the exceptional performance of the Blue Snowball Ice USB microphone.
With that, you have gained valuable knowledge on troubleshooting common issues. Now, let’s conclude our guide on setting up and using the Blue Snowball Ice USB microphone.
Conclusion
Setting up and using the Blue Snowball Ice USB microphone can significantly improve the quality of your audio recordings and communications. Its user-friendly design, exceptional sound reproduction, and versatility make it a popular choice among content creators, musicians, and professionals.
In this guide, we covered the essential steps to get started with the Blue Snowball Ice. We explored the importance of a good microphone, unboxed the device, checked compatibility and system requirements, installed the necessary software, connected the microphone to our computers, adjusted the microphone settings in both Windows and macOS, positioned the microphone for optimal sound quality, and learned common troubleshooting techniques.
By following these steps and applying the tips provided, you can harness the full potential of the Blue Snowball Ice USB microphone and elevate your audio recordings to a professional level. Whether you’re recording podcasts, creating YouTube videos, or engaging in online meetings, the Blue Snowball Ice ensures exceptional sound quality and a seamless recording experience.
Remember, practice and experimentation will help you navigate the features of the Blue Snowball Ice and find the settings that suit your specific needs and preferences. Don’t hesitate to consult the documentation or reach out to the manufacturer’s support team if you encounter any challenges along the way. They are always ready to assist you.
Now that you have the knowledge and tools to maximize your Blue Snowball Ice experience, it’s time to unleash your creativity and captivate your audience with high-quality audio recordings. Embrace the power of the Blue Snowball Ice and take your content to new heights.