Introduction
Welcome to the world of guitar maintenance! Whether you're a seasoned guitarist or just starting out, knowing how to replace the strings on your electric guitar is an essential skill. Over time, guitar strings lose their tone and clarity, and they can even break, so knowing how to change them is crucial for keeping your instrument in top condition.
Changing guitar strings may seem daunting at first, but with a little practice, it can become a routine part of your guitar care. Not only does restringing your guitar keep it sounding great, but it also allows you to customize your instrument's tone by choosing different types of strings.
In this guide, we'll walk you through the step-by-step process of replacing the strings on your electric guitar. From gathering the necessary tools and materials to tuning and stretching the new strings, we've got you covered. By following these instructions, you'll be able to maintain your guitar's playability and ensure that it continues to produce the rich, vibrant tones you love.
So, grab your guitar and let's dive into the world of string replacement. With a little patience and the right guidance, you'll soon be a pro at keeping your electric guitar in top-notch condition.
Tools and Materials Needed
Before you begin the process of replacing your electric guitar strings, it’s essential to gather the necessary tools and materials. Having everything at hand will streamline the restringing process and ensure that you can complete the task efficiently. Here’s what you’ll need:
- New Guitar Strings: Ensure that you have the correct set of strings for your electric guitar. Different types of guitars may require specific string gauges, so it’s crucial to select the appropriate set.
- Wire Cutters: A pair of wire cutters will be necessary for trimming the excess string length once the new strings are installed.
- Tuner: Having a tuner on hand will allow you to accurately tune the new strings once they are installed. This is crucial for achieving the right pitch and ensuring your guitar sounds its best.
- String Winder: While not essential, a string winder can significantly expedite the process of tightening the new strings, making the task much more efficient.
- Clean Cloth: Keeping a clean cloth nearby will enable you to wipe down your guitar and remove any accumulated dust and grime while the strings are off.
- Lemon Oil (for Rosewood Fretboards): If your guitar has a rosewood fretboard, having some lemon oil can help condition and clean the fretboard during the restringing process.
- String Lubricant (Optional): String lubricant can be used to reduce friction at the nut and bridge, potentially improving tuning stability and string lifespan.
By ensuring that you have all the necessary tools and materials ready, you’ll be well-prepared to tackle the task of replacing your electric guitar strings. With everything in place, you can proceed with confidence, knowing that you have what you need to complete the process smoothly.
Removing the Old Strings
Before installing new strings on your electric guitar, it’s essential to remove the old ones carefully. Follow these steps to ensure a smooth and efficient process:
- Loosen the Tuning Pegs: Begin by loosening the tension on each string. Using your tuner, gradually detune each string until they are slack and can be easily removed from the tuning pegs.
- Cut the Strings: Once the strings are slack, use your wire cutters to snip the strings near the bridge. Be cautious when cutting to avoid any potential recoil of the string ends.
- Remove the Strings from the Tuning Pegs: Unwind each string from its respective tuning peg and remove it from the guitar. Take care when pulling the strings through the bridge to prevent any damage to the instrument.
- Clean the Fretboard and Body: With the old strings removed, take the opportunity to clean the fretboard and body of your guitar. Use a clean cloth to wipe away any accumulated dust and grime, giving your instrument a fresh start for the new strings.
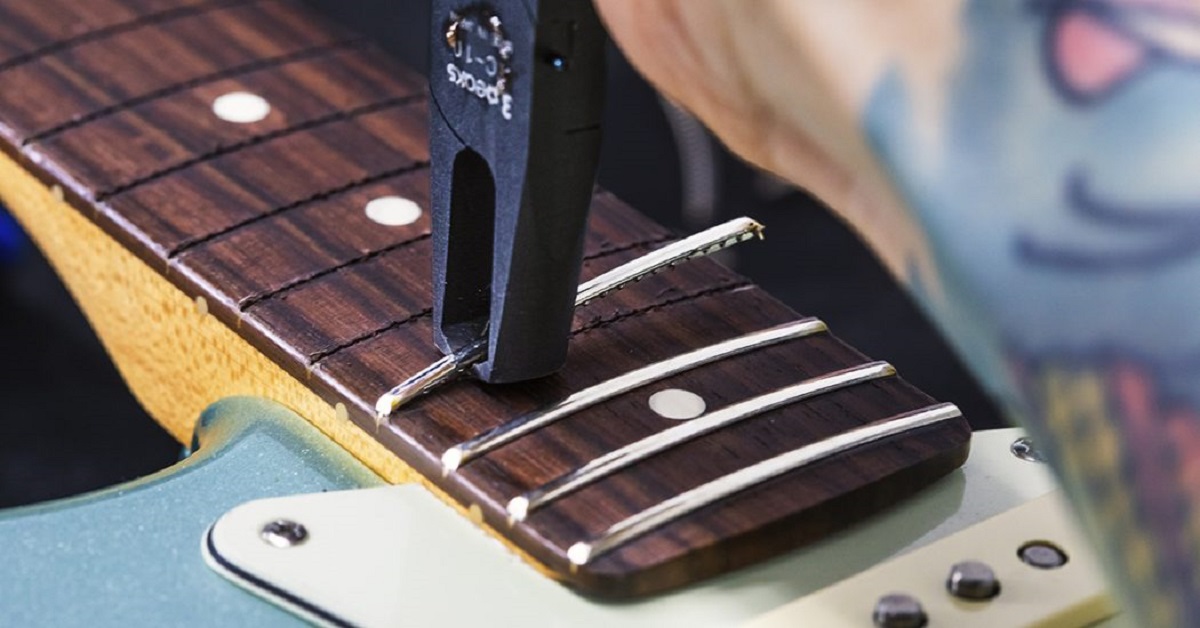
- Inspect the Guitar: While the strings are off, it’s a good idea to inspect your guitar for any signs of wear or damage. Check the frets, nut, and bridge for any issues that may need attention.
By carefully following these steps, you can safely remove the old strings from your electric guitar, setting the stage for the next phase of the restringing process. Taking the time to clean and inspect your guitar during this stage contributes to its overall maintenance and ensures that it remains in optimal playing condition.
Cleaning the Guitar
Once the old strings have been removed, it’s an ideal time to give your electric guitar a thorough cleaning. This not only enhances the instrument’s appearance but also contributes to its overall maintenance. Here’s how to clean your guitar effectively:
- Fretboard Cleaning: If your guitar has a rosewood or ebony fretboard, applying a small amount of lemon oil to a clean cloth and gently wiping the fretboard can help condition and clean the wood. For maple fretboards, simply use a dry cloth to remove any debris.
- Body and Neck Wiping: Use a clean, dry cloth to wipe down the body and neck of the guitar, removing any accumulated dust, fingerprints, or smudges. Pay particular attention to areas around the pickups, bridge, and tuning pegs.
- Hardware Inspection: While cleaning, take a moment to inspect the guitar’s hardware. Check for any loose screws, nuts, or components that may require tightening or attention.
- Polishing (Optional): If desired, you can use a suitable guitar polish to buff the body and enhance its shine. Be sure to use a polish that is safe for your guitar’s finish to avoid any damage.
- Restringing Preparation: As you clean your guitar, mentally prepare for the restringing process. Ensure that your workspace is organized and that all the necessary tools and materials are within reach for the next steps.
By taking the time to clean your electric guitar thoroughly, you contribute to its longevity and maintain its aesthetic appeal. A well-maintained guitar not only looks great but also performs at its best, providing you with an enjoyable playing experience.
Installing the New Strings
With the old strings removed and your guitar cleaned, it’s time to install the new set of strings. This process requires attention to detail to ensure that the strings are securely fastened and properly tuned. Follow these steps for a successful string installation:
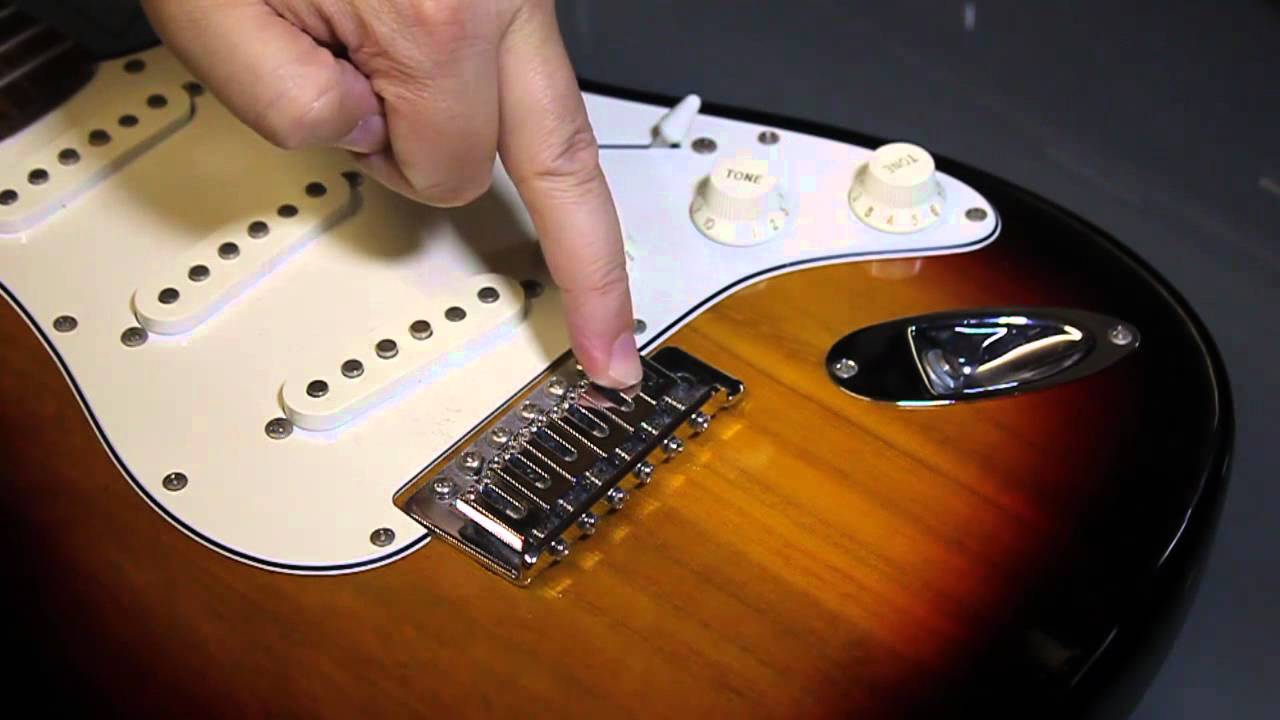
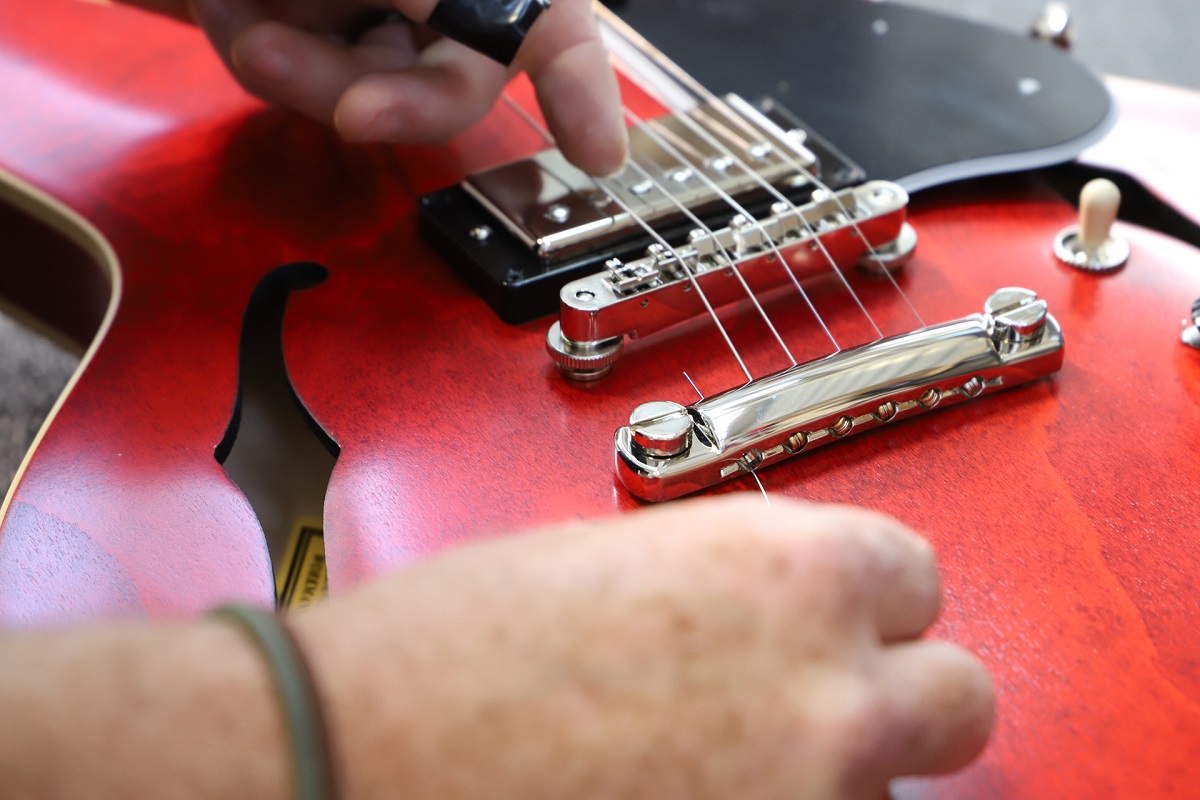
- Inserting the Strings: Begin by inserting the end of the string into the bridge. For guitars with a tremolo system, make sure the ball end of the string is properly secured in the bridge block. For guitars with a fixed bridge, insert the string into the appropriate saddle.
- Securing the Strings at the Tuning Pegs: Pull the string through the bridge and guide it over the nut to the appropriate tuning peg. Wind the string around the peg, leaving enough slack to ensure multiple winds around the peg for stability.
- Winding the Strings: Using a string winder or your fingers, begin winding the string onto the tuning peg. Ensure that the winds are neat and that the string wraps downward from the top of the peg, maintaining tension as you wind.
- Trimming Excess String: Once the string is tuned to pitch, use wire cutters to trim the excess length, leaving a small amount for flexibility. Be cautious when cutting to avoid any damage to the guitar or injury to yourself.
- Repeat for Remaining Strings: Follow the same process for each remaining string, ensuring that the winds are tidy and that the strings are secured at the bridge and tuning pegs.
As you install each new string, take care to tune it to the appropriate pitch using a tuner. This ensures that your guitar will be in tune once all the strings are installed, setting the stage for the next crucial step in the restringing process.
By methodically installing each new string, you contribute to the overall stability and playability of your electric guitar. Attention to detail during this phase results in a well-strung instrument that is ready for tuning and playing.
Tuning the Guitar
Once the new strings are installed on your electric guitar, the next essential step is to tune the instrument to the correct pitches. Proper tuning ensures that your guitar produces the right notes and chords, allowing for enjoyable and accurate playing. Follow these steps to tune your guitar effectively:
- Initial Tuning: Begin by tuning the low E string to the correct pitch using a tuner. Once the low E is in tune, proceed to the A, D, G, B, and high E strings, tuning each one to its respective pitch.
- Check Intonation (Optional): If your guitar has an adjustable bridge, you may want to check the intonation by comparing the 12th fret harmonic to the fretted note at the 12th fret. Adjust the bridge saddle as needed to ensure accurate intonation across the fretboard.
- Retune the Guitar: After completing the initial tuning, revisit each string to ensure that they are still in tune. New strings may stretch and settle, requiring multiple tuning adjustments to stabilize their pitch.
- Double-Check Tuning: Once the guitar is fully tuned, play a few chords and individual notes to confirm that the instrument is in tune across different positions on the neck. Make any necessary adjustments to achieve optimal tuning stability.
Tuning your electric guitar is a crucial aspect of the restringing process, as it directly impacts the instrument’s playability and tonal quality. By carefully tuning each string to the correct pitch, you ensure that your guitar is ready to deliver the rich, vibrant tones that make it a joy to play.
Stretching the Strings
After tuning your electric guitar, it’s important to stretch the new strings to minimize the likelihood of tuning instability and pitch drift. New strings have a tendency to stretch and settle, which can cause them to lose pitch more frequently during initial playing. Follow these steps to stretch your guitar strings effectively:
- Gently Pulling the Strings: Starting with the low E string, use your fingers to gently pull the string away from the fretboard, stretching it along its length. Repeat this process for each string, exerting gentle but firm pressure to encourage the strings to settle.
- Retuning the Guitar: After stretching each string, retune the guitar to the correct pitches. The stretching process may cause the strings to lose pitch, so it’s important to readjust the tuning to ensure that the guitar remains in tune.
- Repeat the Stretching Process: Continue stretching the strings and retuning the guitar until the strings stabilize and hold their pitch more consistently. This may require several repetitions, especially with new strings that are prone to stretching.
By stretching the new strings, you help to minimize the extent to which they will stretch during initial playing, promoting greater tuning stability and reducing the frequency of retuning. This process is particularly important for maintaining the playability and tonal consistency of your electric guitar, allowing you to enjoy uninterrupted playing sessions without constant tuning adjustments.
Final Tips and Maintenance
After completing the restringing process for your electric guitar, there are several additional tips and maintenance practices to keep in mind. These recommendations can help maintain the longevity and performance of your instrument, ensuring that it continues to deliver exceptional tone and playability. Consider the following final tips:
- Regular Cleaning: Make a habit of regularly cleaning your guitar to remove dust, fingerprints, and other debris. This not only keeps your instrument looking its best but also prevents the buildup of grime that can affect its performance.
- String Changing Frequency: While the frequency of string changes depends on factors such as playing style and environmental conditions, it’s generally advisable to change your guitar strings every 1-3 months, or more frequently if you perform regularly.
- Storage and Humidity: Store your guitar in a suitable case or stand to protect it from environmental elements. Additionally, monitor the humidity levels in the storage area to prevent adverse effects on the instrument’s wood and metal components.
- Professional Setup: Consider having your guitar professionally set up by a luthier or guitar technician. A professional setup can optimize the instrument’s playability, intonation, and overall performance.
- Experiment with String Types: Explore different types of guitar strings to find the set that best suits your playing style and tonal preferences. Experimenting with various string materials and gauges can lead to discovering your ideal sound.
- Inspect Hardware Regularly: Periodically inspect the hardware, including the bridge, tuning pegs, and nut, for signs of wear or damage. Address any issues promptly to maintain the guitar’s functionality.
By incorporating these final tips into your guitar maintenance routine, you contribute to the long-term health and performance of your electric guitar. Regular care and attention to detail not only preserve the instrument’s condition but also enhance your playing experience, allowing you to fully enjoy the rich tones and responsive feel of your guitar.


