Introduction
Are you a pianist looking to expand your musical horizons? Do you have a digital piano and want to explore the world of music production and performance? Converting your digital piano into a MIDI controller might be the perfect solution for you. By transforming your instrument into a MIDI controller, you can unlock a multitude of creative possibilities, allowing you to control and manipulate various digital instruments and software.
In this comprehensive guide, we will walk you through the process of turning your digital piano into a MIDI controller, opening up a world of musical exploration and innovation. Whether you are a seasoned musician or an aspiring producer, this transformation can revolutionize the way you interact with music and bring a new dimension to your performances and compositions.
By following the steps outlined in this guide, you will learn how to seamlessly integrate your digital piano into your digital audio workstation (DAW) or music production software, harnessing its expressive capabilities to control virtual instruments, effects, and more. With the power of MIDI at your fingertips, you can unleash your creativity and take your music to new heights.
So, dust off your digital piano, prepare to embark on a musical journey, and let's dive into the process of transforming your instrument into a versatile MIDI controller. Get ready to explore the endless possibilities that await as you merge the timeless elegance of a piano with the boundless potential of digital music technology.
Step 1: Gather the Necessary Equipment
Before embarking on the journey of transforming your digital piano into a MIDI controller, it is essential to gather the necessary equipment to ensure a seamless and successful conversion. Here’s what you’ll need:
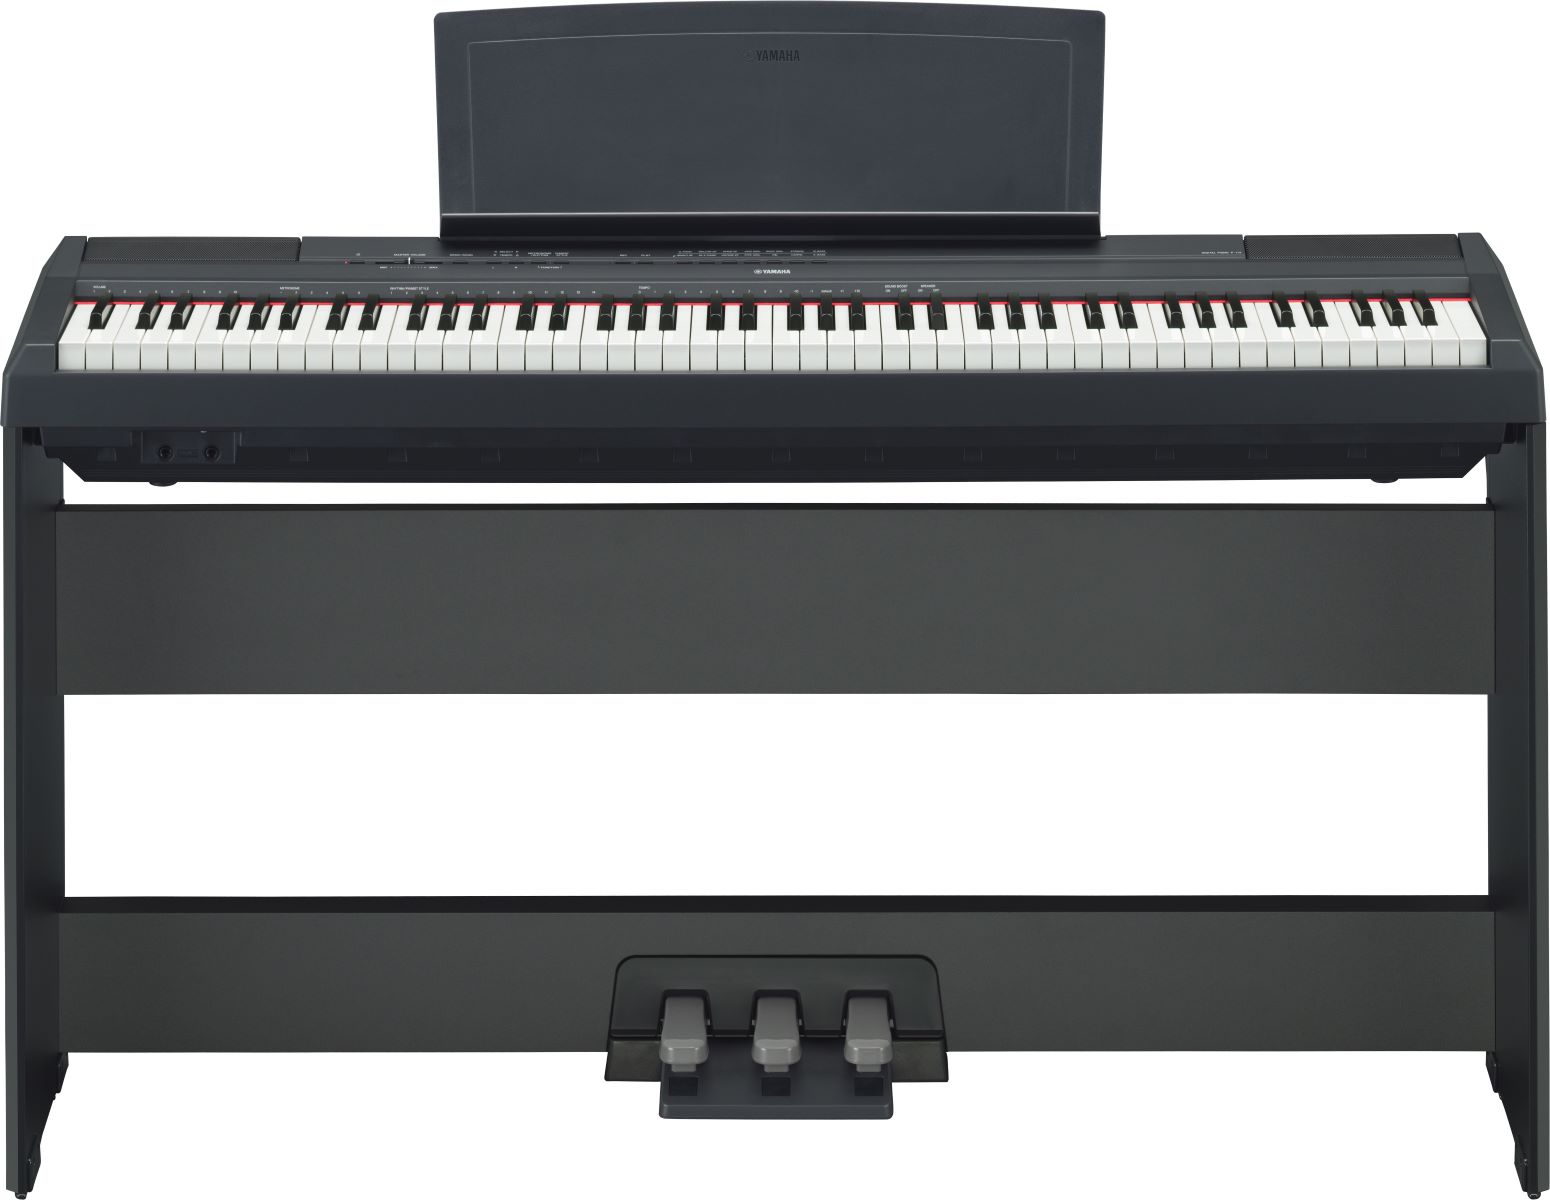
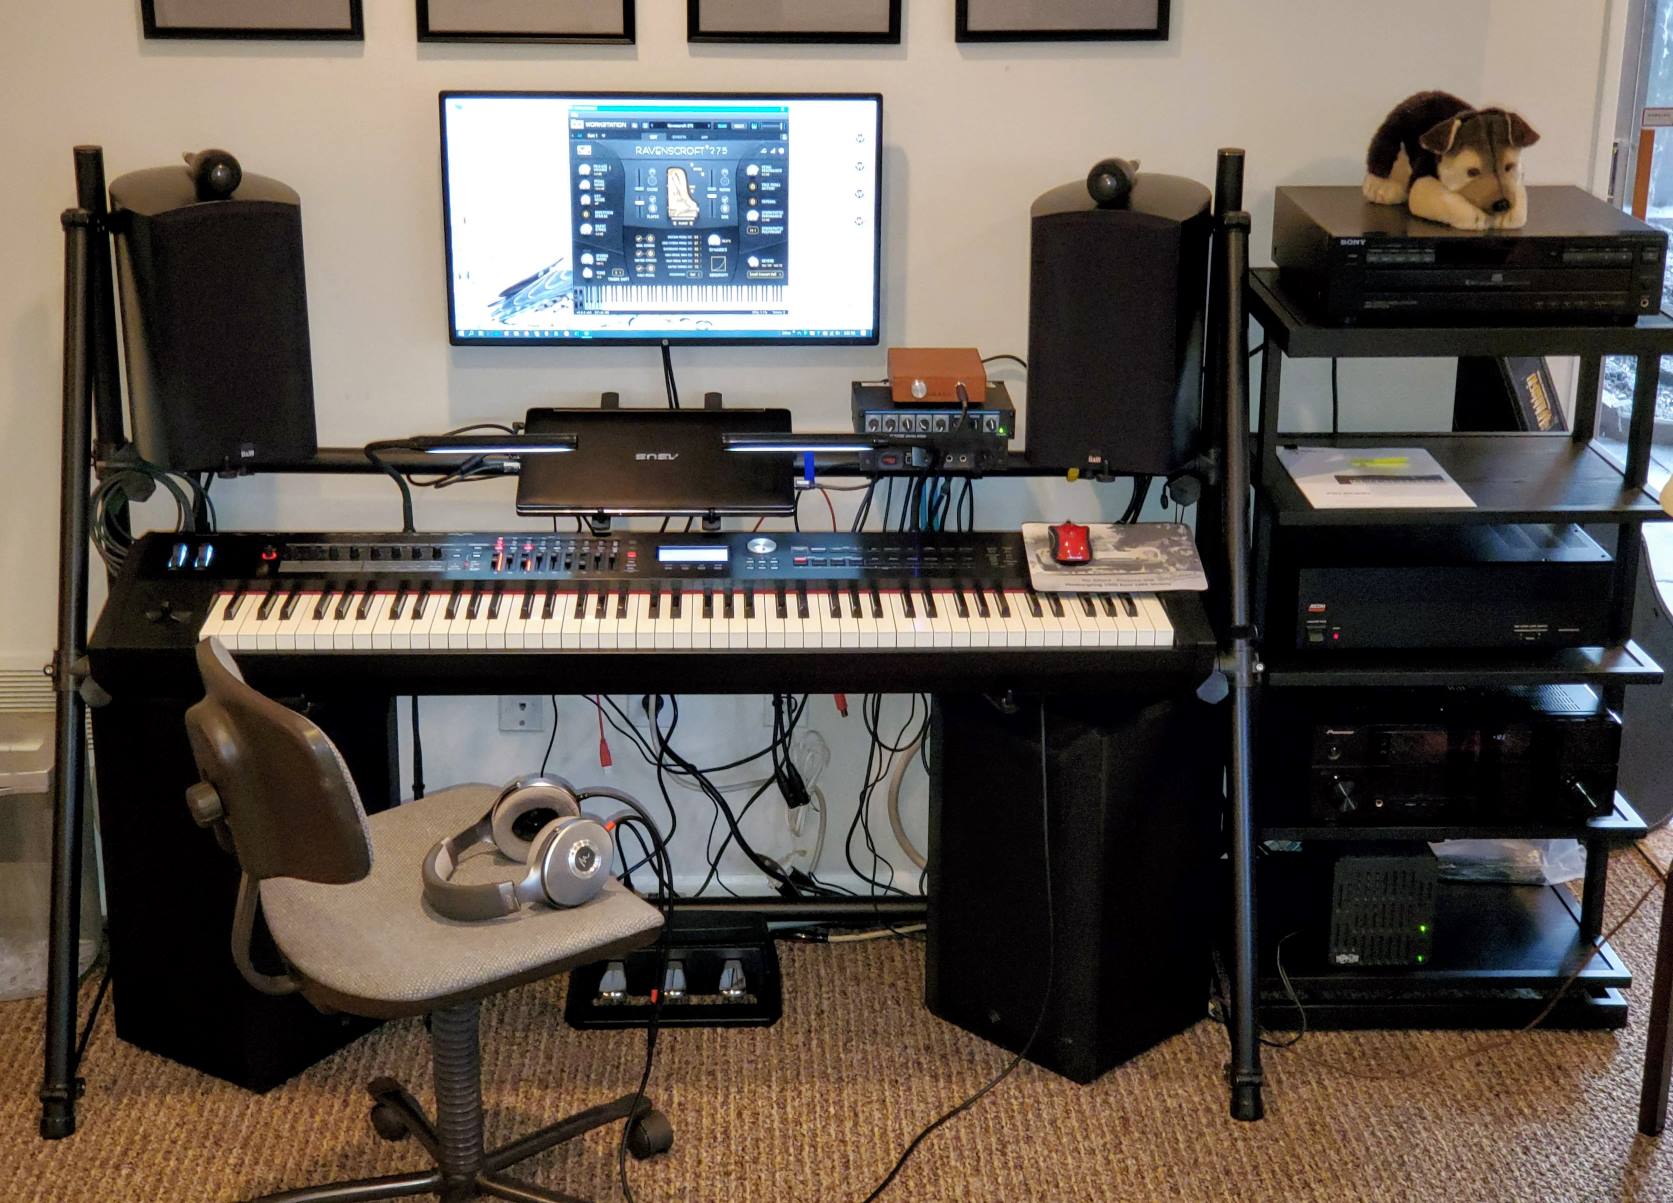
- Digital Piano: The centerpiece of this transformation is, of course, your digital piano. Ensure that it is in good working condition and has the necessary connectivity options to interface with a computer or MIDI device.
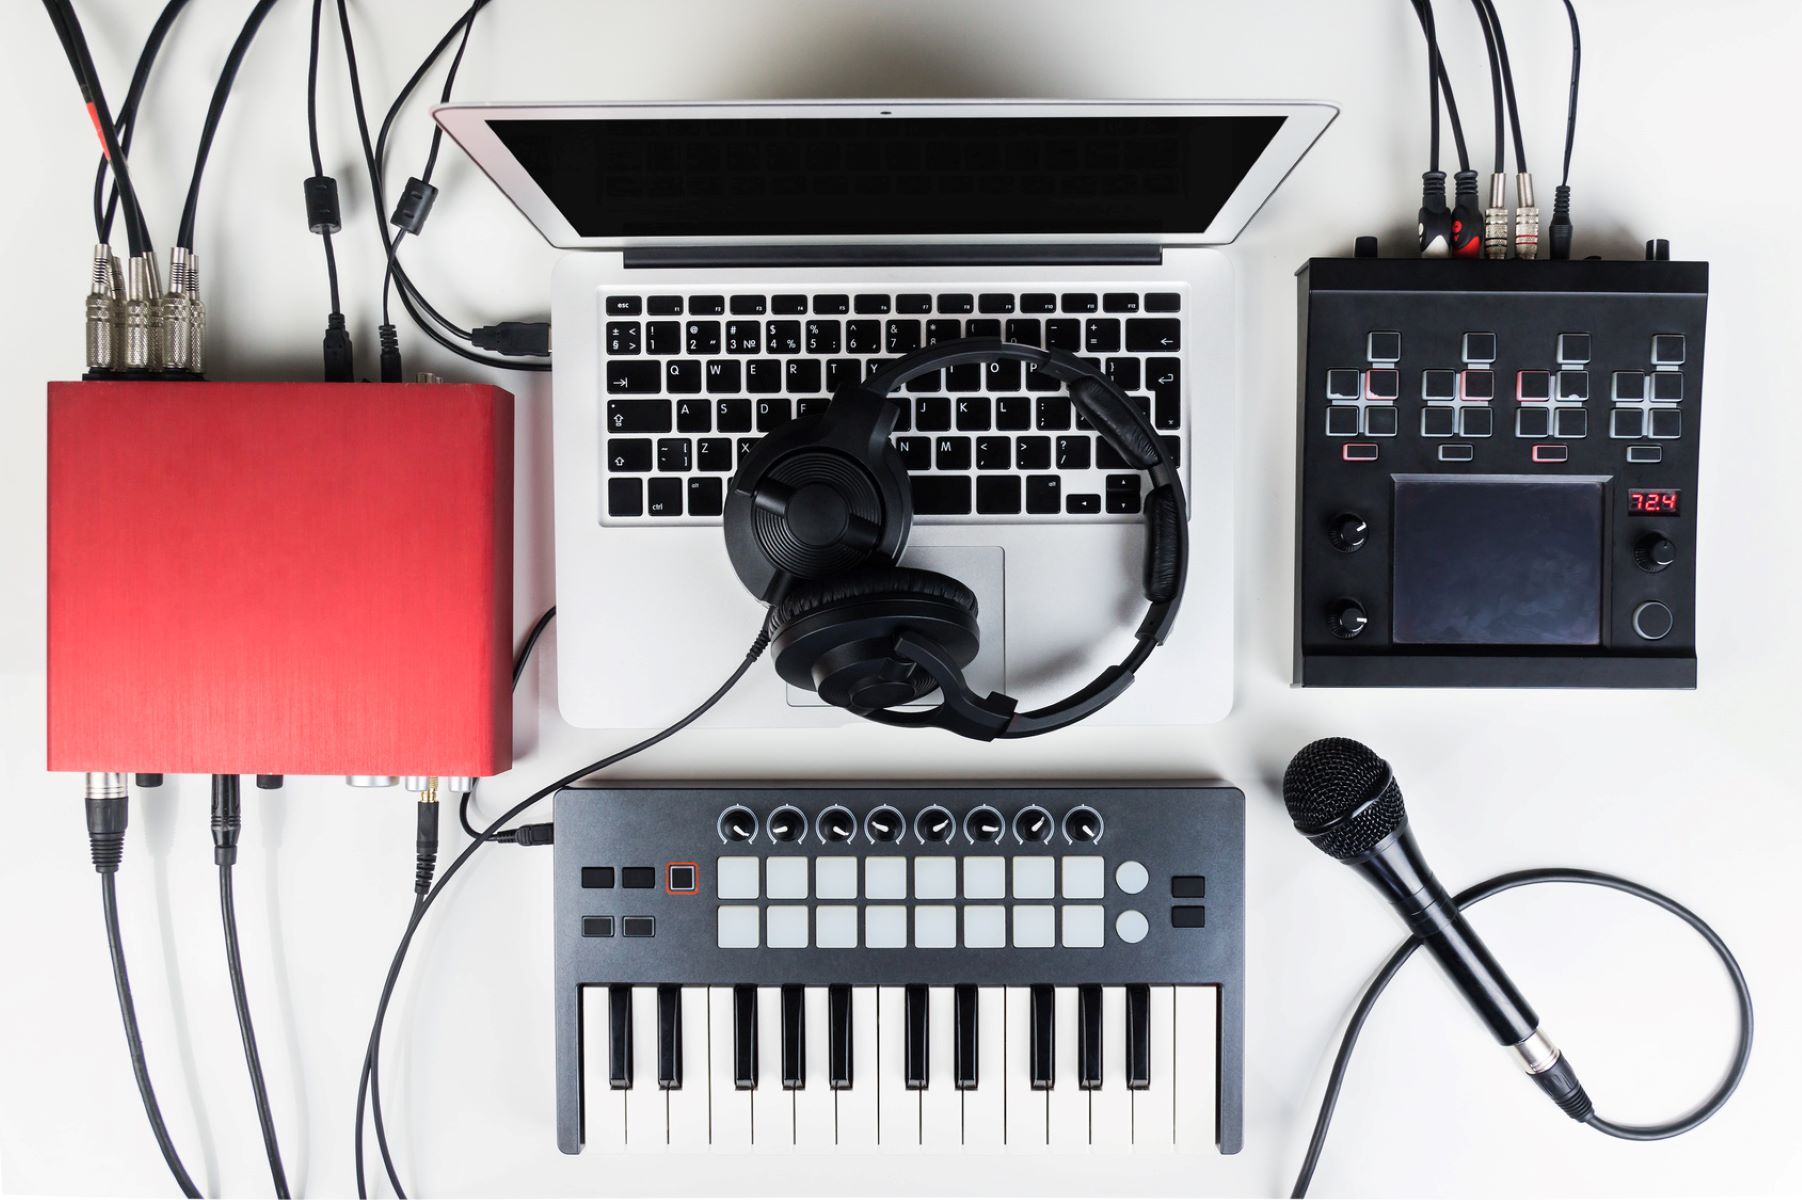
- MIDI Interface: A MIDI interface serves as the bridge between your digital piano and the computer, enabling communication between the two devices. There are various types of MIDI interfaces available, including USB MIDI interfaces and traditional MIDI interfaces with MIDI cables. Choose one that is compatible with your digital piano and computer setup.
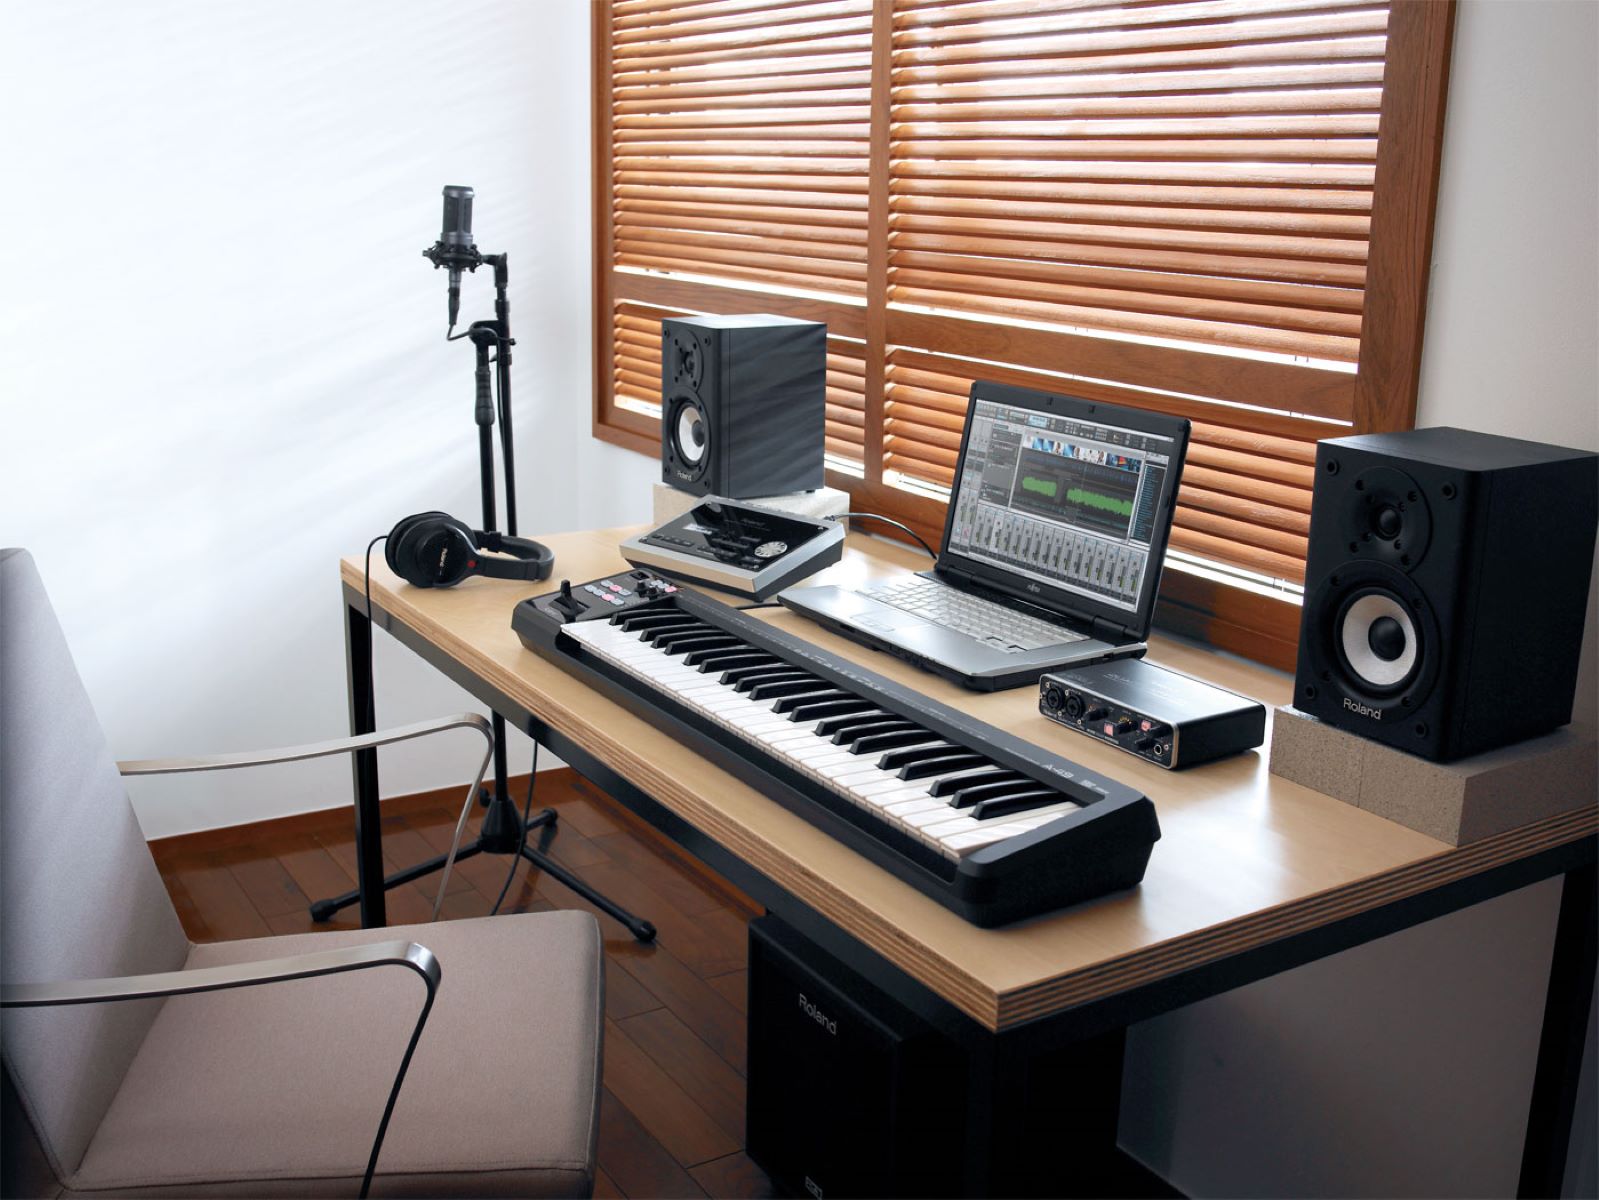
- Computer: You will need a computer with a compatible operating system to run MIDI software and integrate your digital piano into your music production setup. Ensure that your computer meets the system requirements for the MIDI software you plan to use.
- MIDI Software: Select and install MIDI software or a digital audio workstation (DAW) that supports MIDI functionality. Popular options include Ableton Live, FL Studio, Pro Tools, and Logic Pro, among others. Choose a software that aligns with your music production needs and preferences.
- MIDI Cables or USB Cables: Depending on the connectivity options of your digital piano and MIDI interface, you may need MIDI cables or USB cables to establish the connection between the two devices. Ensure that you have the appropriate cables to facilitate the integration.
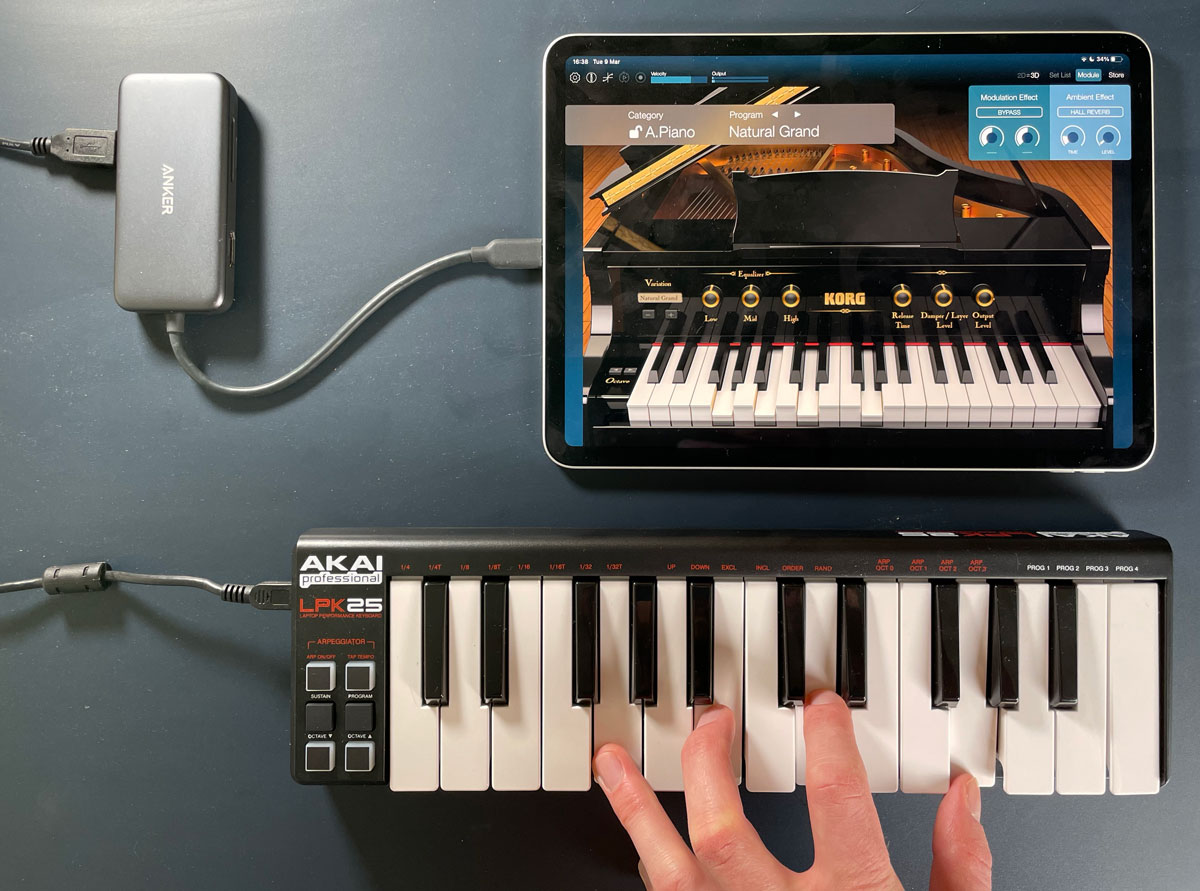
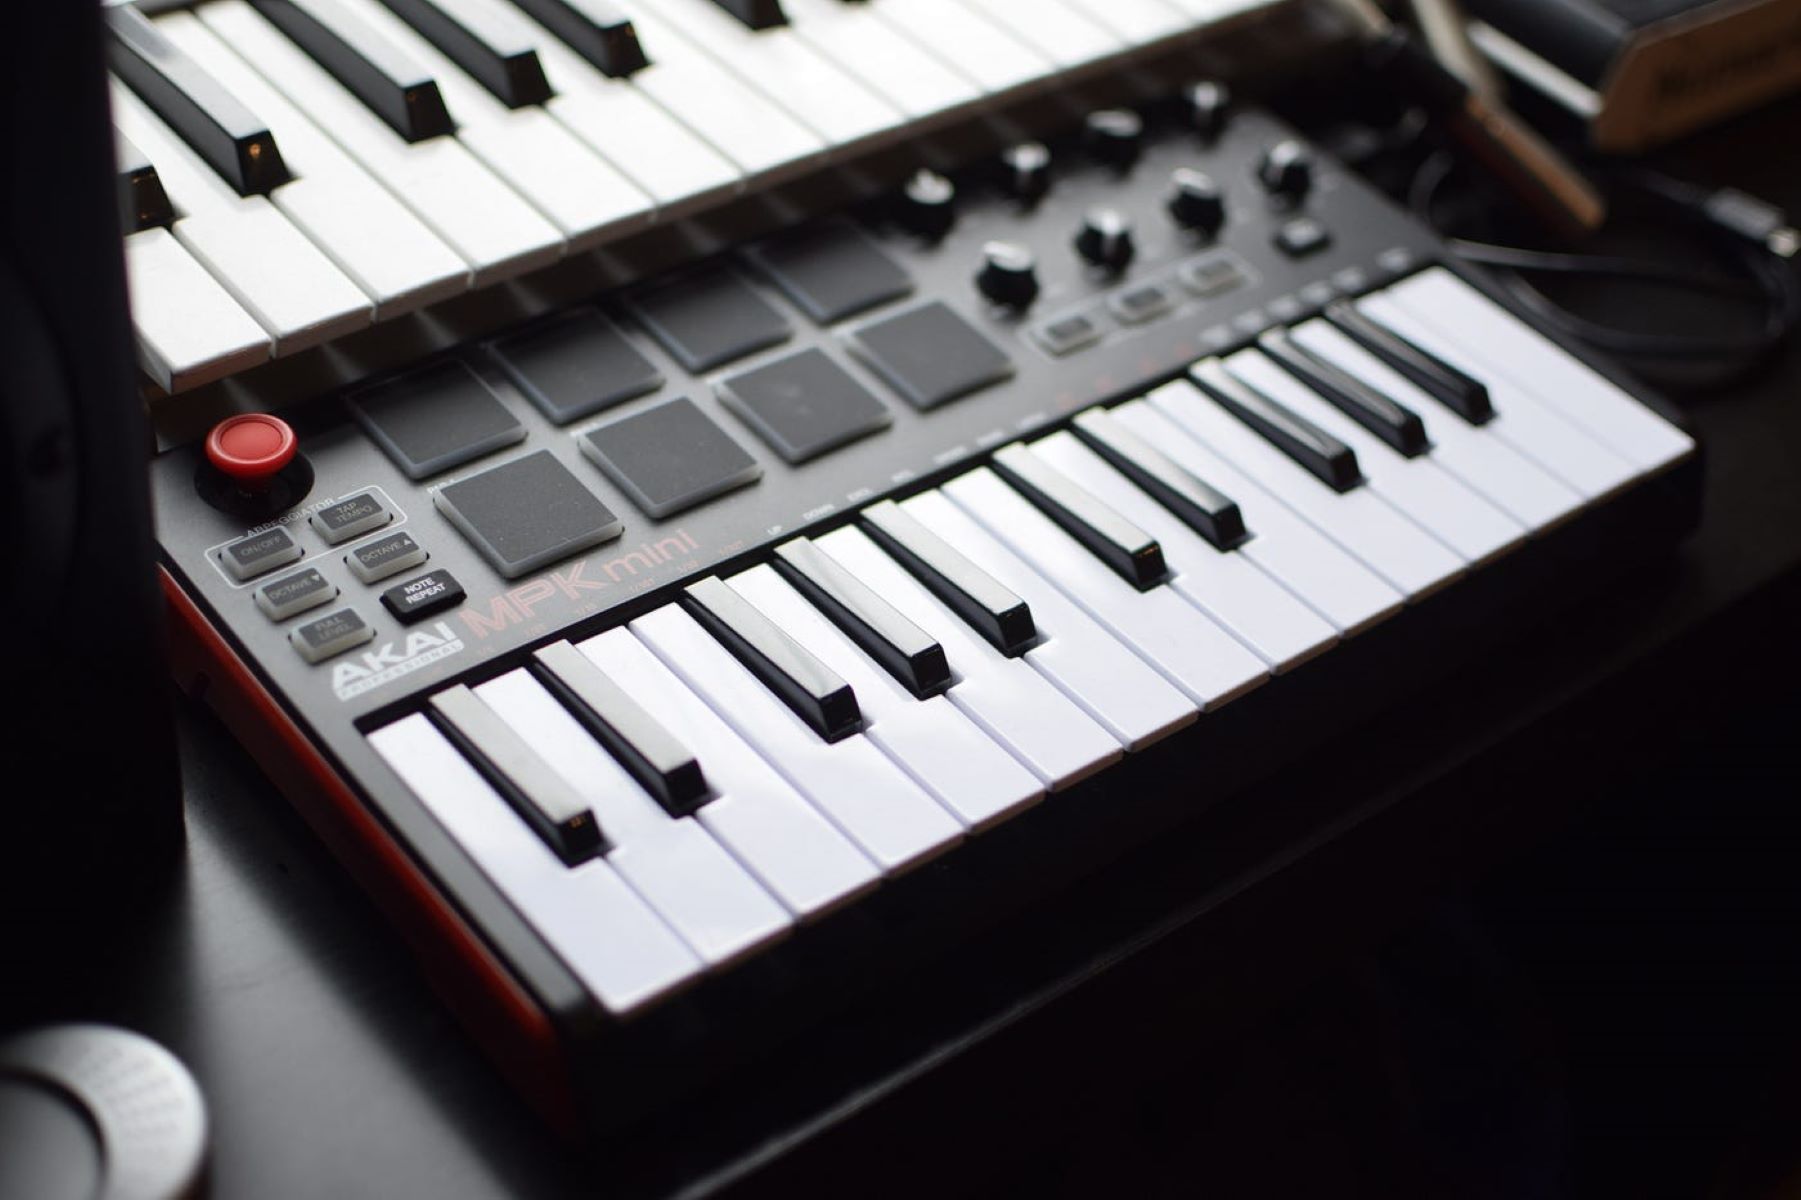
- Optional: MIDI Controller Keyboard (for Expanded Functionality): While not mandatory, incorporating a separate MIDI controller keyboard can enhance your setup by providing additional control options and expanding your creative capabilities. Consider this optional addition based on your musical requirements and preferences.
By ensuring that you have the necessary equipment in place, you can set the stage for a smooth and efficient transformation of your digital piano into a powerful MIDI controller. With these components at your disposal, you are ready to proceed to the next step and delve into the process of installation and integration.
Step 2: Install MIDI Interface and Software
Once you have gathered the essential equipment, the next step in the process of converting your digital piano into a MIDI controller involves installing the MIDI interface and the necessary software on your computer. Follow these steps to seamlessly integrate the MIDI interface and software into your music production setup:
- Connect the MIDI Interface: Begin by connecting the MIDI interface to your computer using the appropriate cables or by utilizing the USB connectivity, depending on the type of MIDI interface you have. Ensure that the MIDI interface is securely connected and recognized by your computer.
- Install MIDI Interface Drivers: If your MIDI interface requires specific drivers for operation, install them according to the manufacturer’s instructions. This step is crucial for establishing a stable connection between the MIDI interface and your computer, enabling seamless communication.
- Install MIDI Software or DAW: Proceed to install the MIDI software or digital audio workstation (DAW) of your choice on your computer. Follow the installation instructions provided with the software and ensure that it is successfully installed and ready for configuration.
- Configure MIDI Settings: Once the MIDI software is installed, configure the MIDI settings within the software to recognize and communicate with the MIDI interface. This may involve selecting the MIDI interface as the input and output device within the software’s preferences or settings menu.
- Test MIDI Connectivity: Verify the connectivity between the MIDI interface and the installed software by triggering MIDI input from your digital piano. Ensure that the MIDI signals are being received by the software and that the communication is bidirectional, allowing for control of virtual instruments and recording of MIDI data.
By meticulously following these installation steps, you can establish a robust connection between your digital piano, MIDI interface, and computer, laying the foundation for a seamless integration that will enable your digital piano to function as a versatile MIDI controller. With the hardware and software components in place, you are now prepared to proceed to the next stage of the transformation process, which involves connecting your digital piano to the computer and configuring MIDI settings for optimal functionality.
Step 3: Connect the Digital Piano to the Computer
With the MIDI interface and software successfully installed, the next crucial step in the process of transforming your digital piano into a MIDI controller is to establish a seamless connection between your instrument and the computer. Follow these steps to ensure a reliable and functional connection:
- Identify the Connectivity Options: Determine the available connectivity options on your digital piano, which may include MIDI OUT, USB, or other proprietary digital connectivity options. Refer to the user manual or specifications of your digital piano to identify the appropriate ports for establishing a connection.
- Connect the MIDI Interface to the Digital Piano: If your digital piano features traditional MIDI connectivity (MIDI OUT), use MIDI cables to connect the MIDI OUT port of the digital piano to the MIDI IN port of the MIDI interface. Alternatively, if your digital piano supports USB connectivity, connect it directly to the computer using a USB cable.
- Ensure Secure Connections: Confirm that the connections between the digital piano, MIDI interface, and computer (if using USB connectivity) are secure and free from any loose connections that may disrupt the flow of MIDI data.
- Power On the Digital Piano: Power on your digital piano and ensure that it is receiving power, as this is essential for establishing a stable connection and enabling MIDI communication between the instrument and the computer.
- Verify MIDI Signal Transmission: Trigger MIDI input from the digital piano, such as playing a note or chord, and verify that the MIDI signals are being transmitted to the computer via the MIDI interface or USB connection. This can be confirmed by observing MIDI activity indicators on the interface or within the MIDI software.
By meticulously following these steps, you can effectively connect your digital piano to the computer, setting the stage for seamless MIDI communication and control. Once the connection is established, you are ready to delve into the next phase of the process, which involves configuring MIDI settings to optimize the functionality of your digital piano as a MIDI controller within your music production environment.
Step 4: Configure MIDI Settings
With your digital piano successfully connected to the computer, the next pivotal step in the transformation process is to configure the MIDI settings within your MIDI software or digital audio workstation (DAW). By customizing the MIDI settings, you can optimize the functionality of your digital piano as a MIDI controller and tailor its behavior to suit your creative needs. Follow these essential steps to configure the MIDI settings:
- Select MIDI Input and Output Devices: Access the MIDI settings within your MIDI software or DAW and designate the connected MIDI interface or digital piano as the input and output device for MIDI communication. This step ensures that MIDI signals are routed to and from your digital piano effectively.
- Assign MIDI Channels and Mapping: Define the MIDI channels for input and output on your digital piano, aligning them with the MIDI channels used within your MIDI software or DAW. Additionally, customize the MIDI mapping to allocate specific functions and parameters to different keys, pedals, or controls on your digital piano.
- Calibrate MIDI Response and Sensitivity: Fine-tune the MIDI response and sensitivity settings to match the playing dynamics and nuances of your digital piano. Adjust parameters such as velocity sensitivity and aftertouch to ensure that your MIDI controller accurately translates your playing style into expressive MIDI data.
- Set Up MIDI Control Assignments: Utilize the MIDI software or DAW to assign MIDI control parameters to various elements within your music production environment, such as virtual instruments, effects, mixer controls, and automation parameters. This step empowers you to control and manipulate a wide array of musical elements using your digital piano as a MIDI controller.
- Test MIDI Functionality: Verify the configured MIDI settings by testing the functionality of your digital piano as a MIDI controller. Play notes, chords, and various musical passages to ensure that the MIDI data is accurately transmitted and that the assigned controls and parameters respond as intended within the software environment.
By meticulously configuring the MIDI settings, you can harness the full potential of your digital piano as a versatile MIDI controller, tailored to your playing style and musical preferences. With the MIDI settings optimized, you are now poised to explore the expansive capabilities of your transformed instrument and unleash your creativity within the realm of digital music production and performance.
Step 5: Test the MIDI Controller Functionality
Having configured the MIDI settings for your digital piano, the final step in the transformation process involves thoroughly testing the functionality of your newly minted MIDI controller. By conducting comprehensive tests, you can ensure that your digital piano seamlessly integrates into your music production environment, providing intuitive control over virtual instruments, effects, and various parameters. Follow these essential steps to test the MIDI controller functionality:
- Play and Evaluate Note Response: Begin by playing a range of notes and chords on your digital piano to assess the responsiveness and accuracy of the MIDI note data transmitted to the software. Pay attention to factors such as velocity sensitivity, key tracking, and the overall feel of playing virtual instruments through your MIDI controller.
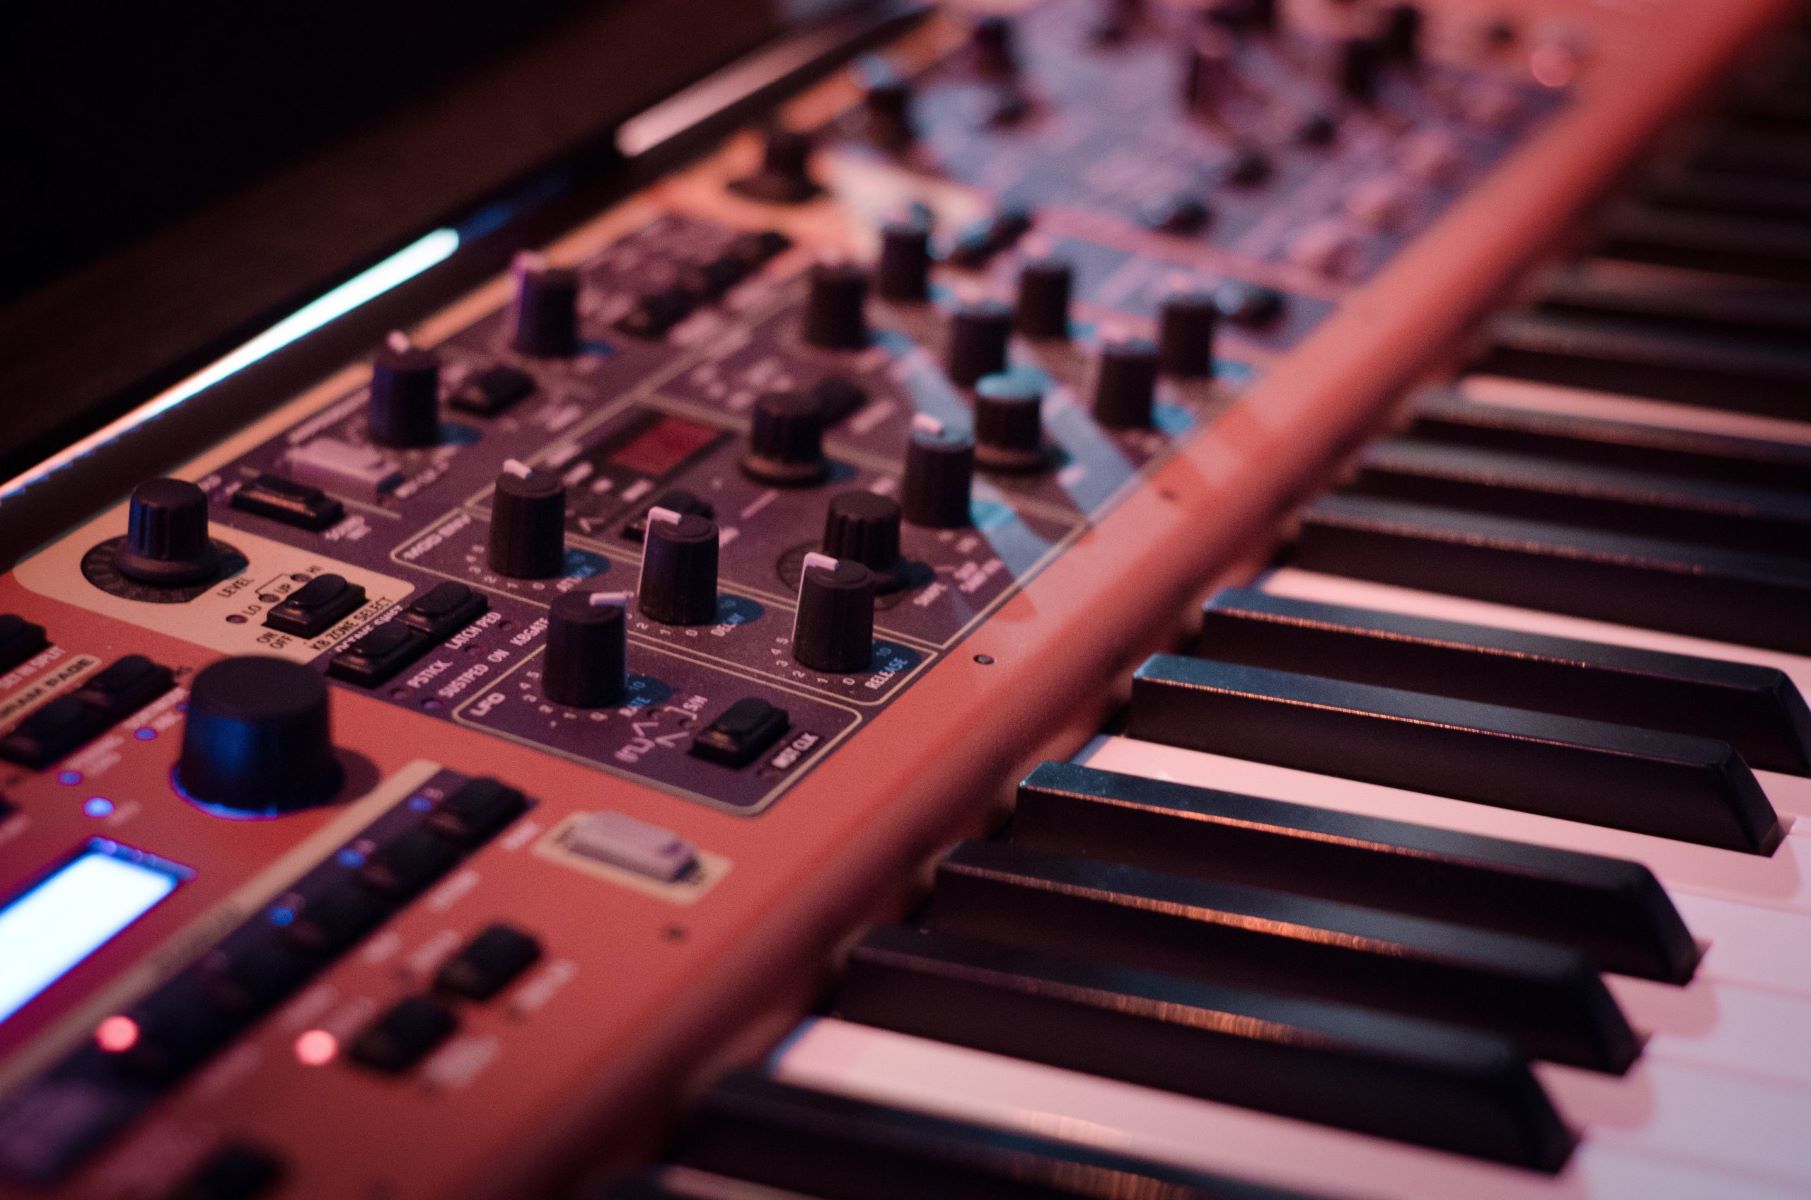
- Explore Expressive Control Features: Experiment with the expressive control features of your MIDI controller, such as aftertouch, modulation wheel, and pitch bend. Evaluate how these elements translate your playing nuances into nuanced MIDI data, allowing for dynamic and emotive performances within your music production environment.
- Test MIDI Control Assignments: Verify the functionality of the assigned MIDI controls on your digital piano, such as knobs, sliders, and pedals, within the software environment. Ensure that these controls accurately manipulate parameters within virtual instruments, effects, and mixer settings, providing seamless control over your musical elements.
- Record and Playback MIDI Data: Record a MIDI performance using your digital piano as the MIDI controller and play back the recorded MIDI data within the software. Confirm that the recorded performance accurately reflects your playing and that the MIDI data captures the nuances and dynamics of your musical expression.
- Integrate with Music Production Workflow: Integrate your MIDI controller into your music production workflow by using it to control virtual instruments, trigger samples, and modulate various parameters during the creation and arrangement of musical compositions. Evaluate how the MIDI controller enhances your creative process and workflow efficiency.
By rigorously testing the MIDI controller functionality, you can ascertain its seamless integration into your music production environment and its ability to elevate your creative capabilities. Through thorough evaluation and experimentation, you can unlock the full potential of your digital piano as a MIDI controller, paving the way for inspired performances, innovative compositions, and a new realm of musical exploration.
Conclusion
Congratulations on successfully transforming your digital piano into a powerful MIDI controller, expanding the horizons of your musical creativity and performance capabilities. By following the comprehensive steps outlined in this guide, you have unlocked a world of possibilities, seamlessly integrating your digital piano into the realm of digital music production and performance.
Through the process of gathering the necessary equipment, installing the MIDI interface and software, connecting your digital piano to the computer, configuring MIDI settings, and testing the MIDI controller functionality, you have ventured into a realm where the timeless elegance of a piano converges with the boundless potential of digital music technology. The result is a versatile and expressive MIDI controller that empowers you to control virtual instruments, manipulate effects, and infuse your musical creations with emotive performances.
As you continue to explore the capabilities of your MIDI controller, consider delving into advanced techniques, such as creating custom MIDI mappings, integrating your controller into live performance setups, and leveraging its expressive features to breathe life into your musical productions. Embrace the seamless integration of traditional piano artistry with the dynamic realm of digital music, and let your creativity flourish in this harmonious convergence.
With your digital piano now serving as a MIDI controller, you have embarked on a journey that transcends the confines of conventional musical instruments, embracing a world where technology and artistry intersect to redefine musical expression. Whether you are composing intricate melodies, sculpting sonic landscapes, or performing with unparalleled expressiveness, your transformed MIDI controller stands as a testament to the fusion of tradition and innovation in the realm of music.
As you continue to harness the potential of your MIDI controller, may your musical endeavors be enriched by the seamless synergy between your digital piano and the boundless realm of digital music creation. Let your melodies resonate, your performances captivate, and your compositions inspire, as you embark on this transformative musical odyssey with your digital piano as a versatile and expressive MIDI controller.


