Introduction
Welcome to this guide on how to get your Samplitude Music Studio to work with your USB microphone. Samplitude Music Studio is a powerful digital audio workstation that allows you to create, record, mix, and produce music. However, it’s essential to have a seamless connection between your USB microphone and the software to ensure high-quality recordings.
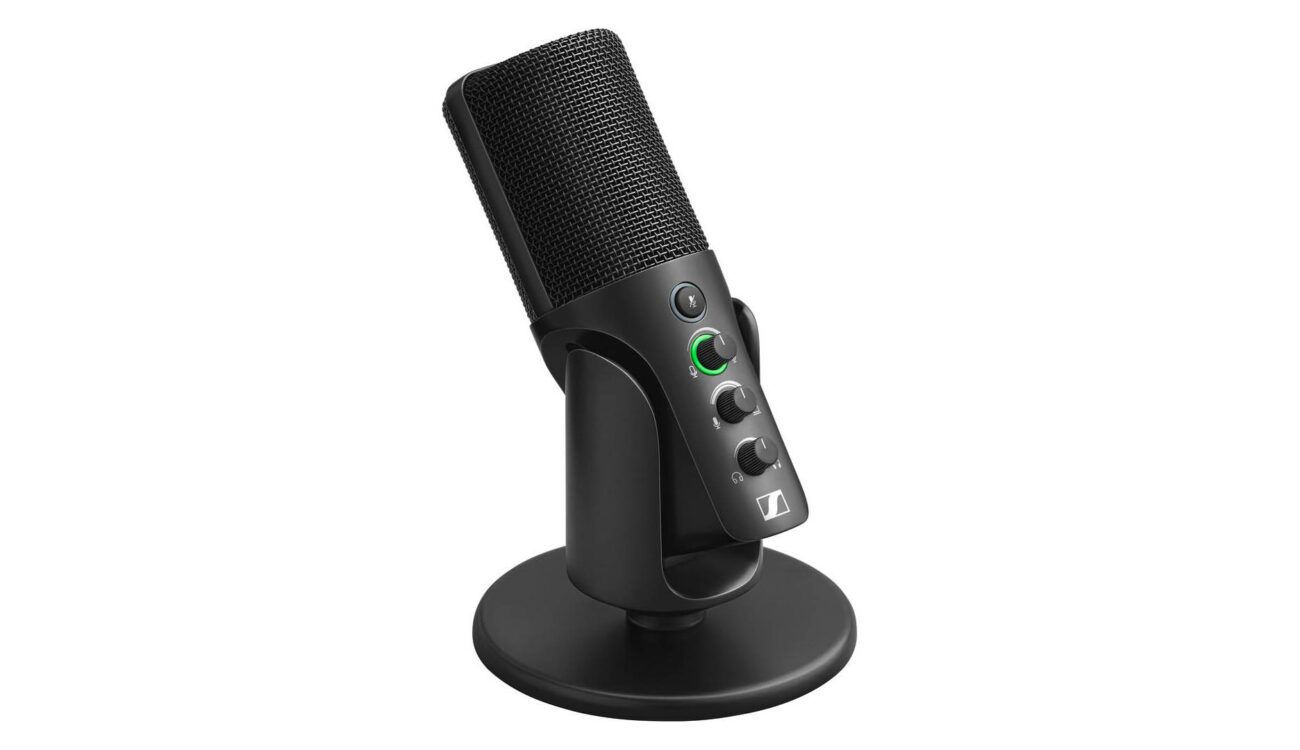
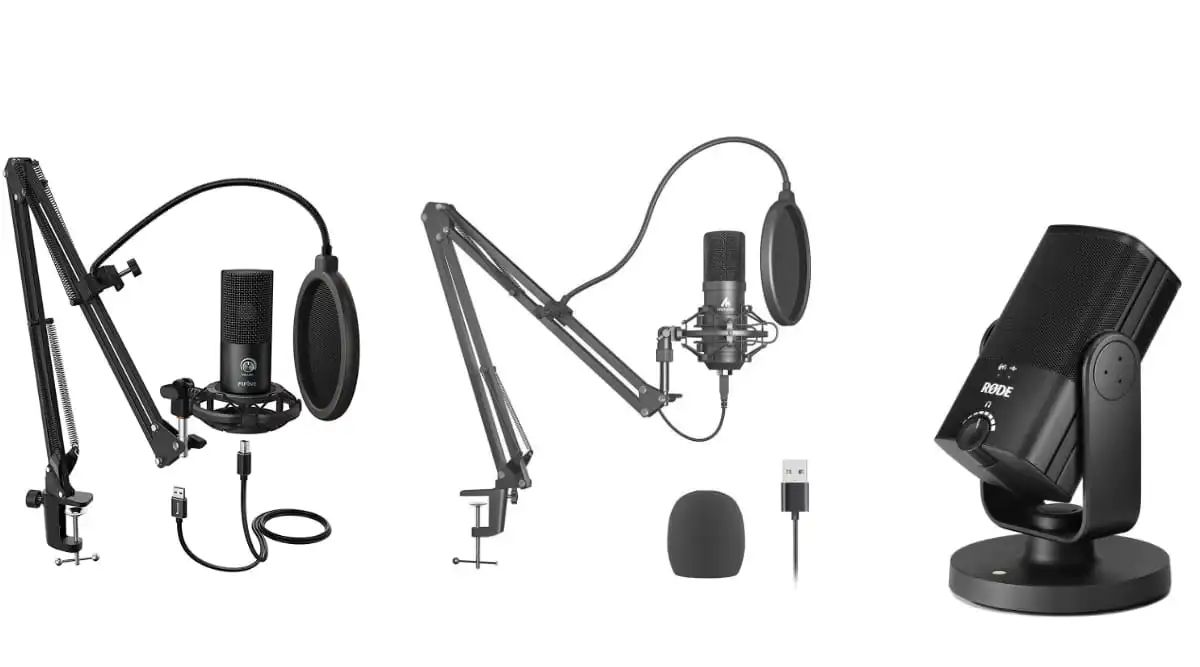
USB microphones are a popular choice for many musicians and content creators due to their convenience and ease of use. These microphones are plug-and-play devices, meaning you can connect them directly to your computer’s USB port without the need for any additional equipment. However, setting up your USB microphone correctly in Samplitude Music Studio requires a few steps to ensure optimal performance.
In this guide, we will walk you through the process of connecting your USB microphone to your computer, setting up audio inputs and outputs in Samplitude Music Studio, selecting the USB microphone as the recording device, adjusting microphone levels and recording settings, and configuring additional settings for optimal recording. We will also address common troubleshooting issues that you may encounter while using USB microphones with Samplitude Music Studio.
By following this guide, you will be able to unleash the full potential of your USB microphone with Samplitude Music Studio, allowing you to create professional-quality recordings and explore your musical creativity. So let’s get started!
Connecting the USB Microphone to Your Computer
Before you can start using your USB microphone with Samplitude Music Studio, you need to connect it properly to your computer. Here are the steps to follow:
- Locate a free USB port on your computer. These are usually found on the front or back of the CPU tower or on the sides of a laptop.
- Take the USB cable that came with your microphone and plug one end into the USB port on your computer.
- Plug the other end of the USB cable into the USB port on your microphone. Make sure it is securely connected.
- Once the USB microphone is connected, your computer should recognize it as a new device. It may take a moment for the drivers to install, so be patient.
- You can check if your USB microphone is recognized by going to the “Sound” or “Audio” settings on your computer. Look for the microphone under the input devices and make sure it is selected as the default recording device.
It’s important to note that not all USB microphones require additional drivers to be installed. In most cases, they are plug-and-play devices, meaning they will work as soon as you connect them to your computer.
Once your USB microphone is successfully connected to your computer, you can proceed to the next steps of setting up audio inputs and outputs in Samplitude Music Studio.
Setting Up Audio Inputs and Outputs in Samplitude Music Studio
After connecting your USB microphone to your computer, you need to configure the audio inputs and outputs in Samplitude Music Studio. This will ensure that the software recognizes and utilizes your USB microphone correctly. Here’s how you can set it up:
- Launch Samplitude Music Studio on your computer.
- Click on the “Options” menu at the top of the screen and select “Audio System Settings.”
- In the Audio System Settings window, go to the “Playback” tab. Here, you will see a list of available output devices. Make sure the correct device is selected as the output for playback.
- Next, go to the “Recording” tab. You will see a list of available input devices. Locate your USB microphone in the list and ensure it is selected as the input device.
- Adjust the sample rate and buffer size settings according to your preference or leave them at their default values.
- Click “Apply” and then “OK” to save your changes and close the Audio System Settings window.
Once you have completed these steps, Samplitude Music Studio is now set up to use your USB microphone as the input device for recording. This means that any audio you record within the software will be captured using your USB microphone.
It’s worth mentioning that if you have multiple input devices connected to your computer, it’s essential to select the correct one in the recording settings to ensure that your USB microphone is being utilized.
Now that you have set up the audio inputs and outputs in Samplitude Music Studio, you’re ready to move on to the next step of selecting the USB microphone as the recording device.
Selecting the USB Microphone as the Recording Device in Samplitude Music Studio
Once you have connected your USB microphone and configured the audio inputs and outputs in Samplitude Music Studio, the next step is to select the USB microphone as the recording device. This will ensure that the software recognizes and uses your USB microphone for capturing audio. Follow these steps:
- Open Samplitude Music Studio on your computer.
- Create a new project or open an existing one, depending on your needs.
- Click on the “Options” menu at the top of the screen and select “Audio Input / Output Setup.”
- In the Audio Input / Output Setup window, go to the “Recording” tab.
- From the list of available devices, choose your USB microphone as the recording device. It should be listed with its specific name or model.
- Adjust any additional settings, such as the recording quality or input levels, according to your preferences. You can refer to the user manual or documentation of your USB microphone for specific recommendations.
- Once you have made the necessary selections and adjustments, click “Apply” and then “OK” to save your changes and close the window.
By selecting your USB microphone as the recording device in Samplitude Music Studio, you are setting it as the primary input source for capturing audio. Any future recordings you make in the software will be using your USB microphone as the source of the sound.
It’s important to note that if you have multiple recording devices connected to your computer, ensure that you have selected the correct one to avoid any audio-related issues during recording sessions.
Now that you have successfully set up your USB microphone as the recording device in Samplitude Music Studio, you can proceed to adjust the microphone levels and recording settings for optimal performance.
Adjusting the Microphone Levels and Recording Settings
Once you have selected your USB microphone as the recording device in Samplitude Music Studio, it’s important to adjust the microphone levels and recording settings to ensure optimal sound quality and performance. Follow these steps:
- Open Samplitude Music Studio on your computer.
- Ensure that you have a track armed for recording. If not, create a new audio track by right-clicking in the arrangement window and selecting “Add Track” > “Audio Track.”
- In the track inspector, locate the input section. Here, you will find the input selection for the track.
- Click on the input selection dropdown menu and choose the input channel corresponding to your USB microphone.
- Next, adjust the microphone levels to ensure that the input signal is neither too loud nor too soft. Use the input gain, trim, or volume controls on your USB microphone, or the input gain controls within Samplitude Music Studio, to achieve the desired level.
- In Samplitude Music Studio, you can monitor the input signal level using the track meters or the channel input meters. Aim for a healthy signal level without any distortion.
- Additionally, you may need to fine-tune recording settings such as the sample rate and bit-depth based on your project requirements. These settings can be accessed from the main toolbar or the preferences menu in Samplitude Music Studio.
By adjusting the microphone levels and recording settings, you can ensure that you capture clean and balanced audio with your USB microphone in Samplitude Music Studio. Pay attention to the input signal level and make adjustments as necessary to achieve the best sound quality for your recordings.
It’s advisable to perform some test recordings and monitor the playback to confirm that the microphone levels and recording settings are properly configured.
Now that you have adjusted the microphone levels and recording settings, you’re ready to start recording using your USB microphone in Samplitude Music Studio.
Configuring Additional Settings for Optimal Recording
In addition to adjusting the microphone levels and recording settings, there are some additional settings you can configure in Samplitude Music Studio to further optimize your recording experience. These settings can enhance the quality and efficiency of your recordings. Follow these guidelines to configure these additional settings:
- Noise Reduction: If you are recording in a noisy environment, Samplitude Music Studio offers built-in noise reduction tools that can help reduce unwanted background noise. Experiment with these tools to minimize distractions and improve the clarity of your recordings.
- Effects and Plugins: Samplitude Music Studio provides a wide range of built-in effects and plugins that can enhance your recordings. Experiment with different effects such as reverb, compression, EQ, and delay to add depth and character to your audio. Customize these effects according to your preferences and the requirements of your recording.
- Midi Settings: If you are incorporating MIDI instruments or controllers into your recordings, make sure to configure the MIDI settings in Samplitude Music Studio. Set up your MIDI devices, assign MIDI channels, and ensure proper synchronization between your MIDI equipment and the software.
- Track Organization: As your recording projects become more complex, it’s essential to keep your tracks organized. Utilize features such as color coding, grouping, and naming to keep track of different instruments, vocals, and layers. This organization can help streamline your workflow and make the mixing and editing process more efficient.
- Backup and Auto-Save: To avoid losing your precious recordings due to unforeseen circumstances, enable the auto-save and backup features in Samplitude Music Studio. Set up regular automatic backups and save your projects to multiple locations to ensure that your work is always protected.
Configuring these additional settings in Samplitude Music Studio will allow you to optimize your recording workflow and achieve the best possible results. Take the time to experiment with different features and settings to find the combination that works best for your specific recording needs.
Remember, optimal recording is not just about the technical settings, but also about the creativity and performance that you bring to your recordings. Use these tools and features to express your artistic vision and create compelling audio productions.
With these additional settings configured to your preference, you can confidently move forward with your recording projects in Samplitude Music Studio.
Recording with the USB Microphone in Samplitude Music Studio
Now that you have connected your USB microphone, set up audio inputs and outputs, adjusted microphone levels, and configured additional settings in Samplitude Music Studio, it’s time to start recording. Follow these steps to begin your recording session:
- Launch Samplitude Music Studio on your computer and open the project in which you want to record.
- Ensure that the track you want to record on is armed for recording. You can arm a track by clicking on the arm icon or selecting the appropriate option in the track inspector.
- Before you start recording, play through your project to ensure that you have the desired settings, effects, and levels in place.
- When you are ready to begin recording, press the record button in the transport control section or use the assigned shortcut key.
- As you start recording, monitor the input level meter to ensure that your USB microphone is capturing a healthy signal without clipping or distortion. Adjust the microphone levels, if necessary, using the input gain controls in Samplitude Music Studio or on your USB microphone.
- Perform your recording with precision and creativity. Keep an eye on the meters to maintain consistent levels and deliver your best performance.
- Once you have completed your recording, press the stop button to end the recording process. Samplitude Music Studio will automatically save the recorded audio to the designated track in your project.
After recording, you can review and edit your recording using the various editing tools and features available in Samplitude Music Studio. You can trim, cut, delete, or rearrange parts of your recording, apply effects or plugins, adjust levels, and fine-tune the overall sound.
It’s important to periodically save your project as you work to avoid losing any unsaved changes or recordings.
Congratulations! You have successfully completed a recording with your USB microphone in Samplitude Music Studio. With practice, you will refine your recording techniques and produce professional-quality audio tracks.
Troubleshooting Common Issues with USB Microphones in Samplitude Music Studio
While using USB microphones with Samplitude Music Studio, you may encounter certain issues that can disrupt your recording process. Here are some common problems and their troubleshooting solutions:
- No Recognized Input: If Samplitude Music Studio does not recognize your USB microphone as an available input device, ensure that it is properly connected to your computer. Check if the USB cable is securely plugged in and try reconnecting it. You may also need to install any necessary drivers or update the drivers for your USB microphone.
- Audio Dropout or Latency: Audio dropouts or latency issues can occur due to various factors, such as low buffer size or an inefficient USB connection. To troubleshoot this, increase the buffer size in the audio settings of Samplitude Music Studio. Additionally, ensure that your USB microphone is connected directly to a USB port on your computer and not through a USB hub. This will help improve the stability of the audio signal.
- Distorted Sound or Low Volume: If you are experiencing distorted sound or low volume levels with your USB microphone, check the microphone levels and gain settings in Samplitude Music Studio. Adjust the levels to ensure that the input signal is within an optimal range. You can also try reducing the input gain on the USB microphone itself.
- Background Noise: USB microphones are sensitive and can sometimes pick up unwanted background noise. To reduce background noise, make sure you are recording in a quiet environment. You can also utilize noise reduction plugins or features available in Samplitude Music Studio to minimize any unwanted noise during post-production.
- Driver Compatibility: In some cases, certain USB microphones may not be fully compatible with Samplitude Music Studio due to driver issues. Check the manufacturer’s website for any available driver updates or contact their support for assistance. You can also try using a different USB port on your computer to see if it resolves any driver compatibility issues.
If you continue to encounter issues with your USB microphone in Samplitude Music Studio, it may be helpful to consult the software’s official documentation or seek support from the Magix support team. They can provide further guidance and troubleshooting specific to your setup and the software version you are using.
Remember, troubleshooting is a process of elimination and patience. By systematically addressing common issues and seeking guidance when needed, you can ensure a smooth recording experience with your USB microphone in Samplitude Music Studio.
Conclusion
In conclusion, by following the steps outlined in this guide, you can successfully connect and use your USB microphone with Samplitude Music Studio. The process involves connecting the USB microphone to your computer, setting up audio inputs and outputs, selecting the microphone as the recording device, adjusting microphone levels and recording settings, and configuring additional settings for optimal recording.
We discussed troubleshooting common issues that may arise when using USB microphones with Samplitude Music Studio, such as recognition problems, audio dropout, distorted sound, background noise, and driver compatibility. By following the troubleshooting solutions provided, you can overcome these challenges and ensure a seamless recording experience.
Recording with a USB microphone in Samplitude Music Studio offers convenience and versatility. USB microphones are popular among musicians, podcasters, voice-over artists, and content creators due to their plug-and-play functionality and ease of use. With the right setup and configuration, you can achieve professional-quality recordings right from your own computer.
Remember, it’s important to take the time to familiarize yourself with the specific features and options available in Samplitude Music Studio. This will allow you to unleash the full potential of your USB microphone and explore the endless possibilities for creativity and expression.
Whether you’re a beginner or an experienced user, Samplitude Music Studio provides a powerful platform for capturing and producing high-quality audio. By following the guidelines provided in this guide and practicing your recording techniques, you can produce exceptional music, podcasts, voice-overs, and more.
Now, equip yourself with your USB microphone, launch Samplitude Music Studio, and start creating incredible audio recordings! Enjoy the journey of capturing your artistic vision and sharing it with the world.


