Introduction
Welcome to this guide on how to connect a USB microphone to your PC. USB microphones have become increasingly popular among content creators, podcasters, musicians, and gamers as they offer convenience and high-quality audio recording capabilities. Whether you’re looking to record podcasts, voice-overs, or simply improve the audio quality of your computer, connecting a USB microphone is a straightforward process that doesn’t require any specialized technical knowledge.
In this article, we will walk you through the step-by-step process of connecting a USB microphone to your PC. We will cover everything from checking compatibility and requirements to installing drivers (if necessary) and adjusting microphone settings. By the end of this guide, you will have a fully functional USB microphone connected to your PC, ready to capture crystal-clear audio.
Before we dive into the details, it’s important to note that USB microphones are plug-and-play devices, meaning they can be connected directly to your computer’s USB port without the need for additional audio interfaces or complex setup. This makes them an ideal choice for beginners or those who prefer a hassle-free setup.
So, whether you’re a content creator starting a new podcast, a musician recording your latest masterpiece, or a gamer looking to enhance your live streaming setup, let’s get started on connecting your USB microphone to your PC and unleashing your creativity!
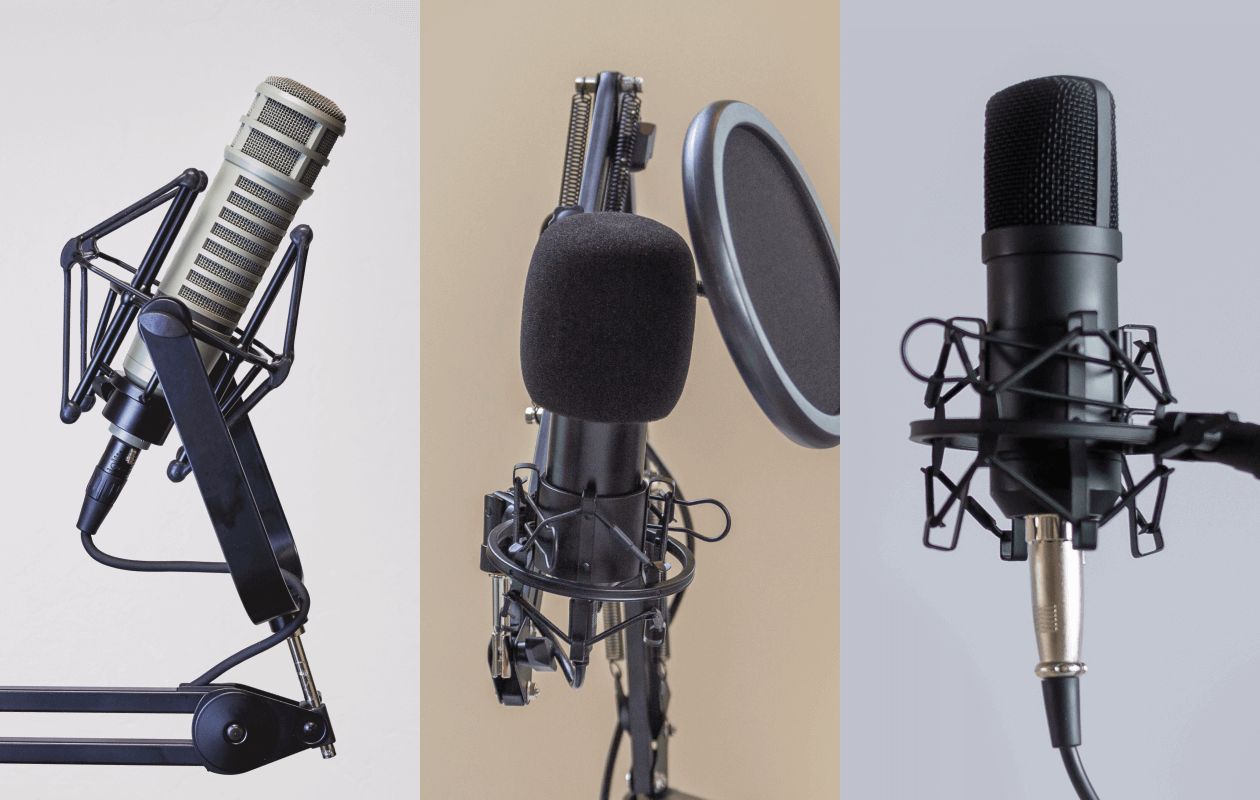
Overview of USB Microphones
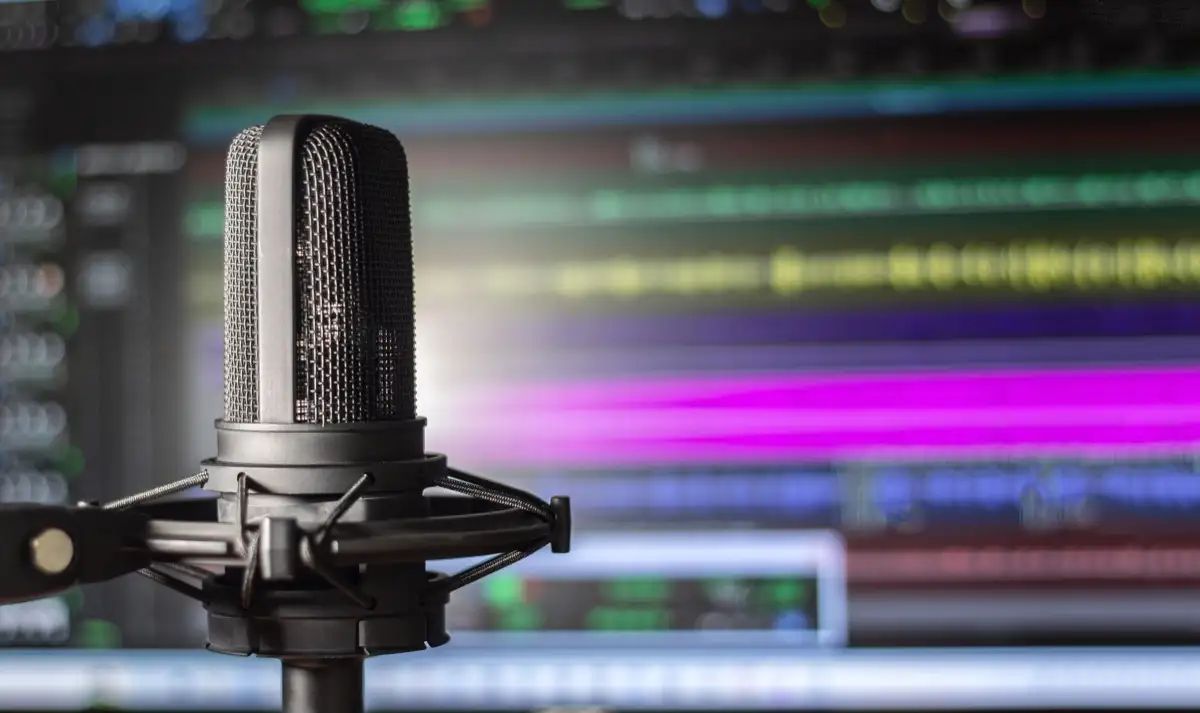
USB microphones are a popular choice for recording audio directly into your computer without the need for additional audio interfaces or mixers. Their plug-and-play functionality and convenience make them a go-to option for content creators, podcasters, musicians, and gamers. Here’s an overview of what you need to know about USB microphones:
1. Easy Connectivity: USB microphones connect directly to your computer’s USB port, eliminating the need for complicated setup processes or specialized audio equipment. Simply plug in the USB cable, and you’re ready to start recording.
2. Digital-to-Analog Conversion: USB microphones have built-in analog-to-digital converters, which convert the analog audio signal captured by the microphone into a digital format that can be processed and recorded on your computer. This ensures high-quality sound reproduction.
3. Plug-and-Play Compatibility: USB microphones are designed to work seamlessly with both Mac and PC systems. They are recognized as audio devices by the operating system, allowing for easy configuration and compatibility with various recording software.
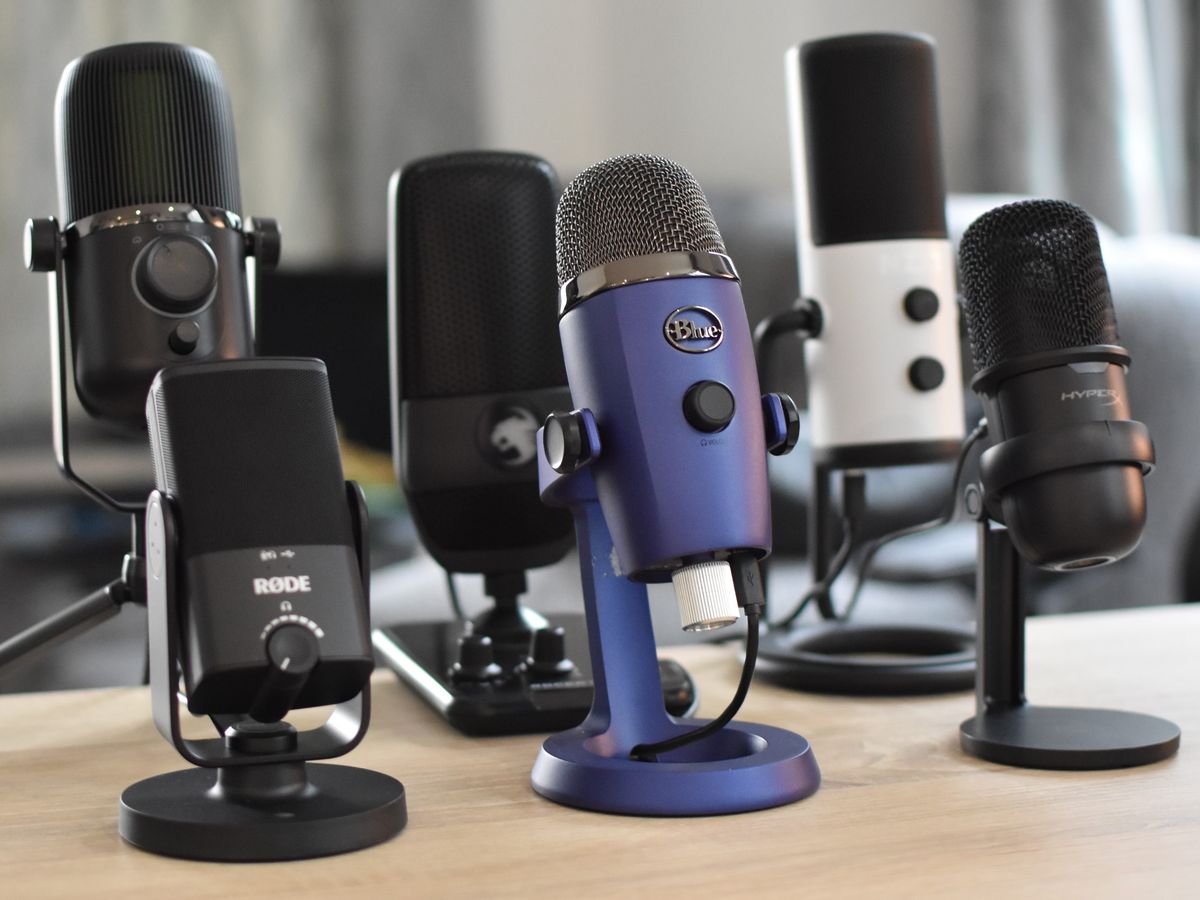
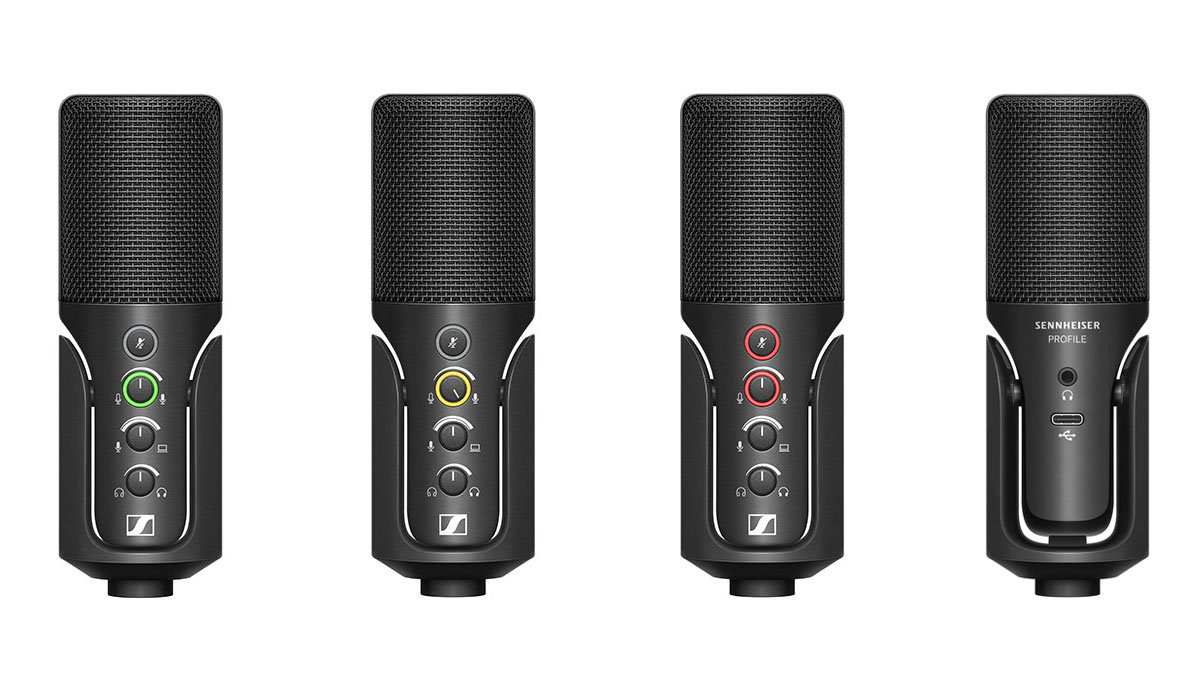
4. Versatility: USB microphones are available in various styles and configurations to suit different recording needs. There are handheld USB microphones, desktop USB microphones, and even USB microphones with built-in headphones for monitoring your audio in real-time.
5. Audio Quality: USB microphones have come a long way in terms of audio fidelity. Many models offer studio-grade sound quality, with features such as adjustable gain, multiple polar patterns, and low self-noise. However, it’s important to note that dedicated studio microphones may still offer slightly better audio performance.
6. Convenience: USB microphones eliminate the need for additional equipment such as audio interfaces, mixers, or phantom power sources. This makes them an ideal choice for those who are on the go or have limited space.
With their ease of use, versatility, and improving audio quality, USB microphones have become a popular choice for home studios, podcasters, and content creators. Now that you have a basic understanding of USB microphones, let’s move on to the step-by-step process of connecting your USB microphone to your PC.
Step 1: Checking Compatibility and Requirements
Before connecting your USB microphone to your PC, it’s important to ensure compatibility and check for any specific requirements. Here are the steps to follow:
1. Check System Compatibility: Verify that your computer meets the minimum system requirements for using a USB microphone. Most USB microphones are compatible with both Windows and macOS systems, but it’s always a good idea to check the manufacturer’s specifications to ensure compatibility.
2. USB Port Availability: Ensure that your computer has an available USB port to connect the USB microphone. Ideally, it’s best to use a USB 2.0 or USB 3.0 port for optimal performance.
3. Driver Compatibility: Most USB microphones are plug-and-play devices, meaning they do not require any additional drivers to work. However, some models may require specific drivers for advanced features or to ensure compatibility with your operating system. Check the manufacturer’s website or documentation to see if any drivers need to be installed.
4. Internet Connection: If driver installation is required, ensure that your computer is connected to the internet. This will allow you to download and install the necessary drivers from the manufacturer’s website.
5. Recording Software: Determine which recording software you plan to use with your USB microphone. Most USB microphones are compatible with popular recording software like Audacity, Adobe Audition, GarageBand, and OBS Studio. Check the software’s system requirements and compatibility to ensure a smooth recording experience.
6. Additional Equipment: Depending on your recording needs, you might require additional accessories such as a microphone stand, pop filter, shock mount, or a headphone amplifier. Take into consideration these supplementary items during the setup process.
By carefully checking compatibility and requirements, you can ensure a seamless setup and avoid any unexpected issues when connecting your USB microphone to your PC. Once you have confirmed compatibility, you are ready to move on to the next step: installing the necessary drivers (if required).
Step 2: Installing the Driver (if required)
While most USB microphones are plug-and-play devices that do not require any additional drivers to function, there are some models that might need specific drivers for advanced features or compatibility with your operating system. If your USB microphone requires driver installation, follow these steps:
1. Check the Manufacturer’s Website: Visit the manufacturer’s website and navigate to the support or download section. Look for the drivers specific to your USB microphone model and your operating system. Download the appropriate driver to your computer.
2. Run the Installer: Locate the downloaded driver file on your computer and double-click to run the installer. Follow the on-screen prompts to install the driver. Make sure to carefully read any installation instructions provided by the manufacturer.
3. Restart Your Computer: After the driver installation is complete, it’s often recommended to restart your computer. This allows the changes to take effect and ensures that the USB microphone driver is properly integrated into your system.
4. Verify Driver Installation: Once the computer has restarted, connect your USB microphone to a USB port. The operating system should automatically recognize the device and install the necessary drivers. You can check if the driver is installed successfully by going to the Device Manager (for Windows) or System Information (for macOS) and confirming that the USB microphone is listed as an audio device without any warning signs or errors.
5. Test the USB Microphone: Open your preferred recording software and ensure that the USB microphone is selected as the input device. Test the microphone by speaking or singing into it, and check if the audio is being picked up by the software. Adjust the microphone gain, if necessary, to achieve the desired recording level.
Remember, not all USB microphones require driver installation. If your USB microphone is recognized by your computer without the need for additional drivers, you can skip this step and proceed to the next step: connecting your USB microphone to your PC.
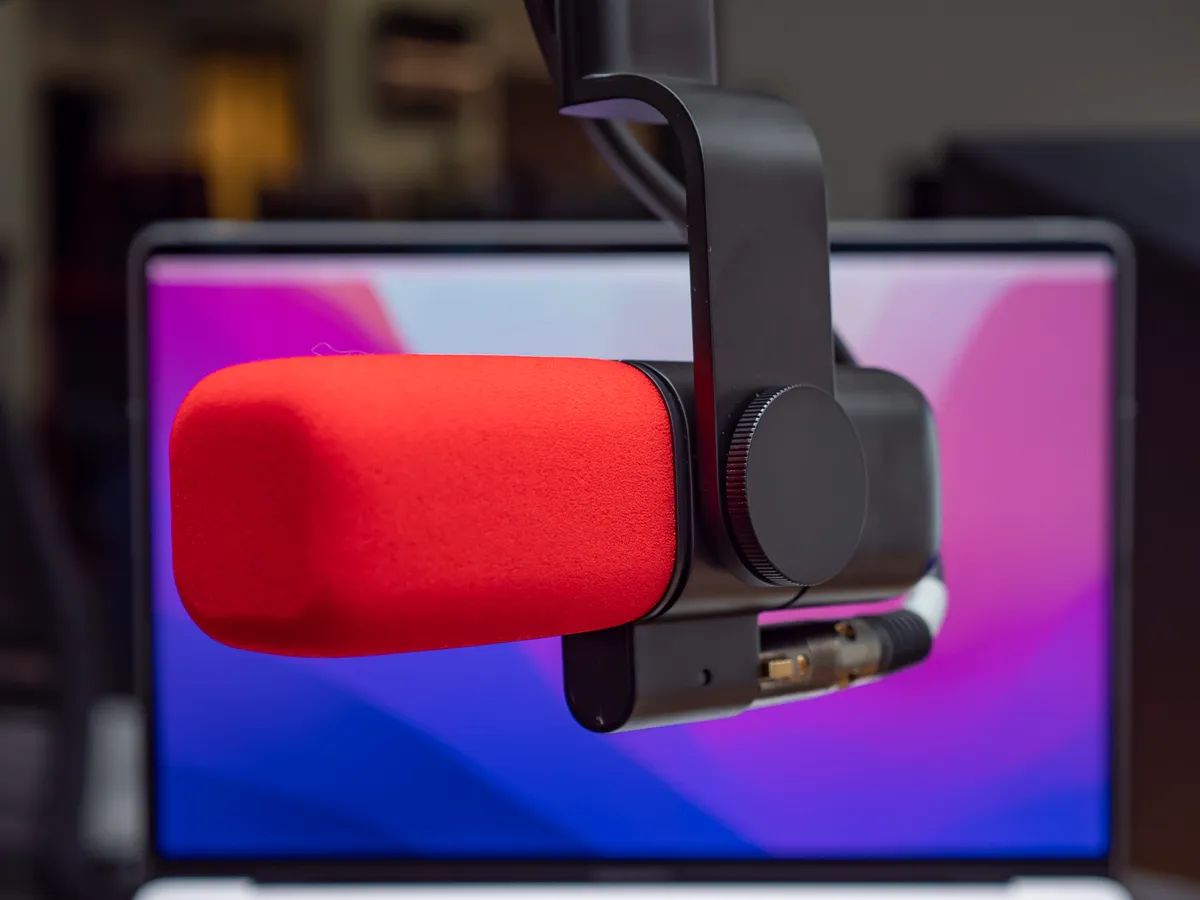
Step 3: Connecting the USB Microphone
Now that you have checked compatibility and, if necessary, installed the driver for your USB microphone, it’s time to connect the device to your PC. Follow these steps to ensure a proper connection:
1. Locate a USB Port: Find an available USB port on your computer. USB ports are usually located on the front, back, or sides of the computer tower. If you are using a laptop, the USB ports are typically located on the sides.
2. Connect the USB Cable: Take the USB cable provided with your microphone and plug one end into the USB port on your computer. Connect the other end of the cable to the USB port on the microphone itself. Ensure that the connection is secure and snug.
3. Wait for Recognition: After connecting the USB microphone, give your computer a few moments to recognize the device. Depending on your operating system, you may see a notification indicating the successful connection. The USB microphone should now be ready to use.
4. Adjust Microphone Placement: Position the USB microphone in the desired location for optimal sound capture. Some USB microphones come with adjustable stands or mounting options, allowing you to position the microphone at the best angle and distance for recording. Experiment with different placements to find what works best for your specific recording needs.
5. USB Hub Considerations: If you’re using a USB hub to connect multiple devices to your computer, be mindful of the USB bandwidth. USB microphones, especially those that require higher data transfer rates, may perform better when directly connected to a USB port on your computer rather than through a USB hub.
Now that your USB microphone is connected, it’s time to move on to the next step: selecting the microphone as the default input device on your PC.
Step 4: Selecting the Microphone as the Default Input Device
After connecting your USB microphone to your PC, you need to set it as the default input device to ensure that your computer recognizes and uses it for audio input. Follow these steps to select the USB microphone as the default input device:
1. Open Sound Settings: On Windows, right-click on the speaker icon in the taskbar and select “Open Sound settings” from the menu. On macOS, go to System Preferences and click on “Sound.”
2. Choose the Input Tab: In the Sound settings window, navigate to the “Input” tab or section. This is where you can manage your audio input devices.
3. Select the USB Microphone: From the list of available input devices, locate and select your USB microphone as the preferred input device. It is usually listed by the microphone’s brand name or model.
4. Adjust Input Levels: Once you have selected the USB microphone, you can adjust the input volume or gain levels. Use the provided sliders or controls to fine-tune the input sensitivity of the microphone. Start with a lower volume setting and gradually increase it until you achieve the desired recording levels without any distortion.
5. Test the Microphone: To ensure that the USB microphone is working correctly, click on the “Test” or “Test Mic” button (if available) to listen to a sample recording. Speak into the microphone and check if the sound is captured and played back correctly.
6. Monitor the Input: Depending on your recording needs, you may want to enable the “Listen to this device” or “Monitor” option. This allows you to hear the audio from the USB microphone through your computer speakers or headphones in real-time, which can be useful for live monitoring during recordings.
By setting the USB microphone as the default input device and adjusting the input levels, you ensure that your computer recognizes and utilizes the USB microphone for audio input. Now that you have configured the microphone settings, it’s time to move on to the next step: adjusting microphone settings within the recording software of your choice.
Step 5: Adjusting Microphone Settings
Once you have selected the USB microphone as the default input device on your PC, it’s time to fine-tune the microphone settings within your chosen recording software. Here’s how you can adjust the microphone settings:
1. Open your Recording Software: Launch the recording software that you plan to use with your USB microphone. This could be Audacity, Adobe Audition, GarageBand, or any other software that supports external audio input devices.
2. Select the USB Microphone as the Input Device: Within the settings or preferences of your recording software, navigate to the audio or input section. Select your USB microphone as the input device. Ensure that the correct microphone is chosen from the available options.
3. Adjust the Recording Levels: Most recording software allows you to adjust the microphone’s input levels or gain. Look for the input level or gain control sliders and adjust them accordingly. It’s best to start with a lower level and gradually increase it until you achieve the desired recording volume without any clipping or distortion.
4. Select the Desired Recording Format: Set the recording format and quality settings according to your preferences. This includes choosing the sample rate, bit-depth, and file format for your recordings. Higher sample rates and bit-depths generally result in better audio quality, but they can also consume more storage space.
5. Apply Effects or Filters (if needed): If you want to apply any effects, filters, or enhancements to your microphone’s audio, explore the available options within your recording software. This could include noise reduction, equalization, compression, or reverb effects. Apply these settings based on your desired sound and the requirements of your recording project.
6. Test the Microphone: Before you start recording, it’s essential to perform a test to ensure that the USB microphone is capturing sound correctly within your recording software. Speak into the microphone and monitor the input levels to ensure that the audio is being properly detected and recorded. Make any necessary adjustments to the settings based on your test results.
By adjusting the microphone settings within your recording software, you can optimize the audio quality and ensure that your USB microphone is performing at its best. Now that you have fine-tuned the settings, you’re ready to move on to the next step: testing the USB microphone to confirm proper functionality.
Step 6: Testing the Microphone
Now that you have connected and adjusted the USB microphone settings, it’s time to perform a test to ensure that the microphone is functioning properly. Testing the microphone will allow you to verify that the audio is being captured accurately and to make any final adjustments before you start recording. Follow these steps to test your USB microphone:
1. Open your Recording Software: Launch the recording software that you have chosen to use with your USB microphone. Make sure that the software is set up and configured correctly to receive audio input from the USB microphone.
2. Enable Monitoring: Check if the recording software has a monitoring option, which allows you to listen to the audio input in real-time. Enable this feature if available, as it will help you monitor the quality of the microphone’s audio during the test.
3. Speak into the Microphone: Position yourself in front of the USB microphone and speak into it at a normal speaking volume. Say a few sentences or perform a quick sound test to generate sound that can be picked up by the microphone.
4. Monitor the Audio Levels: Observe the input levels or meters displayed in the recording software. Ensure that the audio levels are steady and within a suitable range. Avoid any clipping or distortion by adjusting the microphone gain or input levels if necessary.
5. Listen to the Playback: If monitoring is enabled, use headphones or speakers connected to your computer to listen to the playback of your test recording. Check if the audio sounds clear, without any unwanted noise, distortion, or background interference. Make adjustments to the settings as needed to achieve optimal audio quality.
6. Edit and Fine-Tune: After completing the test recording, review and listen to the recorded audio within your recording software. Identify any areas that may need editing or further adjustments, such as volume levels, noise reduction, or equalization. Fine-tune your microphone and software settings accordingly.
By thoroughly testing your USB microphone, you can ensure that it is functioning properly and capturing high-quality audio. Take the time to make any necessary adjustments to the settings, as this will help you achieve the best possible recording results for your intended purpose.
Troubleshooting Common Issues
While connecting and using a USB microphone is typically a straightforward process, you may encounter some common issues along the way. Here are a few troubleshooting tips to help you overcome these issues:
1. Driver Issues: If your USB microphone is not being recognized by your computer, ensure that you have installed the correct drivers. Check the manufacturer’s website for the latest drivers and update them if necessary. Also, try connecting the microphone to a different USB port to rule out any port-specific issues.
2. Sound Output: If you can’t hear the audio playback from your USB microphone in your headphones or speakers, ensure that the output is set correctly within your recording software and system settings. Double-check the audio output device settings and make sure they are properly configured.
3. Recording Levels: If the audio levels appear to be too low or too high, adjust the microphone gain or input levels within your recording software. Avoid setting the levels too high, as this can result in distortion or clipping. Experiment with different levels to find the sweet spot for optimum audio quality.
4. Background Noise: If you notice excessive background noise in your recordings, consider using a pop filter or adjusting the microphone’s position to reduce unwanted sounds. You can also try enabling noise reduction features in your recording software to minimize any background noise during recordings.
5. USB Cable and Connections: Check the USB cable and connections for any signs of damage or loose connections. A faulty or damaged cable can cause connectivity issues or intermittent audio problems. If necessary, try using a different USB cable to determine if the issue is with the cable itself.
6. System Settings: Review the system sound settings on your computer and ensure that the USB microphone is selected as the default input device. Check the volume levels and ensure they are properly adjusted for recording. Additionally, verify that the sample rate and bit-depth settings match your desired recording specifications.
7. External Interference: External factors such as electrical interference or nearby electronic devices can sometimes affect the performance of your USB microphone. Try relocating the microphone away from potential sources of interference, such as Wi-Fi routers, mobile phones, or power sources.
If you encounter any other issues with your USB microphone, consult the manufacturer’s documentation or reach out to their customer support for further assistance. Troubleshooting will often involve specific steps tailored to your particular microphone model and software setup.
Conclusion
Congratulations! You have successfully learned how to connect a USB microphone to your PC. By following the step-by-step process outlined in this guide, you have gained the knowledge and skills to set up and use a USB microphone for your recording needs.
We started with checking compatibility and requirements, ensuring that your PC meets the necessary specifications and has the required USB port available. We then explored the option of installing drivers if your USB microphone requires them, and discussed the importance of verifying successful installation.
Next, we covered the process of connecting the USB microphone to your PC, making sure to securely plug it into an available USB port. Additionally, we discussed the importance of proper placement and positioning for optimal sound capture.
After the physical connection, we moved on to selecting the USB microphone as the default input device on your PC. This involved navigating to the system sound settings and choosing your USB microphone from the available options, and adjusting the input levels to achieve the desired recording volume.
Then, we delved into adjusting the microphone settings within your recording software, including selecting the USB microphone as the input device, fine-tuning the input levels, and applying any necessary effects or filters to enhance your audio recordings.
Once the microphone settings were adjusted, we stress the importance of testing the USB microphone. This step allows you to ensure that the microphone is properly functioning, the audio is being captured accurately, and any necessary final adjustments are made before you start your recording session.
If you encounter any issues along the way, we provided troubleshooting tips to help address common problems that may arise when setting up and using a USB microphone.
By following these steps and troubleshooting tips, you are now equipped to confidently connect your USB microphone to your PC and utilize it for a variety of recording purposes, including podcasting, voice-overs, music production, and gaming.
Remember, practice and experimentation will further enhance your recording skills and allow you to fully harness the capabilities of your USB microphone. So, dive into your creative projects, and enjoy the high-quality audio recording that your USB microphone brings to your PC setup!