Introduction
An electric guitar is a complex and intricate instrument, and like any piece of machinery, it requires regular maintenance to ensure it performs at its best. Whether you're a seasoned musician or a novice player, knowing how to troubleshoot and fix common issues with your electric guitar can save you time and money. From electronic malfunctions to setup adjustments, addressing these issues promptly can prevent further damage and keep your guitar sounding its best.
In this comprehensive guide, we will walk you through the essential steps to troubleshoot and fix common problems with your electric guitar. By following these instructions, you can learn how to identify and resolve issues related to the electronics, neck, action, intonation, and hardware of your instrument. With the right tools and a little know-how, you can keep your electric guitar in top playing condition and avoid costly trips to the repair shop.
Understanding the inner workings of your electric guitar not only empowers you as a musician but also allows you to develop a deeper connection with your instrument. By taking the time to learn how to maintain and fix your electric guitar, you can enhance your playing experience and ensure that your instrument remains in peak condition for years to come.
So, grab your tools and let's dive into the world of electric guitar maintenance and troubleshooting. Whether you're dealing with a buzzing fret, a scratchy potentiometer, or a misaligned neck, we've got you covered with the essential knowledge and techniques to get your electric guitar back in top shape. Let's get started!
Tools and Materials Needed
Before embarking on any guitar maintenance or troubleshooting task, it’s essential to have the right tools and materials at your disposal. Here’s a comprehensive list of items you’ll need to effectively diagnose and fix issues with your electric guitar:
- Multi-tool screwdriver: A versatile screwdriver with interchangeable bits will allow you to access various parts of the guitar without switching tools.
- Capacitor discharge tool: Essential for safely discharging the electrical energy stored in capacitors to prevent electrical shocks when working on the electronics.
- Truss rod wrench: Used to adjust the curvature of the neck, ensuring proper alignment and playability.
- Feeler gauges: These thin metal strips are used to measure the gap between the strings and the frets, crucial for setting the guitar’s action and intonation.
- String action gauge: A specialized tool for measuring the string height above the frets, aiding in achieving the desired action.
- Electronic contact cleaner: Helps remove dirt and grime from electronic components, restoring proper conductivity and eliminating crackling or static noises.
- Lubricating oil: Used to lubricate the moving parts of the guitar’s hardware, such as tuning machine gears and bridge saddles.
- Microfiber cloth: Ideal for cleaning and polishing the guitar’s body, neck, and hardware without leaving lint or scratches.
- Allen wrench set: Various sizes of hex keys are often required for adjusting bridge saddles, tremolo systems, and other hardware components.
- String cutter and winder: Streamlines the process of changing strings and trimming excess wire, saving time and effort.
Additionally, having a clean and well-lit workspace will contribute to a more efficient and enjoyable maintenance experience. With these tools and materials on hand, you’ll be well-equipped to tackle a wide range of issues that may arise with your electric guitar.
Step 1: Check the Electronics
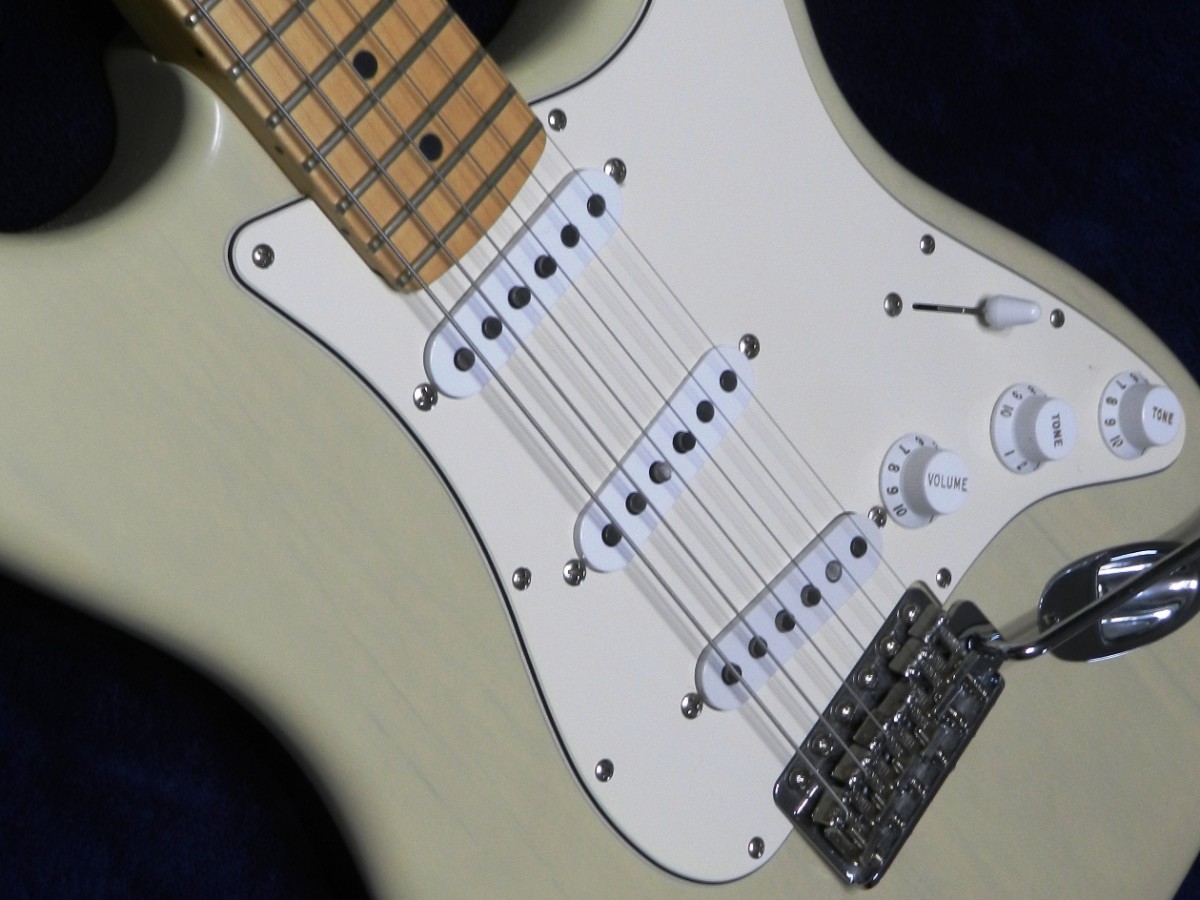
When troubleshooting an electric guitar, it’s crucial to start with a thorough inspection of the instrument’s electronics. Common issues such as crackling sounds, intermittent connectivity, or complete signal loss can often be attributed to faulty electronic components. Here’s a step-by-step guide to diagnosing and addressing electronic problems:
- Visual Inspection: Begin by visually examining the guitar’s control cavity, output jack, and pickup connections for any loose wires, cold solder joints, or signs of corrosion. A magnifying glass can be helpful for identifying small defects that may not be immediately apparent.
- Test the Output: Plug the guitar into an amplifier and test each pickup selector position, as well as the volume and tone controls, for any irregularities in sound output. Listen for crackling, popping, or sudden drops in volume that may indicate a problem with the wiring or components.
- Check the Potentiometers: Rotate each potentiometer (volume and tone knobs) through its full range while the guitar is connected to an amp. If you encounter scratchy or uneven changes in sound, the potentiometers may need cleaning or replacement.
- Inspect the Switches: Toggle the pickup selector switch and any other switches on the guitar to ensure they engage smoothly and without causing noise or signal loss. Loose or faulty switches can disrupt the guitar’s output and may require tightening or replacement.
- Capacitor Check: If you notice a loss of high-end frequencies or a muddy tone, the capacitors in the guitar’s tone circuit may be faulty. Use a multimeter to test the capacitance of the capacitors and replace them if they are out of spec.
- Clean and Deoxidize: Using electronic contact cleaner, carefully clean the exposed contacts of the switches and potentiometers to remove any dirt or oxidation that may be causing poor connectivity. Exercise caution to avoid overspraying onto the guitar’s finish.
By systematically inspecting and testing the electronic components of your electric guitar, you can identify and address issues that may be affecting its performance and sound quality. Taking the time to check and maintain the electronics can significantly extend the lifespan of your instrument and ensure that it continues to deliver exceptional tone and responsiveness.
Step 2: Adjust the Truss Rod
The truss rod in an electric guitar plays a critical role in maintaining the instrument’s neck relief, which directly impacts playability and intonation. Over time, environmental factors and string tension can cause the neck to bow or warp, necessitating adjustments to the truss rod. Follow these steps to properly adjust the truss rod and restore the neck to its optimal curvature:
- Assess the Neck Relief: Using a straight edge or specialized notched straightedge, check the neck’s relief by measuring the gap between the bottom of the straight edge and the top of the frets around the 7th to 9th frets. A slight amount of relief, typically around 0.010 to 0.012 inches, is generally desirable for most playing styles.
- Loosen the Strings: To access the truss rod for adjustment, it’s essential to relieve the tension on the neck by loosening the guitar strings. This prevents unnecessary strain on the truss rod and allows for smoother adjustments.
- Locate the Truss Rod Adjustment Point: Depending on the guitar’s design, the truss rod adjustment nut or access point may be located at the headstock, inside the soundhole, or beneath a cover on the headstock. Refer to the guitar’s manual or manufacturer’s guidelines for the specific location.
- Make Incremental Adjustments: Using an appropriate truss rod wrench, carefully turn the adjustment nut to either tighten or loosen the truss rod, depending on the desired correction. It’s crucial to make small, gradual adjustments and periodically recheck the neck relief to avoid overcorrection.
- Recheck the Relief and Tune Up: Once the truss rod has been adjusted, recheck the neck relief using the straight edge and adjust further if necessary. With the neck relief at the desired level, tune the guitar back to pitch and assess the playability and feel of the instrument.
- Monitor and Fine-Tune: After making truss rod adjustments, monitor the guitar’s neck relief over the following days, as wood may respond to the changes. Fine-tune the truss rod as needed to achieve the optimal balance between string action and neck curvature.
By understanding how to adjust the truss rod, you can effectively maintain the playability and stability of your electric guitar’s neck, ensuring that it remains responsive and comfortable to play. Regular checks and adjustments to the truss rod can help mitigate the effects of seasonal changes and string tension, preserving the integrity of the instrument’s neck for years to come.
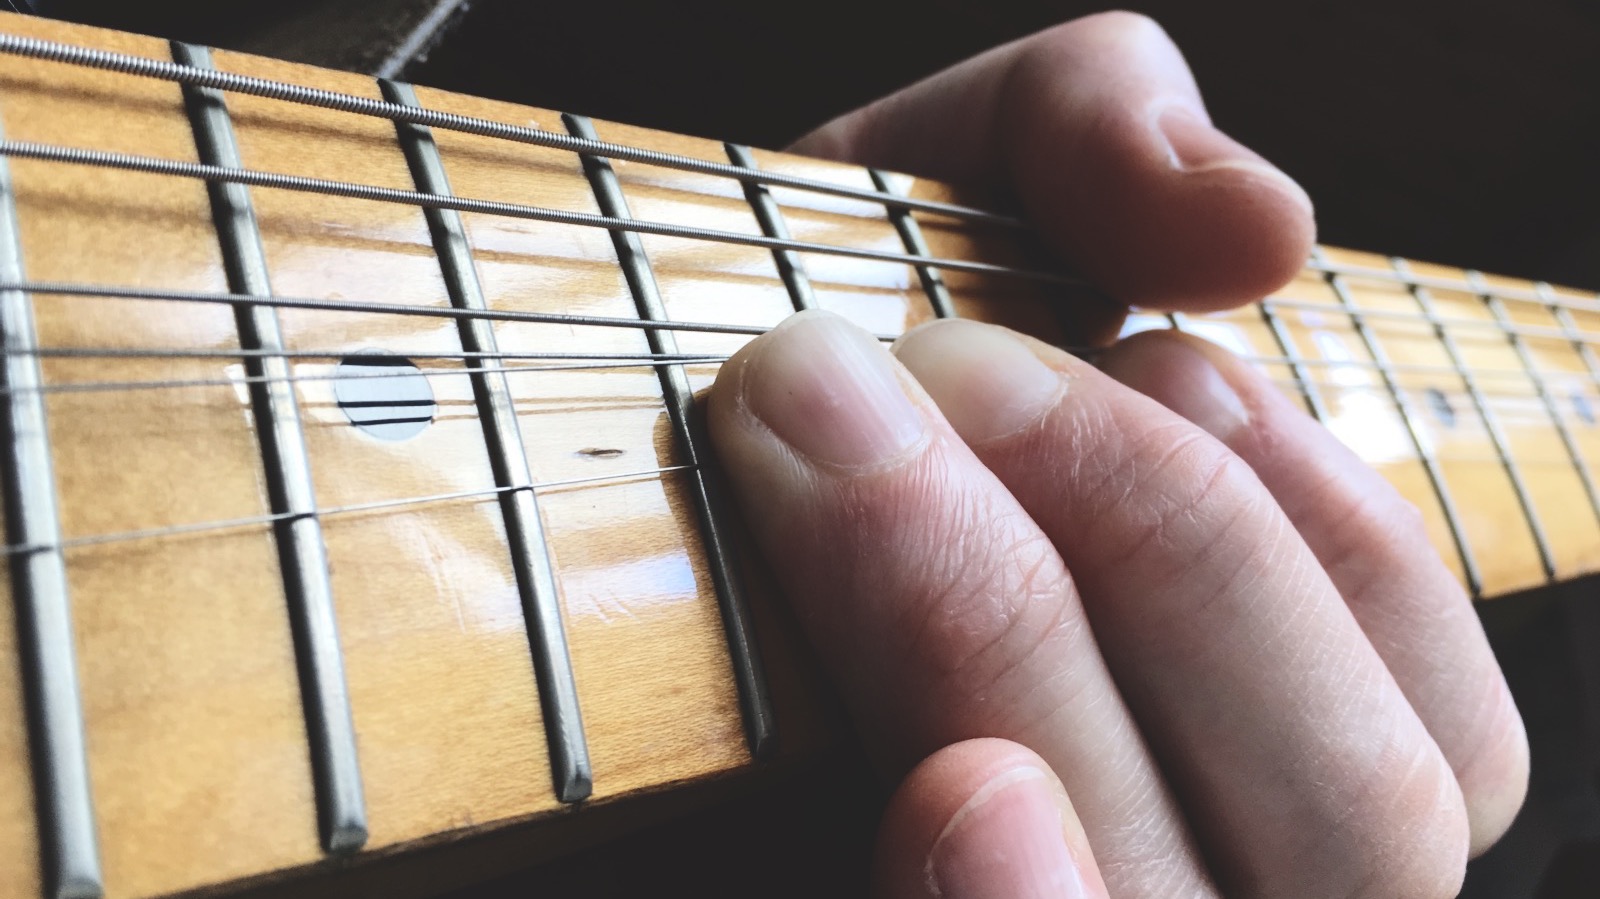
Step 3: Set the Action
The action of an electric guitar, referring to the height of the strings above the fretboard, significantly influences playability, tone, and overall performance. Properly setting the action ensures comfortable fretting, optimal string resonance, and minimal fret buzz. Follow these steps to adjust the action of your electric guitar:
- Assess the Current Action: Measure the string height at the 12th fret using a string action gauge. Note any unevenness or excessively high/low action across the strings, as this can impact playability and intonation.
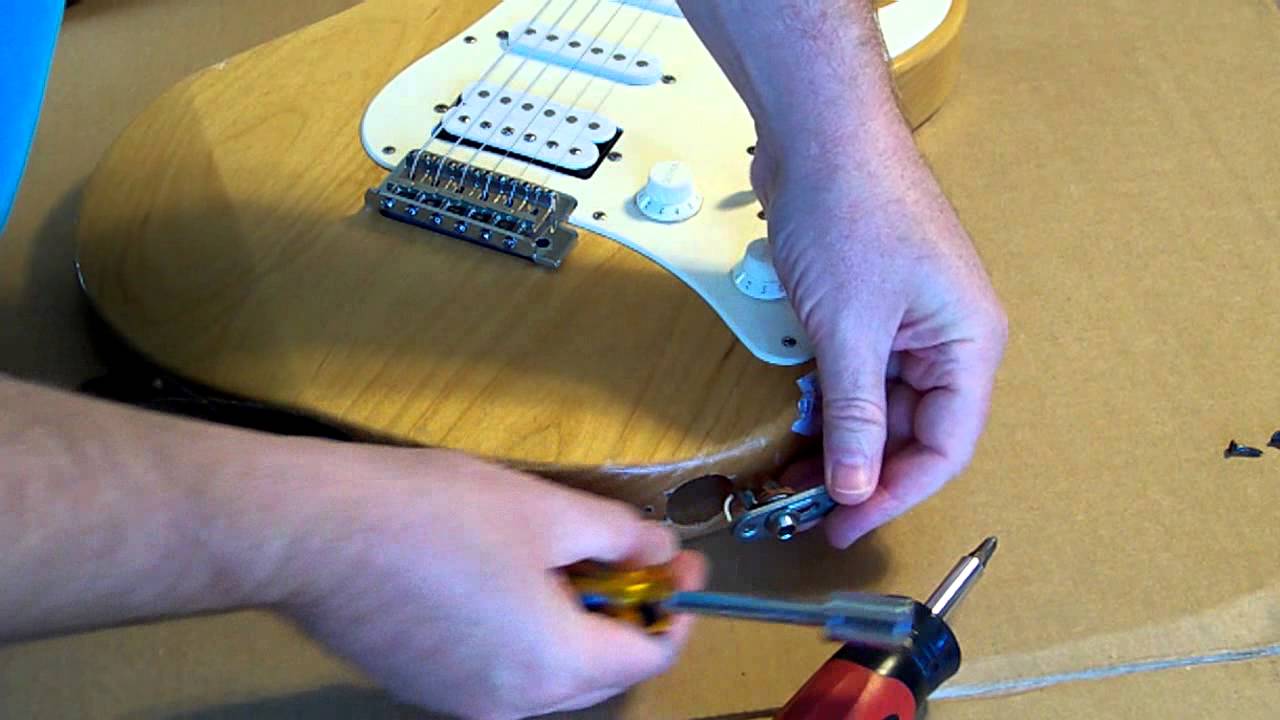
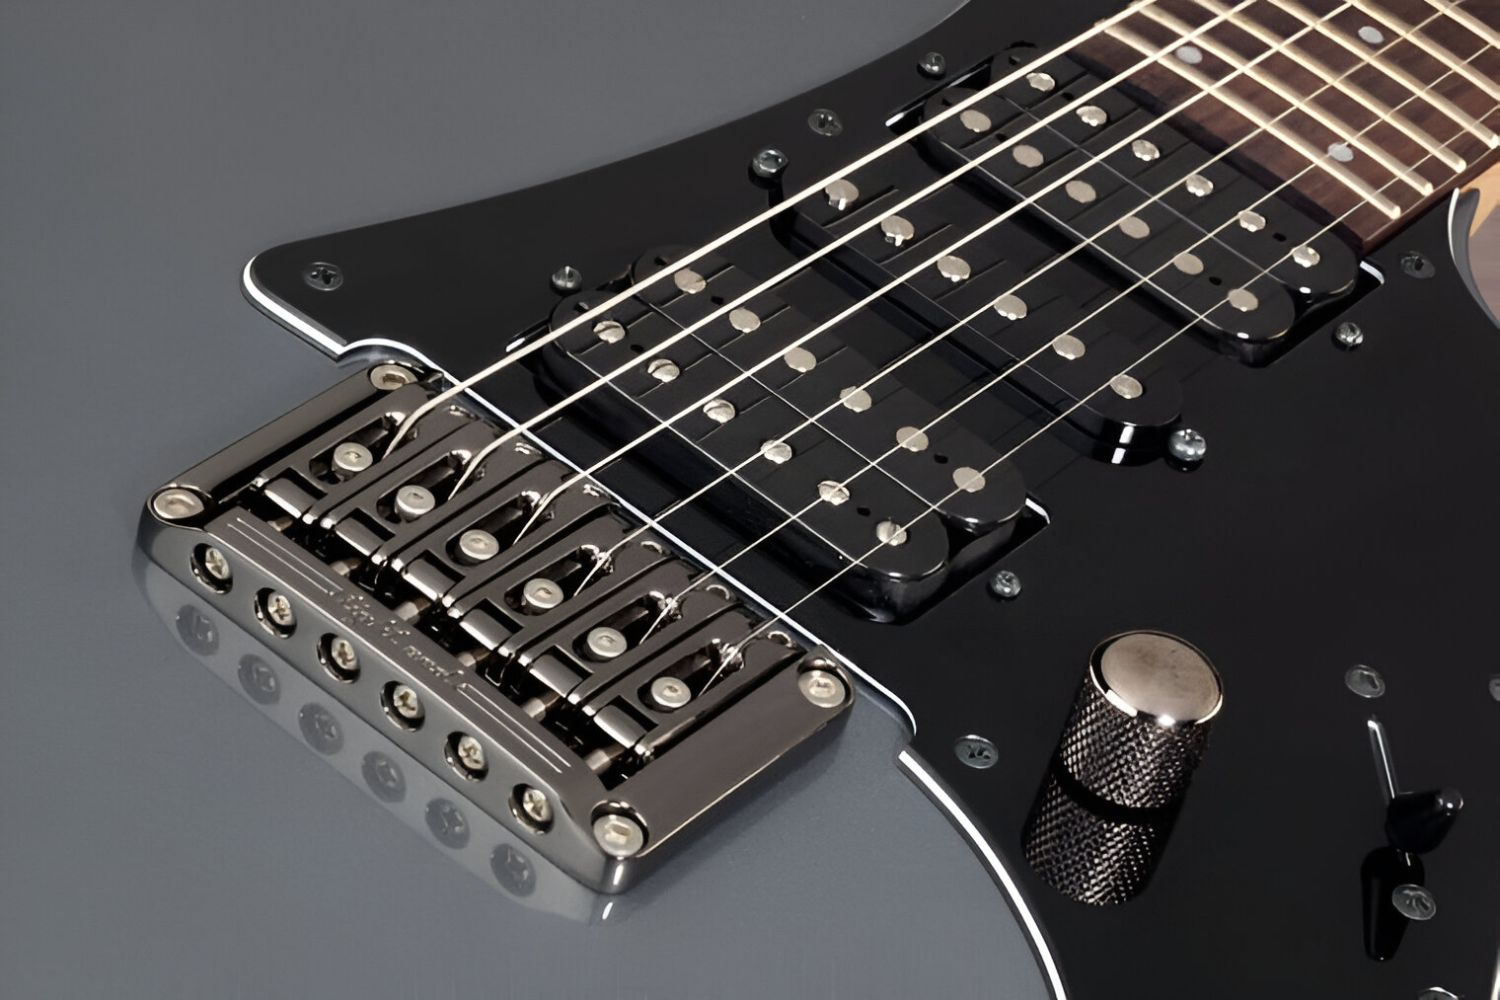
- Adjust the Bridge Saddles: Most electric guitars feature adjustable bridge saddles that allow for individual string height adjustments. Using an appropriate screwdriver or hex key, raise or lower the saddles to achieve the desired action, ensuring that the radius of the saddles matches the fretboard curvature.
- Balance the Action: Aim for a consistent and balanced action across all strings, taking into account the player’s preference and playing style. Adjust each saddle incrementally and recheck the action to achieve uniform string height and optimal playability.
- Check for Fret Buzz: After adjusting the action, play each string at various fret positions to detect any fret buzz caused by excessively low string height. If fret buzz is present, raise the affected saddle slightly to eliminate the buzzing without compromising playability.
- Recheck and Fine-Tune: Once the action has been adjusted, recheck the string height at the 12th fret and ensure that the playability meets your preferences. Fine-tune the action as needed to achieve a comfortable and responsive feel across the fretboard.
- Intonate the Guitar: Setting the action may affect the guitar’s intonation, so it’s essential to perform intonation adjustments after finalizing the action settings. Use a chromatic tuner and adjust the saddle positions to ensure accurate pitch at the 12th fret and harmonious tuning across the fretboard.
By mastering the art of setting the action on your electric guitar, you can tailor the instrument’s playability to suit your unique playing style and preferences. Whether you prefer a low, fast action for effortless shredding or a slightly higher action for enhanced sustain, understanding how to adjust the action empowers you to optimize the performance and feel of your instrument.
Step 4: Check the Intonation
Intonation is a critical aspect of an electric guitar’s setup, ensuring that the instrument plays in tune across the entire fretboard. Poor intonation can result in chords sounding out of tune, especially when played higher up the neck, and can detract from the overall musicality of the instrument. Follow these steps to accurately check and adjust the intonation of your electric guitar:
- Tune the Guitar: Begin by tuning the guitar to pitch using a reliable electronic tuner. Accurate tuning is essential for assessing and adjusting the intonation of the instrument.
- Check Open String Tuning: Play each open string and compare its pitch to the corresponding note on the tuner. Ensure that the open strings are accurately tuned before proceeding to the next step.
- Compare 12th Fret Harmonics: Play the harmonic at the 12th fret of each string and compare its pitch to the note produced when fretting the 12th fret. If the fretted note is sharp or flat compared to the harmonic, the intonation requires adjustment.
- Adjust the Saddle Position: Using a screwdriver or hex key, adjust the position of the bridge saddles to lengthen or shorten the vibrating length of the strings. Move the saddles forward to increase pitch or backward to decrease pitch, aligning the fretted notes with the harmonic pitches.
- Recheck and Fine-Tune: After adjusting the saddle positions, retune the guitar to pitch and repeat the comparison between open string tuning and 12th fret harmonics. Fine-tune the saddle positions as needed to achieve accurate pitch matching across the fretboard.
- Test Chord Intonation: Play various chords and intervals across the fretboard to verify that the guitar maintains accurate intonation in different positions. Listen for any discrepancies in pitch that may indicate lingering intonation issues.
By meticulously checking and adjusting the intonation of your electric guitar, you can ensure that the instrument plays in tune and produces harmonious chords and melodies across the entire fretboard. Properly intonating the guitar enhances its musical versatility and allows for expressive and accurate playing in any musical context.
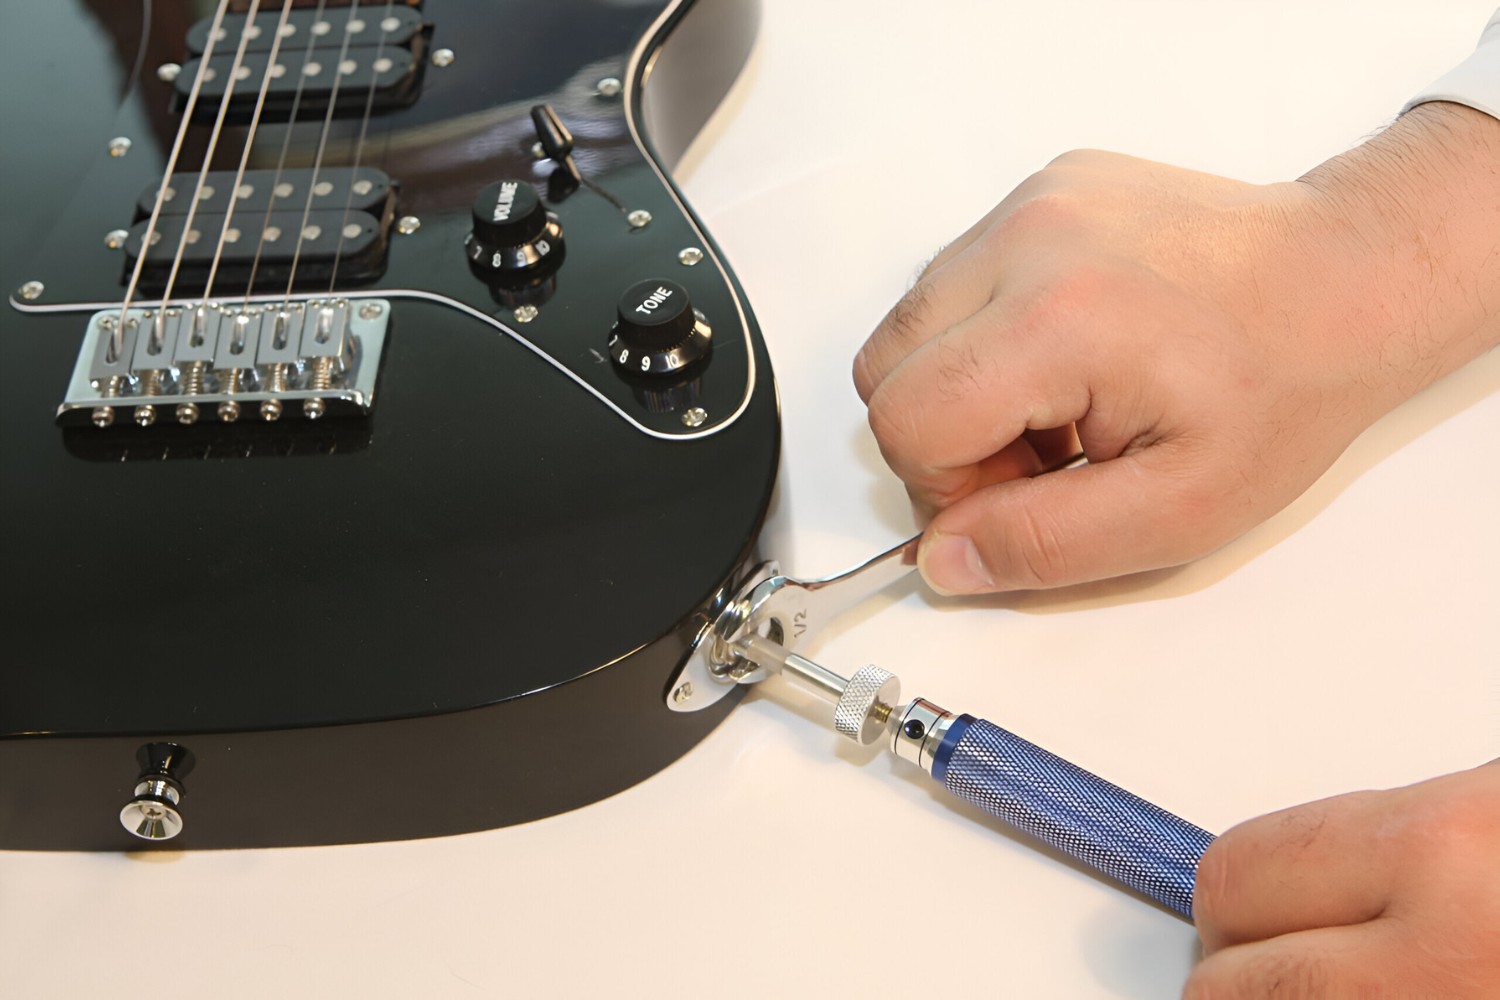
Step 5: Clean and Lubricate the Hardware
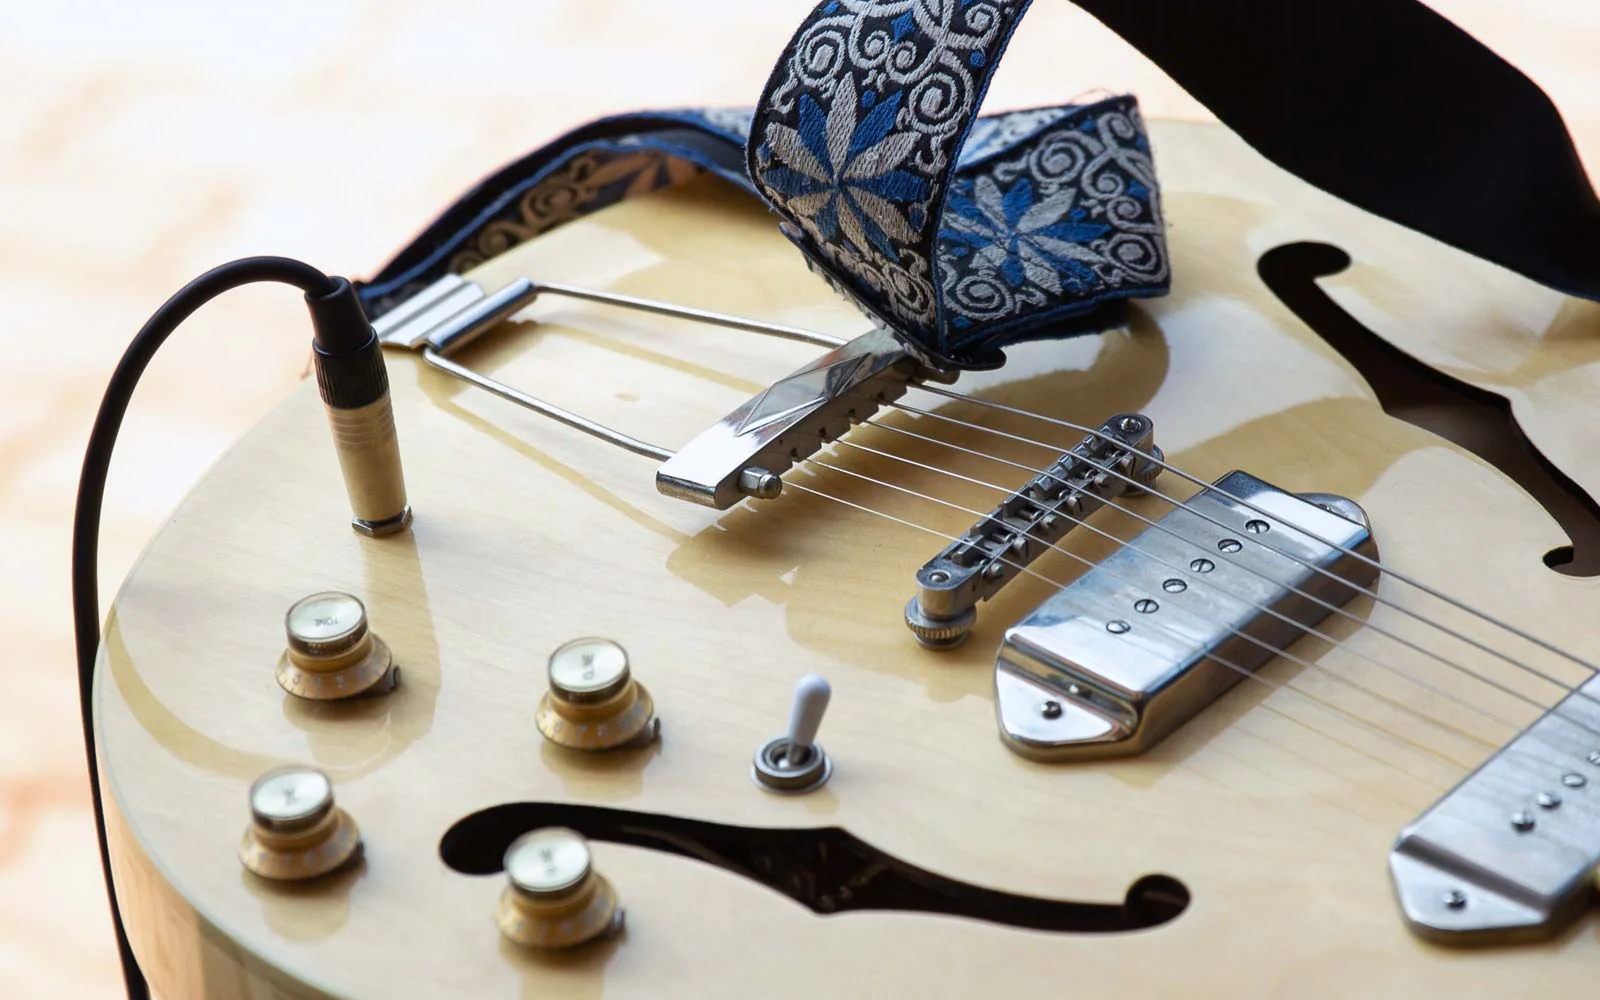
Maintaining the hardware of an electric guitar is essential for preserving its functionality, playability, and aesthetic appeal. Over time, dust, sweat, and environmental contaminants can accumulate on the guitar’s hardware, leading to stiffness, corrosion, and diminished performance. Follow these steps to effectively clean and lubricate the hardware of your electric guitar:
- Remove the Hardware: If feasible, remove the guitar’s hardware components such as the tuning machines, bridge saddles, and tremolo system for thorough cleaning and lubrication. This allows for better access and prevents damage to the guitar’s finish.
- Clean with a Microfiber Cloth: Use a soft, lint-free microfiber cloth to gently wipe down the hardware, removing surface grime, fingerprints, and residue. Pay close attention to intricate areas and crevices to ensure thorough cleaning.
- Use Metal Cleaner as Needed: For heavily tarnished or corroded metal hardware, apply a specialized metal cleaner according to the manufacturer’s instructions. Carefully polish the hardware to restore its luster and remove stubborn oxidation.
- Apply Lubricating Oil: Using a small amount of lubricating oil, apply it to the moving parts of the tuning machines, bridge saddles, and tremolo system to reduce friction and ensure smooth operation. Avoid over-application to prevent excess oil buildup.
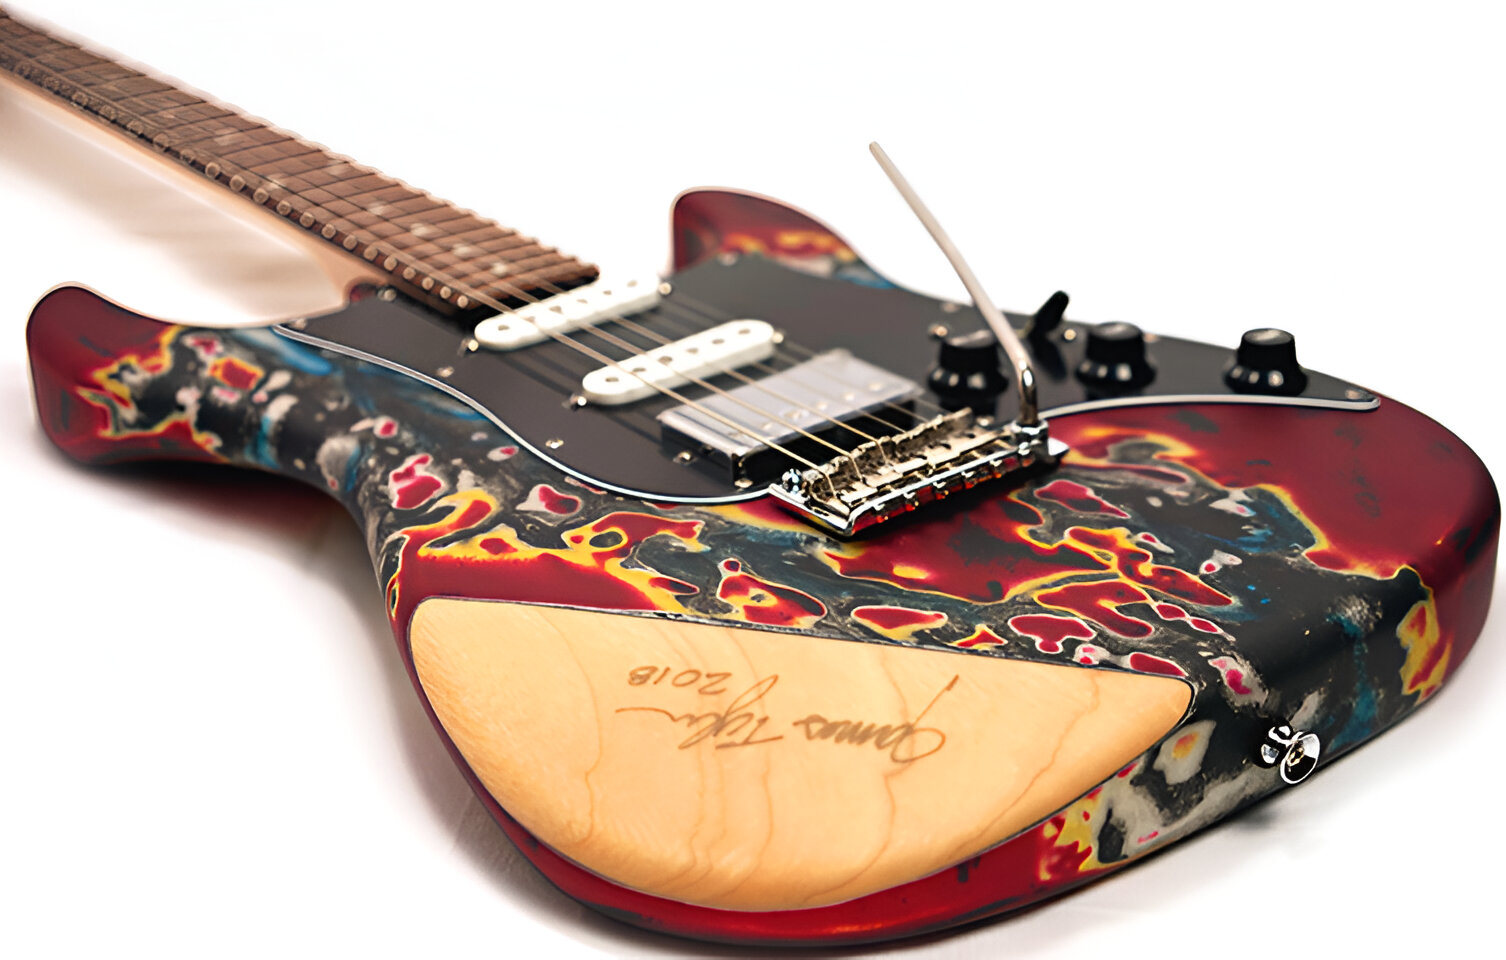
- Reassemble and Test: Once the hardware components have been cleaned and lubricated, reassemble them onto the guitar and test their functionality. Ensure that tuning machines turn smoothly, bridge saddles move without resistance, and the tremolo system operates fluidly.
- Polish the Hardware: For a final touch, use a guitar-specific metal polish to buff and shine the hardware, further enhancing its appearance and protecting it from future corrosion. Buff the hardware to a high sheen using a clean, dry microfiber cloth.
By regularly cleaning and lubricating the hardware of your electric guitar, you can prolong its lifespan, maintain smooth functionality, and uphold its visual allure. Proper care and maintenance of the hardware contribute to the overall performance and longevity of the instrument, ensuring that it remains a reliable and enjoyable musical companion.
Conclusion
Mastering the art of troubleshooting and fixing common issues with your electric guitar is a valuable skill that empowers you to maintain and optimize the performance of your instrument. By following the comprehensive steps outlined in this guide, you can confidently address electronic malfunctions, neck adjustments, action settings, intonation discrepancies, and hardware maintenance to keep your electric guitar in top playing condition.
Understanding the intricacies of your guitar’s electronics, truss rod, action, intonation, and hardware not only enhances your technical knowledge but also deepens your connection with the instrument. Regular maintenance and proactive troubleshooting enable you to identify and rectify issues promptly, preventing potential damage and preserving the integrity of your electric guitar.
Equipped with the essential tools and techniques, you can embark on a journey of discovery and mastery as you delve into the inner workings of your electric guitar. Whether you’re a seasoned player or a novice enthusiast, the ability to troubleshoot and fix your guitar instills a sense of confidence and independence in your musical journey.
So, grab your tools, set aside some time, and embark on the rewarding endeavor of maintaining and troubleshooting your electric guitar. By investing in the care and upkeep of your instrument, you can ensure that it continues to inspire and accompany you on countless musical adventures for years to come.