Introduction
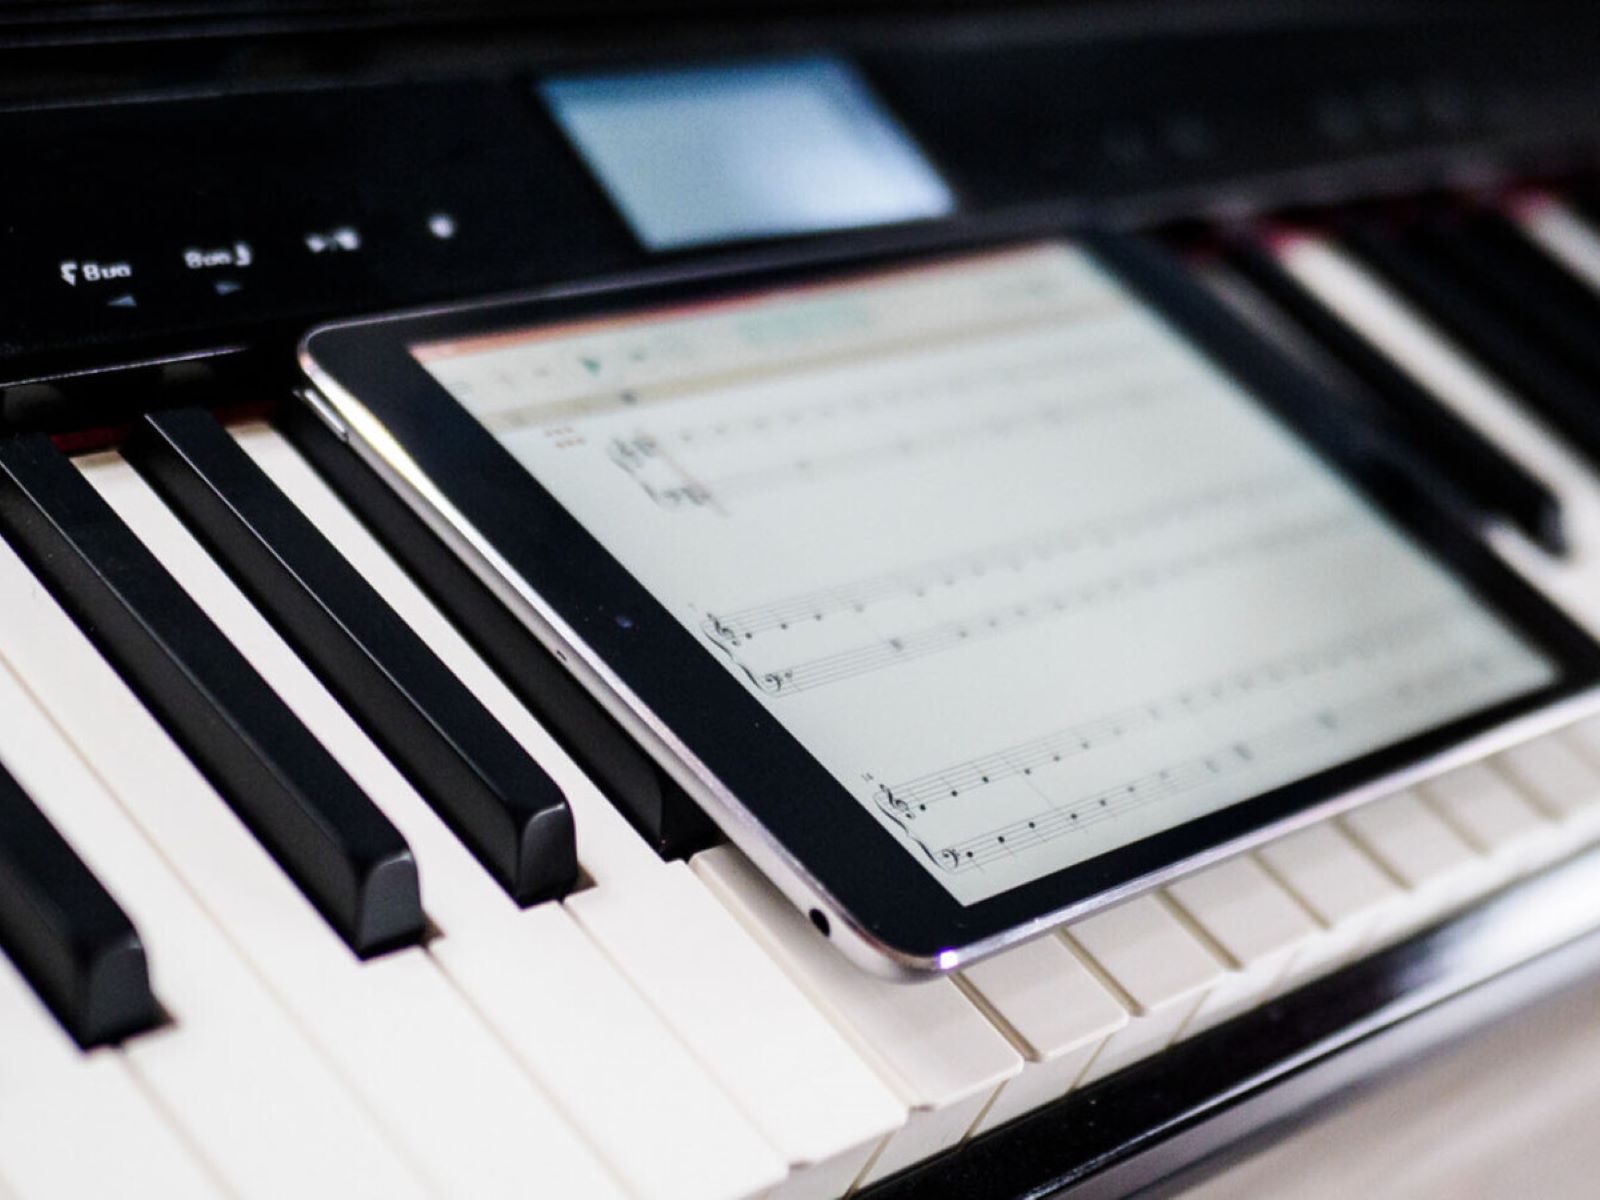
Connecting your MacBook to a digital piano opens up a world of musical possibilities. Whether you"re a seasoned musician, an aspiring composer, or simply someone who enjoys playing for leisure, this connection allows you to harness the power of your digital piano in tandem with the versatility of your MacBook. By linking these two devices, you can leverage the rich sound capabilities of your digital piano and the advanced software features of your MacBook to create, record, and enjoy music in a seamless and integrated manner.
In this comprehensive guide, we will walk you through the step-by-step process of connecting your MacBook to a digital piano. By following these instructions, you will be able to establish a stable and functional connection, enabling you to explore a myriad of musical applications and unleash your creativity.
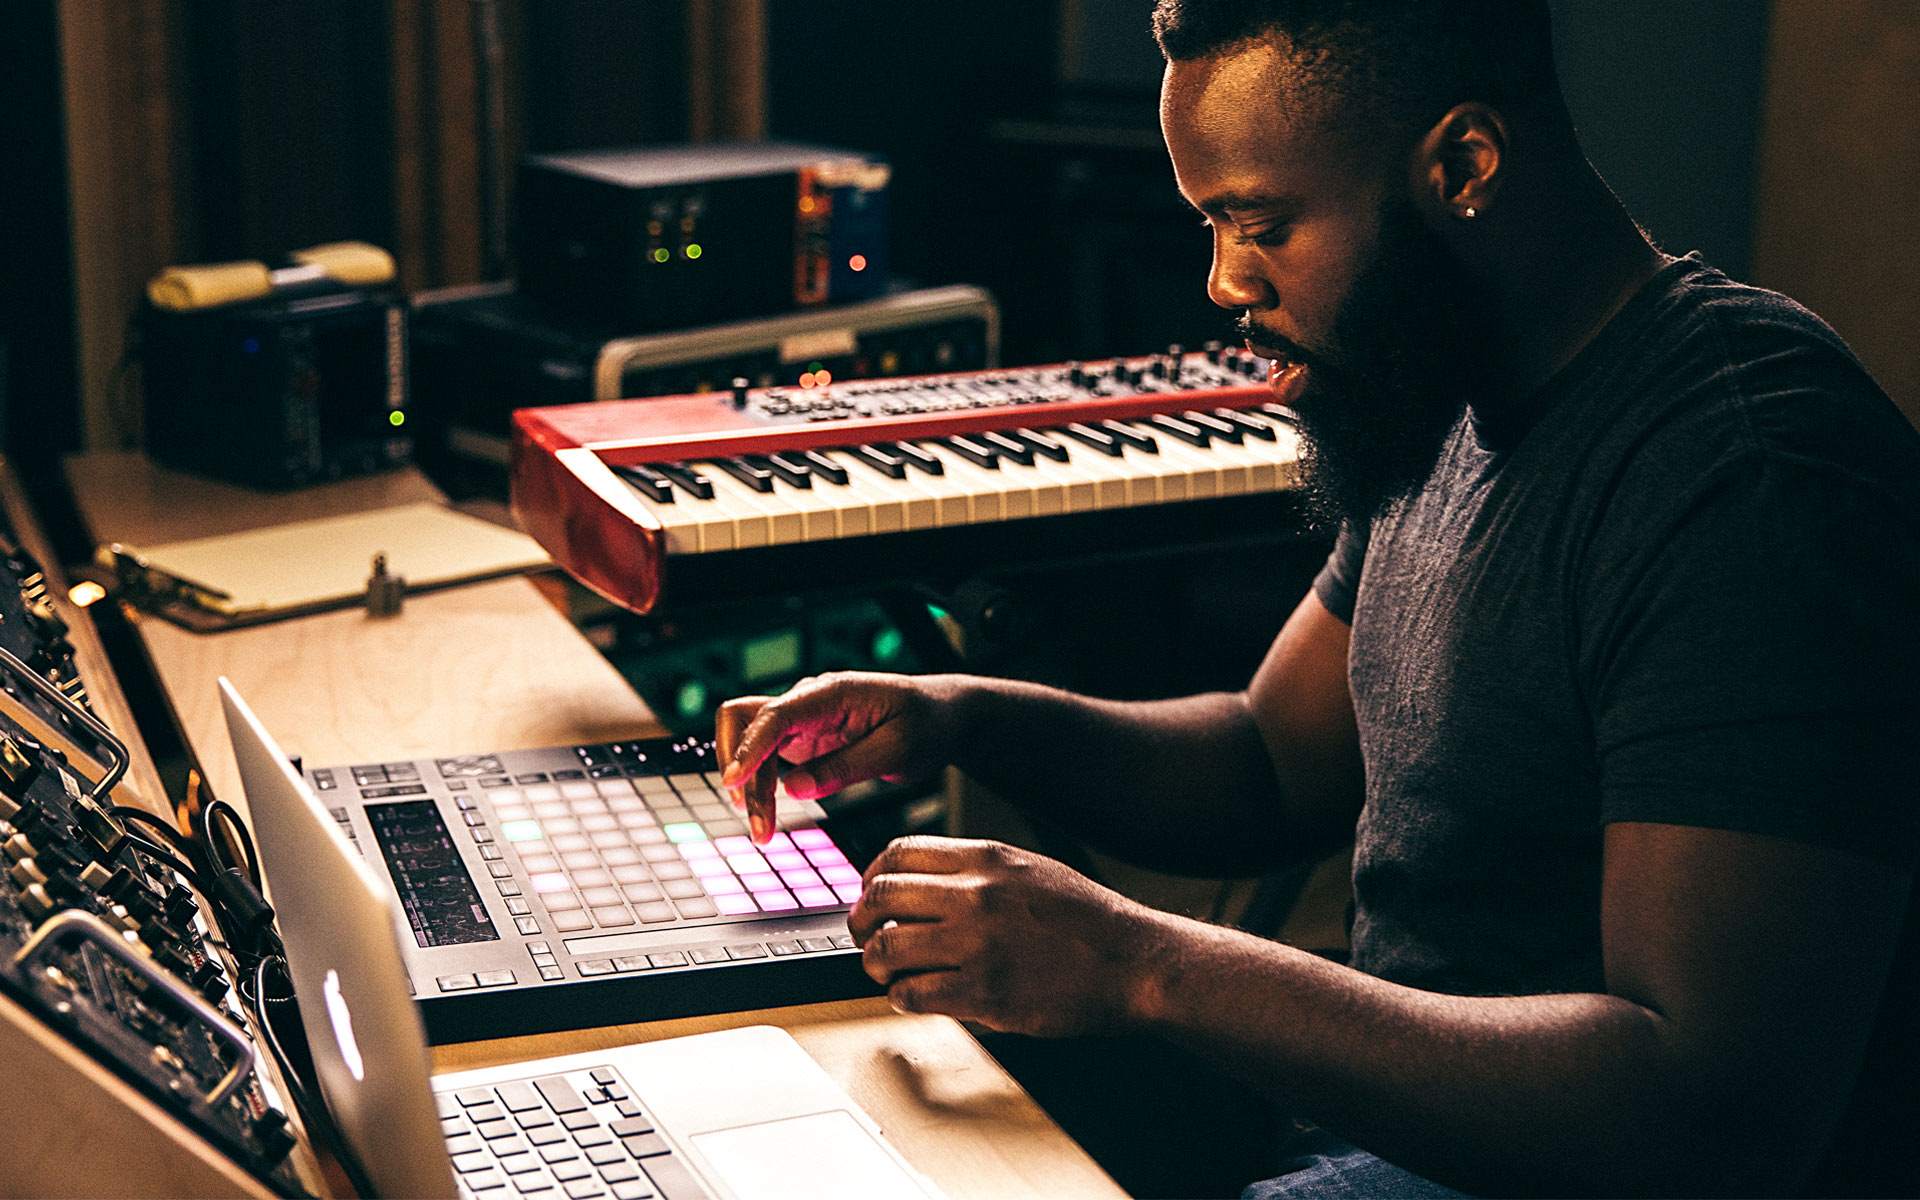
Whether you"re aiming to record your piano compositions, utilize music production software, or simply enhance your practice sessions, this connection will serve as a valuable asset in your musical journey. So, gather your cables, prepare your devices, and let"s dive into the process of connecting your MacBook to your digital piano.
Step 1: Gather the Necessary Cables
Before embarking on the process of connecting your MacBook to your digital piano, it is essential to gather the necessary cables to facilitate a seamless connection. The primary cable you will need is a USB cable with the appropriate connectors for both your digital piano and MacBook. This cable serves as the conduit through which data, including audio signals, will be transmitted between the two devices.
When selecting a USB cable, ensure that it is of sufficient length to comfortably reach from your digital piano to your MacBook, taking into account the layout of your workspace. Additionally, it is advisable to opt for a high-quality USB cable to minimize the risk of signal interference and ensure a stable connection.
Furthermore, depending on the specific model of your digital piano and MacBook, you may require additional adapters or cables to establish compatibility between the two devices. For instance, if your digital piano utilizes a different type of USB connector than your MacBook, you may need a suitable adapter to bridge the gap.
Lastly, if you intend to incorporate audio output from your digital piano into your MacBook for recording or monitoring purposes, you may consider acquiring an audio interface or suitable audio cables to facilitate this aspect of the connection. By addressing these cable requirements beforehand, you can streamline the process of connecting your MacBook to your digital piano and ensure a robust and reliable setup.
Step 2: Connect the USB Cable to the Digital Piano
With the necessary cables in hand, the next step is to establish the physical connection between your digital piano and MacBook. Begin by locating the USB port on your digital piano. This port is typically situated on the rear or side of the instrument, and it is designed to accommodate the USB cable that will facilitate the connection to your MacBook.
Once you have identified the USB port on your digital piano, carefully insert one end of the USB cable into this port, ensuring a secure and snug fit. It is essential to handle the cable and connector with care to avoid any damage to the port or cable itself. Take note of the orientation of the USB connector to align it correctly with the port, and gently but firmly push it into place.
As you connect the USB cable to your digital piano, be mindful of any surrounding obstacles or obstructions that may impede the cable or place strain on the connection. Position the digital piano and MacBook in close proximity to minimize the tension on the cable and reduce the risk of accidental disconnection during use.
Once the USB cable is securely connected to your digital piano, take a moment to inspect the connection and ensure that the cable is not under undue stress or tension. A well-seated and properly aligned connection is crucial for maintaining a stable and reliable link between your digital piano and MacBook, allowing for seamless data transmission and communication between the two devices.
With the USB cable successfully connected to your digital piano, you have completed a pivotal step in the process of integrating your digital piano with your MacBook, paving the way for the next phase of the connection process.
Step 3: Connect the USB Cable to the MacBook
Having established the connection between your digital piano and the USB cable, the next crucial step is to connect the other end of the USB cable to your MacBook. Locate an available USB port on your MacBook, ensuring that it is easily accessible and unobstructed to facilitate a smooth connection process.
Carefully insert the USB connector into the USB port on your MacBook, taking care to align the connector with the port and applying gentle pressure to ensure a secure fit. It is essential to handle the MacBook and the USB cable with care during this process to avoid any potential damage to the port or cable.
As you connect the USB cable to your MacBook, be mindful of the orientation of the connector and the position of the MacBook to minimize strain on the cable and port. Positioning the MacBook on a stable surface and avoiding excessive tension on the cable will contribute to a secure and reliable connection between the two devices.
Upon successfully connecting the USB cable to your MacBook, take a moment to verify the integrity of the connection and ensure that the cable is not under undue stress. A well-seated and properly aligned connection is essential for establishing a stable and functional link between your digital piano and MacBook, enabling seamless data transmission and communication between the two devices.
With the USB cable now connected to both your digital piano and MacBook, you have completed a pivotal stage in the process of integrating these devices, setting the stage for the subsequent steps that will refine and optimize the connection for your musical endeavors.
Step 4: Adjust the Audio Settings on the MacBook
Once the USB cable is securely connected between your digital piano and MacBook, it is essential to configure the audio settings on your MacBook to ensure that it recognizes and utilizes the audio input from your digital piano. By adjusting these settings, you can optimize the audio input and output parameters, allowing for a seamless and high-quality audio experience.
Begin by accessing the system preferences on your MacBook and navigating to the sound settings. Within the sound settings, locate the input tab, where you can select the digital piano as the preferred audio input device. This step enables your MacBook to recognize the audio signals transmitted from your digital piano via the USB connection.
Once you have designated the digital piano as the primary audio input device, you may have the option to adjust additional audio settings, such as input volume levels and input monitoring preferences. Tailoring these settings to your specific preferences and requirements allows you to fine-tune the audio input from your digital piano, ensuring optimal recording and monitoring capabilities.
Furthermore, if you intend to utilize the audio output from your digital piano for monitoring or playback through your MacBook, you can configure the output settings to route the audio from the digital piano to the desired output device, such as the built-in speakers or external audio interfaces connected to your MacBook.
By customizing the audio settings on your MacBook to accommodate the input and output from your digital piano, you can create an integrated audio environment that maximizes the potential of both devices. This tailored configuration enhances the versatility and functionality of your digital piano and MacBook, enabling you to seamlessly incorporate the rich sound capabilities of your digital piano into your digital workflows and creative endeavors.
Step 5: Test the Connection
With the physical and audio settings configured, it is crucial to verify the integrity of the connection between your digital piano and MacBook by conducting a thorough test. This step allows you to confirm that the devices are communicating effectively and that the audio signals are being transmitted and received as intended.
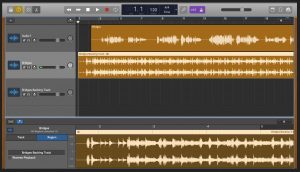
Begin by launching a music recording or production software on your MacBook that supports audio input from external devices. Upon initiating the software, navigate to the input settings or preferences to ensure that the digital piano is recognized as an available audio input source. This validation confirms that the MacBook has successfully identified the digital piano as a viable audio input device.
Next, play a few notes or chords on your digital piano while monitoring the audio input levels within the recording or production software on your MacBook. Observe the input meters or indicators within the software to ascertain that the audio signals from your digital piano are being received and registered by the MacBook. This real-time feedback confirms the successful transmission of audio data from your digital piano to your MacBook.
Additionally, if you have configured the audio output settings to route the sound from your digital piano to the MacBook for monitoring or playback, ensure that you can hear the audio output through the designated output device, such as the built-in speakers or external audio interfaces connected to your MacBook. This step validates the bidirectional audio communication between the digital piano and MacBook.
As you test the connection, pay attention to the audio quality, latency, and overall performance to identify any potential issues or areas for optimization. By actively engaging with the connection and assessing its functionality, you can troubleshoot any discrepancies and fine-tune the settings to achieve an optimal audio experience.
Upon successfully testing the connection and confirming the seamless interaction between your digital piano and MacBook, you have established a robust and functional link that empowers you to explore the full potential of this integrated setup for your musical pursuits.
Conclusion
Connecting your MacBook to a digital piano opens up a realm of possibilities, allowing you to leverage the advanced capabilities of both devices in harmony. By following the step-by-step process outlined in this guide, you have successfully established a functional and integrated connection between your digital piano and MacBook, enabling you to explore a myriad of musical applications and creative endeavors.
Through the meticulous gathering of necessary cables, the precise connection of the USB cable to both your digital piano and MacBook, and the configuration of audio settings, you have forged a seamless link that facilitates the transmission of audio signals and data between the two devices. The successful testing of the connection has validated the reliability and functionality of this integrated setup, empowering you to delve into music recording, production, and performance with confidence.
As you embark on your musical journey with your MacBook and digital piano in tandem, continue to explore the diverse possibilities offered by this connection. Whether you are capturing the nuances of a piano composition, experimenting with music production software, or simply enjoying the immersive sound of your digital piano through your MacBook, this integrated setup serves as a catalyst for your musical aspirations.
Embrace the synergy between your digital piano and MacBook, and let your creativity flourish within this harmonious ecosystem. As technology and music converge, your ability to seamlessly integrate these devices amplifies your potential for musical expression and innovation. By nurturing this connection and embracing the boundless opportunities it presents, you are poised to embark on a captivating musical odyssey, enriched by the harmonious fusion of your MacBook and digital piano.