Introduction
So, you've got a MIDI keyboard and you're ready to take your music production to the next level with MainStage 3. Connecting your MIDI keyboard to MainStage 3 opens up a world of creative possibilities, allowing you to play virtual instruments, control effects, and perform live with ease. Whether you're a seasoned performer or just starting out, MainStage 3 is a powerful tool that can enhance your music in exciting ways.
In this guide, we'll walk through the process of connecting your MIDI keyboard to MainStage 3, from gathering the necessary equipment to configuring the software. By the end of this tutorial, you'll be ready to unleash the full potential of your MIDI keyboard within MainStage 3.
Let's dive in and get your MIDI keyboard seamlessly integrated with MainStage 3. Whether you're a solo artist, part of a band, or a music producer, this setup will elevate your performances and studio sessions to new heights. Get ready to unlock the full potential of your MIDI keyboard and unleash your creativity with MainStage 3.
Step 1: Gather Your Equipment
Before diving into the setup process, it’s essential to gather the necessary equipment to ensure a seamless connection between your MIDI keyboard and MainStage 3. Here’s what you’ll need:
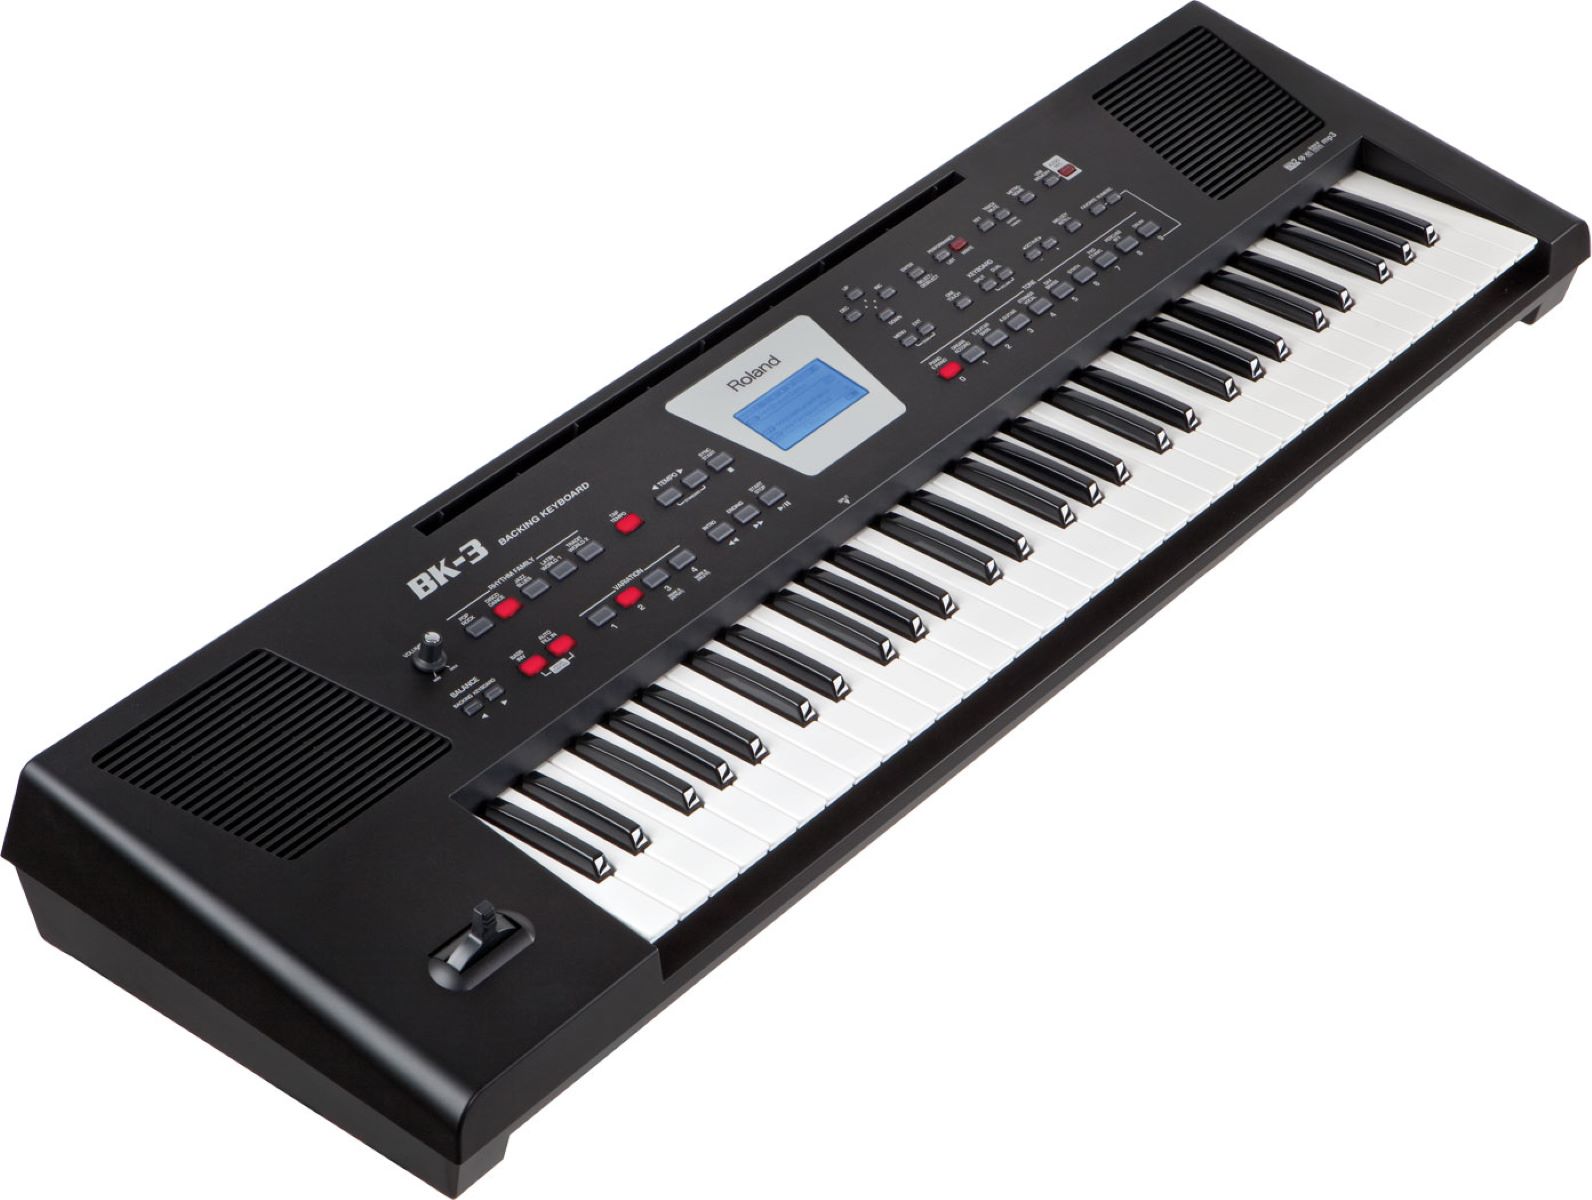
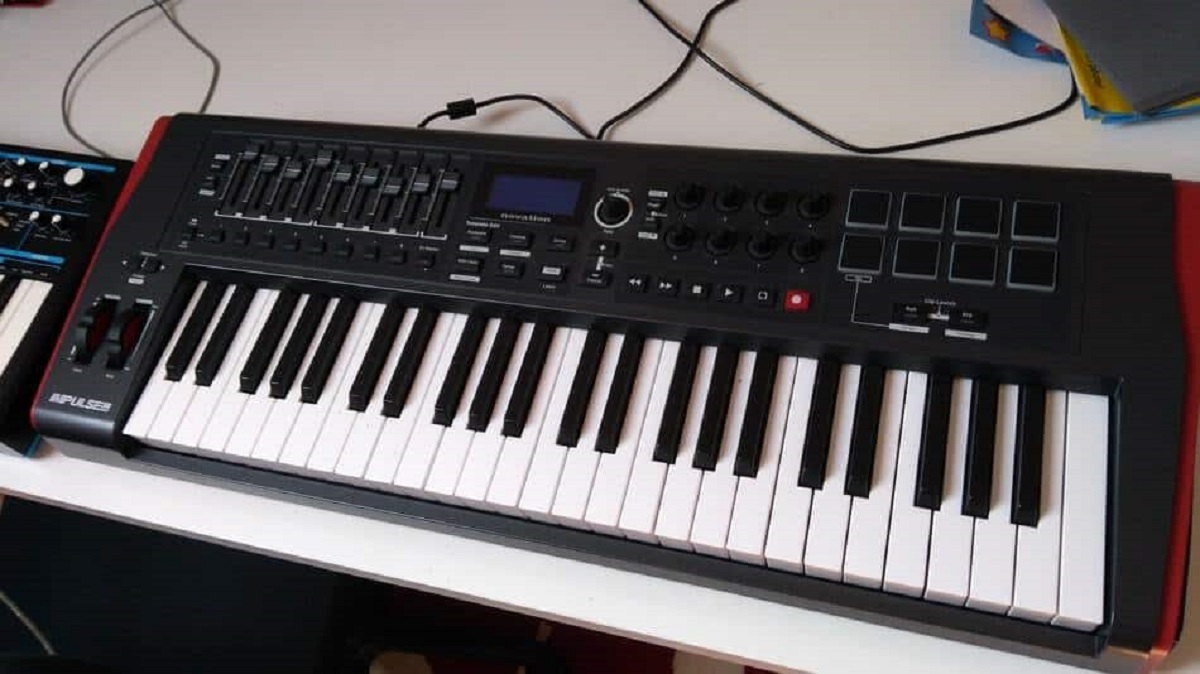
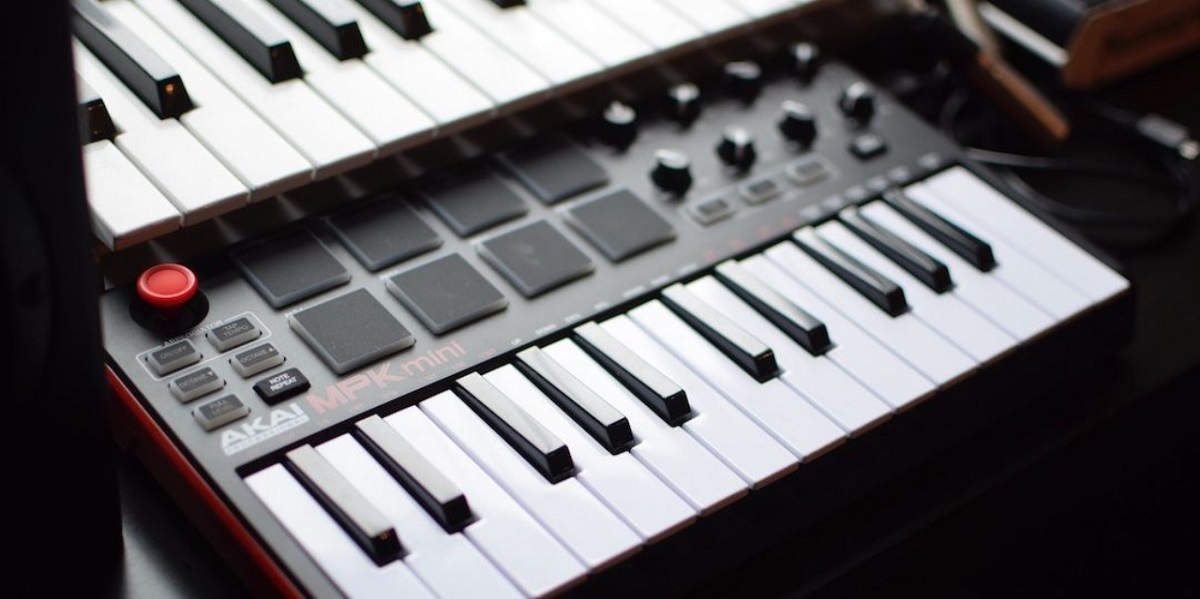
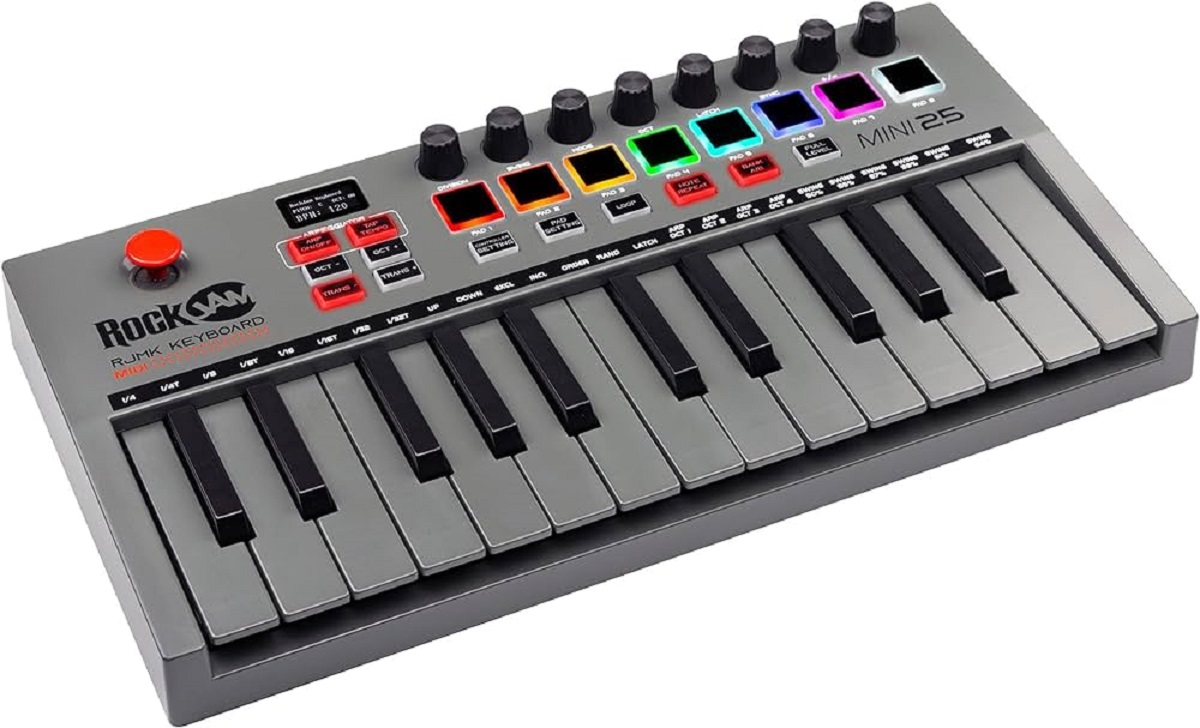
- MIDI Keyboard: Ensure that your MIDI keyboard is in good working condition, with all necessary cables and power supply.
- Computer: You’ll need a reliable computer with MainStage 3 installed. Make sure your computer meets the system requirements for running MainStage 3 smoothly.
- Audio Interface (Optional): If you prefer to use an audio interface for improved sound quality and lower latency, have it ready for the setup.
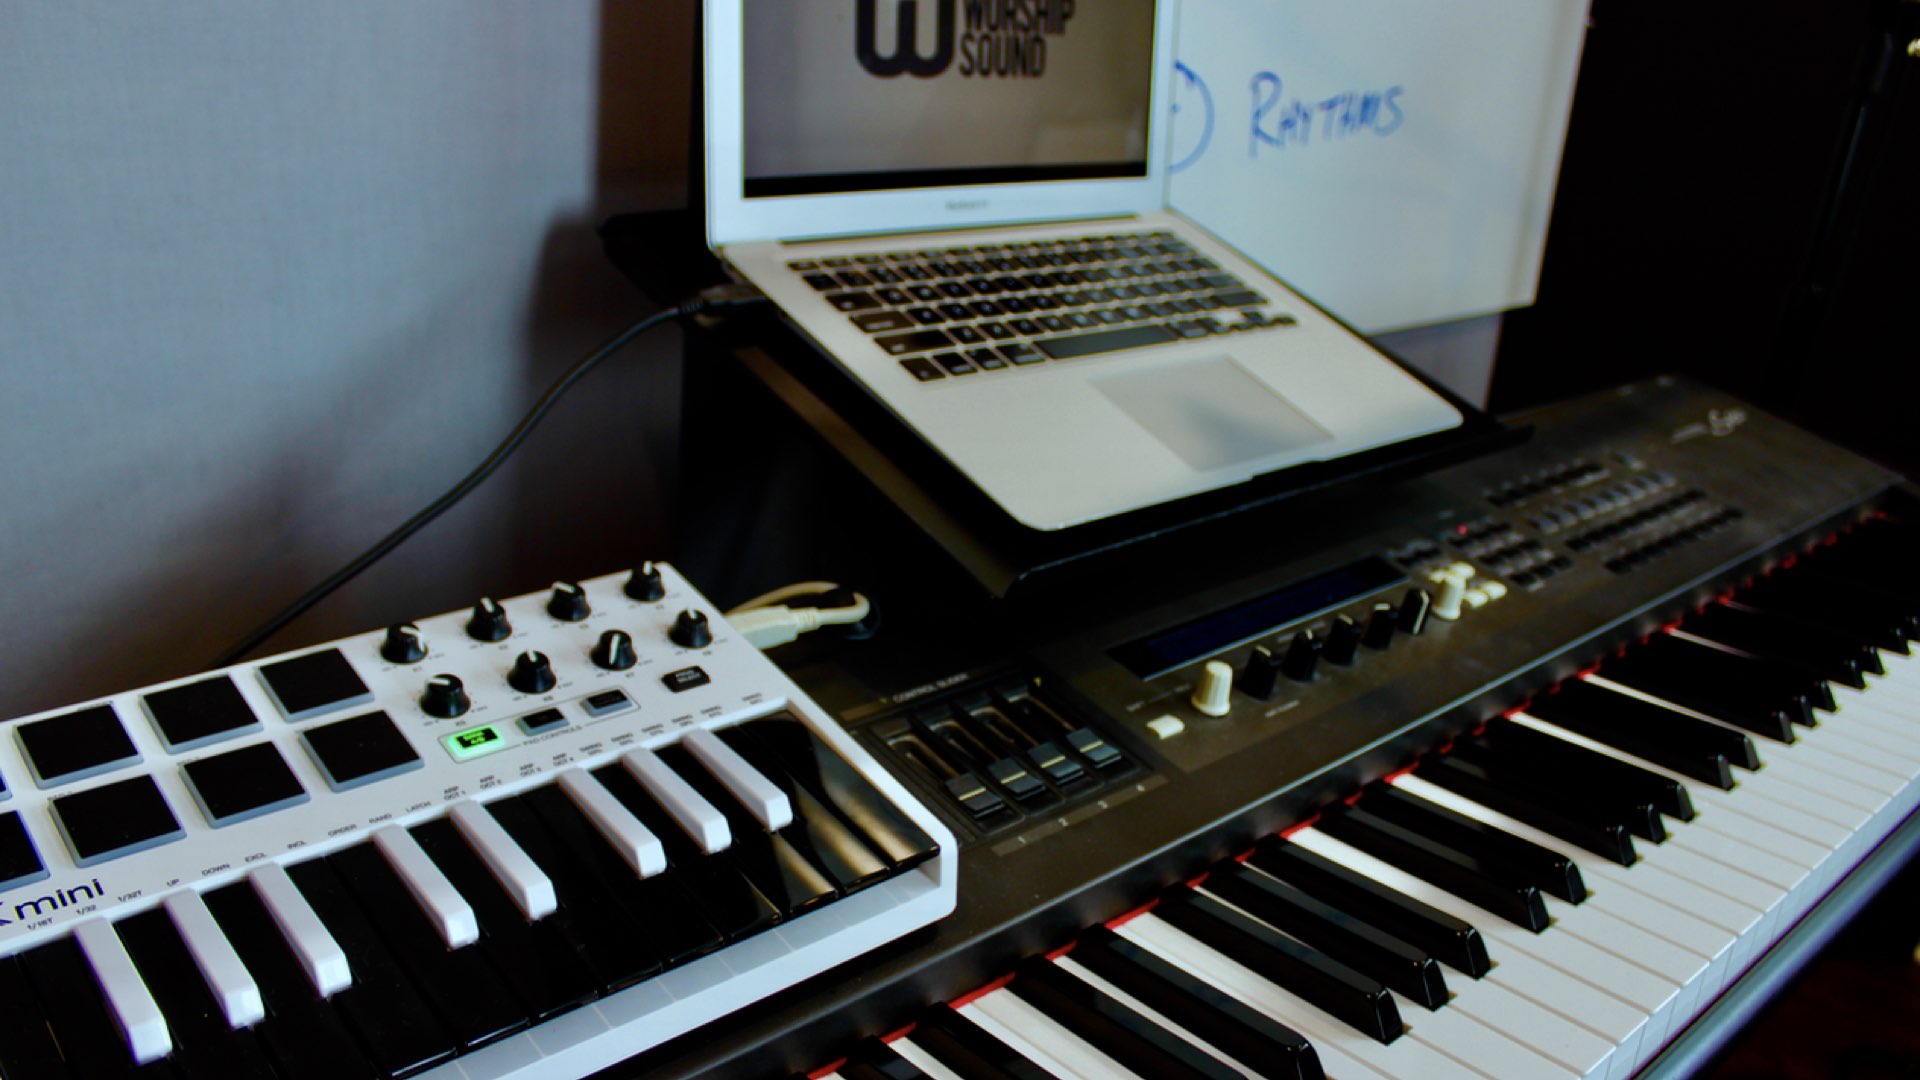
- MIDI Cables or USB Cable: Depending on your MIDI keyboard’s connectivity options, prepare the appropriate cables for connection. Most modern MIDI keyboards use USB connections, while older models may require standard MIDI cables.
- Power Supply: If your MIDI keyboard requires external power, ensure that the power supply is available and functional.
By gathering these essential components, you’ll be well-prepared to proceed with the setup process, ensuring that you have everything you need at your fingertips. Once you’ve assembled your equipment, you’re ready to move on to the next step and establish the connection between your MIDI keyboard and MainStage 3.
Step 2: Connect Your MIDI Keyboard to Your Computer
Now that you have all the necessary equipment assembled, it’s time to establish the physical connection between your MIDI keyboard and computer. The method of connection may vary based on your MIDI keyboard’s connectivity options. Here’s a step-by-step guide to help you through the process:
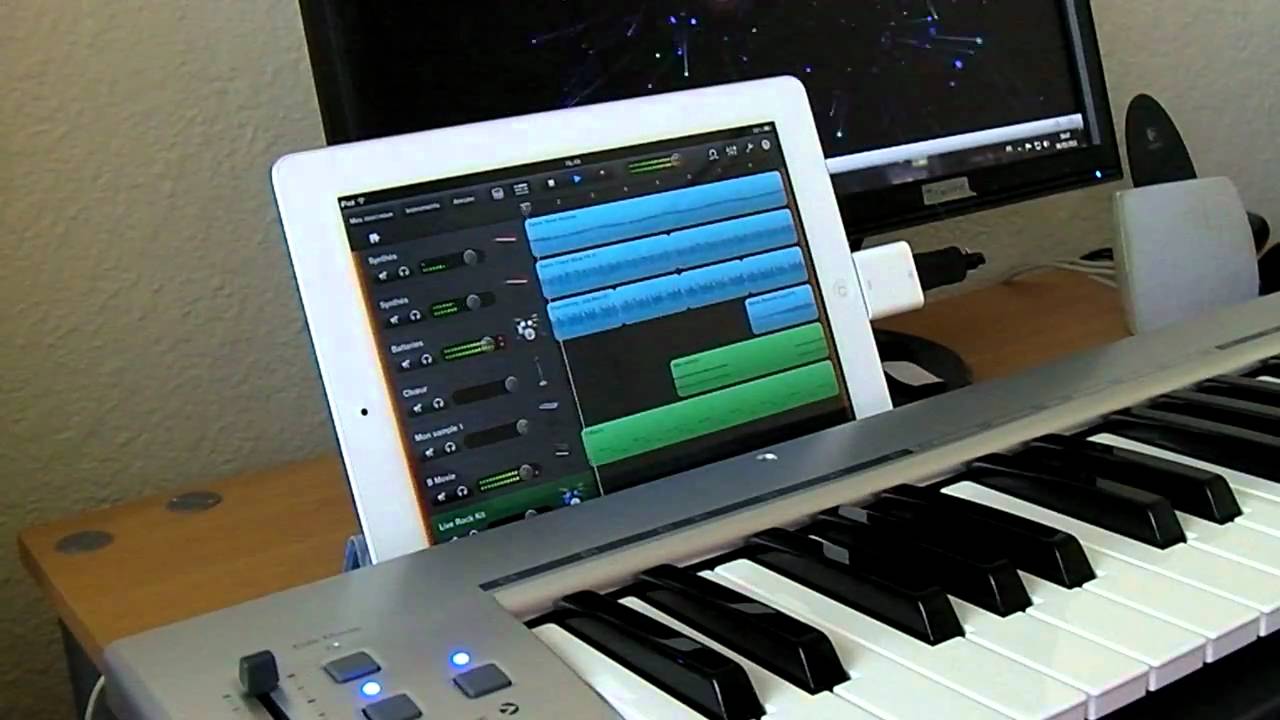
- USB Connection: If your MIDI keyboard utilizes a USB connection, simply plug one end of the USB cable into the MIDI keyboard’s USB port and the other end into an available USB port on your computer. Once connected, your computer should recognize the MIDI keyboard as a USB device.
- MIDI Cable Connection: For MIDI keyboards that use standard MIDI cables, connect the MIDI OUT port on your keyboard to the MIDI IN port on your audio interface or directly to your computer using a MIDI-to-USB interface. Ensure that the connections are secure to prevent any signal loss.
- Power On Your MIDI Keyboard: If your MIDI keyboard requires external power, ensure that it is plugged in and powered on. Some MIDI keyboards draw power directly from the computer via USB, so be sure to follow the manufacturer’s instructions regarding power requirements.
- Verify Connection: Once the physical connections are in place, verify that your computer recognizes the MIDI keyboard. Depending on your operating system, you may need to install drivers for the MIDI keyboard. Follow the manufacturer’s instructions for driver installation to ensure proper functionality.
By following these steps, you’ll establish a solid physical connection between your MIDI keyboard and computer, setting the stage for seamless integration with MainStage 3. With the hardware connection in place, you’re ready to move on to the next phase of the setup process and configure MainStage 3 to recognize and utilize your MIDI keyboard effectively.
Step 3: Configure MainStage 3
With your MIDI keyboard physically connected to your computer, it’s time to configure MainStage 3 to recognize and utilize the MIDI input for an enhanced music production experience. Follow these steps to configure MainStage 3:
- Launch MainStage 3: Open MainStage 3 on your computer. Once the application is running, you’ll be ready to configure it to work seamlessly with your MIDI keyboard.
- Create a New Concert: If you’re starting from scratch, create a new concert within MainStage 3. This will serve as the workspace for your musical projects and performances.
- Add a Channel Strip: Within the MainStage 3 workspace, add a channel strip by clicking the “+” button. This will allow you to assign your MIDI keyboard to control specific virtual instruments or effects within MainStage 3.
- Assign MIDI Input: Once the channel strip is added, assign the MIDI input to the channel strip by selecting your MIDI keyboard from the input options. This step ensures that MainStage 3 recognizes the MIDI signals from your keyboard.
- Map Controls (Optional): If your MIDI keyboard features knobs, sliders, or other control elements, you can map these controls to parameters within MainStage 3 for real-time manipulation of effects and instruments.
- Explore Instrument and Effect Options: MainStage 3 offers a wide range of virtual instruments and effects. Take some time to explore and select the instruments and effects you want to use with your MIDI keyboard, and configure them to your preference.
By following these steps, you’ll effectively configure MainStage 3 to harness the full potential of your MIDI keyboard, allowing for expressive and dynamic music creation and performance. With the software now tailored to your setup, you’re ready to move on to the final step and test your MIDI keyboard’s integration with MainStage 3.
Step 4: Test Your Setup
Now that you’ve connected your MIDI keyboard to MainStage 3 and configured the software to recognize it, it’s time to test your setup to ensure everything is functioning as intended. Follow these steps to test your MIDI keyboard’s integration with MainStage 3:
- Play Virtual Instruments: Select a virtual instrument within MainStage 3 and play your MIDI keyboard to ensure that the software accurately responds to your playing. Test various sounds and articulations to confirm that the MIDI signals are triggering the desired virtual instruments effectively.
- Control Effects: If you’ve mapped controls from your MIDI keyboard to effects within MainStage 3, test their functionality by adjusting parameters in real-time while playing. This step ensures that your MIDI keyboard’s controls are properly linked to the assigned effects, allowing for expressive manipulation during performances.
- Check Latency: Play your MIDI keyboard and listen for any noticeable latency between pressing keys and hearing the sound. If you encounter latency issues, consider adjusting buffer settings within MainStage 3 or optimizing your computer’s performance to minimize latency.
- Perform Live (Optional): If you’re using MainStage 3 for live performances, simulate a performance environment to test the reliability and responsiveness of your MIDI keyboard within MainStage 3. This step allows you to familiarize yourself with the setup and make any necessary adjustments before a live performance.
By thoroughly testing your setup, you can identify and address any potential issues or fine-tune the configuration to suit your preferences. This ensures that your MIDI keyboard seamlessly integrates with MainStage 3, empowering you to unleash your creativity and deliver captivating performances.
Conclusion
Congratulations! You’ve successfully connected your MIDI keyboard to MainStage 3 and configured the software to harness the full potential of your musical creativity. By following the steps outlined in this guide, you’ve laid the foundation for seamless integration between your MIDI keyboard and MainStage 3, unlocking a world of possibilities for music production and live performances.
With your MIDI keyboard seamlessly integrated with MainStage 3, you now have the power to explore a diverse range of virtual instruments, effects, and performance capabilities. Whether you’re a solo artist, part of a band, or a music producer, the dynamic synergy between your MIDI keyboard and MainStage 3 empowers you to express your musical vision with precision and artistry.
As you continue to explore the features and capabilities of MainStage 3, consider experimenting with different virtual instruments, effects, and control mappings to tailor the setup to your unique creative style. Embrace the flexibility and versatility that MainStage 3 offers, allowing you to craft immersive musical experiences and captivate audiences with your performances.
Remember to periodically revisit your setup to optimize performance, explore new possibilities, and adapt to evolving creative needs. Whether you’re composing, producing, or performing live, the seamless integration of your MIDI keyboard with MainStage 3 serves as a catalyst for innovation and musical expression.
Now, armed with a solid understanding of connecting and configuring your MIDI keyboard with MainStage 3, you’re poised to embark on a musical journey filled with boundless creativity and sonic exploration. Embrace the synergy between technology and artistry, and let your passion for music flourish in the captivating realm of MainStage 3.


