Introduction
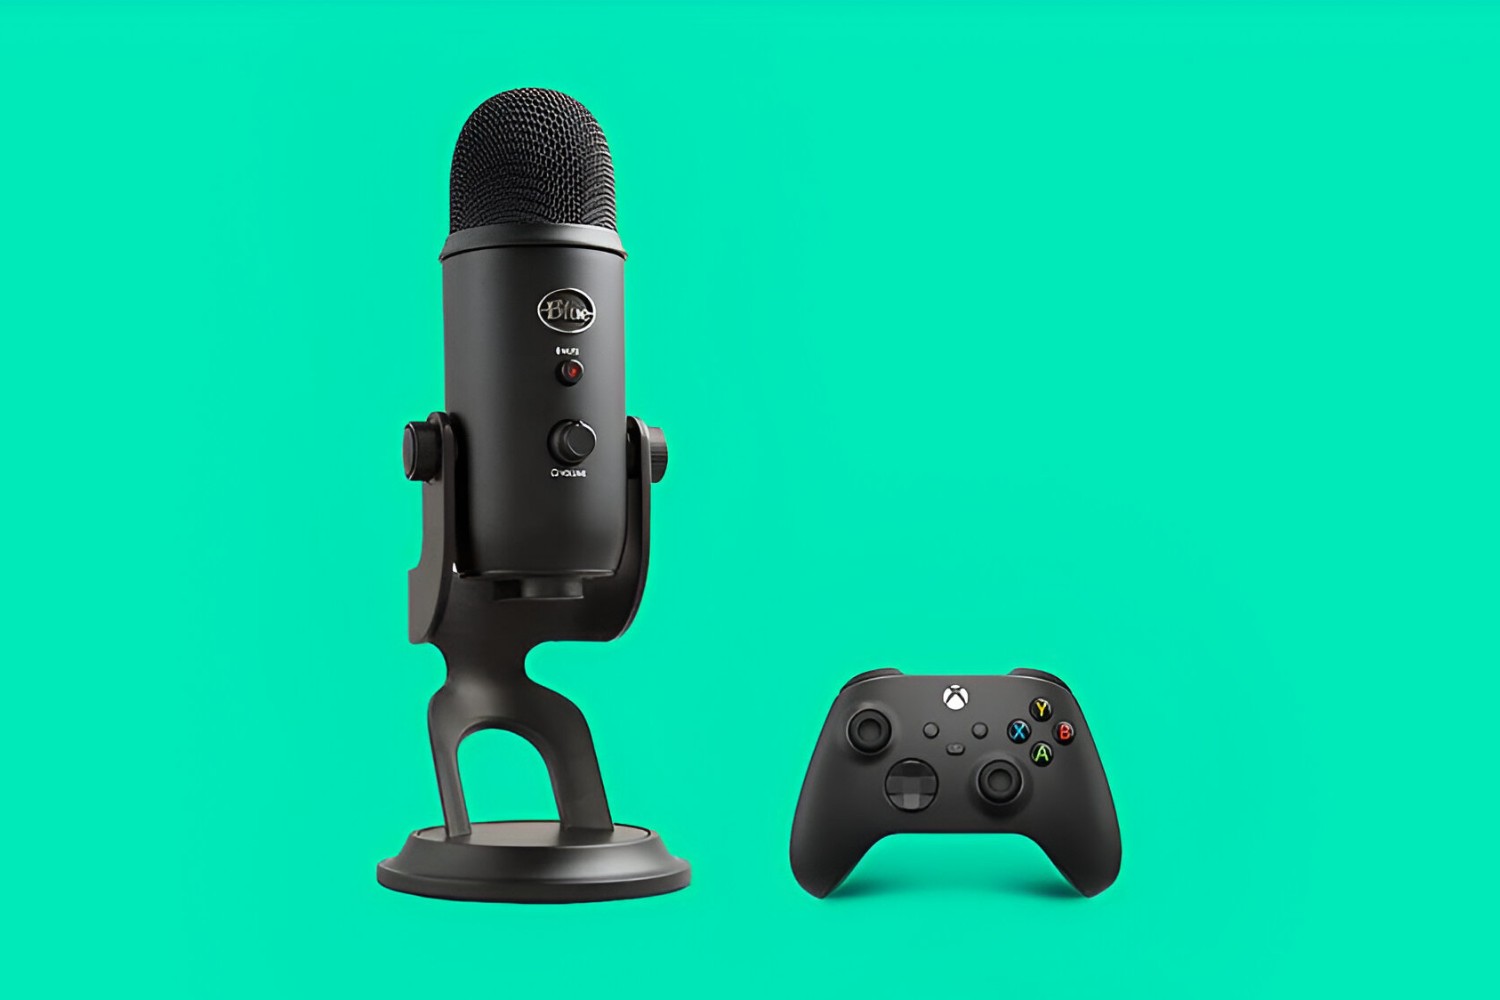
Are you ready to take your gaming experience to the next level? Connecting a condenser microphone to your Xbox One can significantly enhance your communication and immersion in the gaming world. Whether you're a streamer, a multiplayer enthusiast, or simply seeking a more professional audio setup, integrating a condenser microphone into your gaming console can make a world of difference.
In this comprehensive guide, we'll walk you through the process of connecting a condenser microphone to your Xbox One, ensuring that you're equipped with the knowledge and skills to achieve crystal-clear audio and seamless communication while gaming. From understanding the intricacies of condenser microphones to adjusting the settings on your Xbox One, we've got you covered every step of the way.
By the end of this guide, you'll be well-versed in the art of integrating a condenser microphone into your gaming setup, empowering you to engage in clear, uninterrupted communication with your fellow gamers and audience members. Let's dive into the world of condenser microphones and unleash the full potential of your Xbox One gaming experience!
Understanding the Condenser Microphone
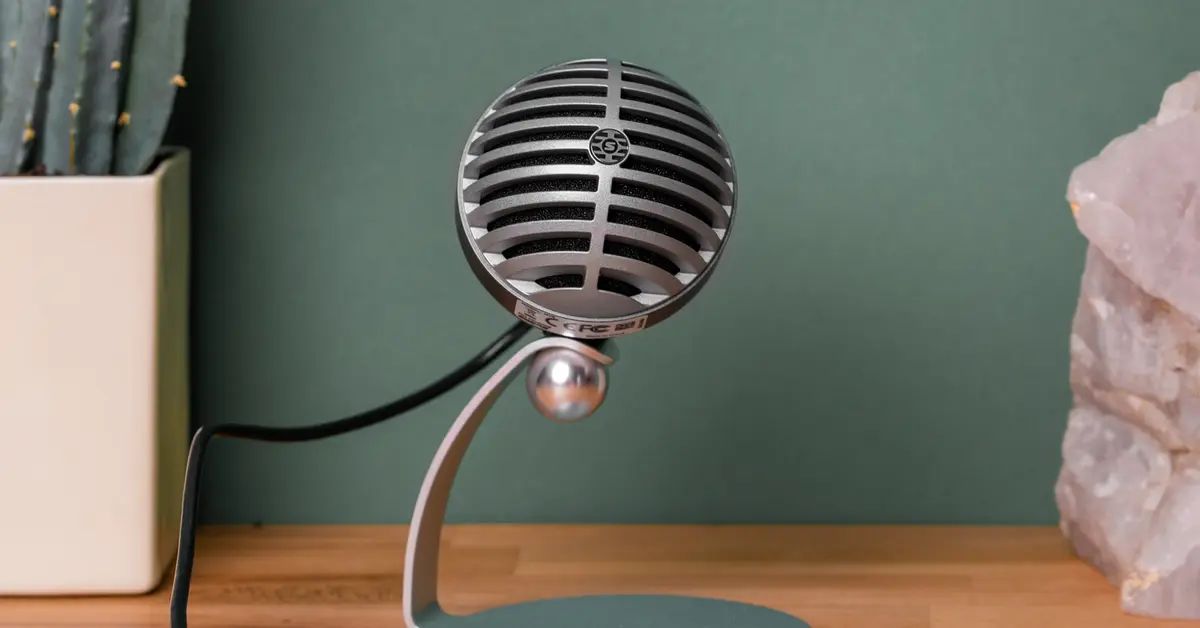
Before delving into the technicalities of connecting a condenser microphone to your Xbox One, it’s essential to grasp the fundamentals of this sophisticated audio device. Unlike dynamic microphones, condenser microphones are renowned for their exceptional sensitivity and ability to capture a wide range of frequencies with unparalleled clarity. These microphones operate on the principle of capacitance, utilizing a diaphragm and a backplate to convert sound waves into electrical signals.
One of the key attributes of condenser microphones is their ability to capture subtle nuances and deliver a more detailed, natural sound reproduction. This makes them an ideal choice for gamers and content creators who prioritize high-fidelity audio and precise vocal capture. However, it’s important to note that condenser microphones require external power, commonly supplied through phantom power or a separate power source, to operate effectively.
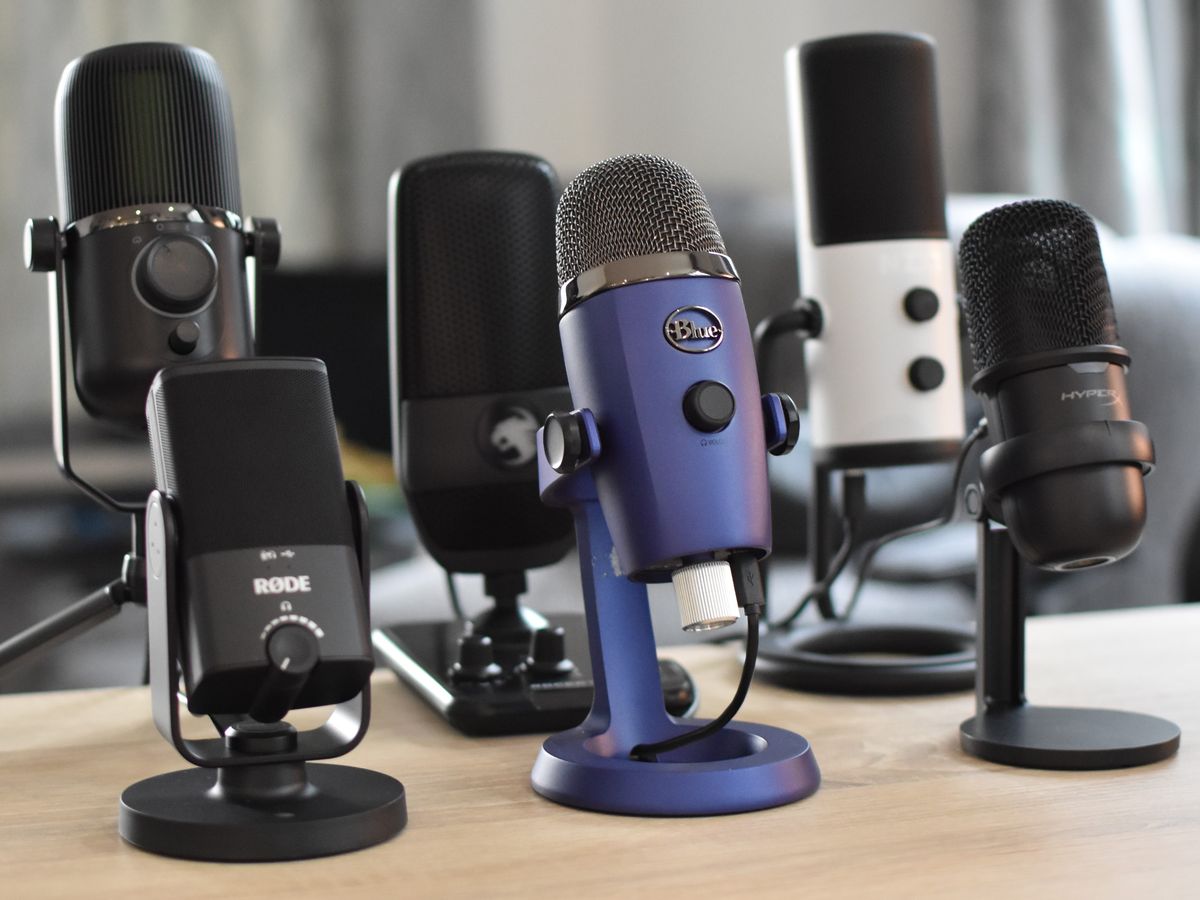
Furthermore, condenser microphones come in various polar patterns, such as cardioid, omnidirectional, and bidirectional, each catering to different recording scenarios. For gaming and streaming purposes, a cardioid condenser microphone is often preferred due to its focused pickup pattern, effectively isolating the user’s voice while minimizing background noise and room reverberation.
Understanding the intricacies of condenser microphones is crucial for harnessing their full potential when integrating them into your gaming setup. By recognizing their sensitivity, power requirements, and polar patterns, you can make informed decisions when selecting and utilizing a condenser microphone for your Xbox One, ultimately elevating your audio quality and communication capabilities.
Connecting the Condenser Microphone to Xbox One
Now that you have a solid understanding of condenser microphones, it’s time to bridge the gap between your microphone and Xbox One. The process involves a few simple steps to ensure seamless integration and optimal performance.
First and foremost, you’ll need to acquire the necessary accessories to connect your condenser microphone to the Xbox One controller. A crucial component is an XLR to 3.5mm adapter, which serves as the intermediary device to link the microphone to the controller. This adapter facilitates the conversion of the XLR output from the microphone to the 3.5mm input supported by the Xbox One controller.
Once you have the XLR to 3.5mm adapter in hand, proceed to connect the XLR cable from your condenser microphone to the adapter’s XLR input. Next, plug the 3.5mm end of the adapter into the 3.5mm jack on your Xbox One controller, ensuring a secure and snug connection. This establishes the physical link between your condenser microphone and the gaming console, paving the way for enhanced voice capture and communication during gameplay.
It’s important to note that some condenser microphones may require phantom power to operate optimally. In such cases, you’ll need to connect the microphone to an external power source or audio interface that provides phantom power. This additional step ensures that your condenser microphone receives the necessary power supply for accurate and reliable performance.
By following these straightforward connection procedures, you can seamlessly integrate your condenser microphone with the Xbox One, setting the stage for immersive gaming experiences and seamless communication with fellow gamers. With the physical connection established, the next crucial step involves adjusting the settings on your Xbox One to optimize the microphone’s performance and ensure clear, crisp audio output.
Adjusting Settings on Xbox One
After successfully connecting your condenser microphone to the Xbox One, it’s essential to fine-tune the console’s settings to optimize the microphone’s performance and ensure that your voice is captured with utmost clarity. The Xbox One provides a range of configurable options that allow you to tailor the audio input settings to your specific preferences and requirements.
Begin by accessing the Xbox One’s settings menu, typically found in the system dashboard. Navigate to the “Audio” or “Sound” settings, where you’ll find options to adjust microphone input levels, mic monitoring, and mic sensitivity. These settings enable you to customize the microphone’s behavior and audio output, enhancing your overall gaming and communication experience.
Adjust the microphone input level to achieve a balanced audio signal without distortion or clipping. This setting controls the sensitivity of the microphone input, allowing you to fine-tune the volume at which your voice is captured by the console. Experiment with different input levels while speaking into the microphone to find the optimal setting that prevents audio distortion while ensuring that your voice is clearly heard by other players or viewers.
Additionally, explore the mic monitoring feature, which allows you to hear your own voice in real-time through the headset. This can be particularly useful for monitoring the microphone’s performance and ensuring that you’re speaking at an appropriate volume. Adjust the mic monitoring level to a comfortable volume that allows you to hear your voice clearly without overpowering the game audio or causing distraction.
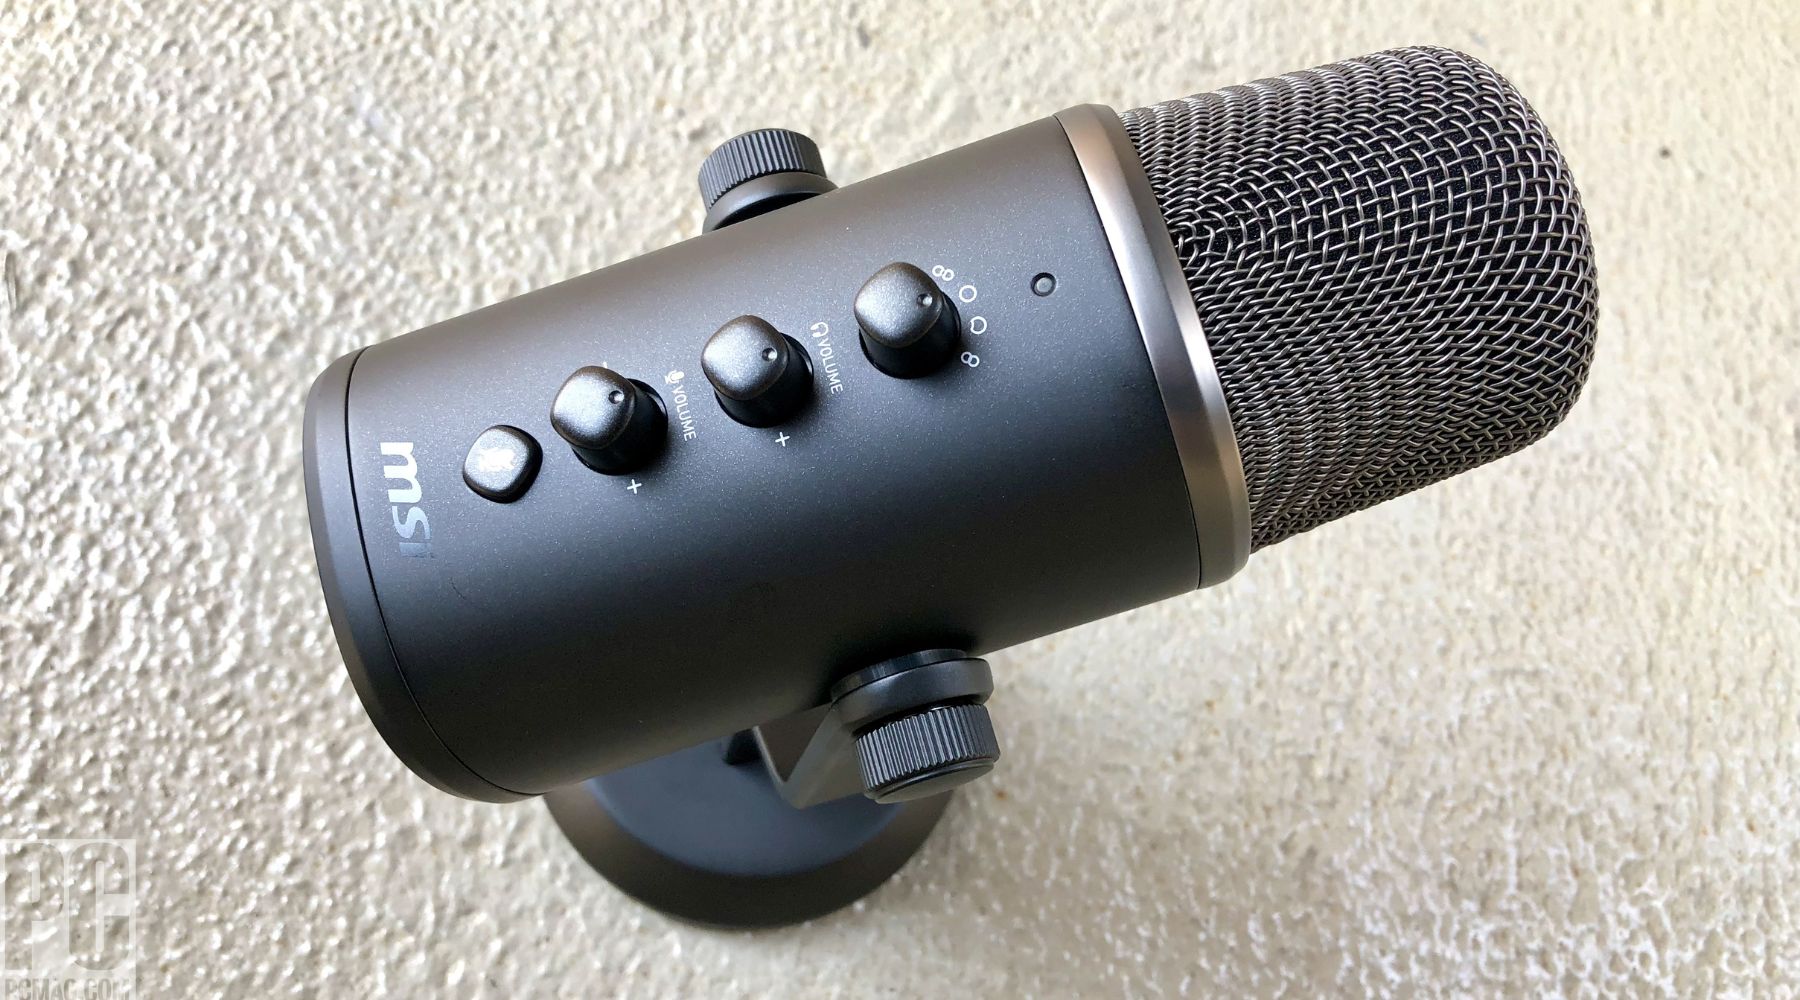
Furthermore, some condenser microphones feature built-in gain control or volume adjustments. If your microphone includes these capabilities, take advantage of them to fine-tune the input level directly from the microphone itself, complementing the adjustments made within the Xbox One’s settings.
Lastly, consider exploring any additional audio settings provided by specific games or applications. Some titles offer in-depth audio configuration options that allow you to further refine the microphone input settings, adjust voice chat volumes, or enable special audio enhancements tailored to multiplayer gaming experiences.
By carefully adjusting the settings on your Xbox One, you can harness the full potential of your condenser microphone, ensuring that your voice is captured with precision and clarity, ultimately enhancing your gaming interactions and communication with other players.
Testing the Microphone
With the condenser microphone connected and the settings adjusted on your Xbox One, it’s time to put the setup to the test. Conducting a thorough microphone test allows you to confirm that the audio input is functioning as intended, ensuring that your voice is accurately captured and transmitted during gaming sessions or live streams.
Begin by launching a game or application that supports voice chat or in-game communication. Enter a multiplayer lobby or initiate a voice chat session with a friend to evaluate the microphone’s performance in a real-world scenario. Engage in casual conversation or coordinate gameplay strategies while paying close attention to the clarity and fidelity of your voice as transmitted through the microphone.
During the test, solicit feedback from other players or listeners regarding the quality of your voice transmission. Inquire about the volume, clarity, and overall audio quality to gauge the effectiveness of the microphone setup. This feedback can provide valuable insights into any adjustments or fine-tuning that may be necessary to optimize the microphone’s performance further.
While testing the microphone, pay attention to background noise and ambient sounds that may be inadvertently picked up by the microphone. Evaluate the microphone’s ability to isolate your voice from surrounding distractions, ensuring that your communication remains clear and free from intrusive environmental noise.
Consider recording a brief audio sample or capturing a snippet of your voice chat session to review the microphone’s performance objectively. Listen to the playback and assess the audio quality, paying attention to any anomalies, distortions, or unwanted artifacts that may affect the overall clarity and intelligibility of your voice.
Furthermore, if you’re a content creator or streamer, consider conducting a test stream or recording to evaluate how the microphone integrates with your broadcasting setup. Monitor the audio levels and quality during the stream, ensuring that your voice remains prominent and articulate, enriching the viewer’s experience without overshadowing other audio elements.
By thoroughly testing the condenser microphone in various gaming and communication scenarios, you can gain confidence in its performance and identify any areas for improvement. This hands-on evaluation allows you to fine-tune the setup and address any potential issues, ultimately ensuring that your voice is conveyed with exceptional clarity and precision during gaming sessions and live broadcasts.
Conclusion
Embarking on the journey to connect a condenser microphone to your Xbox One has unlocked a realm of possibilities for enhancing your gaming experience and communication capabilities. By understanding the nuances of condenser microphones, navigating the connection process, adjusting settings, and conducting thorough tests, you’ve taken significant strides toward achieving pristine audio quality and seamless voice transmission during gameplay.
Integrating a condenser microphone into your Xbox One setup empowers you to engage in immersive voice chat, collaborate effectively with fellow gamers, and elevate the overall audio fidelity of your gaming sessions. The meticulous attention to detail in connecting and configuring the microphone ensures that your voice is captured with precision, free from distortions or unwanted artifacts that could detract from the gaming experience.
As you venture into the realm of condenser microphones and gaming, remember that ongoing refinement and experimentation can further enhance your setup. Stay attuned to feedback from peers, continue exploring advanced audio settings, and adapt your microphone usage to different gaming scenarios to maximize its potential.
Whether you’re a dedicated multiplayer enthusiast, a content creator, or a casual gamer seeking to elevate your audio experience, the integration of a condenser microphone with your Xbox One represents a significant leap toward immersive, high-fidelity gaming communication. Embrace the newfound clarity and richness of your voice transmission, and let it amplify your gaming interactions to new heights.
Armed with the knowledge and expertise gained from this guide, you’re poised to embark on a gaming journey where every word is crystal clear, every command is communicated with precision, and every collaboration resonates with unparalleled clarity. Your condenser microphone isn’t just an accessory; it’s a gateway to a world of enriched gaming experiences and seamless communication, setting the stage for unforgettable moments in the gaming realm.


