Introduction
Are you ready to unlock the full potential of your Fossil smartwatch? Whether you're new to the world of wearable technology or upgrading to a Fossil smartwatch, this quick guide will walk you through the essential steps to get started. From charging your device to navigating the setup process, you'll soon be enjoying the convenience and functionality of your stylish new accessory.
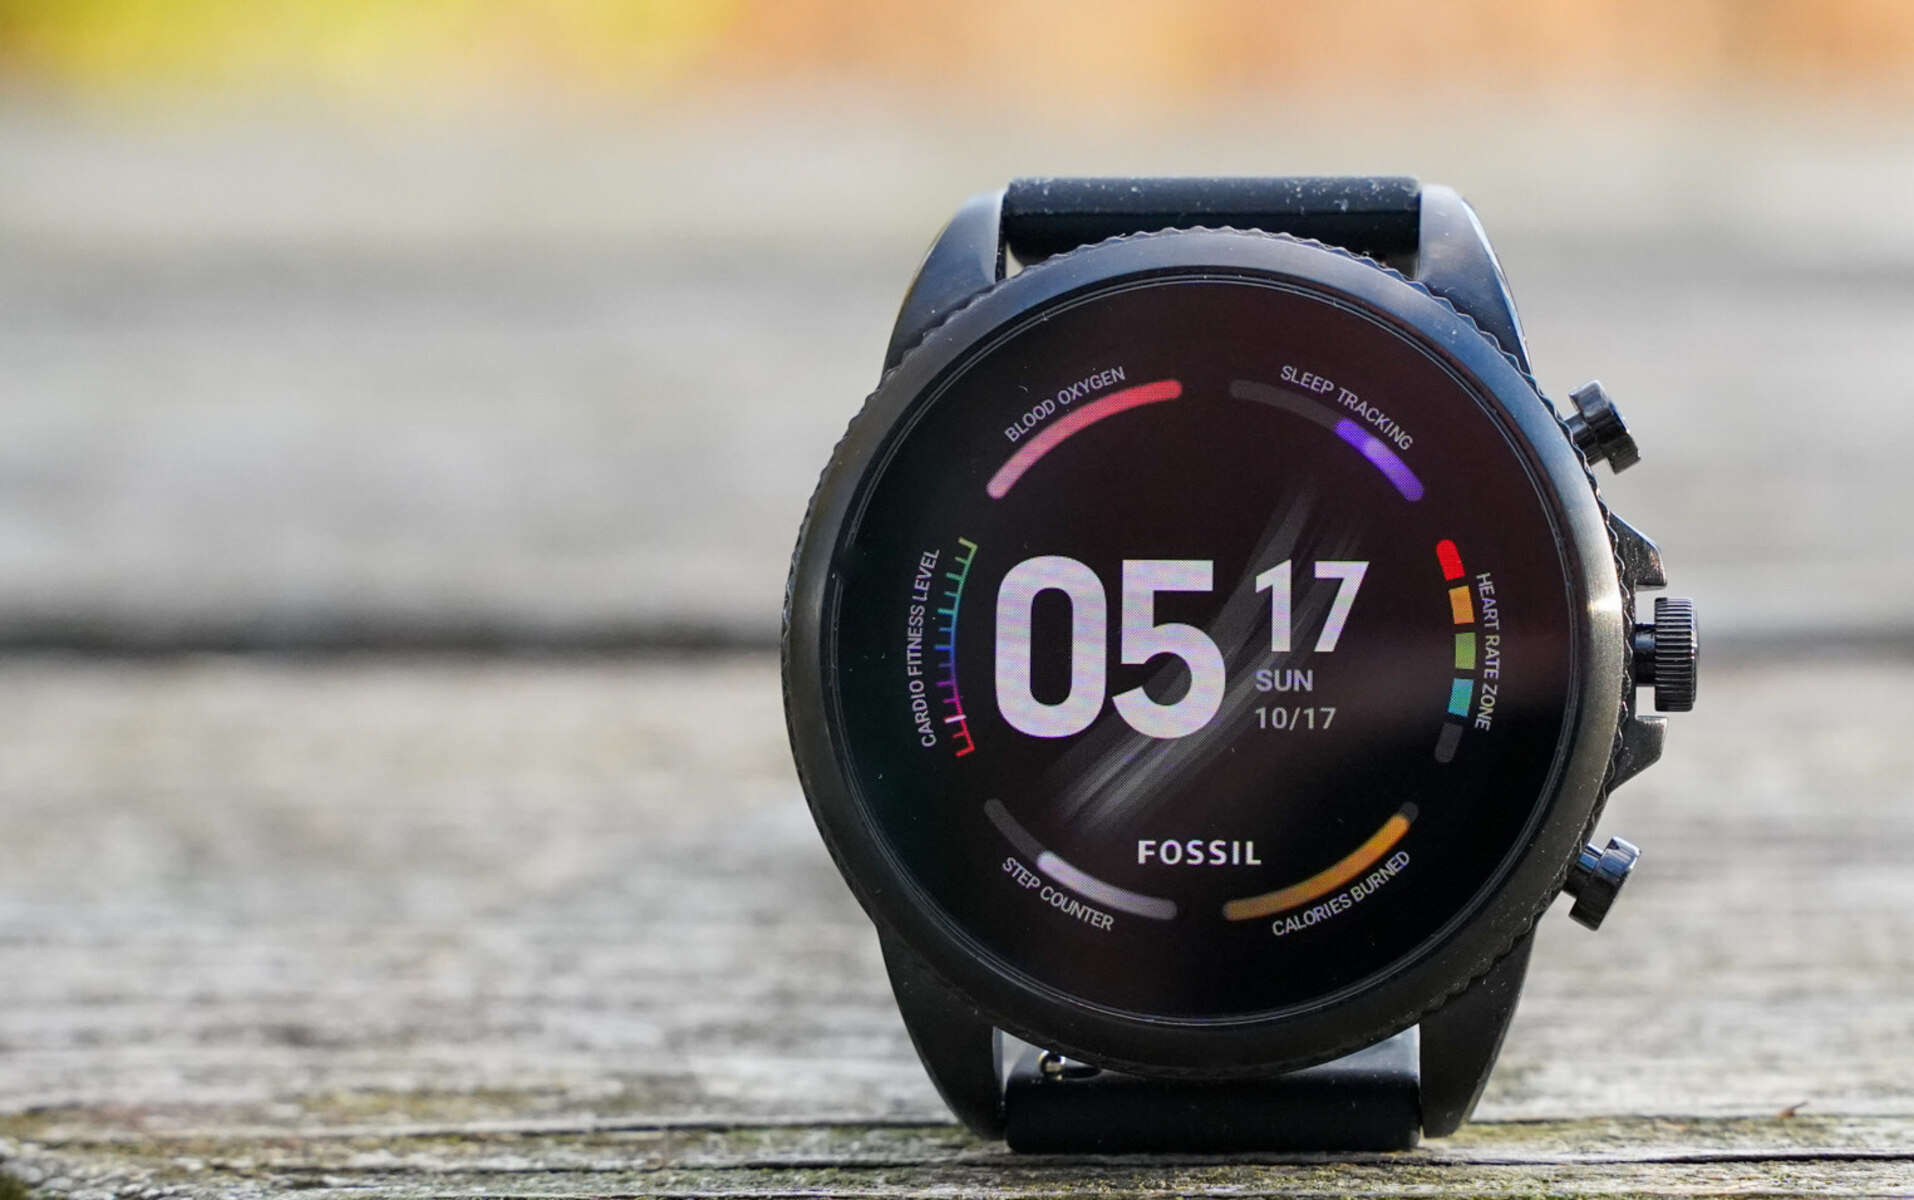
The Fossil smartwatch is designed to seamlessly integrate into your daily routine, offering a range of features to keep you connected and organized. With its sleek design and advanced capabilities, this wearable device is more than just a timepiece – it's a personal assistant, a fitness tracker, and a stylish accessory all in one.
This guide will take you through the process of charging your Fossil smartwatch, turning it on for the first time, and setting it up to suit your preferences. Whether you're eager to track your fitness goals, receive notifications on the go, or simply stay on top of your schedule, your Fossil smartwatch is equipped to enhance your lifestyle.
So, let's dive in and get your Fossil smartwatch up and running!
Step 1: Charging your Fossil Smartwatch
Before you begin exploring the features of your Fossil smartwatch, it’s essential to ensure that it is adequately charged. Here’s a quick guide to charging your device:
- Locate the Charging Cable: Your Fossil smartwatch comes with a magnetic charging cable designed specifically for your device. The magnetic feature ensures a secure connection for efficient charging.
- Connect the Charging Cable: Plug the USB end of the charging cable into a power source, such as a computer USB port or a USB wall adapter. The magnetic end of the cable will automatically attach to the back of your smartwatch.
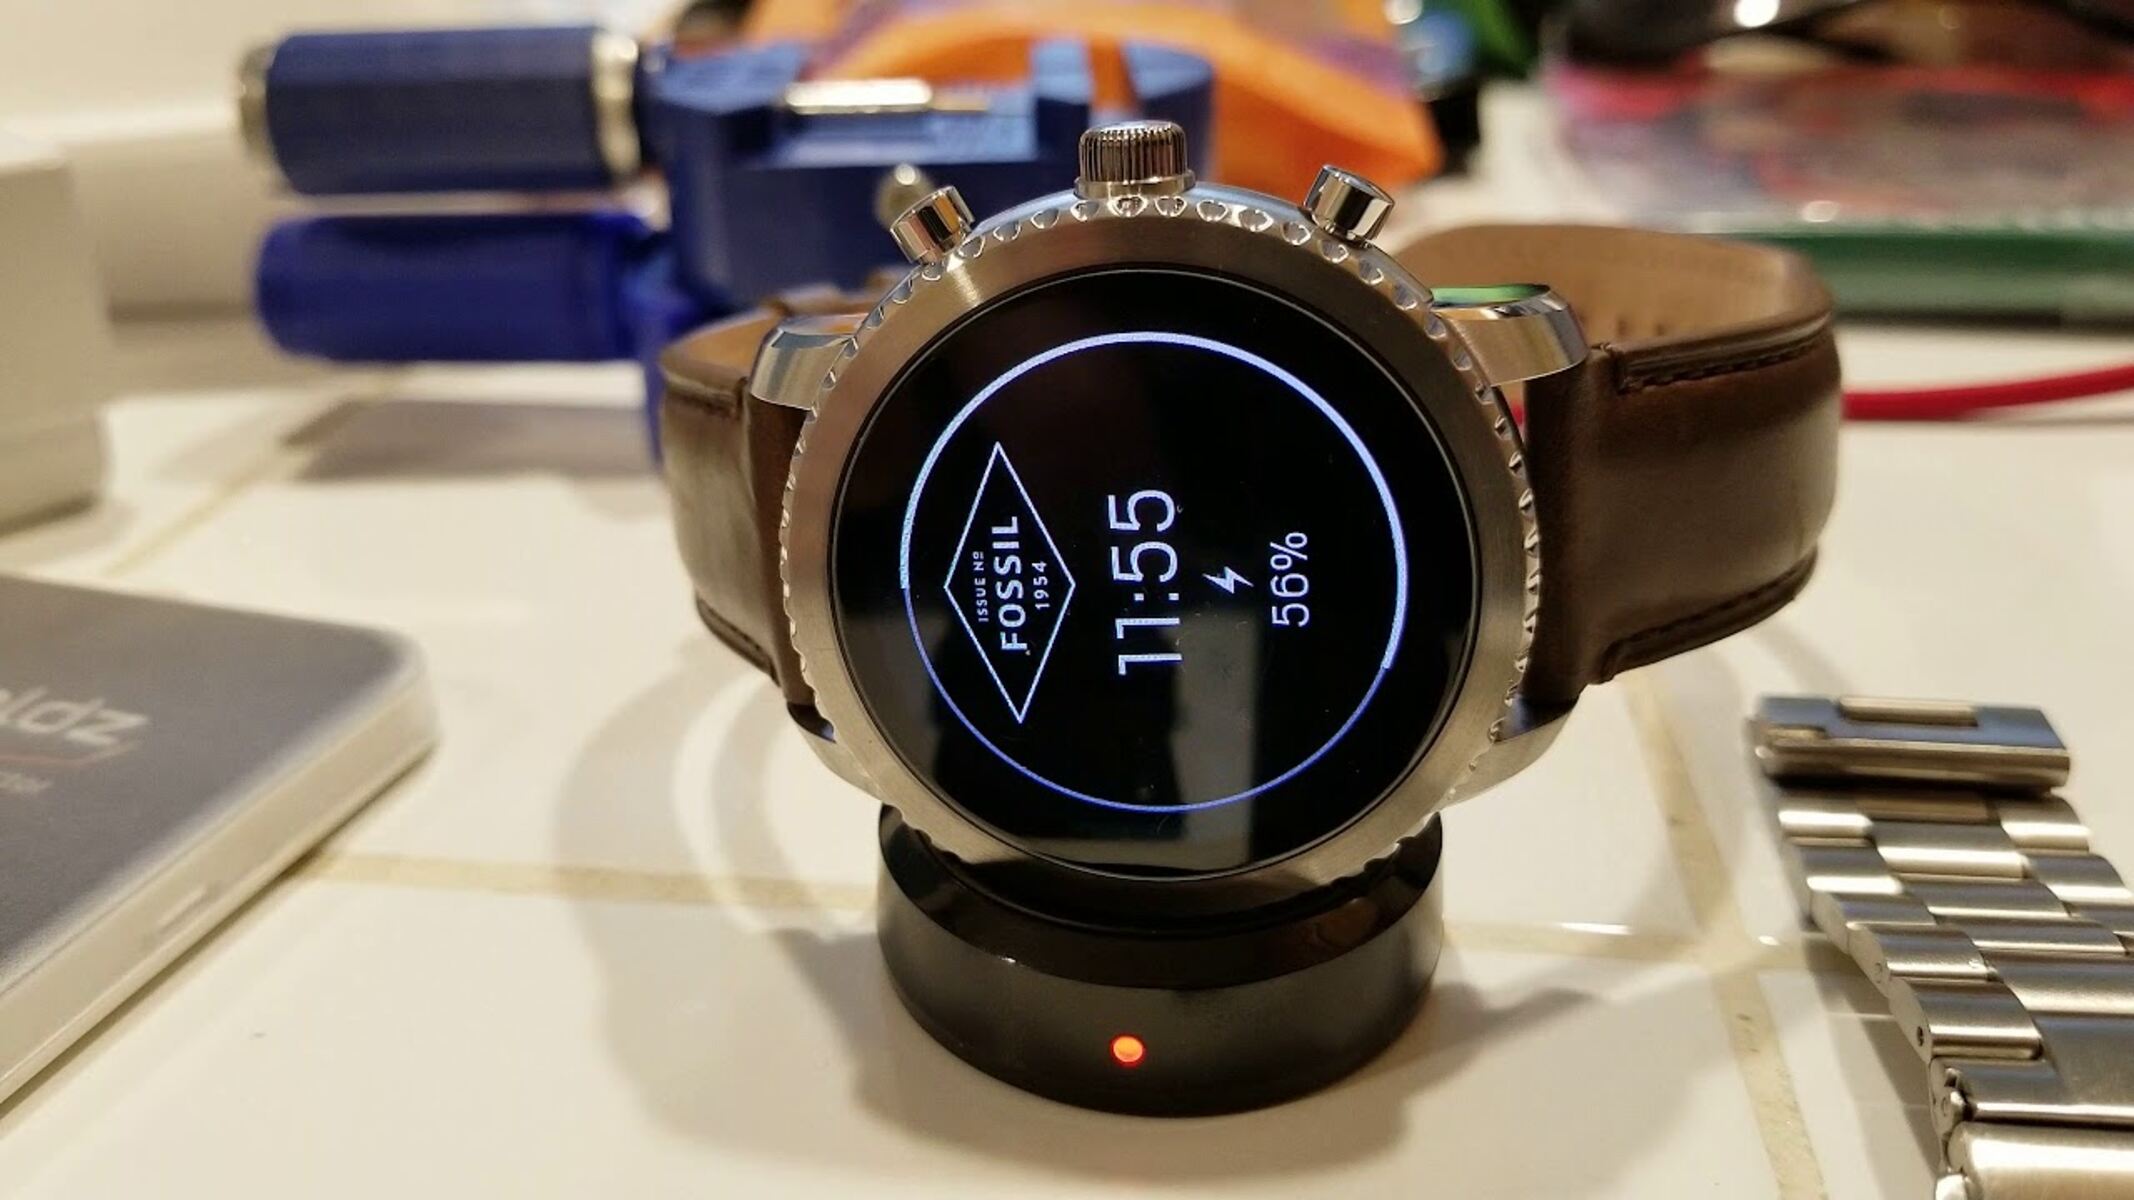
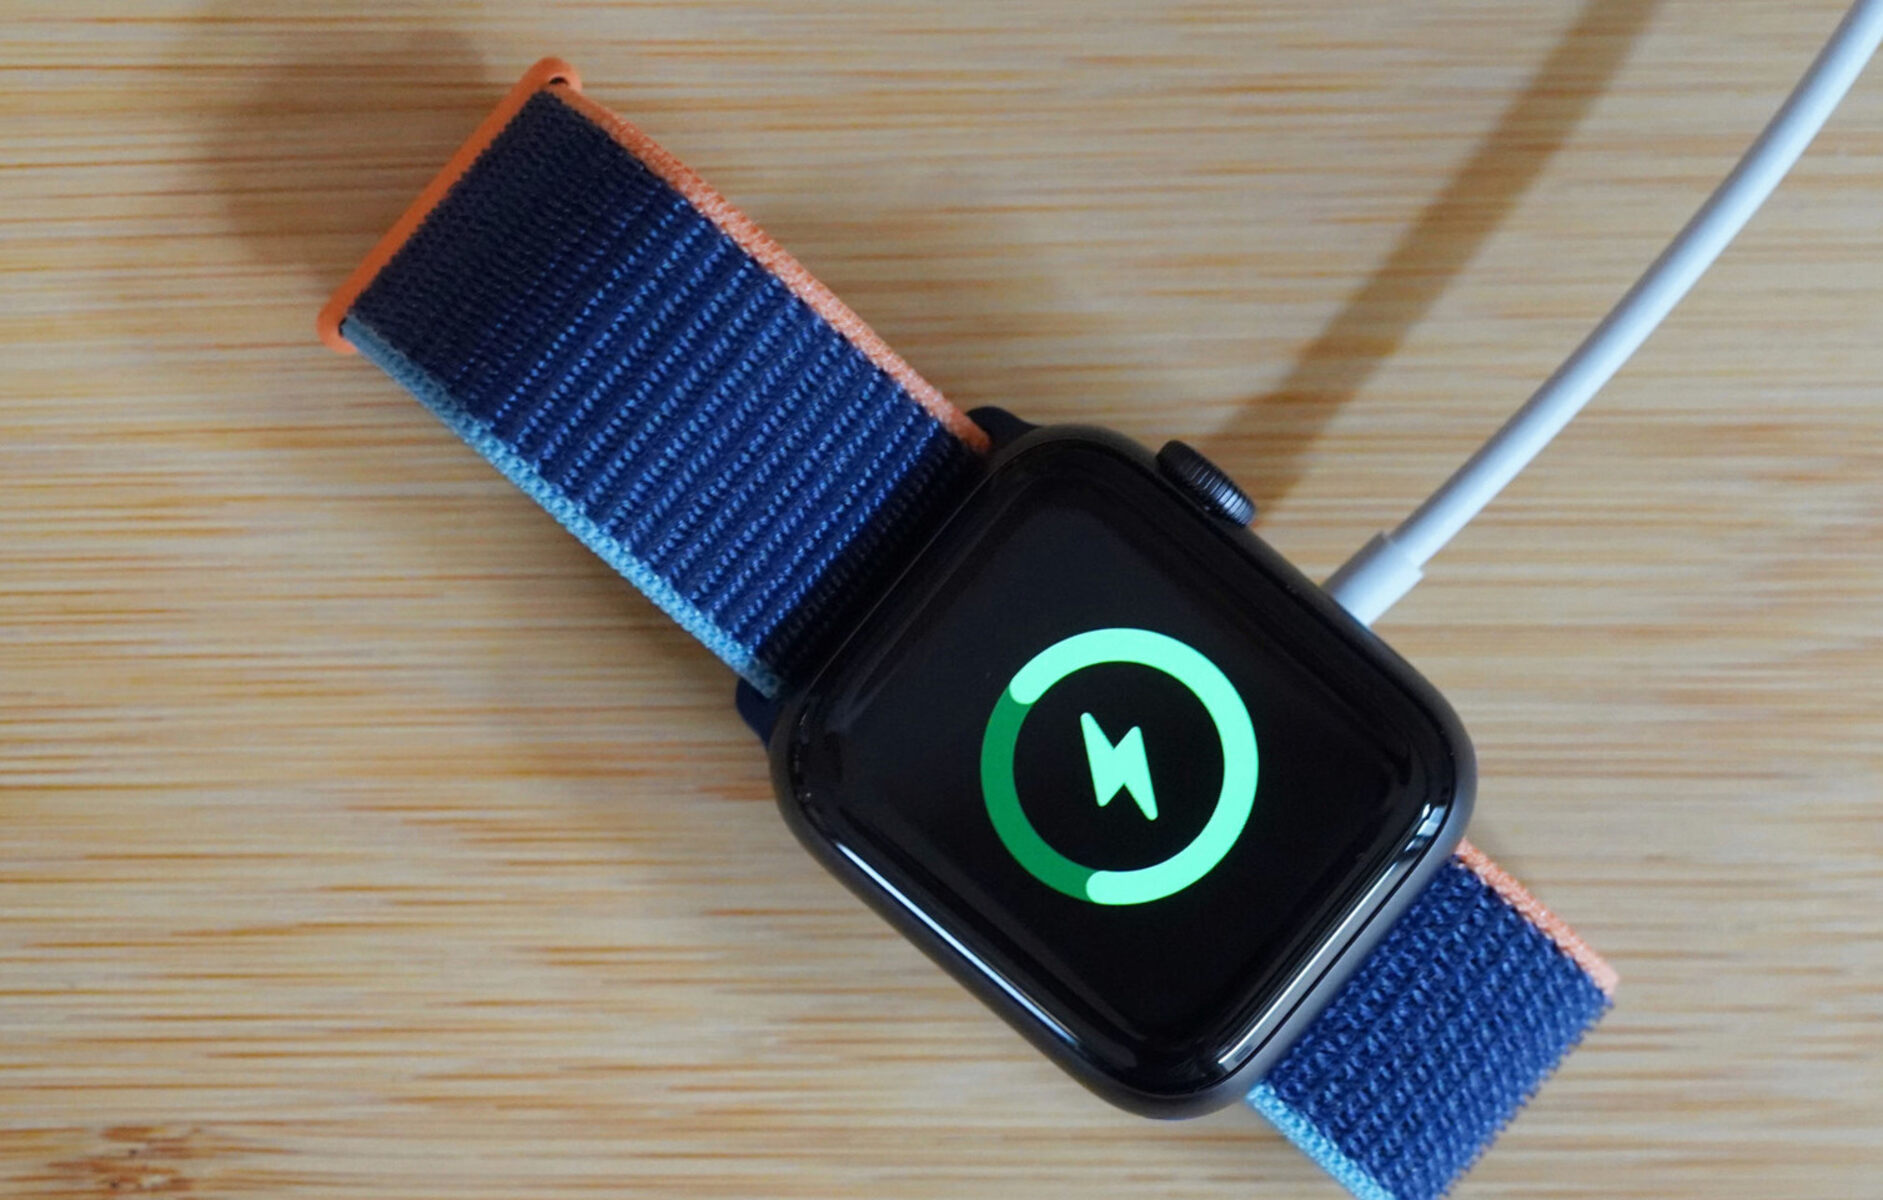
- Monitor the Charging Progress: Once connected, your Fossil smartwatch will display a charging indicator to show that it is receiving power. You can also check the battery level on the screen to track the progress of the charging process.
- Allow Sufficient Charging Time: Depending on the current battery level, it may take some time for your Fossil smartwatch to reach a full charge. It is recommended to allow for at least an hour of charging time to ensure optimal performance.
- Unplug and Go: Once your Fossil smartwatch is fully charged, simply disconnect the charging cable and get ready to power up your device for the first time.
By following these simple steps, you can ensure that your Fossil smartwatch is ready to accompany you throughout the day, keeping you connected and organized. Now that your device is charged and ready to go, it’s time to power it on and begin the setup process.
Step 2: Turning on your Fossil Smartwatch
Now that your Fossil smartwatch is fully charged, it’s time to power it on for the first time. Follow these simple steps to activate your device:
- Press and Hold the Power Button: Locate the power button on the side or the top of your Fossil smartwatch. Press and hold this button for a few seconds until the screen lights up. This action will initiate the boot-up process.
- Wait for the Startup Screen: After pressing the power button, you will see the Fossil logo or a startup screen on your smartwatch’s display. This indicates that the device is powering on and initializing its systems.
- Follow the On-Screen Instructions: Once the startup process is complete, you may be prompted to follow on-screen instructions to set up your Fossil smartwatch. This may include selecting your language, connecting to your smartphone, and customizing your preferences.
- Pairing with Your Smartphone: If required, you will need to pair your Fossil smartwatch with your smartphone to enable features such as notifications, call alerts, and synchronization of data. Follow the prompts on both devices to establish a seamless connection.
- Explore the Home Screen: Once your Fossil smartwatch is powered on and set up, you will be greeted by the home screen, where you can access various apps, widgets, and settings. Take a moment to familiarize yourself with the interface and explore the features available at your fingertips.
By following these steps, you can easily power on your Fossil smartwatch and prepare it for seamless integration into your daily routine. With the device now activated and ready for use, it’s time to move on to the next step: setting up your Fossil smartwatch to suit your preferences and lifestyle.
Step 3: Setting up your Fossil Smartwatch
Setting up your Fossil smartwatch is an exciting step that allows you to personalize the device to meet your specific needs and preferences. Follow these straightforward guidelines to configure your smartwatch:
- Language and Region Settings: Upon first use or after a factory reset, your Fossil smartwatch may prompt you to select your preferred language and region. Navigate through the options using the touchscreen or buttons to make the appropriate selections.
- Connect to Wi-Fi: If your Fossil smartwatch supports Wi-Fi connectivity, you may have the option to connect to a wireless network during the setup process. This can enable features such as software updates and app downloads directly on the device.
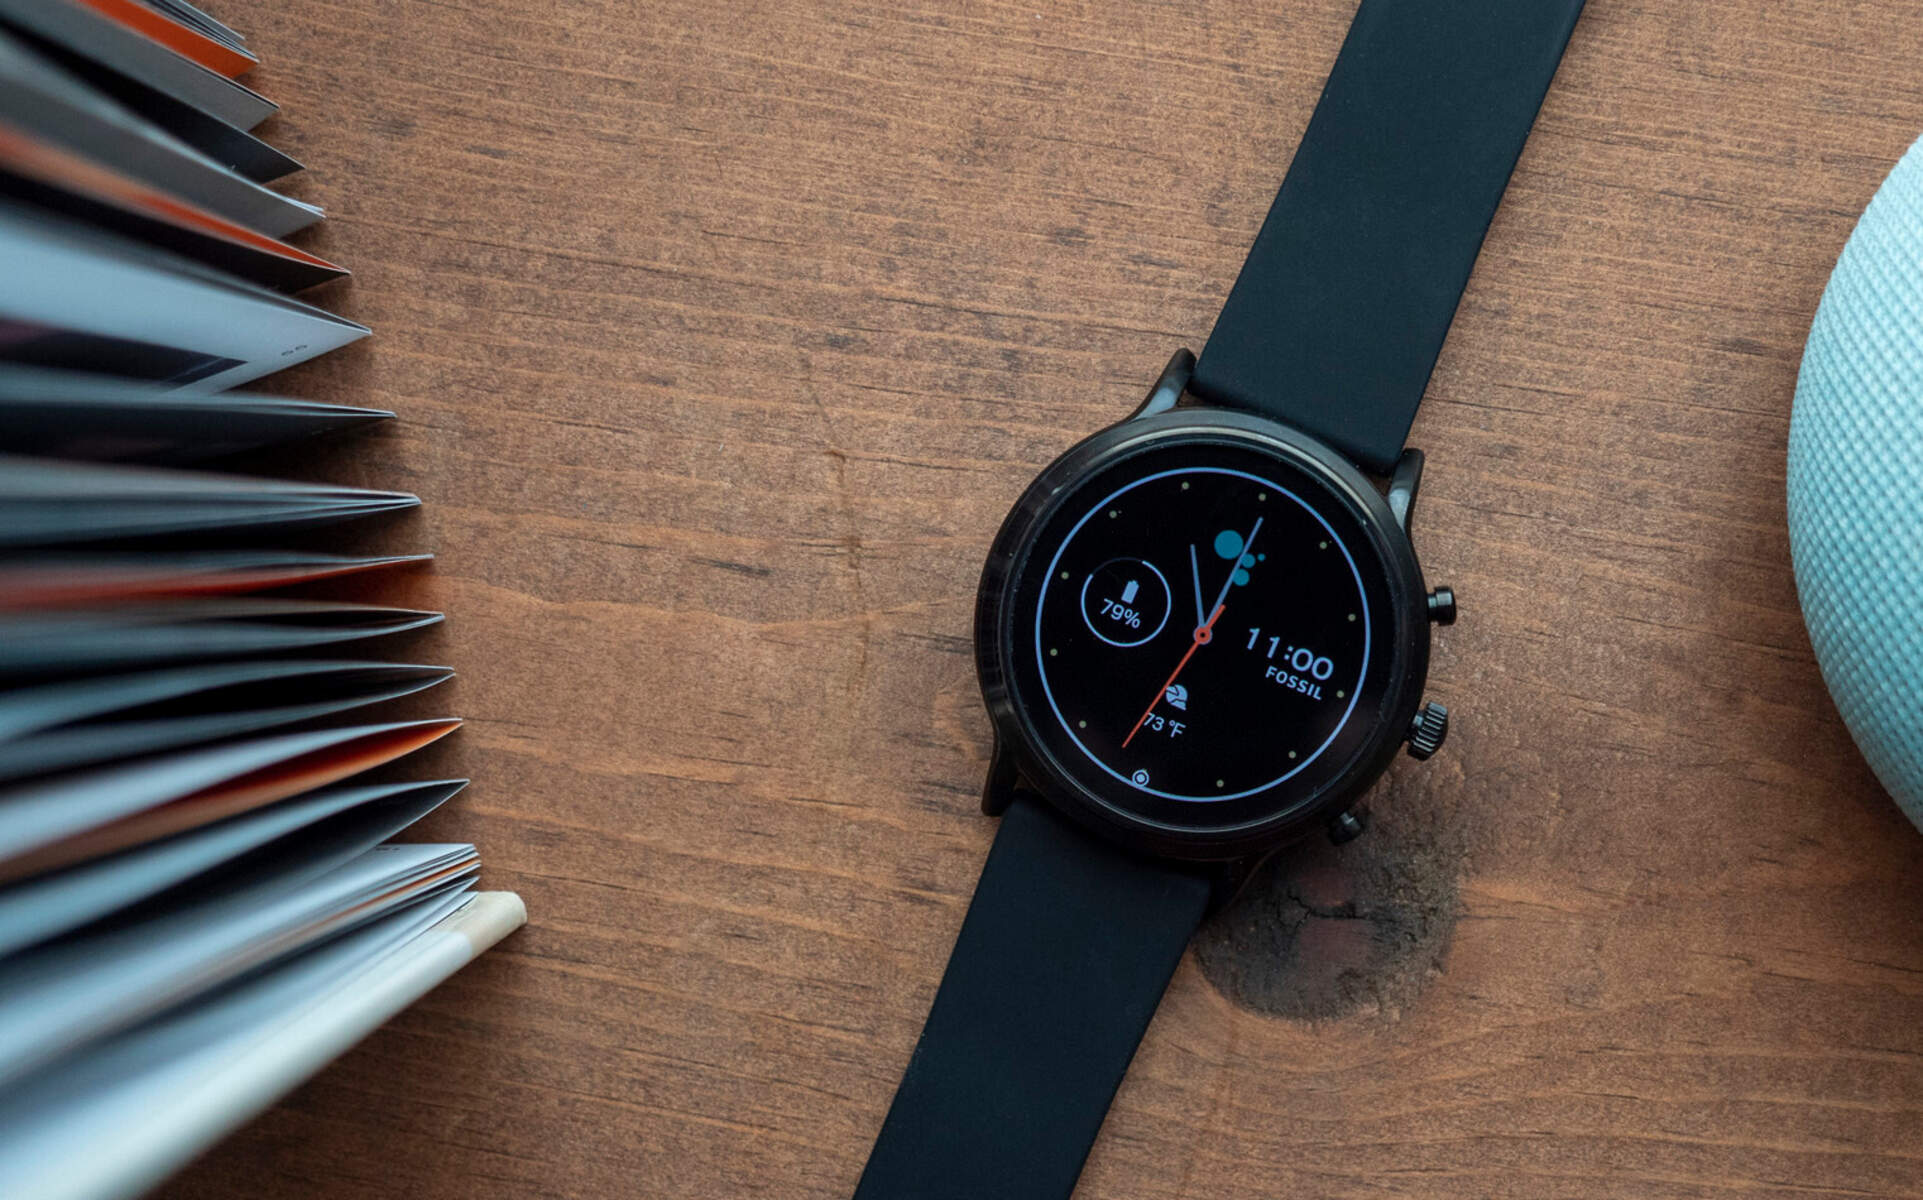
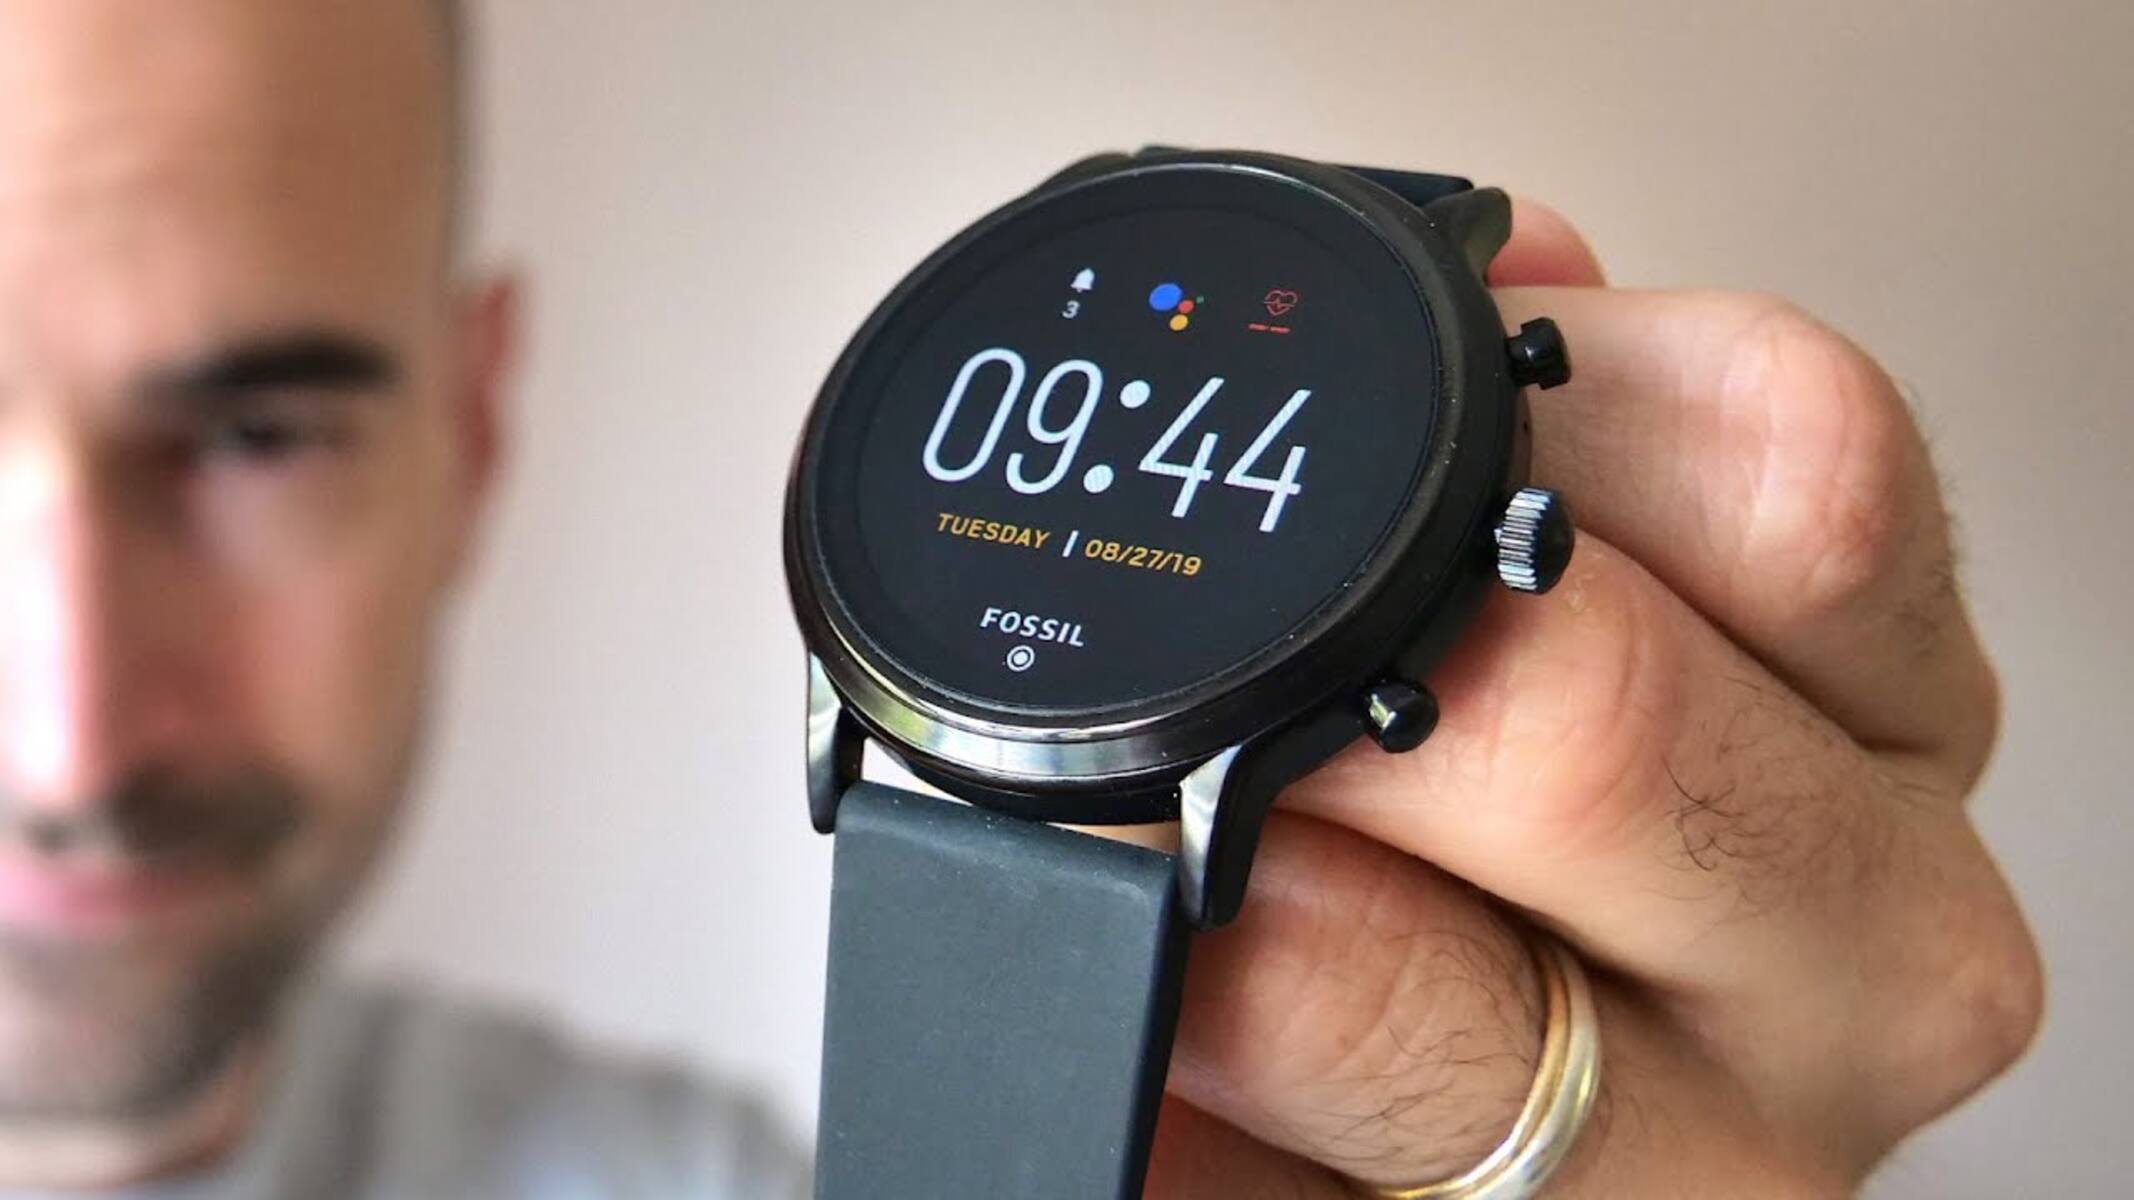
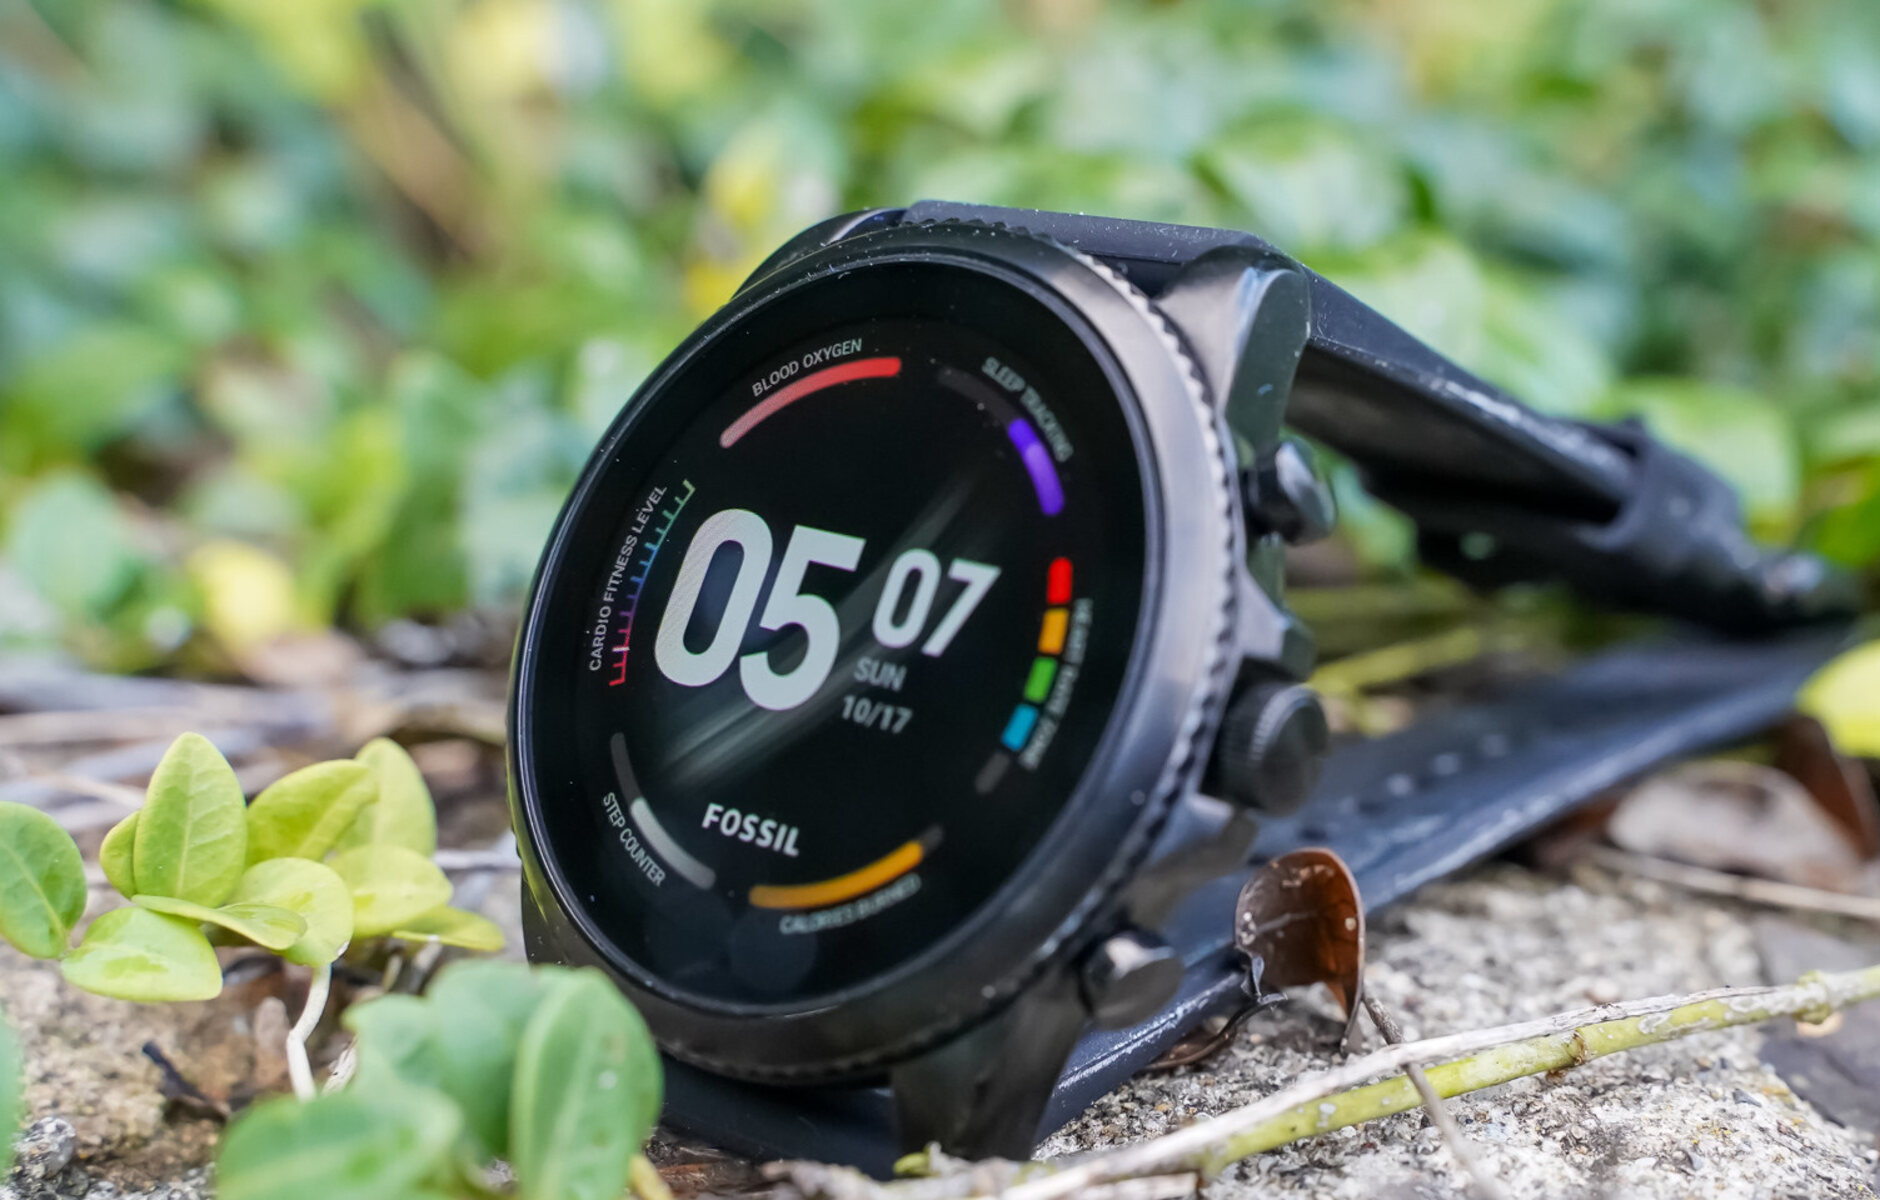
- Customize Watch Faces: Personalize the look of your Fossil smartwatch by choosing from a variety of watch faces. Whether you prefer a classic analog design or a digital interface with customizable widgets, there are numerous options to suit your style.
- Sync with Your Smartphone: To unlock the full potential of your Fossil smartwatch, ensure that it is paired with your smartphone via Bluetooth. This connection allows for seamless integration of notifications, calls, and synchronization of data between devices.
- Install Essential Apps: Explore the app store on your Fossil smartwatch to discover and install essential apps that complement your lifestyle. Whether you’re interested in fitness tracking, productivity tools, or entertainment apps, there is a wide range of options available.
- Adjust Settings and Notifications: Take a moment to review and customize the settings on your Fossil smartwatch. This includes managing notifications, adjusting display brightness, configuring sound preferences, and exploring additional features to enhance your user experience.
By following these steps, you can tailor your Fossil smartwatch to align with your individual preferences and daily routine. The setup process empowers you to make the most of the device’s capabilities, ensuring that it seamlessly integrates into your lifestyle and enhances your overall experience.
Conclusion
Congratulations! You’ve successfully navigated through the essential steps to kickstart your journey with the Fossil smartwatch. By charging, powering on, and setting up your device, you’ve taken the crucial initial steps to unlock its full potential as a versatile and stylish wearable companion.
As you familiarize yourself with the features and capabilities of your Fossil smartwatch, you’ll discover a world of convenience at your fingertips. From staying connected with notifications and calls to tracking your fitness goals and personalizing your watch face, the possibilities are endless.
Remember that your Fossil smartwatch is designed to adapt to your lifestyle, providing seamless integration into your daily routine. Whether you’re a fitness enthusiast, a busy professional, or a fashion-forward individual, your smartwatch is equipped to cater to your unique needs.
As you embark on this new chapter with your Fossil smartwatch, don’t hesitate to explore its full range of features, experiment with different apps, and make use of its customization options. The more you engage with your smartwatch, the more it will become an indispensable part of your everyday life.
With these foundational steps completed, you’re now ready to embrace the endless possibilities that your Fossil smartwatch offers. Enjoy the convenience, style, and functionality that this innovative device brings to your wrist, and make the most of every moment with your new wearable companion.


