Introduction
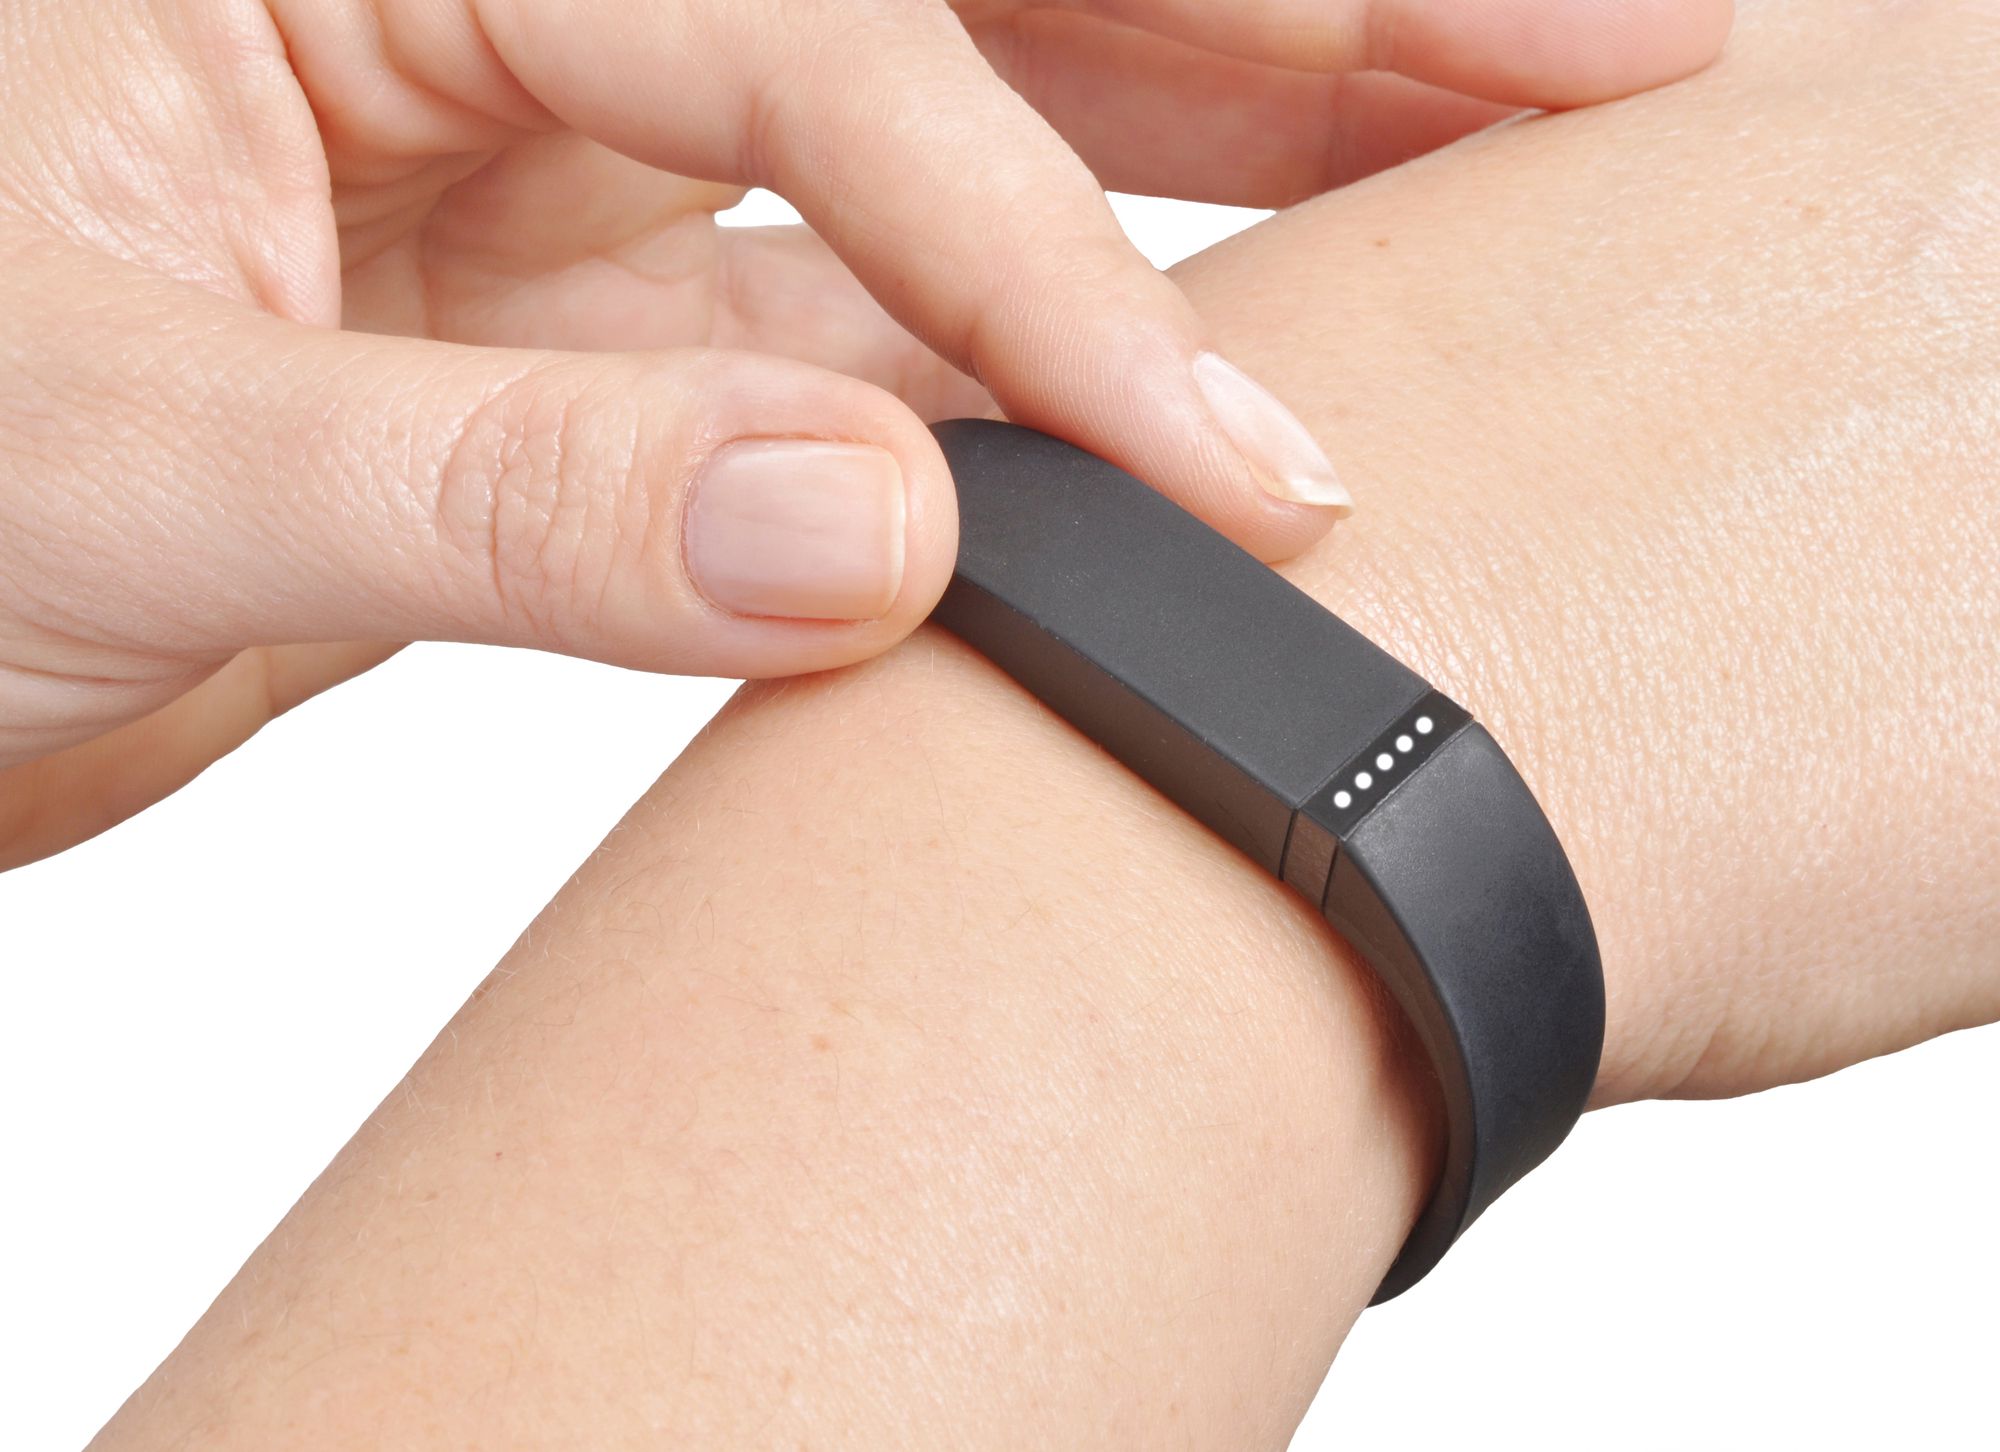
Keeping your Fitbit watch band clean is essential not only for maintaining its appearance but also for preventing skin irritation and ensuring long-term durability. Over time, sweat, dirt, and oils can accumulate on the straps, leading to a less-than-sparkling appearance. However, with the right approach, you can effectively clean your Fitbit watch band, restoring its freshness and comfort.
In this comprehensive guide, we will walk you through the step-by-step process of cleaning your Fitbit watch band. Whether you have a silicone, leather, or metal band, the methods outlined here are designed to help you achieve optimal cleanliness without compromising the integrity of the materials. By following these simple yet effective techniques, you can keep your Fitbit watch band looking and feeling its best, ensuring that it remains a stylish and reliable accessory for your active lifestyle.
So, if you've noticed that your Fitbit watch band is looking a bit worse for wear, or if you simply want to maintain its pristine condition, this guide is for you. Let's dive into the details of how to effectively clean your Fitbit watch band, allowing you to enjoy a fresh and hygienic wearing experience.
Step 1: Remove the Fitbit Watch Band
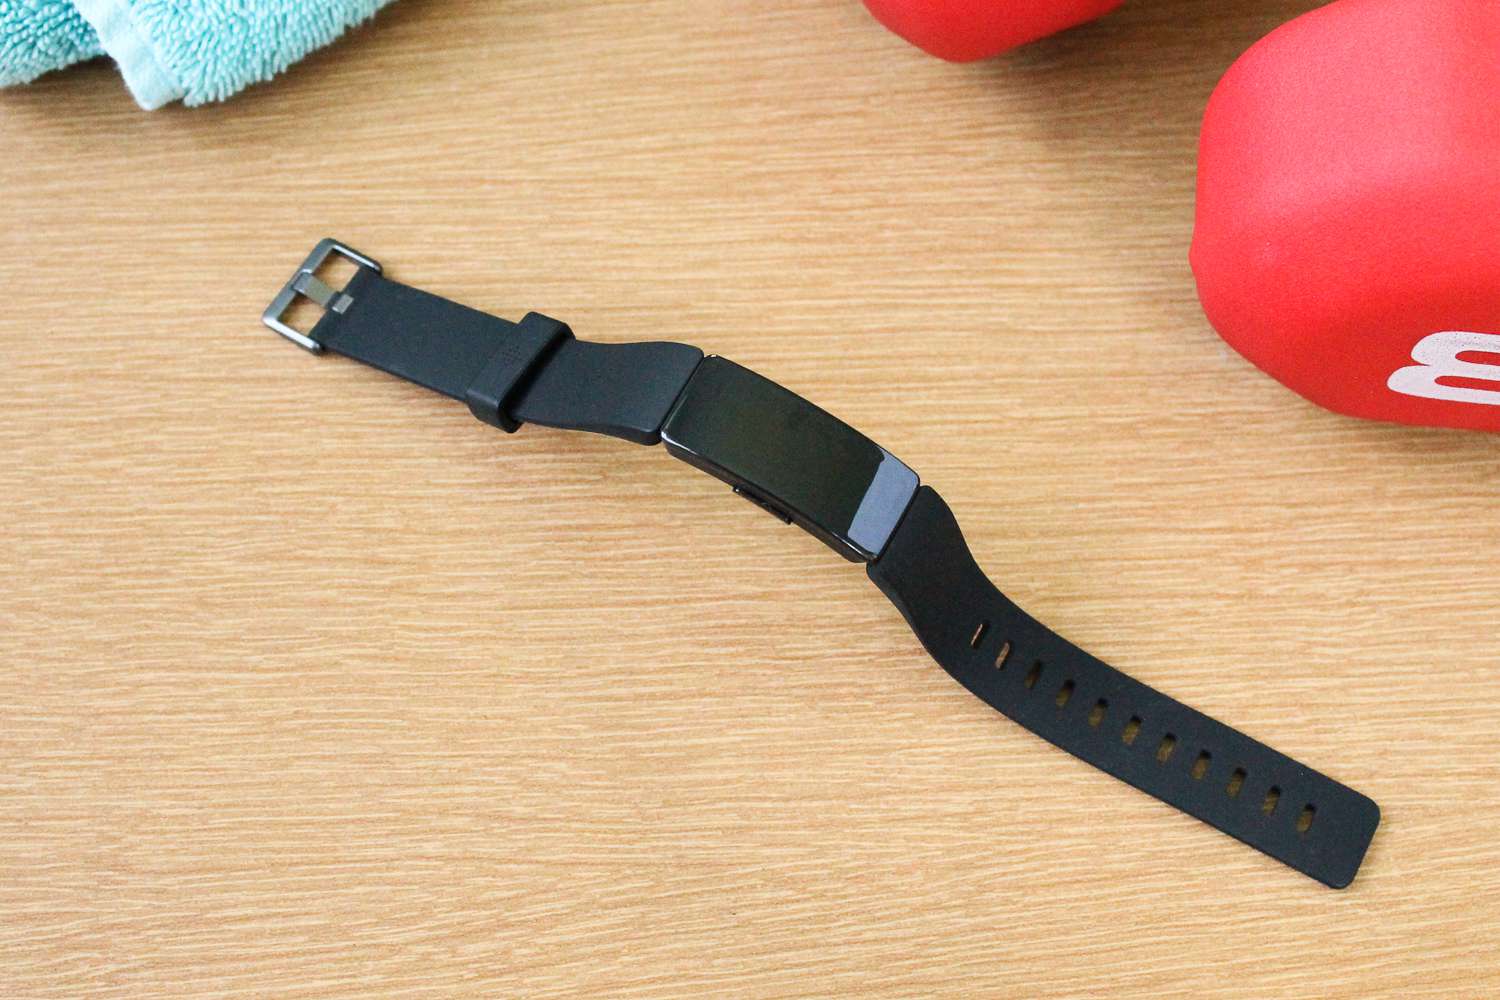
Before diving into the cleaning process, it's crucial to start by removing the Fitbit watch band from the device. This step is essential as it allows for a thorough and effective cleaning process without the risk of damaging the watch or missing any hard-to-reach areas on the band.
To remove the Fitbit watch band, follow these simple steps:
-
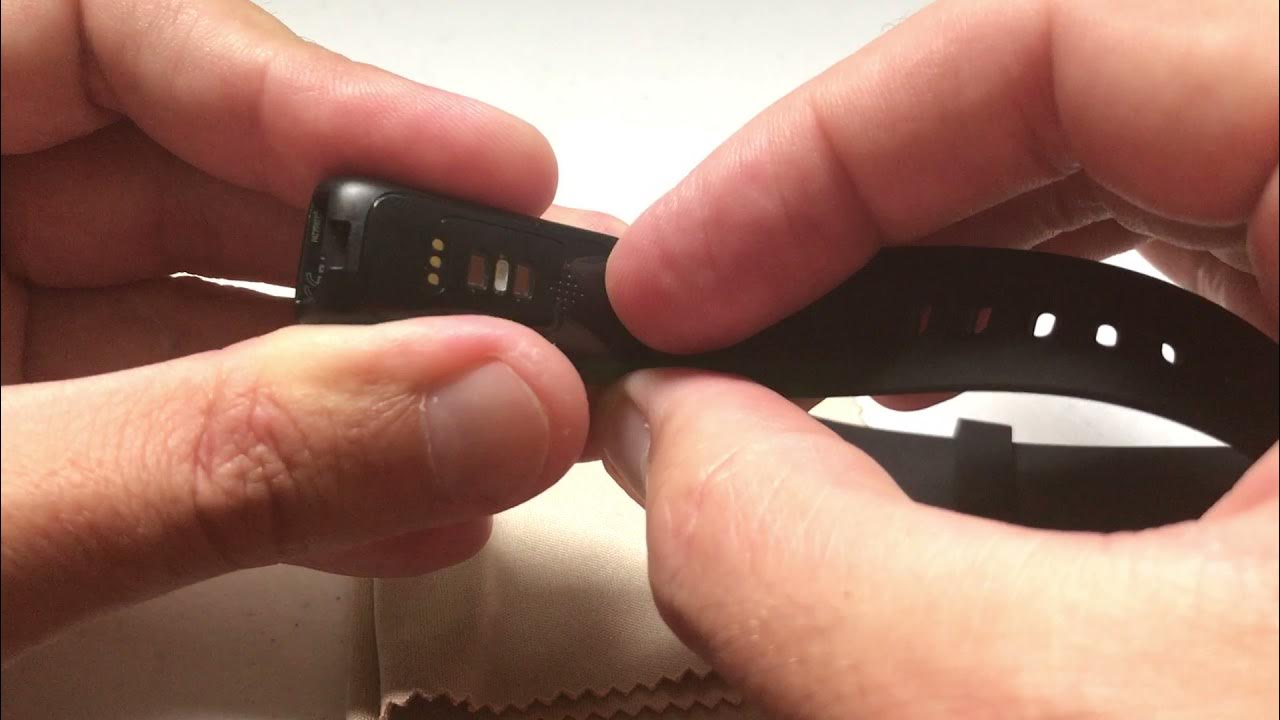
Locate the Quick Release Pins: Most Fitbit watch bands are designed with quick release pins that allow for easy removal. These pins are typically located near the connection points where the band meets the watch face.
-
Use a Small Tool: To release the pins, gently press the quick release button or use a small tool, such as a paperclip or a specialized watch band removal tool, to depress the pin and release it from the watch.
-
Slide the Band Out: Once the pin is released, carefully slide the band out of the watch's lugs. Be mindful of any resistance and avoid using excessive force to prevent any damage to the watch or the band.
-
Repeat for the Other Side: If your Fitbit watch band features a two-strap design, repeat the process on the other side to completely detach the band from the watch.
By following these steps, you can safely remove the Fitbit watch band, setting the stage for a thorough cleaning process. With the band separated from the watch, you can proceed to the next steps with confidence, knowing that you can address every part of the band effectively.
Once the band is removed, you can move on to the next step in the cleaning process, preparing the cleaning solution to tackle any built-up grime and restore the band to its original luster.
Step 2: Prepare Cleaning Solution
Preparing the right cleaning solution is crucial for effectively removing dirt, oils, and sweat from your Fitbit watch band. The type of solution you use will depend on the material of the band, ensuring that it is both effective and safe for the specific material. Here's a detailed look at how to prepare cleaning solutions for different types of Fitbit watch bands:
Silicone and Rubber Bands
For silicone and rubber bands, a gentle yet effective cleaning solution can be created using mild dish soap and water. Start by mixing a small amount of mild dish soap with warm water in a bowl. Ensure that the soap is thoroughly diluted to prevent any residue from being left on the band. The mild nature of dish soap makes it ideal for cleaning silicone and rubber, as it effectively lifts dirt and oils without causing damage to the material.
Leather Bands
When it comes to leather bands, a specialized leather cleaner or a homemade solution of mild soap and water is recommended. It's important to avoid using harsh chemicals or excessive moisture, as these can damage the leather. To create a homemade leather cleaning solution, mix a small amount of mild soap with water to create a gentle lather. Dampen a soft cloth with the soapy water and wring out any excess moisture before gently wiping the leather band.
Metal Bands
Metal bands, such as stainless steel or aluminum, can be effectively cleaned using a solution of mild dish soap and water. Mix the soap with warm water to create a soapy solution, ensuring that it is well-diluted. The gentle nature of this solution makes it suitable for removing oils and grime from metal surfaces without causing any damage or leaving behind residue.
Regardless of the type of cleaning solution you use, it's important to avoid harsh chemicals, bleach, or abrasive cleaners, as these can compromise the integrity of the band's material. Once you have prepared the appropriate cleaning solution for your Fitbit watch band, you are ready to move on to the next step: cleaning the straps to restore their freshness and appeal.
Step 3: Clean the Straps
With the cleaning solution prepared, it's time to focus on restoring the cleanliness and freshness of your Fitbit watch band. Regardless of the material, the cleaning process involves gentle yet thorough techniques to ensure that dirt, oils, and sweat are effectively removed without causing damage to the band.
Silicone and Rubber Bands
For silicone and rubber bands, dip a soft, lint-free cloth into the prepared mild dish soap and water solution. Wring out any excess liquid to avoid oversaturation, as excessive moisture can seep into the band's perforations or crevices. Gently wipe the entire surface of the band, paying particular attention to any areas with visible grime or discoloration. For stubborn stains, a soft-bristled toothbrush can be used to lightly scrub the affected areas. Be mindful of the pressure applied to avoid damaging the band's texture.
Leather Bands
When cleaning leather bands, it's essential to be particularly gentle to preserve the material's integrity. Dampen a soft cloth with the diluted mild soap and water solution, ensuring that it is not overly wet. Gently wipe the entire surface of the leather band, focusing on any areas with noticeable dirt or oil buildup. Avoid excessive rubbing, as this can damage the leather's finish. Once the surface is cleaned, use a dry, soft cloth to gently remove any remaining moisture and restore the band's natural sheen.
Metal Bands
Metal bands, such as stainless steel or aluminum, can be effectively cleaned using the diluted mild dish soap and water solution. Dip a soft cloth into the soapy mixture and carefully wipe the entire surface of the metal band. Pay attention to any areas where oils or grime may have accumulated, ensuring that the entire surface is thoroughly cleaned. After cleaning, use a separate cloth dampened with clean water to wipe away any soap residue, followed by a dry cloth to prevent water spots.
By following these tailored cleaning methods, you can effectively restore the cleanliness and appeal of your Fitbit watch band, regardless of its material. Once the cleaning process is complete, it's crucial to ensure that the straps are thoroughly dried before reattaching them to the watch.
Now, let's move on to the next step, where we'll discuss the importance of drying the straps effectively to maintain their condition and functionality.
Step 4: Dry the Straps
After the cleaning process, it's crucial to ensure that the Fitbit watch band is thoroughly dried before reattaching it to the watch. Proper drying not only prevents moisture-related issues but also helps maintain the integrity and functionality of the band. The drying methods differ based on the material of the band, and it's important to follow the appropriate approach for each type.
Silicone and Rubber Bands
For silicone and rubber bands, start by using a clean, dry cloth to gently remove excess moisture from the surface. Ensure that the cloth is lint-free to prevent any fibers from sticking to the band. Once the visible moisture is removed, allow the band to air dry at room temperature. Avoid using heat sources such as hairdryers or direct sunlight, as these can potentially damage the material. Additionally, refrain from reattaching the band until it is completely dry to prevent trapping moisture against the skin.
Leather Bands
When it comes to leather bands, it's essential to adopt a delicate approach to drying to avoid compromising the material. Begin by using a dry, soft cloth to carefully blot the surface of the band, absorbing any remaining moisture. Avoid rubbing the leather vigorously, as this can lead to discoloration or damage. Once the visible moisture is absorbed, allow the leather band to air dry naturally at room temperature. Avoid using heat or fans, as these can cause the leather to dry out and potentially crack. It's important to ensure that the band is completely dry before reattaching it to the watch to maintain its supple texture and appearance.
Metal Bands
For metal bands, such as stainless steel or aluminum, use a clean, dry cloth to remove any residual moisture from the surface. Gently wipe the entire band, ensuring that no water spots or streaks remain. If needed, a separate dry cloth can be used to ensure thorough drying. Avoid using abrasive materials or harsh cloths that can scratch the metal surface. Once the band is visibly dry, it can be reattached to the watch, ready to complement your active lifestyle.
By following these tailored drying methods, you can effectively ensure that your Fitbit watch band is thoroughly dried without compromising its material or structural integrity. Once the drying process is complete, you're ready to reattach the clean and dry band to your Fitbit watch, allowing you to continue enjoying its functionality and style.
Now that the straps are clean and dry, let's proceed to the final step of reattaching the Fitbit watch band.
Step 5: Reattach the Fitbit Watch Band
After completing the thorough cleaning and drying process, reattaching the Fitbit watch band is the final step in restoring your wearable to its optimal condition. This step requires attention to detail and a gentle approach to ensure that the band is securely and correctly attached to the watch.
Aligning the Band
Begin by identifying the correct orientation of the band to ensure that it aligns with the watch face. Most Fitbit bands feature a specific alignment mechanism, such as quick release pins or a slide-and-lock design. Carefully align the band with the connection points on the watch, taking note of any visual guides or indicators that facilitate proper alignment.
Securing the Band
Once aligned, gently slide the band into place, ensuring that it fits securely and snugly against the watch lugs. If your band features quick release pins, press them firmly until they audibly click into position, indicating that the band is securely attached. For slide-and-lock designs, follow the manufacturer's guidelines to ensure that the band is correctly secured.
Testing the Attachment
After reattaching the band, perform a gentle tug to ensure that it is securely fastened to the watch. Avoid applying excessive force, as this can potentially damage the band or the watch. A properly attached band should feel secure and stable, allowing you to wear your Fitbit with confidence during your daily activities.
Final Inspection
Once the band is reattached, perform a visual inspection to ensure that it is aligned symmetrically and sits flush against the watch. Check for any gaps or misalignments that may indicate an insecure attachment. By conducting a thorough inspection, you can confirm that the band is correctly reattached, ready to accompany you on your fitness journey.
By following these steps, you can confidently reattach your freshly cleaned and dried Fitbit watch band, knowing that it is securely fastened and ready for use. With the band securely in place, you can continue to enjoy the functionality and style of your Fitbit, complementing your active lifestyle with a clean and comfortable accessory.
Conclusion
In conclusion, maintaining a clean Fitbit watch band is essential for both aesthetic and practical reasons. By following the step-by-step cleaning process outlined in this guide, you can effectively restore the freshness and appeal of your Fitbit band, regardless of its material. From silicone and rubber to leather and metal bands, the tailored cleaning and drying methods ensure that your wearable remains hygienic and comfortable for everyday wear.
By removing the Fitbit watch band and preparing the appropriate cleaning solution, you set the stage for a thorough cleaning process. The gentle yet effective cleaning techniques for each material type allow you to address dirt, oils, and sweat without compromising the integrity of the band. Additionally, the meticulous drying methods ensure that the bands are thoroughly dried, preventing moisture-related issues and maintaining their condition and functionality.
The final step of reattaching the clean and dry band to your Fitbit watch completes the process, allowing you to continue enjoying the functionality and style of your wearable with confidence. The secure attachment ensures that your Fitbit band stays in place during your daily activities, providing both comfort and reliability.
By incorporating these cleaning practices into your Fitbit maintenance routine, you can prolong the lifespan of your watch band and enhance your overall wearing experience. Regular cleaning not only preserves the appearance of the band but also prevents skin irritation and ensures that your Fitbit remains a stylish and hygienic accessory for your active lifestyle.
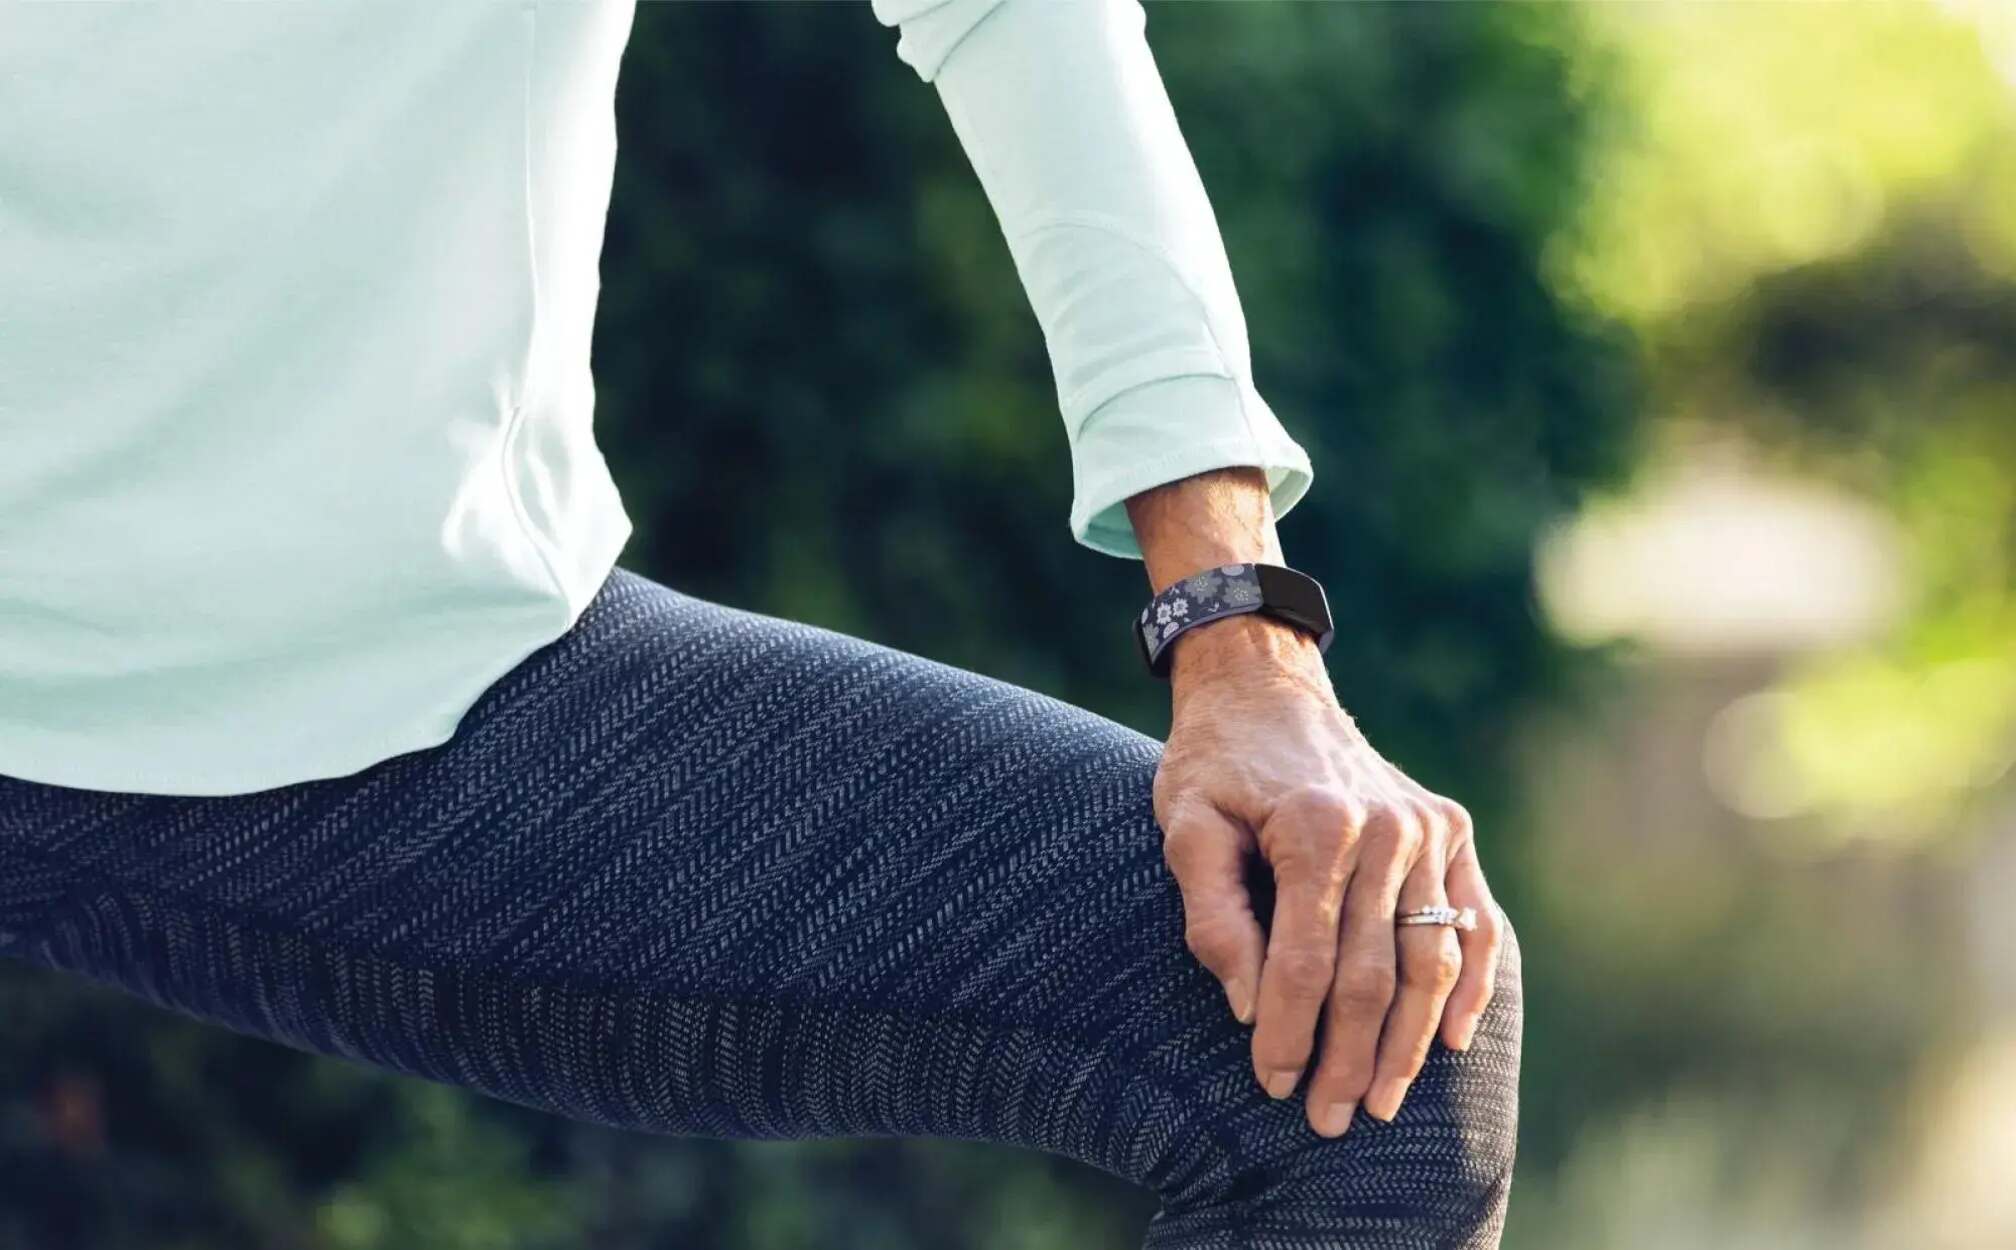
So, whether you're hitting the gym, going for a run, or simply tackling your daily routine, a clean Fitbit watch band adds a touch of freshness and comfort to your activities. With the insights gained from this guide, you can confidently maintain the cleanliness and appeal of your Fitbit band, ensuring that it remains a sparkling and reliable companion for your daily adventures.