Introduction
Introduction
Welcome to the exciting world of Nivava gaming headsets! Whether you're a seasoned gamer or just starting out, having a reliable and high-quality gaming headset can significantly enhance your gaming experience. The Nivava gaming headset is designed to provide immersive sound, clear communication, and comfortable wear for extended gaming sessions. In this guide, we will walk you through the process of connecting your Nivava gaming headset to various gaming platforms, including PC, PS4, and Xbox. Additionally, we'll cover common troubleshooting tips to help you resolve any connectivity issues that may arise.
Gaming headsets have become an essential accessory for gamers, offering not only superior audio quality but also the convenience of in-game communication. The Nivava gaming headset stands out for its exceptional sound performance, ergonomic design, and compatibility with a range of gaming platforms. Whether you're delving into the virtual realms of PC gaming, exploring the immersive worlds of PS4, or engaging in intense battles on Xbox, the Nivava gaming headset is ready to elevate your gaming experience to new heights.
As we delve into the intricacies of connecting the Nivava gaming headset to different gaming platforms, it's important to note that a seamless connection is crucial for unlocking the full potential of your headset. By following the steps outlined in this guide, you'll be able to harness the power of the Nivava gaming headset, immersing yourself in captivating audio landscapes while seamlessly communicating with your fellow gamers.
So, grab your Nivava gaming headset, prepare to dive into the heart of gaming, and let's embark on this journey to unleash the full potential of your gaming experience. Whether you're a solo adventurer, a team player, or a competitive gamer, the Nivava gaming headset is your gateway to a world of unparalleled audio immersion and seamless communication. Let's get started!
Connecting Nivava Gaming Headset to PC
Connecting your Nivava gaming headset to your PC is a straightforward process that allows you to enjoy immersive audio and crystal-clear communication while gaming, streaming, or engaging in virtual meetings. The versatility of the Nivava gaming headset makes it compatible with a wide range of PCs, ensuring that you can seamlessly integrate it into your gaming setup. Follow these simple steps to establish a seamless connection between your Nivava gaming headset and your PC:
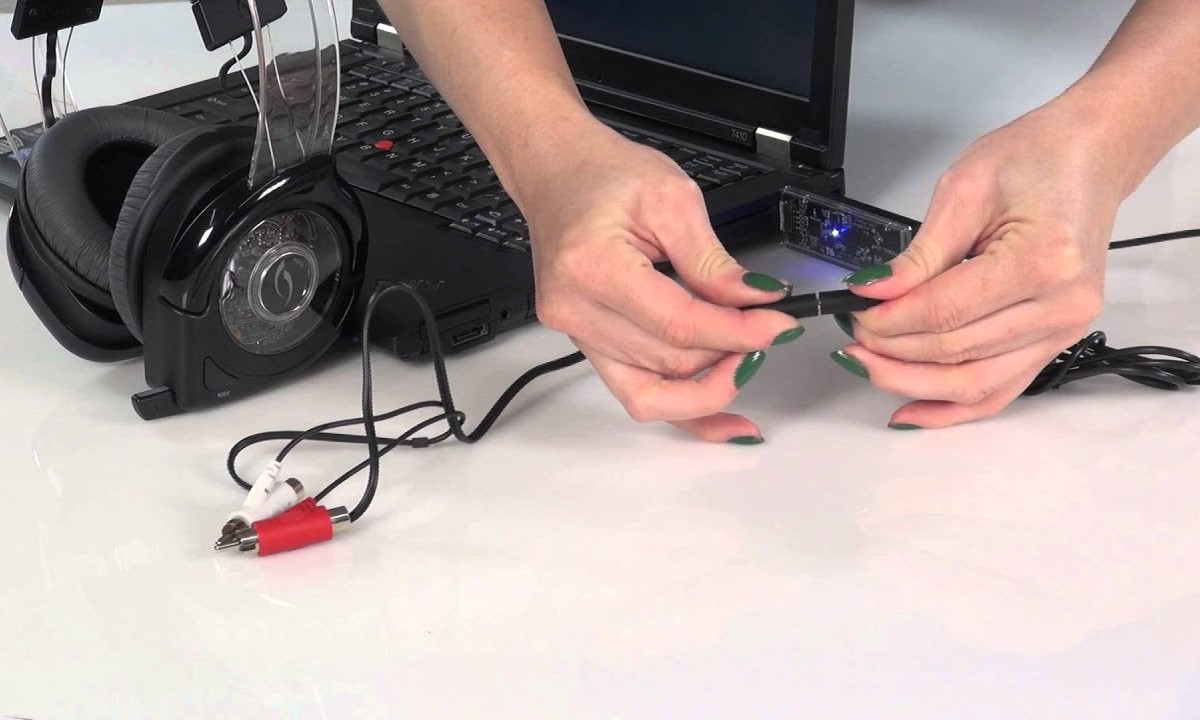
- Locate the Audio Jacks: Most Nivava gaming headsets come with a 3.5mm audio jack for audio output and a separate 3.5mm jack for the microphone input. On your PC, identify the corresponding audio and microphone jacks, typically located on the front or rear panel of the computer tower.
- Plug in the Headset: Insert the 3.5mm audio jack of your Nivava gaming headset into the audio output jack on your PC. The audio output jack is usually color-coded in green.
- Connect the Microphone: Insert the 3.5mm microphone jack of your Nivava gaming headset into the microphone input jack on your PC. The microphone input jack is typically color-coded in pink.
- Adjust Audio Settings: Once the headset is connected, access your PC’s audio settings to ensure that the Nivava gaming headset is selected as the default audio output and input device. You can typically access these settings through the Control Panel or the system tray on your PC.
- Test the Connection: To verify that the Nivava gaming headset is properly connected, play a piece of audio or use the built-in recording feature on your PC to test the microphone. Adjust the volume levels to your preference using the headset’s volume control.
Once you’ve completed these steps, your Nivava gaming headset should be successfully connected to your PC, allowing you to immerse yourself in high-quality audio and seamless communication during your gaming sessions or multimedia activities. The Nivava gaming headset’s compatibility with PCs ensures that you can elevate your gaming experience while enjoying the convenience of effortless connectivity.
Connecting Nivava Gaming Headset to PS4
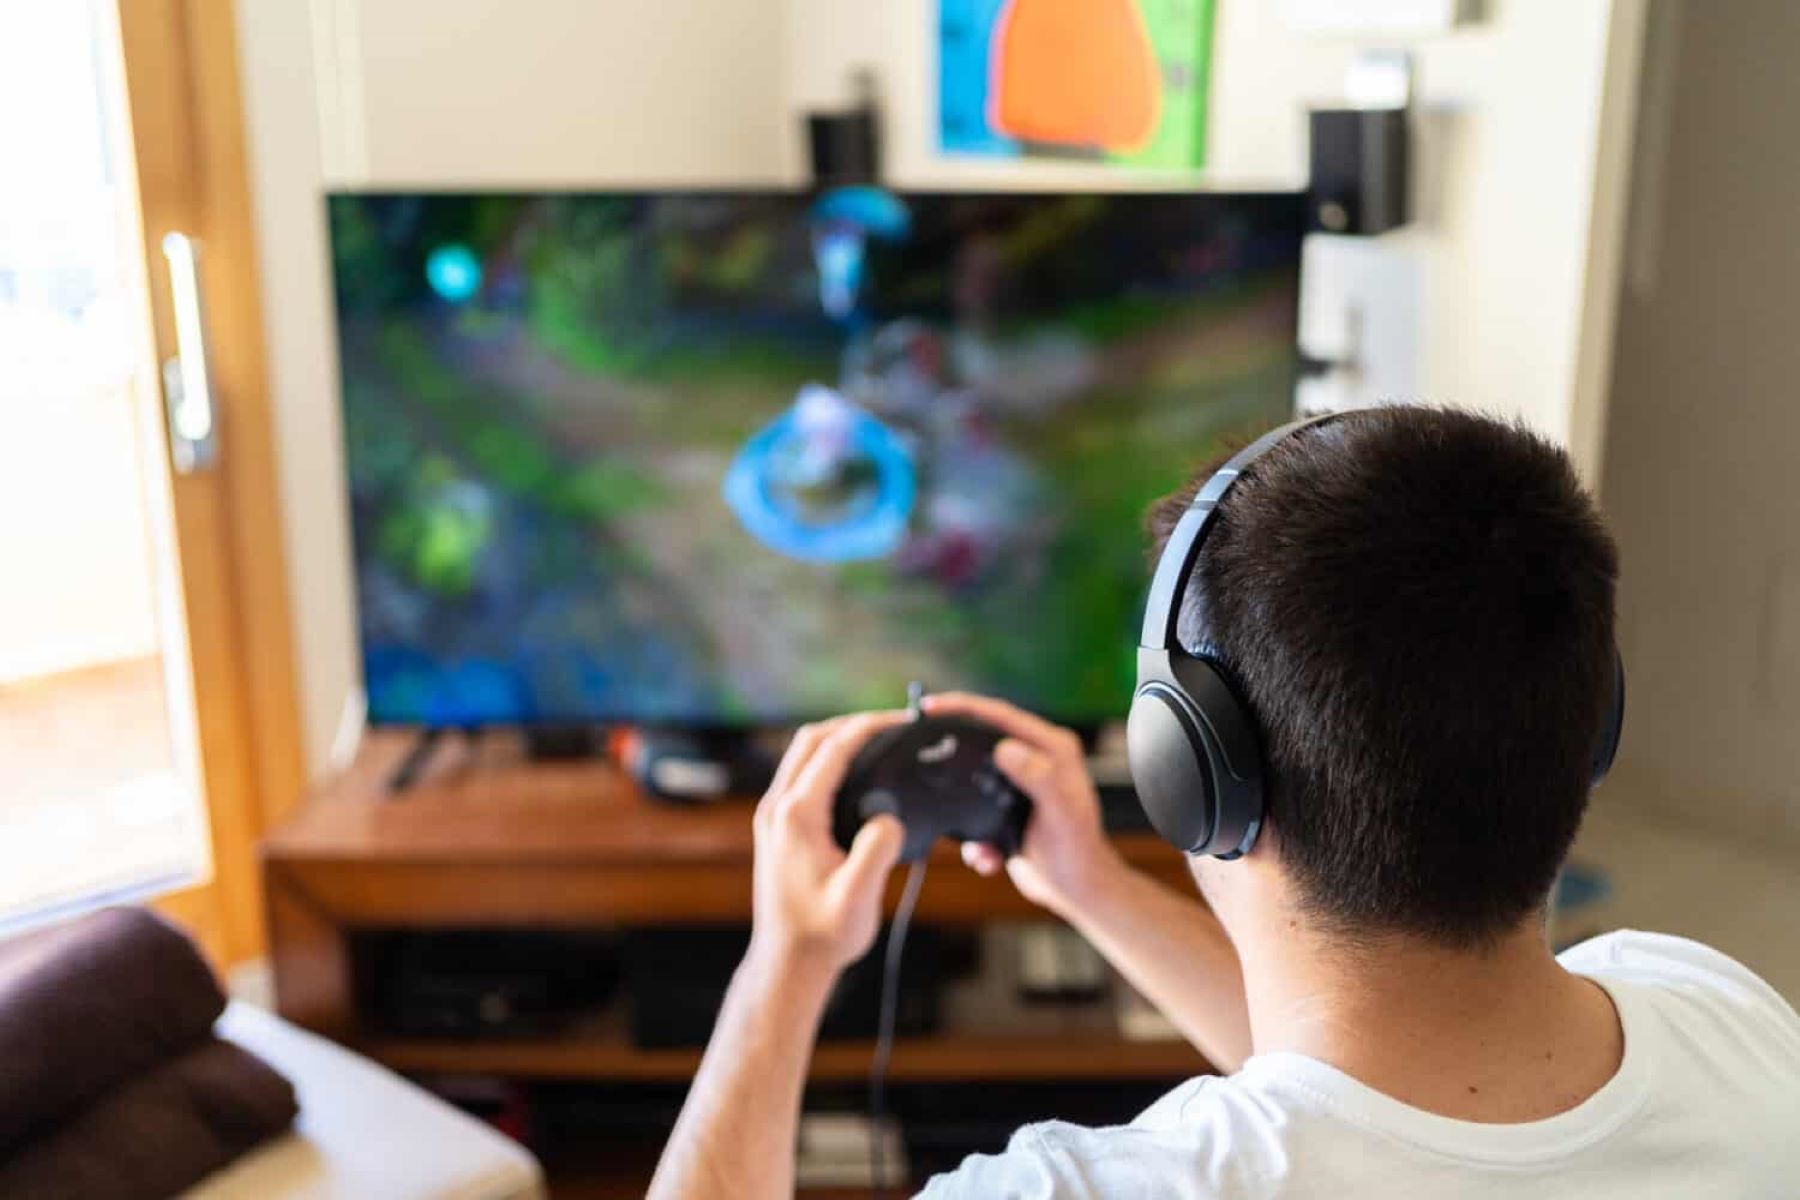
Integrating your Nivava gaming headset with your PS4 opens the door to a captivating audio experience and seamless communication while delving into the immersive world of console gaming. The Nivava gaming headset’s compatibility with the PS4 allows you to enjoy rich, immersive soundscapes and clear voice communication, enhancing your gaming adventures to new heights. Follow these simple steps to connect your Nivava gaming headset to your PS4:
- Locate the Audio Input: The PS4 controller features a 3.5mm audio jack located at the bottom, allowing you to directly connect your Nivava gaming headset to the controller for audio output.
- Plug in the Headset: Insert the 3.5mm audio jack of your Nivava gaming headset into the audio input jack on the PS4 controller. Ensure that the connection is secure to prevent audio disruptions during gameplay.
- Adjust Audio Settings: Once the headset is connected, access the audio settings on your PS4 to ensure that the Nivava gaming headset is selected as the primary audio output device. You can navigate to the settings menu on the PS4 dashboard to configure the audio output settings.
- Test the Connection: To verify that the Nivava gaming headset is successfully connected, launch a game or play a piece of audio on the PS4 to experience the immersive sound quality. Additionally, engage in voice communication with fellow gamers to ensure that the microphone is functioning as expected.
Upon completing these steps, your Nivava gaming headset should be seamlessly integrated with your PS4, allowing you to immerse yourself in captivating audio landscapes and communicate effortlessly with your gaming companions. The Nivava gaming headset’s compatibility with the PS4 ensures that you can elevate your gaming experience while enjoying the convenience of direct connectivity to the controller, enhancing your gaming sessions with unparalleled audio performance.
Connecting Nivava Gaming Headset to Xbox
Bringing the immersive audio experience of your Nivava gaming headset to your Xbox console is a seamless process that enhances your gaming adventures with rich, dynamic sound and clear voice communication. The Nivava gaming headset’s compatibility with Xbox allows you to enjoy an enhanced audio experience while seamlessly communicating with your fellow gamers. Follow these simple steps to connect your Nivava gaming headset to your Xbox:
- Locate the Audio Input: The Xbox controller features a 3.5mm audio jack located at the bottom, providing a direct connection point for your Nivava gaming headset.
- Plug in the Headset: Insert the 3.5mm audio jack of your Nivava gaming headset into the audio input jack on the Xbox controller. Ensure that the connection is secure to avoid audio interruptions during gameplay.
- Adjust Audio Settings: Once the headset is connected, access the audio settings on your Xbox to designate the Nivava gaming headset as the primary audio output device. You can navigate to the settings menu on the Xbox dashboard to configure the audio output settings.
- Test the Connection: To confirm that the Nivava gaming headset is successfully connected, launch a game or play audio on the Xbox to experience the immersive sound quality. Engage in voice communication with other gamers to ensure that the microphone is functioning as expected.
By following these steps, your Nivava gaming headset should seamlessly integrate with your Xbox, allowing you to immerse yourself in captivating audio landscapes and communicate effortlessly with your gaming companions. The Nivava gaming headset’s compatibility with Xbox ensures that you can elevate your gaming experience while enjoying the convenience of direct connectivity to the controller, enhancing your gaming sessions with exceptional audio performance.
Troubleshooting Common Connection Issues
While connecting your Nivava gaming headset to different platforms, you may encounter common connection issues that can disrupt your gaming experience. By addressing these issues proactively, you can ensure a seamless and uninterrupted audio and communication experience with your headset. Here are some troubleshooting tips to resolve common connection issues:
- Check Cable Connections: Ensure that the audio and microphone cables of your Nivava gaming headset are securely plugged into the corresponding jacks on your gaming platform. Loose connections can lead to audio disruptions and microphone malfunctions.
- Verify Device Compatibility: Confirm that your Nivava gaming headset is compatible with the specific gaming platform you are using. Some headsets may require additional adapters or settings adjustments to function optimally with certain platforms.
- Update Audio Drivers: If you are connecting your headset to a PC, ensure that the audio drivers are up to date. Outdated drivers can lead to compatibility issues and audio malfunctions.
- Adjust System Settings: Access the audio settings on your gaming platform and ensure that the Nivava gaming headset is selected as the default audio output and input device. Configure the audio settings to optimize the performance of your headset.
- Test with Alternate Devices: If you encounter persistent connectivity issues, test your Nivava gaming headset with alternate devices to determine if the problem is specific to a particular platform or the headset itself.
- Clean Audio Jacks: Dust and debris can accumulate in the audio jacks of your gaming platform or controller, leading to poor connectivity. Use compressed air or a soft brush to clean the jacks before connecting your headset.
By implementing these troubleshooting tips, you can address common connection issues and ensure that your Nivava gaming headset delivers an exceptional audio experience and seamless communication during your gaming sessions. Proactive troubleshooting not only enhances the performance of your headset but also allows you to fully immerse yourself in the captivating audio landscapes of your favorite games while staying connected with your gaming companions.


