Introduction
Are you tired of the annoying wind noise and breathing sounds that disrupt your gaming experience while using a headset? Creating a windscreen for your gaming headset can significantly reduce these disturbances, allowing you to immerse yourself fully in the gaming world without distractions. This simple do-it-yourself project requires minimal materials and can be completed in just a few easy steps. By following this guide, you can craft a custom windscreen for your gaming headset that effectively minimizes unwanted noise, providing a more enjoyable and focused gaming experience.
A gaming headset windscreen is a small, yet invaluable accessory that can make a world of difference in your gaming sessions. Whether you're a casual gamer or a dedicated enthusiast, having a windscreen can enhance your overall gaming experience by eliminating distracting background noise. With just a few basic materials and a little creativity, you can fashion a windscreen that not only serves its practical purpose but also adds a personalized touch to your gaming setup.
In the following sections, we'll walk you through the materials needed and the step-by-step process of creating and attaching the windscreen to your gaming headset. By the end of this guide, you'll be equipped with the knowledge and skills to construct your very own gaming headset windscreen, tailored to your specific preferences and gaming needs. Let's dive into the details and get ready to elevate your gaming experience to a whole new level!
Materials Needed
Before embarking on this DIY project, it’s essential to gather the necessary materials to create your gaming headset windscreen. Here’s what you’ll need:
- Foam sheet: Opt for a thin, high-density foam sheet that is durable and easy to work with. The foam should be soft enough to absorb unwanted noise but firm enough to maintain its shape.
- Scissors: A pair of sharp scissors will be required to cut the foam sheet to the desired size and shape.
- Adhesive: Choose a strong, yet safe adhesive that is suitable for bonding the foam to the headset without causing any damage.
- Marker or pen: Use a marker or pen to outline and mark the foam before cutting and shaping it.
- Gaming headset: Ensure you have the specific gaming headset for which you will be creating the windscreen.
These readily available materials are all you need to begin crafting your very own gaming headset windscreen. Once you have gathered these items, you’ll be well-prepared to move on to the next steps and start customizing your gaming headset to minimize unwanted noise and distractions.
Step 1: Measure and Cut the Foam
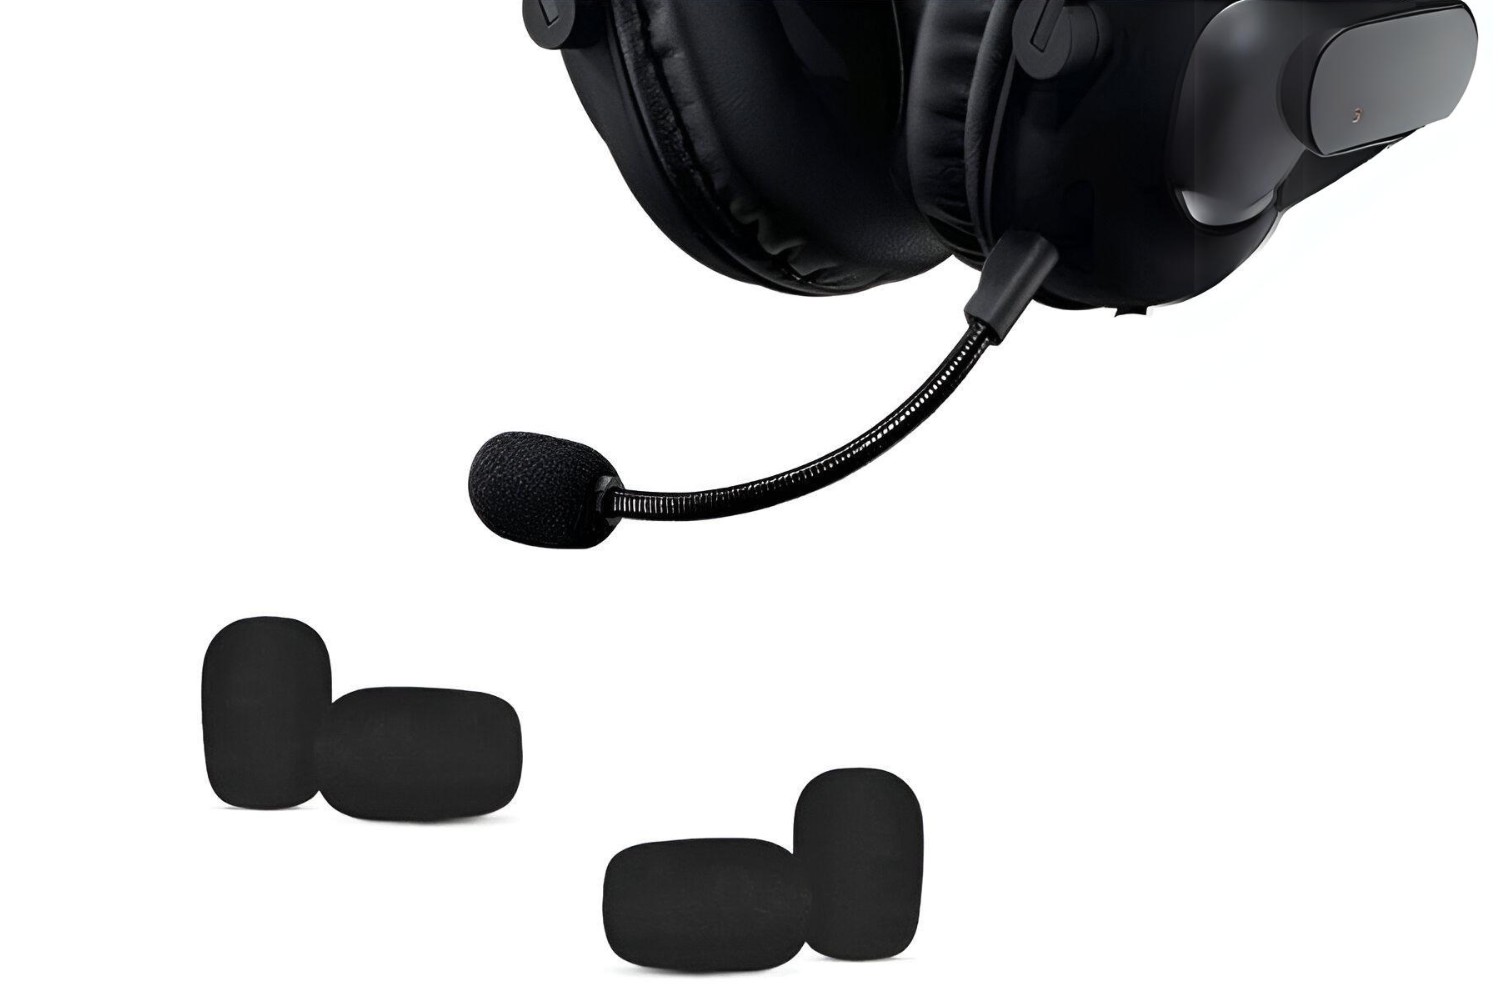
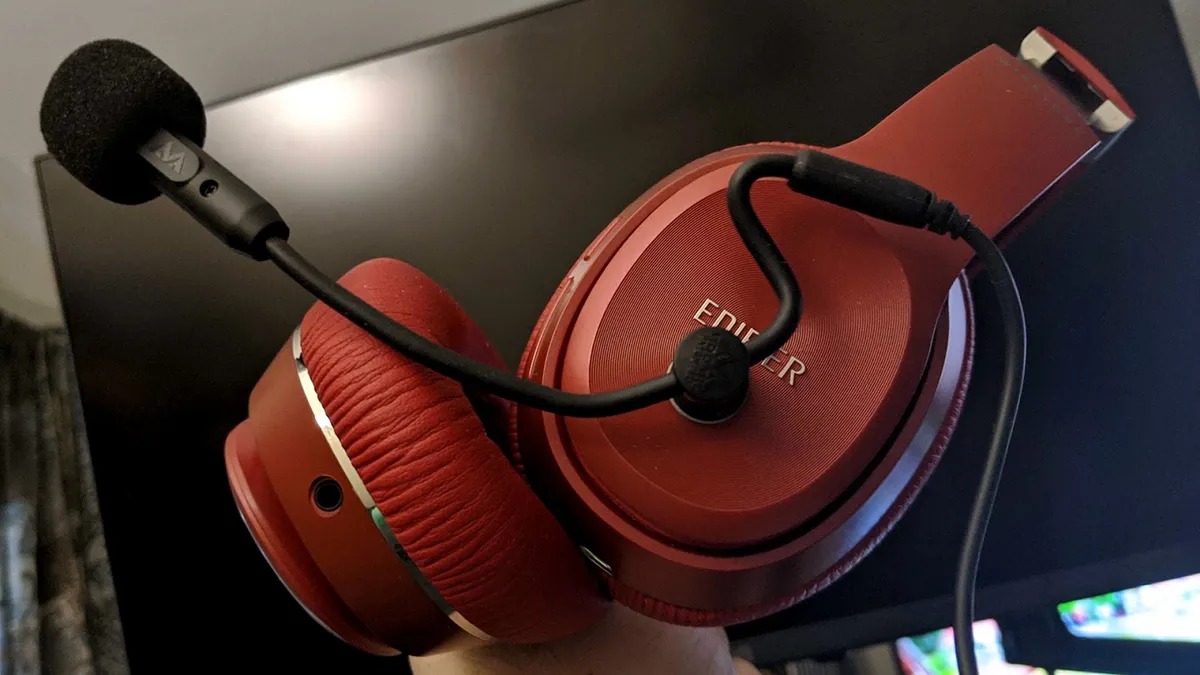
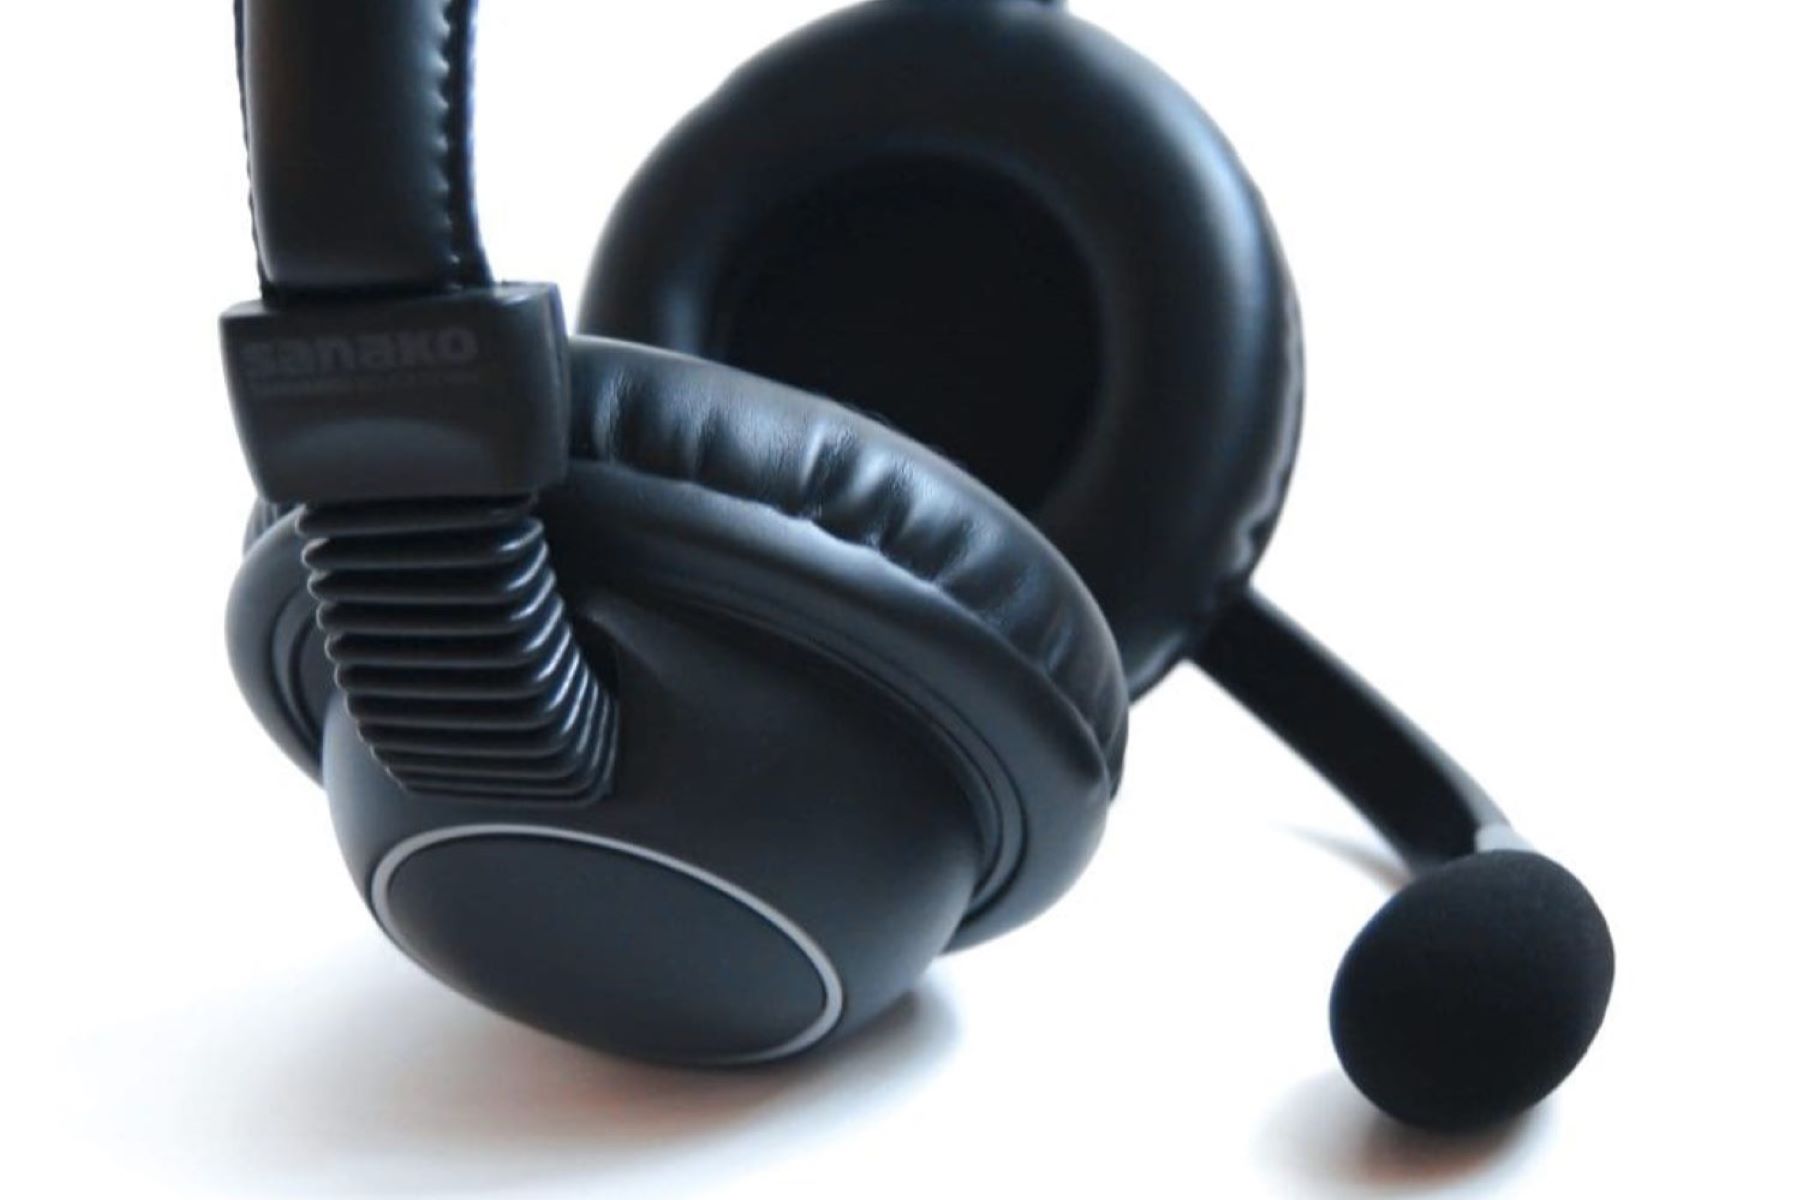
The first step in creating a windscreen for your gaming headset is to measure and cut the foam to fit the microphone area of the headset. Begin by placing the foam sheet on a flat surface and carefully measuring the dimensions of the microphone area on the headset. Use a marker or pen to outline the shape of the microphone area on the foam, ensuring that the outline is slightly larger than the actual size to allow for adjustments.
Once the outline is drawn, use a pair of sharp scissors to cut along the marked lines, forming the initial shape of the windscreen. Take your time to ensure precise cutting, as the accuracy of the foam shape will directly impact the effectiveness of the windscreen in reducing unwanted noise. After cutting the foam to the initial shape, hold it against the microphone area of the headset to check the fit. Make any necessary adjustments by trimming the foam until it aligns perfectly with the microphone area.
It’s important to exercise caution while cutting the foam to avoid any accidental damage to the headset or the foam itself. Pay close attention to the dimensions and shape of the microphone area to achieve a snug and secure fit for the windscreen. Once you are satisfied with the fit, proceed to the next step to further shape the foam and prepare it for attachment to the headset.
Step 2: Shape the Foam
After cutting the foam to fit the microphone area of the gaming headset, the next step is to shape the foam to optimize its noise-reducing capabilities. This involves carefully molding the foam to create a rounded or cylindrical form that effectively shields the microphone from wind and breathing noises. To achieve this, gently manipulate the cut foam, gradually forming it into a shape that covers the microphone area without obstructing its functionality.
Start by holding the cut foam in your hand and gently shaping it into a rounded form. Use your fingers to mold the edges, ensuring that the foam maintains a consistent thickness throughout its structure. It’s important to avoid excessive compression or stretching of the foam, as this can affect its ability to absorb and reduce unwanted noise. Aim to create a smooth and evenly shaped windscreen that provides adequate coverage for the microphone while maintaining a neat and professional appearance.
As you shape the foam, periodically check the fit against the headset to ensure that the windscreen contours to the microphone area seamlessly. This iterative process allows you to make any necessary adjustments to the foam’s shape, ensuring a snug and secure fit that effectively minimizes wind noise and other disturbances. Once you are satisfied with the shape and fit of the foam windscreen, you are ready to proceed to the next step and attach it to the gaming headset.
Step 3: Attach the Foam to the Headset
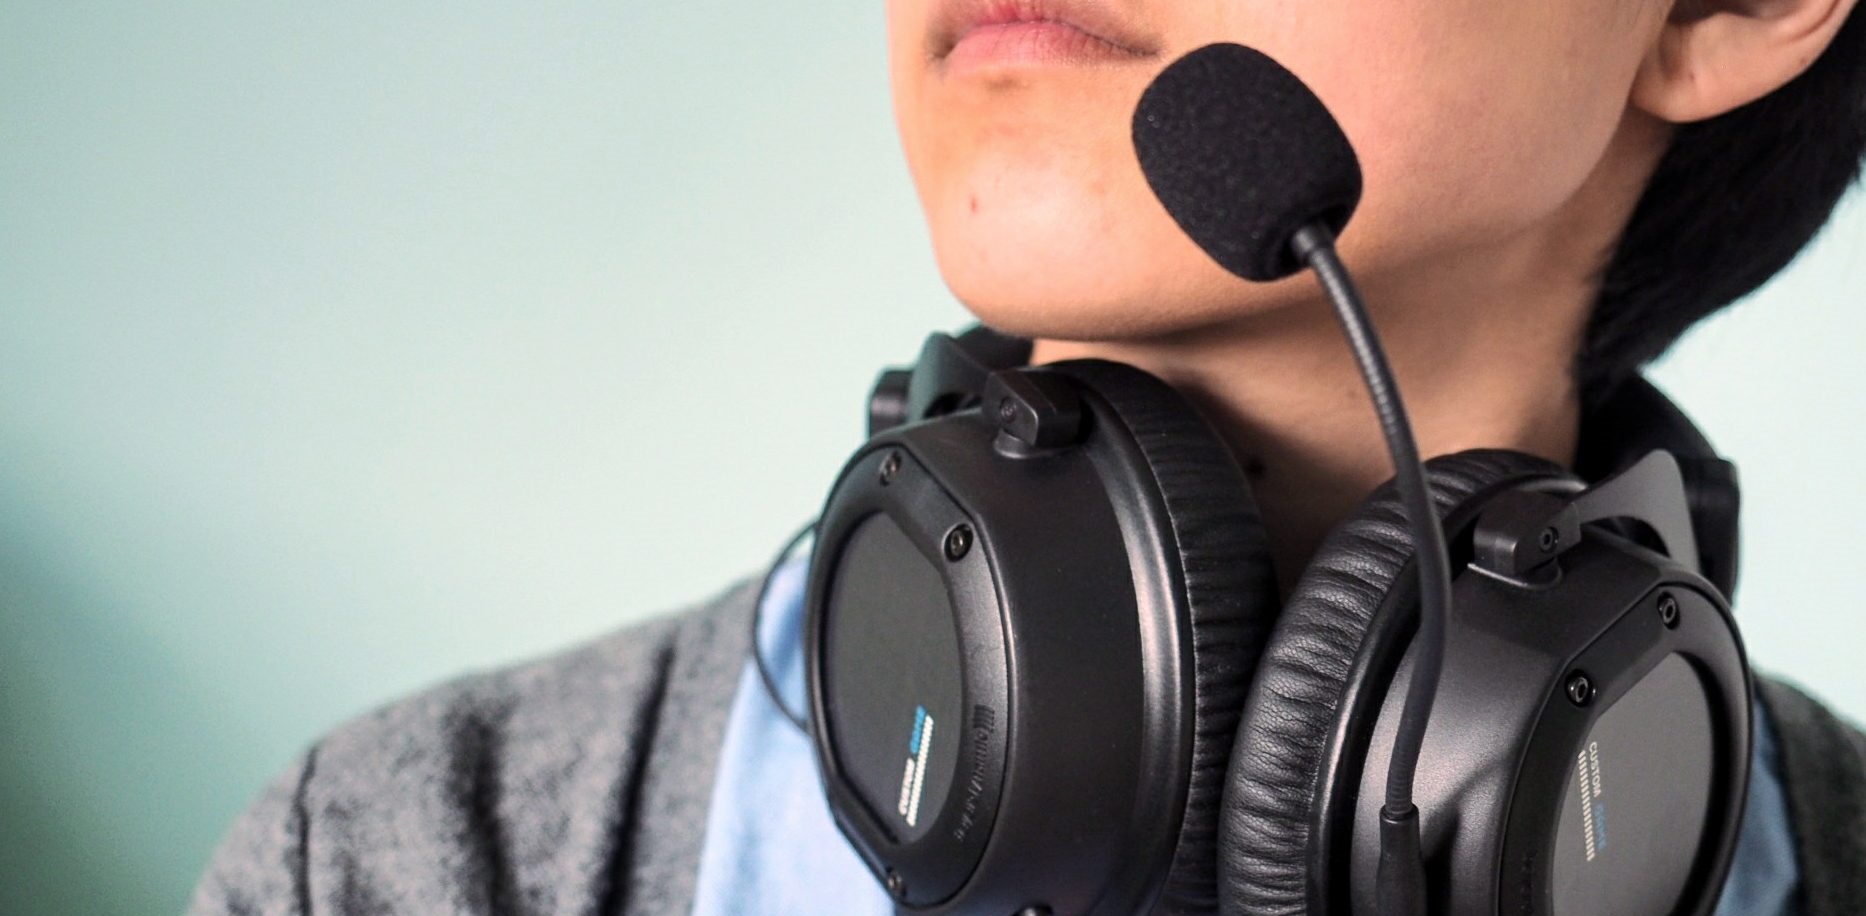
With the foam windscreen shaped to perfection, it’s time to securely attach it to the gaming headset. Before applying any adhesive, carefully position the foam over the microphone area to ensure that it aligns correctly and covers the entire opening without obstructing the microphone’s functionality. Once you are satisfied with the positioning, prepare the adhesive for application.
Apply a small amount of the chosen adhesive to the edges of the foam windscreen, ensuring even distribution to promote a strong and durable bond with the headset. Take care not to use excessive adhesive, as this can lead to messy application and potential damage to the headset. Gently press the foam against the microphone area, applying light pressure to allow the adhesive to set and create a secure attachment. Hold the foam in place for the recommended duration specified by the adhesive manufacturer to ensure proper bonding.
After the adhesive has set, inspect the attachment to verify that the foam windscreen is firmly secured to the headset. Check for any loose edges or gaps between the foam and the headset, and make any necessary adjustments to ensure a seamless and secure fit. Once the attachment is confirmed, allow the adhesive to fully cure according to the manufacturer’s instructions before testing the windscreen’s effectiveness.
Attaching the foam windscreen to the gaming headset is a critical step in completing this DIY project. By following proper attachment procedures and allowing the adhesive to set thoroughly, you can ensure that the windscreen remains securely in place during your gaming sessions, effectively reducing unwanted noise and enhancing your overall gaming experience.
Step 4: Test the Windscreen
After successfully attaching the foam windscreen to your gaming headset, it’s essential to conduct a thorough test to evaluate its effectiveness in reducing wind noise and breathing sounds. Begin by wearing the headset and engaging in typical gaming activities, paying close attention to the clarity of audio and the presence of unwanted background noise. Test the windscreen in various scenarios, such as speaking into the microphone, moving around, or simulating windy conditions, to assess its performance under different circumstances.
During the testing phase, listen for any noticeable reduction in wind noise and breathing sounds picked up by the microphone. Evaluate the overall audio quality and determine whether the windscreen effectively minimizes these disturbances without compromising the clarity of your voice or in-game audio. Additionally, consider seeking feedback from friends or fellow gamers to gather diverse perspectives on the windscreen’s impact on audio quality and noise reduction.
If you encounter any issues or notice room for improvement, make note of the specific areas where the windscreen may need adjustments. This could involve refining the foam’s shape, repositioning the windscreen on the headset, or exploring alternative attachment methods to enhance its performance. By identifying potential areas for enhancement during the testing phase, you can refine the windscreen to better suit your gaming needs and achieve optimal noise reduction.
Ultimately, the testing phase serves as a crucial opportunity to fine-tune the windscreen and ensure that it effectively fulfills its purpose of minimizing unwanted noise during gaming sessions. By actively engaging in testing and seeking feedback, you can make informed adjustments to the windscreen, maximizing its efficiency and contributing to a more immersive and distraction-free gaming experience.
Conclusion
Congratulations! By following the step-by-step guide outlined in this tutorial, you have successfully created a custom windscreen for your gaming headset, tailored to reduce wind noise and breathing sounds during your gaming sessions. This DIY project has equipped you with the knowledge and skills to craft a practical and personalized accessory that enhances your overall gaming experience.
With minimal materials and a straightforward process, you have taken a proactive approach to minimize unwanted distractions while gaming, allowing you to fully immerse yourself in the virtual worlds of your favorite games. The foam windscreen you have created serves as a valuable addition to your gaming setup, effectively reducing ambient noise and ensuring clear and uninterrupted communication during multiplayer gameplay.
As you continue to use the windscreen during your gaming sessions, consider the feedback from your own observations and the input of fellow gamers to further refine and optimize its performance. Whether it’s enhancing the foam’s shape, adjusting the attachment for a more secure fit, or exploring alternative materials, your ongoing efforts will contribute to maximizing the windscreen’s noise-reducing capabilities.
By engaging in the process of crafting and testing the windscreen, you have embraced the spirit of customization and innovation, elevating your gaming experience through a practical and personalized solution. As you enjoy uninterrupted gameplay and crystal-clear communication, the windscreen stands as a testament to your creativity and dedication to enhancing your gaming setup.
With your newly crafted gaming headset windscreen in place, you are well-prepared to embark on countless immersive gaming adventures, free from the distractions of wind noise and breathing sounds. Embrace the enhanced audio clarity and uninterrupted communication facilitated by your custom windscreen, and continue to explore opportunities for further customization and improvement as you pursue the ultimate gaming experience.


