Introduction
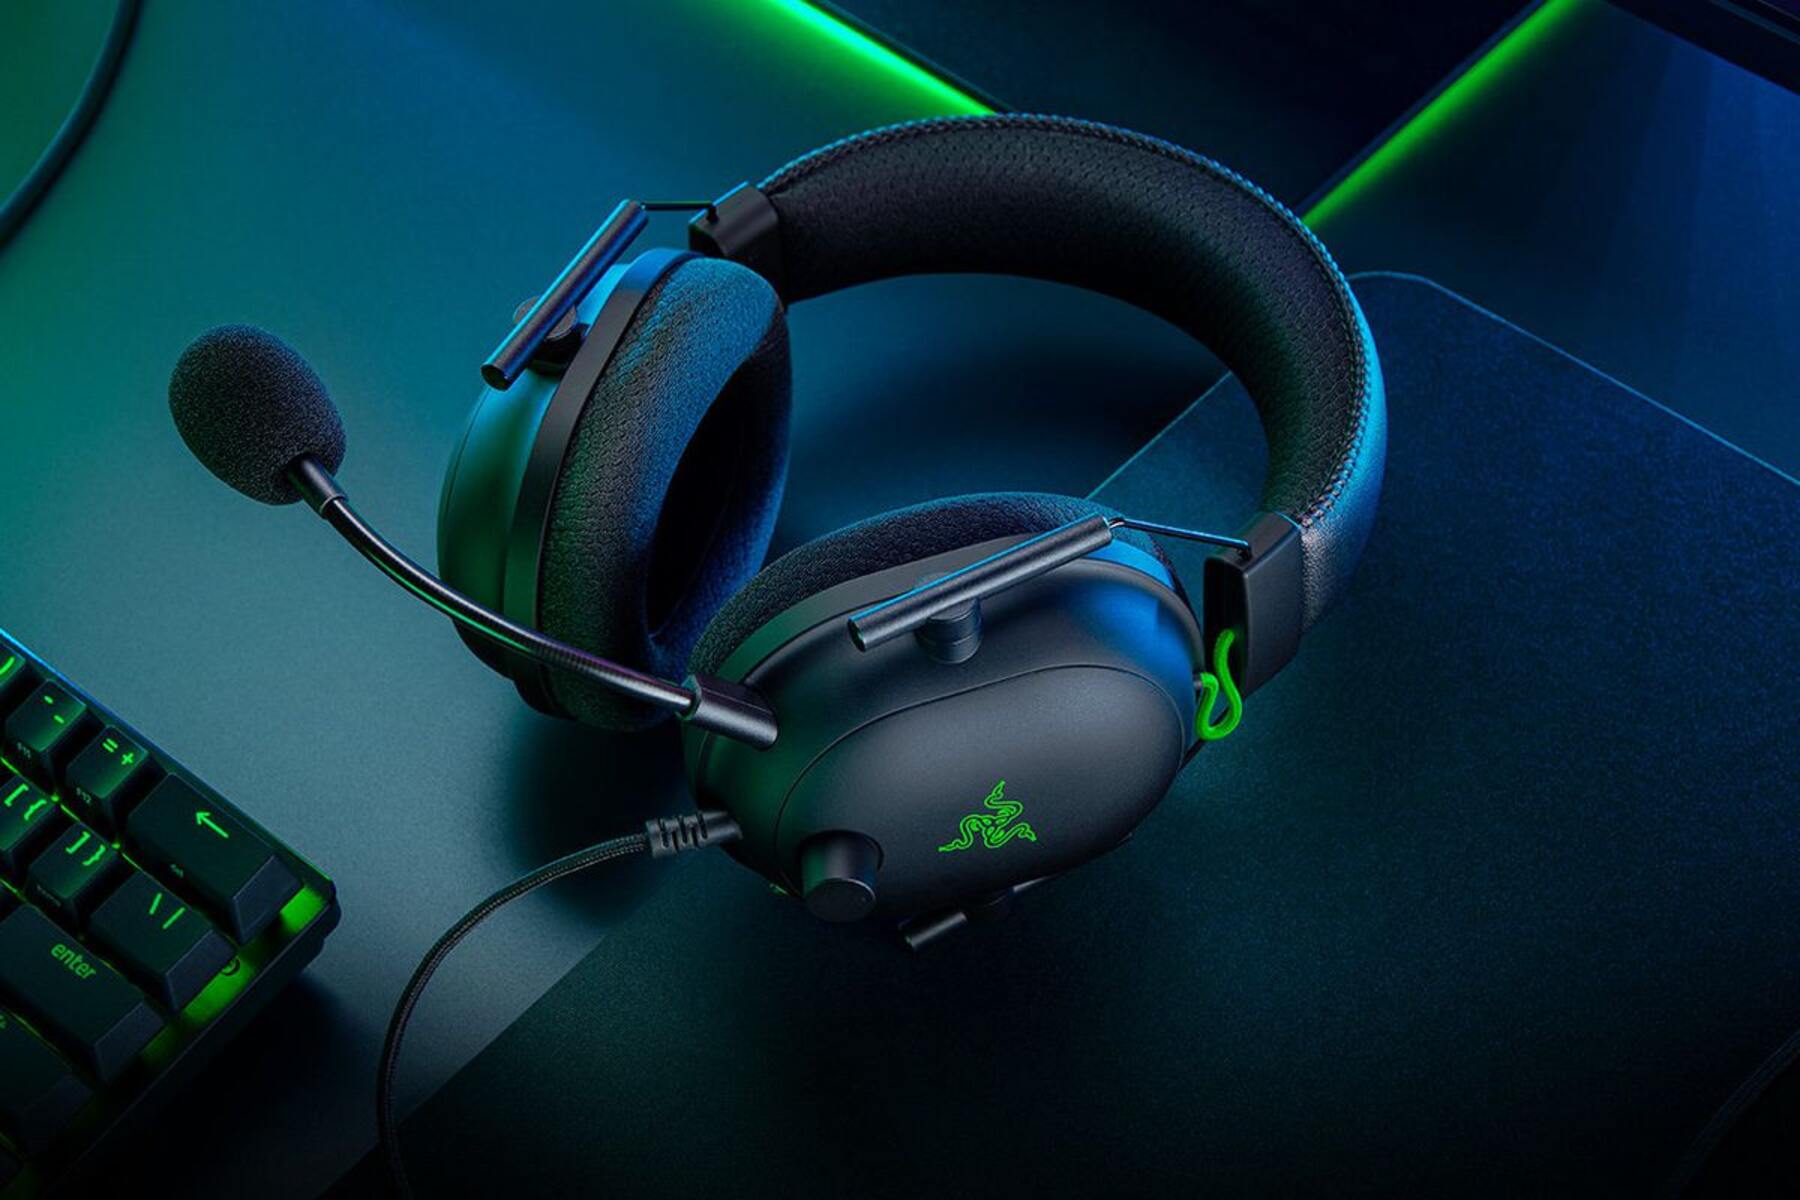
So, you've got a new gaming headset and you're eager to experience immersive sound while playing your favorite games on your PC. But how do you go about connecting it? Don't worry, setting up a gaming headset with your PC is easier than you might think. Whether you're a seasoned gamer or a newcomer to the gaming world, this guide will walk you through the process step by step.
Gaming headsets are designed to provide an enhanced audio experience, allowing you to hear every detail of the game with clarity. They often come with built-in microphones for clear communication with other players during multiplayer sessions. Connecting your gaming headset to your PC will not only enhance your gaming experience but also enable you to communicate effectively with your teammates.
In this guide, we'll cover everything you need to know to hook up your gaming headset to your PC. From checking the compatibility of your headset to setting it up in Windows, we've got you covered. By the end of this guide, you'll be ready to dive into your favorite games with crystal-clear audio and seamless communication.
So, grab your gaming headset and let's get started on setting it up with your PC!
Step 1: Check the Compatibility of Your Gaming Headset
Before you begin connecting your gaming headset to your PC, it’s crucial to ensure that the headset is compatible with your computer. Most gaming headsets are designed to work with a wide range of devices, including PCs, but it’s always best to double-check to avoid any potential issues.
First, determine the type of connection your gaming headset uses. Some headsets connect via USB, while others use a standard audio jack. If your PC has both USB and audio jack ports, you’ll likely be able to connect most gaming headsets without any issues. However, if your headset uses a USB connection and your PC only has audio jacks, you may need an adapter to make the connection.
Next, consider the compatibility of the headset’s software with your PC’s operating system. Some gaming headsets come with proprietary software that provides additional features, such as customizable sound settings and microphone controls. Before connecting the headset, check the manufacturer’s website to ensure that the headset’s software is compatible with your PC’s operating system.
If you’re using a wireless gaming headset, make sure that your PC has the necessary Bluetooth or wireless connectivity. While most modern PCs are equipped with Bluetooth capabilities, older desktops may require a Bluetooth adapter to connect wirelessly. Additionally, ensure that the headset’s wireless technology is compatible with your PC to avoid any connectivity issues.
Finally, if your gaming headset comes with additional features such as surround sound or virtual 7.1 audio, verify that your PC’s audio drivers and settings support these features. Some advanced audio technologies may require specific drivers or software configurations to function optimally.
By confirming the compatibility of your gaming headset with your PC, you’ll be well-prepared to proceed with the connection process, ensuring a seamless and hassle-free setup.
Step 2: Connect the Headset to Your PC
Now that you’ve verified the compatibility of your gaming headset with your PC, it’s time to connect the headset and prepare it for use. Depending on the type of connection your headset uses, the process may vary slightly. Here’s a step-by-step guide to connecting your gaming headset to your PC:
- Wired Connection: If your gaming headset uses a wired connection, locate the appropriate ports on your PC. Most wired headsets utilize a standard audio jack and, in some cases, a USB connection for power and additional features. Insert the audio jack into the headphone or audio output port on your PC. If your headset includes a USB connection, plug it into an available USB port. Once connected, your PC should automatically detect the headset and configure it for use.
- Wireless Connection: For wireless gaming headsets, the setup process typically involves pairing the headset with your PC’s Bluetooth or wireless connectivity. Follow the manufacturer’s instructions to enable pairing mode on the headset and initiate the pairing process on your PC. Once paired, your PC will recognize the headset as an audio device, allowing you to use it for both audio output and input.
After connecting your gaming headset to your PC, take a moment to ensure that the connection is secure and that the headset is powered on, if applicable. Additionally, if your headset includes any inline controls or volume adjustments, familiarize yourself with their functions to optimize your audio experience.
Once the headset is successfully connected, you’re one step closer to immersing yourself in high-quality audio and seamless communication during your gaming sessions. With the physical connection established, the next step is to configure the headset in Windows to ensure optimal performance and functionality.
Step 3: Set Up the Headset in Windows
After connecting your gaming headset to your PC, it’s essential to configure it within the Windows operating system to ensure that it functions as intended. Windows provides a range of settings and options to customize audio output, microphone input, and overall headset performance. Here’s how to set up your gaming headset in Windows:
- Accessing Sound Settings: To begin, right-click on the speaker icon in the Windows taskbar and select “Open Sound settings.” This will open the Sound settings menu, where you can manage audio input and output devices.
- Selecting the Headset as Default Device: Within the Sound settings, navigate to the “Output” and “Input” sections to locate your gaming headset. If your headset is properly connected, it should appear in the list of available devices. Select the headset as the default playback and recording device to ensure that all audio is directed through the headset and that the microphone is actively used for communication.
- Adjusting Audio Properties: Under the “Sound settings,” you can access additional audio properties by clicking on “Sound control panel.” Here, you can fine-tune audio enhancements, such as spatial sound, equalization, and volume normalization, to optimize the audio output from your gaming headset.
- Configuring Microphone Settings: If your gaming headset includes a built-in microphone, it’s important to configure the microphone settings for optimal performance. Within the Sound settings, navigate to the “Input” section and select your headset’s microphone as the default recording device. Adjust the microphone sensitivity and levels as needed to ensure clear and accurate voice input during gaming and communication.
By configuring your gaming headset within the Windows settings, you can tailor the audio and microphone properties to suit your preferences and gaming requirements. Taking advantage of the available settings will enhance the overall audio experience and ensure seamless communication with fellow gamers.
Step 4: Test the Headset
Once you’ve connected and set up your gaming headset in Windows, it’s crucial to perform a thorough test to ensure that the audio output and microphone input are functioning correctly. Testing the headset will allow you to identify and address any potential issues before diving into your gaming sessions. Here’s how to test your gaming headset on your PC:
- Audio Playback Test: Open your favorite media player or streaming platform and play a video or music track. Listen carefully to the audio output from the headset to assess the sound quality, clarity, and spatial effects. Pay attention to both the left and right audio channels to ensure balanced audio playback.
- Microphone Test: To test the microphone, you can use the built-in Voice Recorder app in Windows or any communication software that supports voice calls, such as Skype or Discord. Record a short audio clip using the headset’s microphone and play it back to gauge the recording quality and clarity. Verify that the microphone captures your voice accurately without distortion or background noise.
- Gaming Test: Launch your favorite game and engage in a gaming session to experience the headset’s performance in a real-world gaming environment. Pay attention to in-game sound effects, dialogue, and positional audio to evaluate the headset’s immersive capabilities. Additionally, communicate with other players using the headset’s microphone to ensure clear and effective voice transmission.
- Adjustments and Optimization: While testing the headset, take note of any areas that may require adjustments or optimization. This could include fine-tuning audio settings, adjusting microphone sensitivity, or exploring additional features provided by the headset’s software. Make any necessary adjustments to optimize the headset’s performance based on your preferences and gaming requirements.
By conducting a comprehensive test of your gaming headset, you can confidently assess its audio and microphone capabilities, ensuring that it meets your expectations for gaming and communication. Addressing any potential issues during the testing phase will allow you to enjoy a seamless and immersive gaming experience with your newly connected headset.
Conclusion
Congratulations! You’ve successfully hooked up your gaming headset to your PC and configured it for an optimal gaming experience. By following the steps outlined in this guide, you’ve ensured that your headset is seamlessly integrated with your PC, providing high-quality audio output and clear communication capabilities. As you embark on your gaming adventures, you can now enjoy immersive soundscapes and effective team communication, enhancing your overall gaming experience.
Remember, the compatibility check at the outset was crucial in ensuring that your gaming headset seamlessly integrates with your PC. Whether your headset uses a wired or wireless connection, you’ve learned how to connect it effectively, establishing a reliable audio and communication channel. Additionally, the Windows setup process has allowed you to tailor the headset’s audio and microphone properties to suit your preferences, maximizing its performance during gaming sessions.
Testing the headset was a pivotal step in verifying its functionality and identifying any areas for optimization. By conducting audio playback, microphone, and gaming tests, you’ve gained confidence in the headset’s capabilities and made any necessary adjustments to enhance its performance.
With your gaming headset successfully set up, you’re now poised to immerse yourself in captivating gaming environments, where every sound detail is brought to life, and seamless communication with fellow players enhances your collaborative gameplay. Whether you’re exploring vast virtual worlds, engaging in intense multiplayer battles, or immersing yourself in narrative-driven adventures, your gaming headset will be your trusted companion, delivering an enriched audio experience.
As you continue your gaming journey, don’t hesitate to explore additional features and customization options offered by your gaming headset’s software. Fine-tuning audio settings, experimenting with spatial sound enhancements, and optimizing microphone performance can further elevate your gaming experience, allowing you to tailor the headset to your unique preferences and gaming style.
Now, armed with your newly connected gaming headset and the knowledge to set it up effectively, you’re ready to embark on memorable gaming experiences, enriched by immersive audio and seamless communication. So, grab your headset, dive into your favorite games, and enjoy the enhanced audio experience that awaits you!


