Introduction
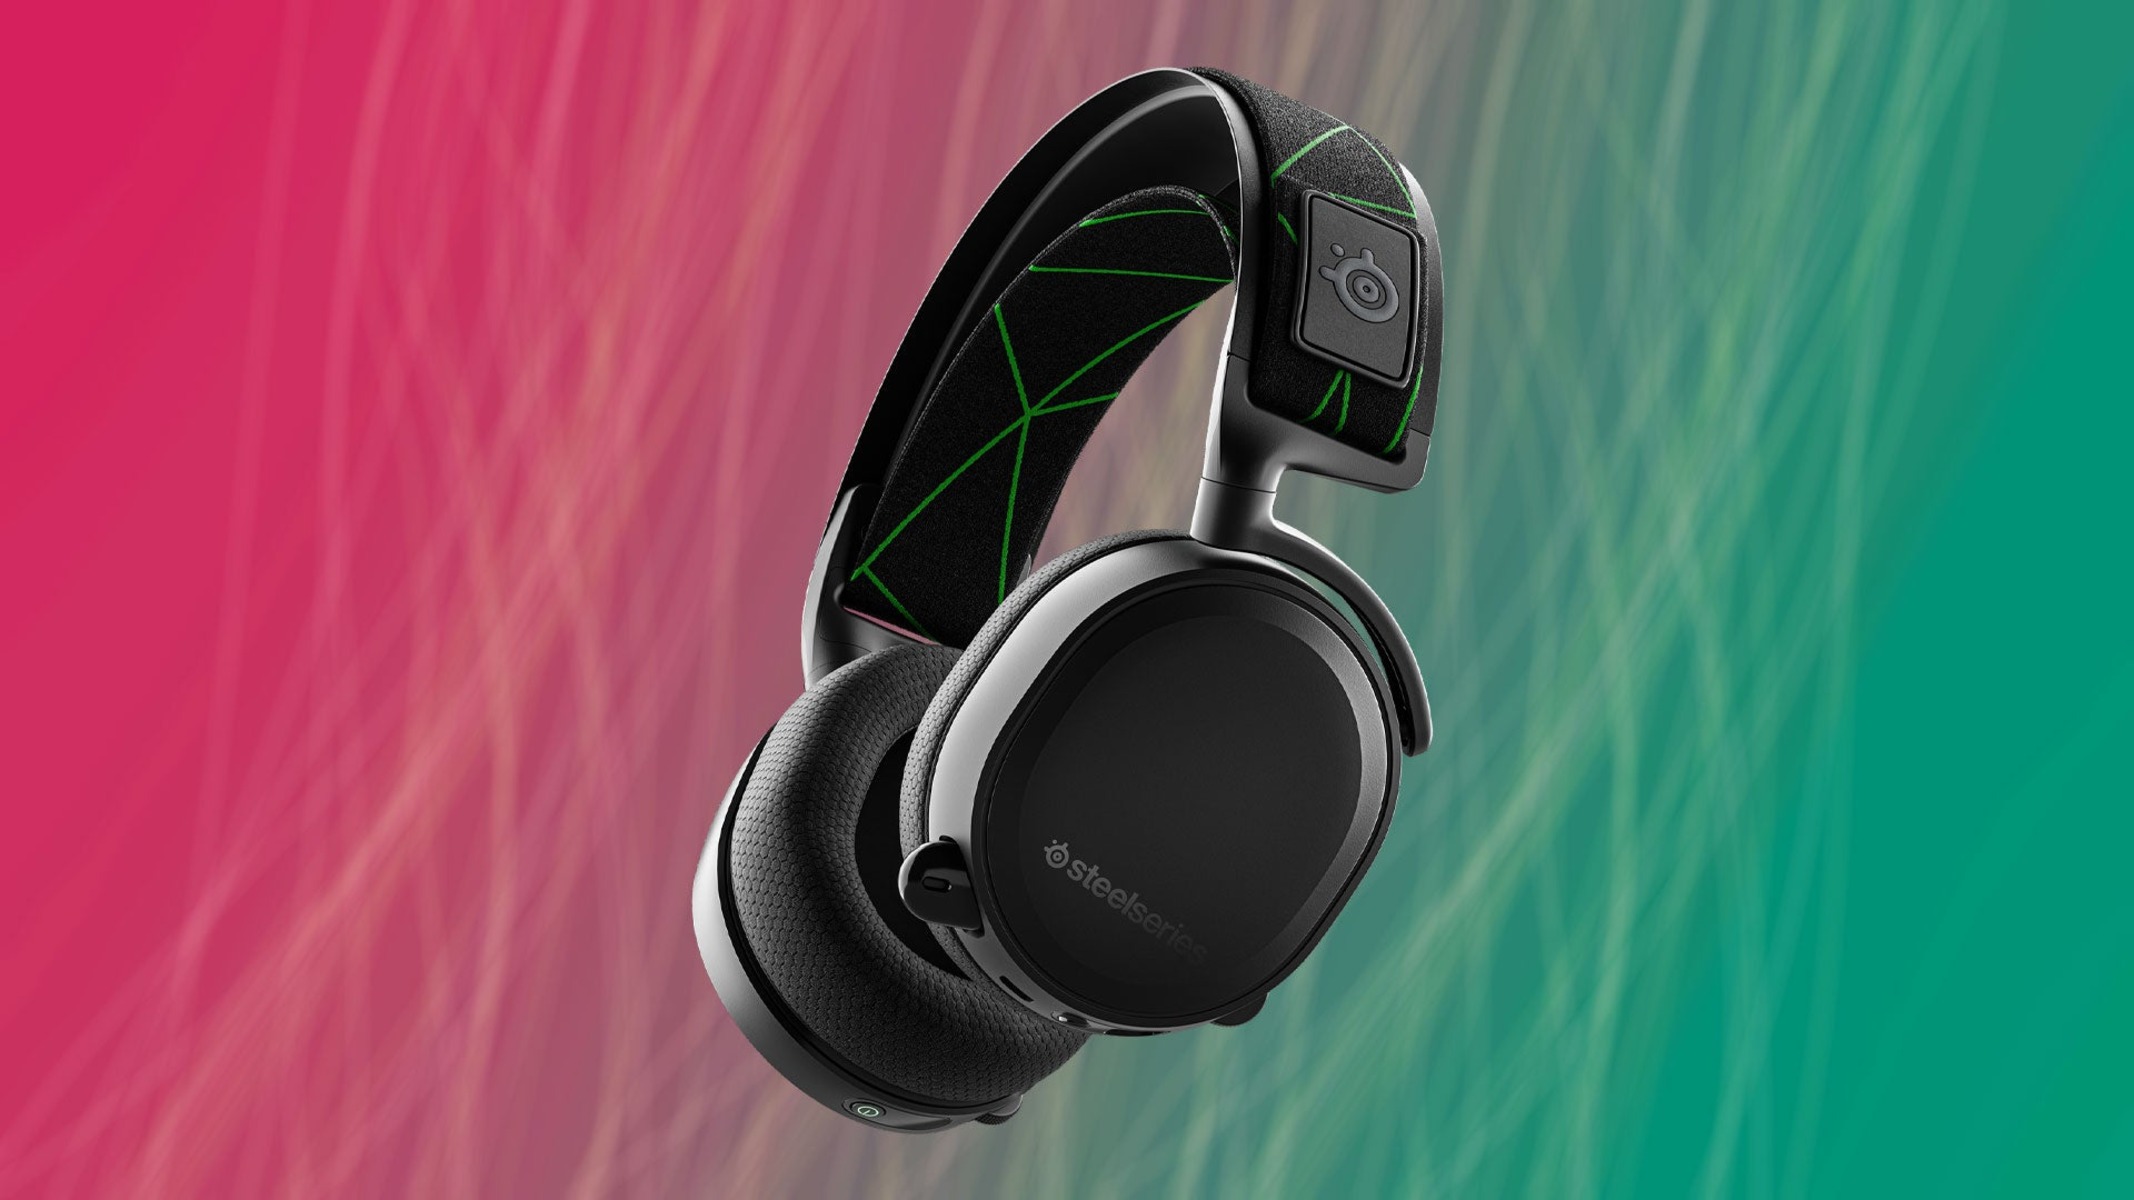
Are you ready to elevate your gaming experience to the next level? A wireless gaming headset is a must-have accessory for PC gamers seeking immersive audio and seamless communication during intense gameplay. By investing in a high-quality wireless gaming headset, you can enjoy the freedom of movement without compromising on audio quality or comfort.
In this comprehensive guide, we will walk you through the step-by-step process of setting up your wireless gaming headset on your PC. Whether you are a seasoned gamer or a newcomer to the world of PC gaming, this tutorial will provide you with all the essential information you need to get started.
From unboxing the headset to adjusting audio settings on your PC, we will cover every aspect of the setup process in detail. By following these instructions, you can ensure a smooth and hassle-free setup, allowing you to dive into your favorite games with crystal-clear audio and minimal distractions.
So, grab your wireless gaming headset, prepare your gaming rig, and let's embark on this exciting journey to unleash the full potential of your gaming experience. Get ready to immerse yourself in the captivating world of gaming with the ultimate freedom and audio performance that only a wireless gaming headset can deliver.
Let's begin the setup process and unlock the true power of your wireless gaming headset on your PC!
Step 1: Unboxing and Checking Components
Before delving into the setup process, it’s essential to start by unboxing your wireless gaming headset and carefully inspecting the components to ensure everything is in perfect condition. Here’s a detailed guide on how to proceed:
- Unboxing: Carefully open the packaging of your wireless gaming headset, ensuring that you handle the contents with care to avoid any damage. Most wireless gaming headsets come with a protective casing or packaging to secure the components during transit.
- Checking Components: Once the headset is unboxed, take inventory of all the components included in the package. Typically, you will find the wireless headset, a wireless receiver, charging cables, and any additional accessories such as a user manual or warranty information.
- Inspecting for Damage: Thoroughly inspect each component for any signs of damage or defects. Check the headset for any visible wear and tear, ensure that the cables are intact, and examine the wireless receiver for any physical damage.
- Reviewing Documentation: Take a moment to review the user manual or any accompanying documentation provided with the headset. Familiarize yourself with the features, controls, and any specific instructions related to the setup and operation of the wireless gaming headset.
By carefully unboxing and inspecting the components, you can ensure that your wireless gaming headset is in optimal condition and ready for the setup process. This initial step sets the stage for a smooth and successful installation, laying the foundation for an exceptional gaming experience.
Step 2: Charging the Headset
Once you have unboxed and inspected the components of your wireless gaming headset, the next crucial step is to ensure that the headset is adequately charged for uninterrupted gameplay. Follow these steps to charge your headset:
- Locate the Charging Port: Identify the charging port on the wireless gaming headset. It is typically located on the ear cups or the headband, depending on the design of the headset. The charging port may be concealed by a protective cover that needs to be opened.
- Connect the Charging Cable: Use the provided charging cable to connect the headset to a power source. This can be a USB port on your PC, a wall adapter, or a dedicated charging dock, depending on the model of the headset. Ensure that the connection is secure to initiate the charging process.
- Charging Indicator: Many wireless gaming headsets are equipped with a charging indicator light. This light will illuminate to indicate that the headset is charging. Refer to the user manual for specific details on the charging indicator and the corresponding status indications.
- Charging Time: Allow the headset to charge for the recommended duration as specified in the user manual. The charging time may vary depending on the headset’s battery capacity and the charging method. It is advisable to fully charge the headset before proceeding to the setup process.
- Unplugging the Headset: Once the headset is fully charged, safely disconnect the charging cable from the headset. Ensure that the charging port cover, if present, is securely closed to protect it from dust and debris.
By following these steps, you can ensure that your wireless gaming headset is powered up and ready to deliver an immersive audio experience during your gaming sessions. A fully charged headset will provide you with the freedom to enjoy extended gameplay without the inconvenience of frequent recharging.
Step 3: Installing the Wireless Receiver
After ensuring that your wireless gaming headset is charged and ready for use, the next step is to install the wireless receiver, which facilitates the wireless connection between the headset and your PC. Follow these steps to install the wireless receiver:
- Locate the USB Port: Identify an available USB port on your PC where you will connect the wireless receiver. It is recommended to use a USB 3.0 port for optimal performance, but a USB 2.0 port can also be used if necessary.
- Insert the Wireless Receiver: Carefully insert the wireless receiver into the selected USB port on your PC. Ensure that the connection is secure and that the receiver is fully inserted into the USB port to establish a reliable connection.
- Driver Installation (if required): In some cases, the wireless receiver may require the installation of specific drivers to enable seamless communication with the headset. If prompted, follow the on-screen instructions to install the necessary drivers for the wireless receiver.
- Receiver Positioning: Consider the positioning of the wireless receiver to optimize the wireless signal reception. Placing the receiver in a front-facing USB port or using a USB extension cable to position it closer to the headset can enhance the signal strength and minimize potential interference.
- Receiver Pairing (if required): Depending on the model of the wireless gaming headset, the wireless receiver may automatically pair with the headset upon connection. If manual pairing is necessary, refer to the user manual for instructions on initiating the pairing process.
By successfully installing the wireless receiver, you establish the vital link between your wireless gaming headset and your PC, enabling seamless audio transmission and communication. This pivotal step sets the stage for a truly immersive gaming experience, free from the constraints of wired connections.
Step 4: Pairing the Headset with the Receiver
Once the wireless receiver is installed, the next crucial step is to pair your wireless gaming headset with the receiver to establish a secure and stable connection. Follow these steps to pair the headset with the receiver:
- Power On the Headset: Turn on your wireless gaming headset by following the manufacturer’s instructions. This typically involves pressing and holding the power button until the headset powers up and enters the pairing mode.
- Pairing Mode Activation: Activate the pairing mode on the wireless gaming headset. This mode allows the headset to search for and establish a connection with the wireless receiver. Refer to the user manual for specific instructions on activating the pairing mode for your headset model.
- Receiver Pairing: Ensure that the wireless receiver is ready to pair with the headset. Some receivers may have a dedicated pairing button or a pairing indicator light to signal that it is actively searching for a compatible headset to pair with.
- Pairing Confirmation: Once the headset and the receiver successfully establish a connection, a pairing confirmation message or indicator on the receiver or the headset itself will signify that the pairing process is complete.
- Testing the Connection: Verify the successful pairing by testing the audio output from the headset. Play a sample audio file or launch a game to ensure that the audio is transmitted wirelessly from your PC to the headset without any interruptions or delays.
By successfully pairing your wireless gaming headset with the receiver, you pave the way for a seamless and uninterrupted audio experience during your gaming sessions. This crucial step eliminates the need for cumbersome wired connections, allowing you to enjoy the freedom of movement without compromising on audio quality.
Step 5: Adjusting Audio Settings on PC
With your wireless gaming headset successfully paired with the receiver, it’s essential to optimize the audio settings on your PC to ensure an immersive and personalized gaming audio experience. Follow these steps to adjust the audio settings:
- Accessing Sound Settings: Navigate to the sound settings on your PC. On Windows, you can access the sound settings by right-clicking the speaker icon in the system tray and selecting “Open Sound settings.”
- Selecting the Headset: Under the sound settings, locate the playback devices section and ensure that your wireless gaming headset is selected as the default playback device. This directs the audio output from your PC to the wireless headset.
- Configuring Spatial Sound (if supported): If your wireless gaming headset supports spatial sound technologies such as Windows Sonic for Headphones or Dolby Atmos for Headphones, consider enabling these features to enhance the spatial audio experience in games and multimedia content.
- Adjusting Volume and Equalization: Fine-tune the volume levels and equalization settings to suit your preferences. Many wireless gaming headsets offer companion software that allows you to customize the audio profiles, adjust the equalizer settings, and create personalized audio presets.
- Testing Audio Output: Play a variety of audio sources, including music, game sound effects, and dialogue, to ensure that the audio is being transmitted wirelessly to your headset with clarity and precision. Make adjustments as needed to achieve the desired audio balance.
By optimizing the audio settings on your PC, you can tailor the audio output to match your gaming preferences, whether you seek immersive surround sound for action-packed games or crystal-clear communication for multiplayer sessions. These adjustments ensure that your wireless gaming headset delivers an audio experience that fully complements your gaming endeavors.
Step 6: Testing the Headset
After completing the setup and adjusting the audio settings, it’s crucial to conduct a comprehensive test of your wireless gaming headset to ensure that it delivers the desired audio performance and functionality. Follow these steps to thoroughly test the headset:
- Audio Playback Test: Play various audio sources, including music, game sound effects, and dialogue, to evaluate the overall audio quality and clarity delivered by the wireless gaming headset. Pay attention to the bass response, treble clarity, and overall balance of the audio output.
- Microphone Test: If your wireless gaming headset is equipped with a microphone, test its functionality by recording your voice and assessing the clarity and accuracy of the audio capture. Consider using communication applications or voice chat in games to ensure that the microphone performs optimally.
- Wireless Range Test: Move around within the wireless range of the headset to confirm that the wireless connection remains stable and reliable. Test the headset’s performance in different areas of your gaming space to ensure consistent audio transmission.
- Comfort and Fit Test: Wear the wireless gaming headset for an extended period to assess its comfort and fit. Evaluate factors such as ear cushion pressure, headband comfort, and overall ergonomic design to ensure a comfortable gaming experience during prolonged sessions.
By conducting a comprehensive test of the wireless gaming headset, you can gain confidence in its audio performance, microphone functionality, and wireless connectivity. This step allows you to fine-tune the headset’s settings and address any potential issues before immersing yourself in your favorite games.
Conclusion
Congratulations! By following this comprehensive guide, you have successfully set up your wireless gaming headset on your PC, paving the way for an unparalleled gaming experience. From unboxing the headset to fine-tuning the audio settings, each step was essential in ensuring that your wireless gaming headset is ready to deliver immersive audio and seamless communication during your gaming sessions.
As you embark on your gaming adventures, remember that the wireless gaming headset offers you the freedom to move without being tethered by cables, allowing you to fully immerse yourself in the captivating worlds of your favorite games. The setup process has equipped you with the knowledge to optimize the audio settings and tailor the headset’s performance to your preferences, ensuring that every gaming session is a truly personalized experience.
With a fully charged headset, a stable wireless connection, and meticulously adjusted audio settings, you are now poised to explore new dimensions of gaming audio, communicate effectively with teammates, and experience the thrill of immersive soundscapes that enrich your gaming narratives.
As you continue to enjoy your wireless gaming headset, consider exploring additional features such as customizable audio profiles, spatial sound technologies, and voice enhancement functionalities to further enhance your gaming experience. Stay updated with the latest firmware updates and software enhancements provided by the headset’s manufacturer to unlock new capabilities and optimize performance.
Now, armed with your wireless gaming headset and a passion for gaming, venture into the virtual realms with confidence, knowing that your audio experience is elevated to new heights. Let the seamless wireless connectivity, crystal-clear audio, and ergonomic design of your headset become the catalyst for unforgettable gaming moments that captivate your senses and fuel your gaming prowess.
Embrace the freedom, embrace the power, and let your wireless gaming headset transport you to the forefront of gaming excellence.


