Introduction
Are you ready to elevate your PC gaming experience with the Afterglow Gaming Headset? This innovative headset offers the flexibility of wireless connectivity, allowing you to immerse yourself in the virtual world without being tethered to your computer. In this guide, you will learn how to seamlessly connect your Afterglow Gaming Headset to your PC wirelessly, unlocking the full potential of this cutting-edge device.
Whether you're a seasoned gamer or just starting your gaming journey, the Afterglow Gaming Headset provides crystal-clear audio, immersive soundscapes, and a comfortable fit for extended gaming sessions. With its wireless capability, you can enjoy unrestricted movement, enhanced comfort, and a clutter-free gaming environment. By following the simple steps outlined in this guide, you'll be ready to dive into your favorite games with unparalleled audio performance and freedom of movement.
Stay tuned as we delve into the step-by-step process of wirelessly connecting your Afterglow Gaming Headset to your PC. Get ready to experience gaming audio like never before and unleash the full potential of your gaming setup. Let's embark on this wireless adventure and elevate your gaming experience to new heights!
Step 1: Check Compatibility
Before diving into the wireless setup process, it’s crucial to ensure that your Afterglow Gaming Headset is compatible with your PC. Compatibility is key to a seamless and frustration-free gaming experience. Here’s how to verify compatibility:
- Operating System Compatibility: Confirm that your PC’s operating system is compatible with the Afterglow Gaming Headset. Whether you’re using Windows, macOS, or Linux, it’s essential to check the compatibility of the headset with your specific operating system.
- Wireless Adapter Compatibility: If your Afterglow Gaming Headset utilizes a USB wireless adapter, ensure that your PC supports the adapter’s connectivity requirements. Some wireless adapters may require specific USB ports or driver installations for optimal functionality.
- Driver Updates: Check for any available driver updates for your headset that may be compatible with your PC’s operating system. Keeping the headset’s drivers up to date can enhance compatibility and resolve potential connectivity issues.
By confirming the compatibility of your Afterglow Gaming Headset with your PC, you can preemptively address any compatibility-related hurdles and set the stage for a smooth wireless connection process. Once you’ve verified compatibility, you’re ready to move on to the next step and begin the wireless setup of your Afterglow Gaming Headset.
Step 2: Install Wireless Adapter
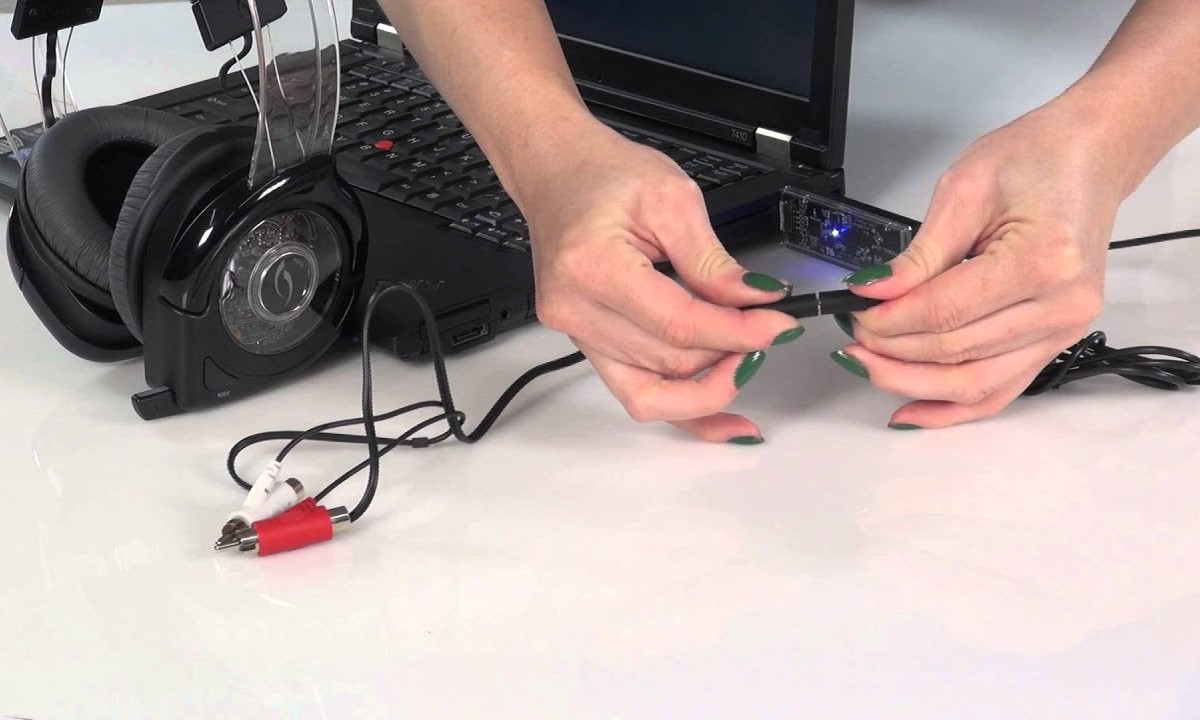
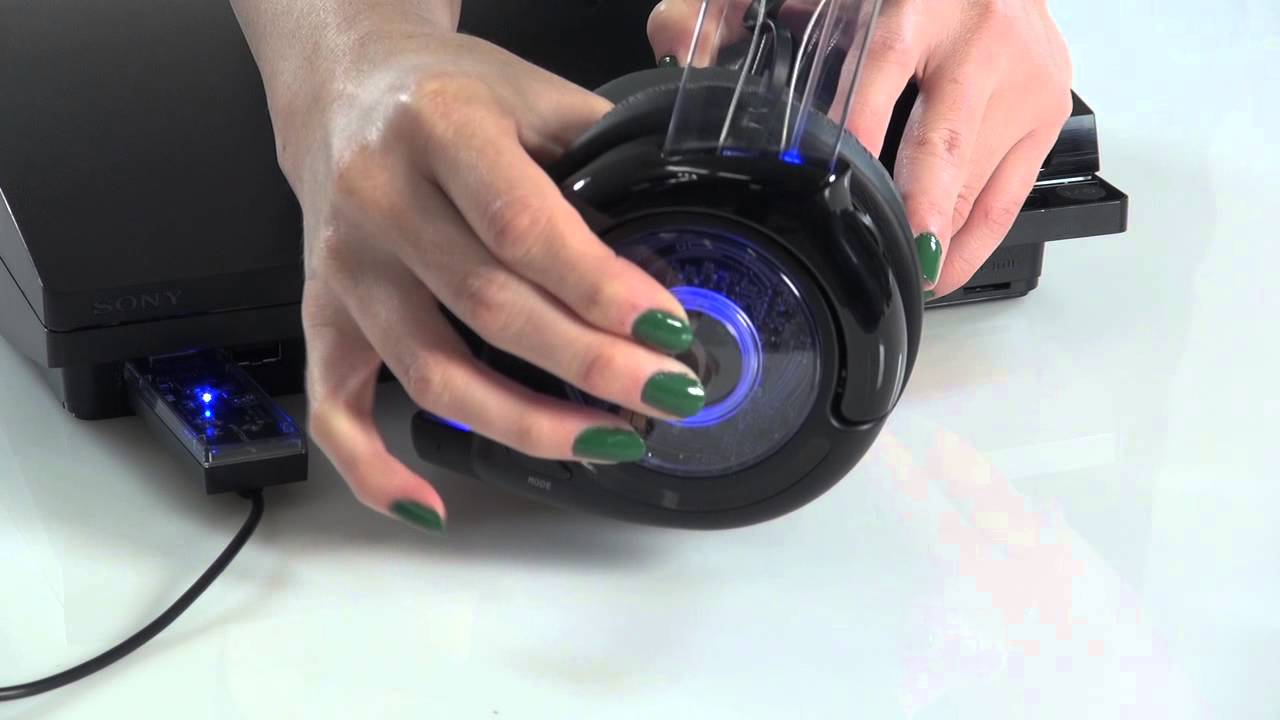
Now that you’ve confirmed the compatibility of your Afterglow Gaming Headset with your PC, it’s time to install the wireless adapter for seamless connectivity. The wireless adapter serves as the bridge between your headset and your PC, enabling wireless communication and delivering an immersive gaming audio experience. Follow these steps to install the wireless adapter:
- Locate the USB Port: Identify an available USB port on your PC where you can insert the wireless adapter. Choose a port that is easily accessible and allows for unobstructed signal transmission.
- Insert the Wireless Adapter: Gently insert the wireless adapter into the selected USB port on your PC. Ensure that the adapter is securely connected to establish a stable communication link between the headset and your computer.
- Driver Installation (if applicable): In some cases, the wireless adapter may require driver installation to enable proper functionality. If prompted, follow the on-screen instructions to install the necessary drivers for the adapter.
- Confirmation of Connection: Once the wireless adapter is inserted, confirm that your PC recognizes the new hardware. Check the device manager or system settings to ensure that the wireless adapter is detected and ready for use.
By following these steps, you’ll successfully install the wireless adapter for your Afterglow Gaming Headset, paving the way for a seamless wireless connection to your PC. With the adapter in place, you’re one step closer to experiencing the freedom of wireless gaming audio and immersing yourself in captivating soundscapes without the constraints of traditional wired setups.
Step 3: Pair the Headset
With the wireless adapter installed, it’s time to pair your Afterglow Gaming Headset with your PC, establishing a seamless wireless connection that unlocks the headset’s full potential. Follow these steps to pair the headset with the wireless adapter:
- Power On the Headset: Turn on your Afterglow Gaming Headset by pressing the power button or following the manufacturer’s designated power-on procedure. Ensure that the headset has sufficient battery power to initiate the pairing process.
- Activate Pairing Mode: Put the headset into pairing mode as per the manufacturer’s instructions. This typically involves holding down a specific button or combination of buttons to initiate the pairing process. Refer to the headset’s user manual for precise pairing instructions.
- Wireless Adapter Pairing: On your PC, access the wireless adapter settings or the designated software interface for the Afterglow Gaming Headset. Initiate the pairing process within the software, allowing the adapter to search for and connect to the headset.
- Confirmation of Pairing: Once the pairing process is initiated, wait for the wireless adapter to establish a connection with the Afterglow Gaming Headset. Upon successful pairing, you’ll receive a confirmation message or indicator light on both the headset and the wireless adapter.
By following these steps, you’ll successfully pair your Afterglow Gaming Headset with your PC’s wireless adapter, enabling seamless communication and immersive audio delivery. With the pairing process complete, you’re now ready to experience the freedom of wireless gaming audio and delve into your favorite games with unparalleled sound quality and comfort.
Step 4: Adjust Settings
Now that your Afterglow Gaming Headset is wirelessly connected to your PC, it’s time to fine-tune the settings to optimize your gaming audio experience. By adjusting the settings, you can customize the audio output, microphone functionality, and other key parameters to suit your preferences. Follow these steps to adjust the settings for your Afterglow Gaming Headset:
- Audio Configuration: Access your PC’s audio settings and ensure that the Afterglow Gaming Headset is selected as the default audio output device. Adjust the audio levels, equalizer settings, and spatial audio features to tailor the sound to your liking.
- Microphone Setup: If your Afterglow Gaming Headset features a built-in microphone, configure the microphone settings on your PC. Adjust the input volume, noise cancellation, and microphone monitoring to optimize voice communication during gaming sessions.
- Wireless Range Optimization: Position your PC and wireless adapter to maximize the wireless signal reception. Minimize potential obstructions and interference to ensure a stable wireless connection and uninterrupted audio transmission.
- Software Customization: Explore any accompanying software or control panels provided by Afterglow for additional customization options. These software tools may offer advanced audio settings, lighting controls, and firmware updates for your headset.
By adjusting these settings, you can tailor the audio and communication features of your Afterglow Gaming Headset to align with your gaming preferences and environment. Whether you prioritize immersive audio quality, crystal-clear voice communication, or personalized audio profiles, fine-tuning the settings allows you to unlock the full potential of your wireless gaming headset.
Conclusion
Congratulations! You’ve successfully navigated the process of wirelessly connecting your Afterglow Gaming Headset to your PC, unlocking a world of immersive gaming audio and unrestricted movement. By following the step-by-step guide outlined in this article, you’ve empowered yourself to experience the freedom and flexibility of wireless gaming audio without compromising on audio quality or comfort.
As you venture into the realm of wireless gaming audio, remember to prioritize compatibility, seamless pairing, and personalized settings to optimize your gaming experience. The Afterglow Gaming Headset, now wirelessly connected to your PC, stands ready to deliver captivating soundscapes, crystal-clear communication, and a comfortable fit for extended gaming sessions.
With the wireless setup complete, you’re poised to immerse yourself in the rich audio landscapes of your favorite games, communicate with teammates with clarity, and enjoy the freedom of movement that wireless connectivity affords. Whether you’re engaging in intense multiplayer battles, exploring immersive open worlds, or diving into competitive esports matches, the wireless Afterglow Gaming Headset enhances your gaming experience with its seamless connectivity and exceptional audio performance.
As you continue your gaming journey, don’t hesitate to explore the myriad customization options, audio enhancements, and firmware updates available for your Afterglow Gaming Headset. Stay attuned to the evolving landscape of gaming audio technology, and leverage the wireless capabilities of your headset to stay ahead in the gaming arena.
Embrace the wireless freedom, elevate your gaming experience, and savor the captivating audio delivered by your Afterglow Gaming Headset. With the wireless connection established, you’re primed to embark on a gaming odyssey filled with immersive sound, seamless communication, and the unparalleled comfort of wireless gaming audio.