Introduction
Introduction
Gaming headsets are essential accessories for immersive gaming experiences, providing crystal-clear sound and clear communication with teammates. However, encountering a cut in the headset sound can be frustrating and disruptive to your gaming enjoyment. Before diving into potential solutions, it's important to understand the common causes of this issue. Whether it's due to physical damage, audio settings, outdated drivers, or cable issues, troubleshooting the problem step by step can help you restore the sound quality and get back to gaming without interruptions.
When faced with a cut in gaming headset sound, it's crucial to approach the issue systematically, ruling out various possible causes before seeking a solution. By methodically diagnosing and addressing the problem, you can save time and effort while avoiding unnecessary expenses. This guide will walk you through the troubleshooting process, offering practical tips and solutions to help you fix the sound cut in your gaming headset. Whether you're a casual gamer or a dedicated esports enthusiast, regaining pristine sound quality in your headset is essential for an optimal gaming experience. Let's explore the steps to identify and resolve the issue, ensuring that you can fully immerse yourself in your favorite games without any audio disruptions.
Check the Physical Damage
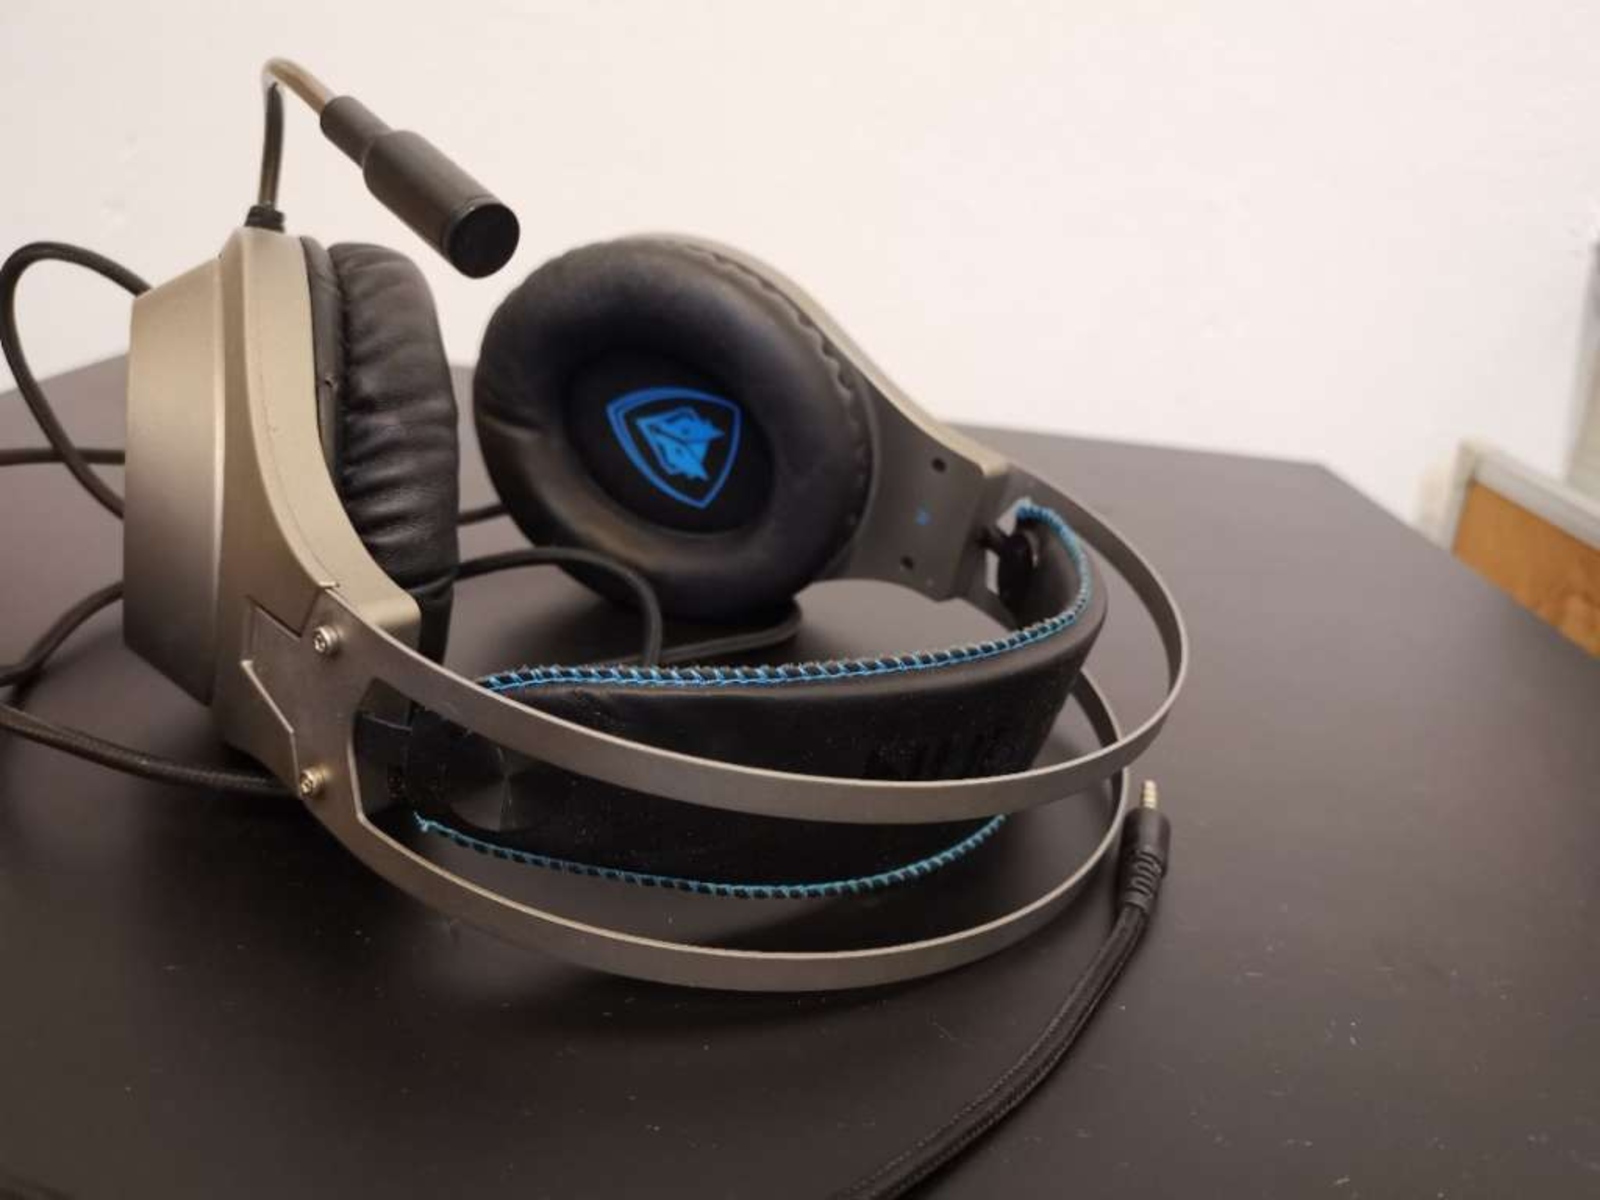
When experiencing a cut in your gaming headset sound, the first step is to assess the physical condition of the headset. Carefully inspect the headset for any visible signs of damage, such as frayed or severed cables, loose connections, or damage to the ear cups or headband. Physical damage can often be the root cause of audio issues, and identifying any visible impairments is crucial in troubleshooting the problem.
Begin by examining the headset cable, paying close attention to any kinks, cuts, or exposed wires. If you notice any damage to the cable, such as fraying or cuts, it’s likely that this is the source of the sound cut issue. Additionally, inspect the audio jacks for any signs of damage or dirt accumulation, as this can also impede the sound quality. Ensure that the connectors are clean and free from debris, as a secure connection is essential for uninterrupted sound transmission.
Next, carefully examine the headset’s physical components, including the ear cups, headband, and microphone. Any visible cracks, dents, or structural damage could potentially impact the headset’s functionality, leading to audio disruptions. Additionally, check for any loose or damaged components within the headset, as these can contribute to sound irregularities.
By thoroughly assessing the physical condition of the gaming headset, you can pinpoint any visible damage that may be causing the sound cut issue. Identifying and addressing physical impairments is a crucial first step in troubleshooting the problem, as it sets the foundation for further diagnostic measures. Once you’ve ruled out physical damage as the cause of the sound cut, you can proceed to the next troubleshooting steps with a clearer understanding of the headset’s condition.
Check the Audio Settings
After assessing the physical condition of your gaming headset, the next step in troubleshooting a sound cut is to examine the audio settings on your gaming device. Incorrect or misconfigured audio settings can often lead to sound irregularities, impacting the performance of your headset. Whether you’re using a PC, gaming console, or mobile device, ensuring that the audio settings are optimized for your headset is essential for a seamless gaming experience.
Begin by accessing the audio settings on your device and verifying that the correct audio output device is selected. In the case of a PC, navigate to the sound settings and confirm that the gaming headset is chosen as the default playback device. On gaming consoles, such as PlayStation or Xbox, access the audio settings to ensure that the headset is recognized and set as the primary audio output. Additionally, check for any specific audio presets or enhancements that may be affecting the sound output, and disable them to isolate the issue.
Furthermore, inspect the volume levels and audio balance settings to ensure that they are appropriately configured for the gaming headset. Imbalanced audio settings or low volume levels can result in sound inconsistencies, leading to a perceived cut in the audio. Adjust the volume and balance settings to achieve optimal sound output, ensuring that both the left and right channels are evenly balanced for a uniform listening experience.
If your gaming device supports surround sound or spatial audio features, verify that these settings are compatible with your headset and enabled as per the manufacturer’s recommendations. In some cases, incompatible spatial audio settings can lead to sound irregularities, causing disruptions in the audio output. By aligning the audio settings with the capabilities of your gaming headset, you can mitigate potential sound cut issues stemming from misconfigured settings.
By meticulously reviewing and adjusting the audio settings on your gaming device, you can eliminate potential configuration-related causes of the sound cut issue. Once the audio settings are optimized for your headset, you can proceed to the next troubleshooting steps with the confidence that the device settings are aligned with the requirements of your gaming headset.
Update the Drivers
Ensuring that the drivers for your gaming headset are up to date is crucial in addressing sound cut issues and optimizing the device’s performance. Outdated or incompatible drivers can lead to audio irregularities, impacting the headset’s ability to deliver consistent sound quality. By updating the drivers, you can leverage the latest enhancements and bug fixes provided by the manufacturer, potentially resolving the sound cut problem.
Start by identifying the manufacturer of your gaming headset and visiting their official website to locate the driver support section. Here, you can search for the latest driver updates specifically designed for your headset model. Download the most recent driver version compatible with your operating system, ensuring that it aligns with the specifications of your gaming device.
Once the updated driver is downloaded, proceed to install it according to the manufacturer’s instructions. This typically involves running the driver installation package and following the on-screen prompts to complete the update process. During the installation, it’s essential to ensure that any existing drivers are properly replaced with the updated versions, preventing conflicts that could contribute to sound irregularities.
After the driver update is complete, restart your gaming device to apply the changes and allow the updated drivers to take effect. Upon rebooting, verify that the gaming headset is recognized and configured with the updated drivers. Additionally, check the sound output to determine if the driver update has resolved the sound cut issue, providing a smoother and uninterrupted audio experience.
Regularly updating the drivers for your gaming headset is crucial in maintaining optimal performance and addressing potential sound irregularities. By staying abreast of the latest driver releases from the manufacturer, you can leverage improvements in audio processing and compatibility, ensuring that your headset delivers a seamless and immersive gaming audio experience.
Use a Different Device
When confronted with a sound cut issue in your gaming headset, testing the headset on a different device can provide valuable insights into the root cause of the problem. Whether it’s a PC, gaming console, mobile device, or another compatible platform, connecting the headset to an alternative device allows you to isolate the issue and determine if the sound irregularities are device-specific or related to the headset itself.
Begin by selecting a different device that supports the use of your gaming headset and connecting the headset according to the manufacturer’s instructions. Once the headset is properly connected, play audio content, such as music or a video game, to assess the sound quality and detect any potential cut in the audio. By experiencing the headset’s performance on a different device, you can evaluate whether the sound irregularities persist across multiple platforms.
If the sound cut issue persists when using the gaming headset with a different device, it indicates that the problem is likely related to the headset itself, rather than the original gaming device. In this scenario, you can proceed with further troubleshooting steps, such as inspecting the headset’s physical condition, checking the audio settings, or examining the cable for potential damage. By confirming that the issue persists across devices, you can narrow down the potential causes and focus on resolving the headset-specific issues.
Conversely, if the sound irregularities are not present when using the gaming headset with an alternative device, it suggests that the original gaming device may be contributing to the audio disruptions. In this case, revisiting the audio settings, updating the drivers, or troubleshooting the specific audio output of the original device can help address the sound cut issue. By identifying the device-specific nature of the problem, you can tailor your troubleshooting efforts to the relevant platform, potentially resolving the audio irregularities.
By testing the gaming headset on a different device, you can gain valuable insights into the source of the sound cut issue, whether it’s related to the headset itself or the original gaming device. This systematic approach allows you to pinpoint the root cause of the problem and tailor your troubleshooting efforts accordingly, ultimately leading to a more effective resolution of the sound irregularities.
Repair or Replace the Cable
The cable of a gaming headset plays a critical role in transmitting audio signals, and any damage to the cable can result in sound irregularities, including a cut in the audio. If physical inspection reveals damage to the headset cable, addressing this issue is essential in restoring the sound quality and ensuring uninterrupted audio transmission. Depending on the extent of the damage, you may opt to repair the cable or replace it with a new one to resolve the sound cut issue.
If the cable exhibits minor damage, such as fraying or exposed wires, you can attempt to repair it using electrical tape or heat-shrink tubing. Begin by carefully trimming any frayed sections of the cable and ensuring that the exposed wires are protected. Subsequently, carefully apply electrical tape or heat-shrink tubing to insulate and secure the repaired areas, preventing further damage and restoring the integrity of the cable.
Alternatively, if the cable damage is extensive or the repair attempts prove ineffective, replacing the cable with a new one is a viable solution. Many gaming headset manufacturers offer replacement cables that are compatible with specific headset models, allowing you to acquire a genuine replacement cable designed for optimal performance. When replacing the cable, ensure that it is securely connected to the headset and the audio source, maintaining a stable and reliable audio transmission.
Upon repairing or replacing the cable, test the gaming headset to verify that the sound cut issue has been resolved. Play audio content and monitor the sound quality to ensure that the cable repair or replacement has effectively mitigated the audio irregularities. By addressing cable damage proactively, you can restore the seamless audio transmission in your gaming headset, enhancing the overall gaming experience.
Addressing cable damage promptly is crucial in resolving sound cut issues in gaming headsets. Whether through repair or replacement, restoring the integrity of the cable ensures consistent and uninterrupted audio transmission, allowing you to fully immerse yourself in the captivating sounds of your favorite games without disruptions.
Conclusion
Encountering a cut in the sound of your gaming headset can be a frustrating experience, disrupting your immersion in the gaming world. However, by systematically troubleshooting the potential causes and implementing targeted solutions, you can effectively address the sound irregularities and restore pristine audio quality to your gaming headset.
Beginning with a thorough assessment of the physical condition of the headset, including the cable and connectors, allows you to identify visible damage that may be contributing to the sound cut issue. Checking the audio settings on your gaming device ensures that the headset is configured optimally for seamless audio transmission, while updating the drivers leverages the latest improvements and compatibility enhancements provided by the manufacturer.
Testing the gaming headset on a different device provides valuable insights into the nature of the sound irregularities, allowing you to pinpoint the source of the problem and tailor your troubleshooting efforts accordingly. Additionally, addressing cable damage through repair or replacement is crucial in ensuring uninterrupted audio transmission, enhancing the overall gaming experience.
By methodically addressing each potential cause of the sound cut issue, you can effectively restore the audio quality of your gaming headset, allowing you to fully immerse yourself in the captivating sounds of your favorite games without disruptions. Whether through physical inspection, software adjustments, or cable maintenance, proactive troubleshooting and targeted solutions can help you overcome sound irregularities and enjoy a seamless gaming audio experience.


